
Elevation Gain: 1,128m
Distance: 15.08km
Total Time: 12 hours 27 minutes
Date: August 21st, 2022
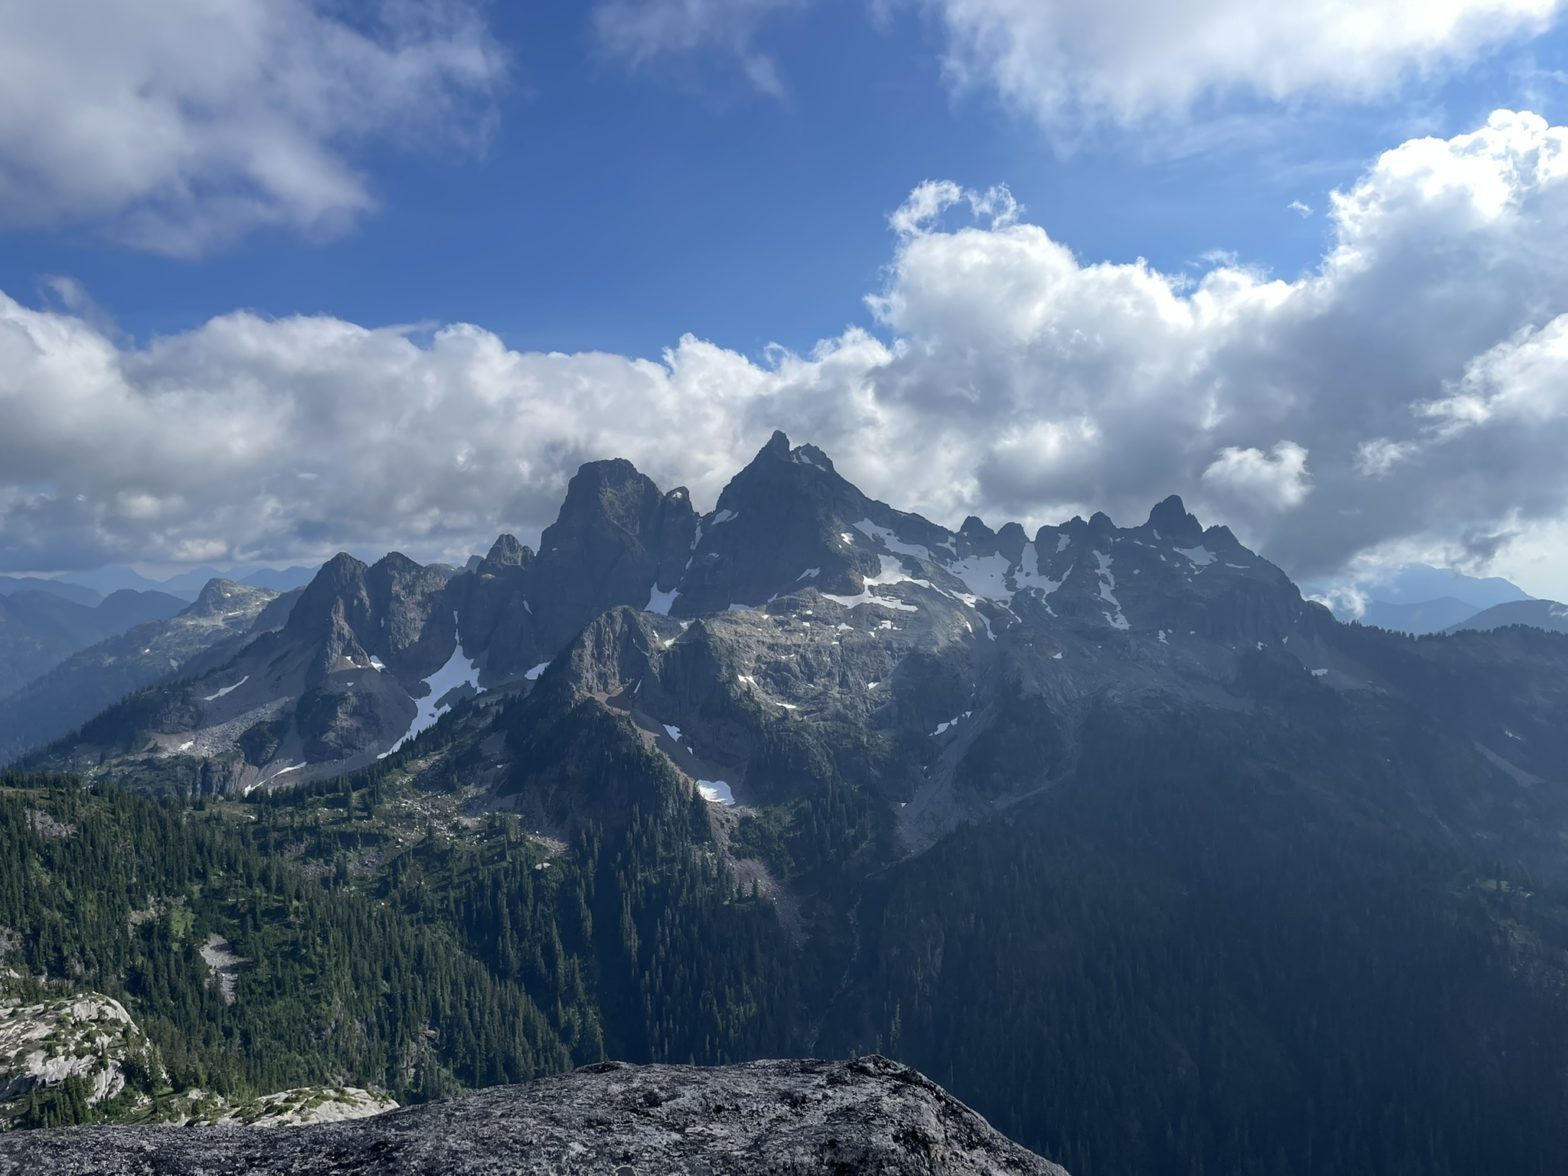
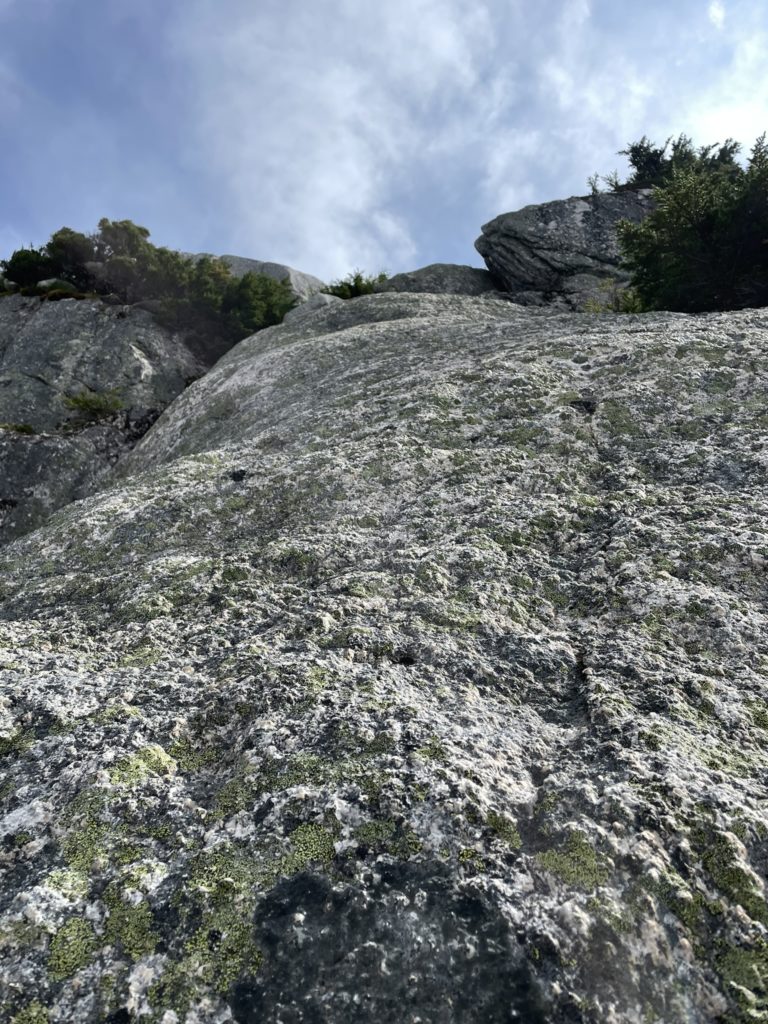
Mount Habrich is a prominent granite summit located just North of the Sky Pilot group and visible along many parts of the Sea2Sky highway. While it offers a scramble route on the NE side, it’s apparently difficult to access and not a very appealing route option. The next easiest route is an old-school 4th class climb which by all accounts I’ve read is really a climb. Thanks to its proximity to Squamish though, a number of better and more engaging routes have been developed over the years. One such route really began to gain my interest as I’ve forayed further into technical routes this year. A 5.8 route called Escape Velocity which offers a straightforward 7 pitch ascent to the summit and avoids the unappealing bush thrashing of the easier route on the NW ridge.
While I’ve lead 5.9 around the local crags, I was yet to push this limit in the alpine and Escape Velocity felt like a great opportunity to attempt it. Andrea was keen to try this one too. As she’s a much stronger climber than I am, I knew we’d still make it even if I couldn’t send the hardest pitch. We had plans Saturday at Cultus Lake, but the weather was looking clear and sunny for Sunday so we set that as our summit day. To avoid the $50 gondola fee or a long slog from the base, we decided to drive up the Shannon Creek FSR which was apparently still in good condition.
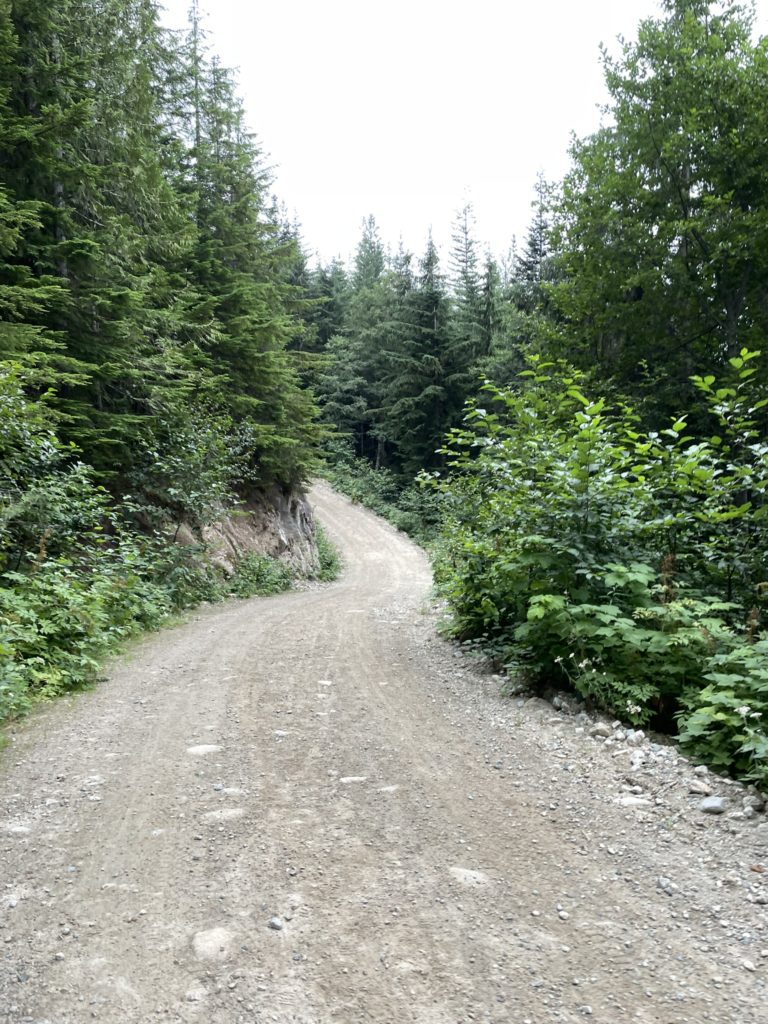
Sunday morning rolled around and we got going from Vancouver around 6am. As we rounded the corner towards Horseshoe Bay we caught glimpse of the thick persistent layer of clouds hanging low in the Howe Sound. This wasn’t in the forecast last we checked and now a closer a look revealed 90-100% cloud cover until the afternoon. There was no precip in the forecast though, so it’s full steam ahead. Before long, I pulled onto Mamquam FSR and then down a brief section of the Indian Creek FSR before driving up the steep Shannon Creek road. The Shannon Creek FSR was in great condition, with no water bars and only some large pot holes to navigate. For the Tacoma it’s a non-issue whatsoever and with some attentive driving I think most AWD vehicles can make it.
We pulled into the upper lot where a gate blocked access to the remainder of the road. There were already 3 other vehicles parked and another one pulled up shortly after. I was a little worried that we’d be in a line for the route on Mount Habrich, but I assumed correctly that most of the traffic was for Sky Pilot in the end. Andrea and I started the easy cruise down the service road past the gate and reached the top of the Sea2Sky gondola after 20 minutes or so. Then we headed down the hiking trail/old spur road towards Sky Pilot. I had been on this road a little over 2 years prior, but honestly didn’t remember much of it.


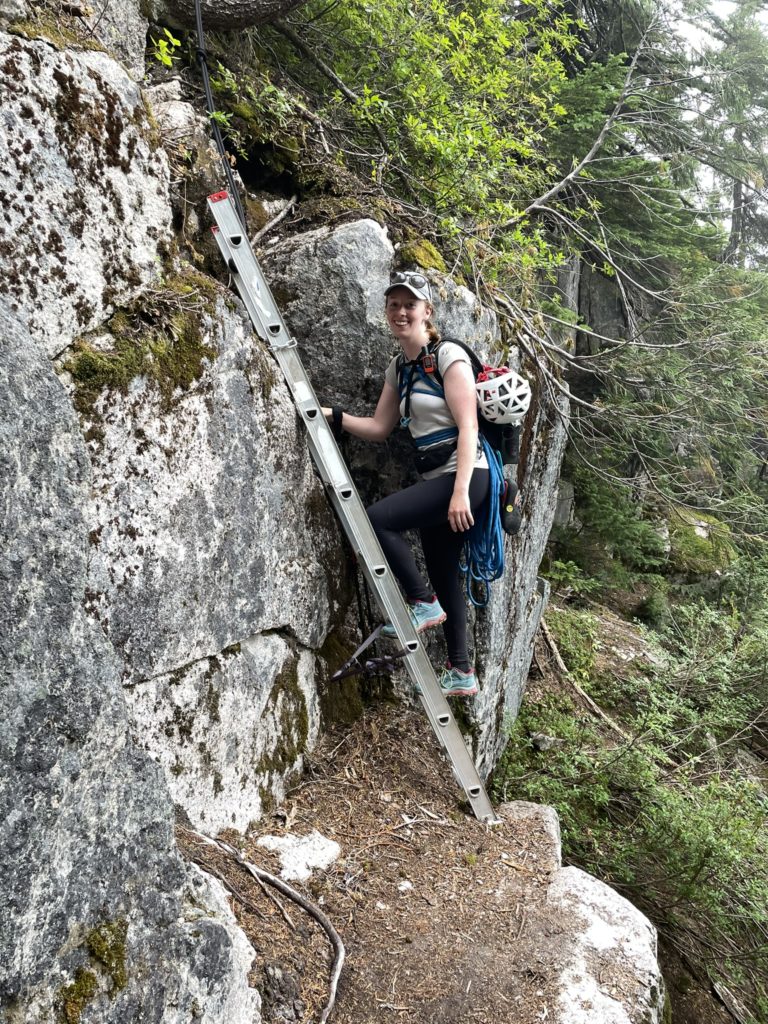
Soon we reached the turn off up to Mount Habrich and looking at the topo it was going to be a steep trail. Nonetheless, as we ascended up, I found the trail to be super easy going and although steep, was well trodden and not a root laden mess like some other North Shore classics. Andrea and I gained elevation quickly and we reached the base of Mount Habrich’s granite tower after about 2.5 hours total from the car. It wasn’t immediately clear from other trip reports where Escape Velocity actually started and we just knew it was somewhere on the NW face. Thankfully an obvious trail skirted around the western flanks of Habrich and we continued to follow it up to the col between Habrich ridge and the tower. Sure enough, the trail spit us out right at the base of Escape Velocity where two bolts on the first pitch marked the beginning.


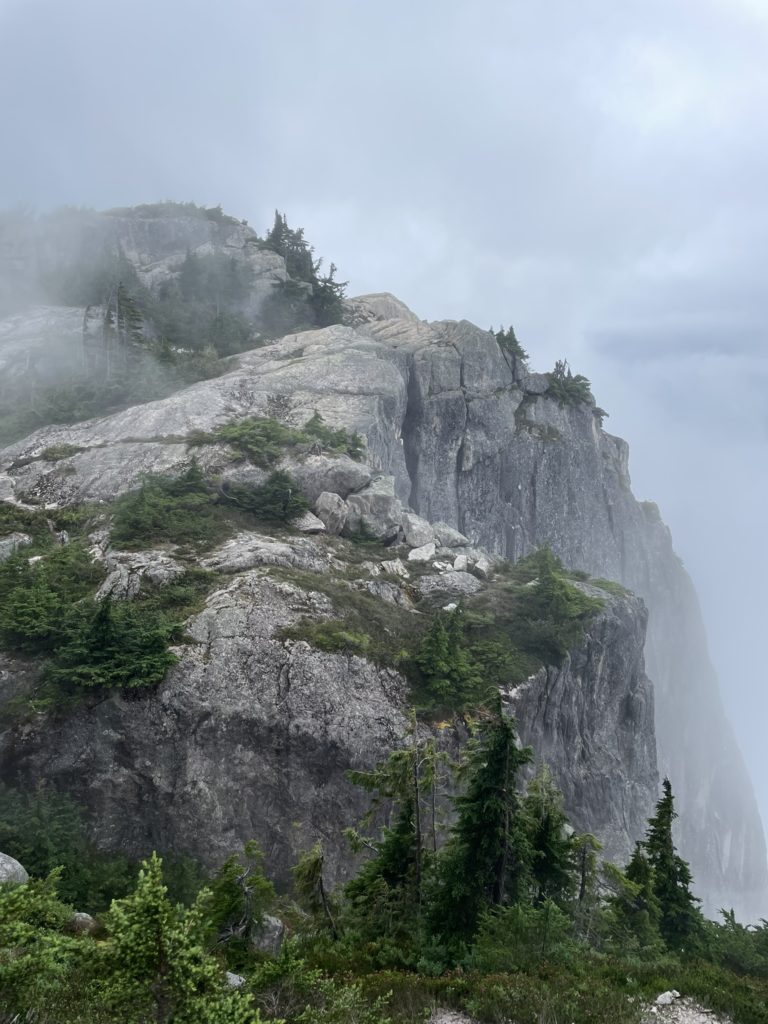
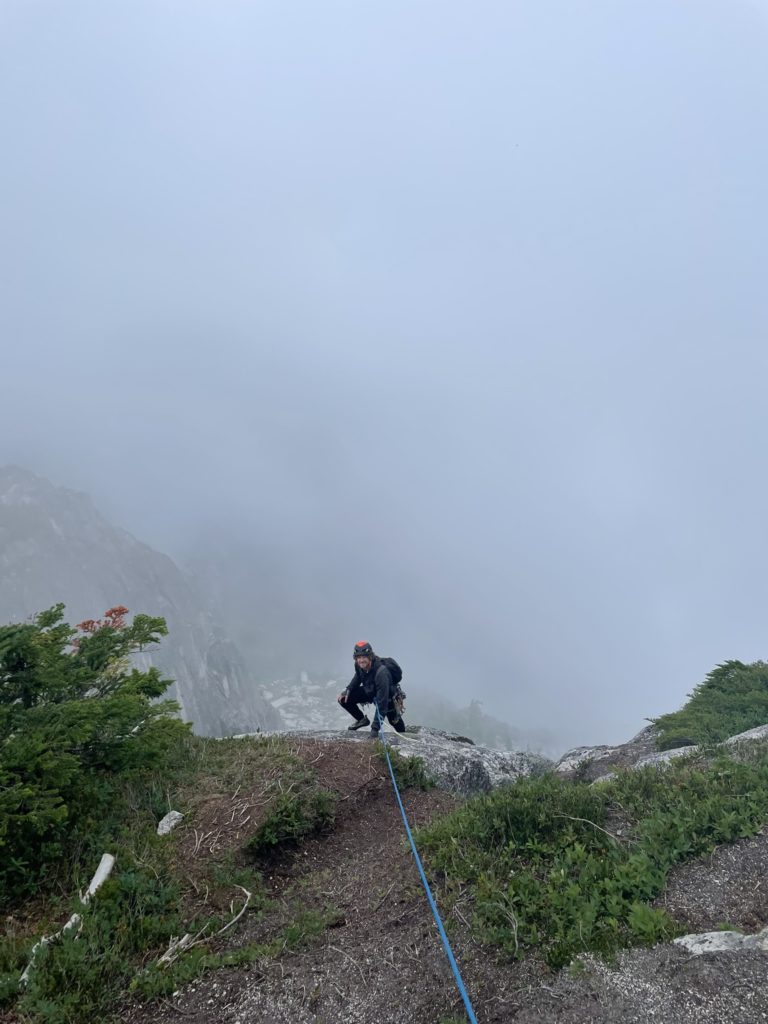
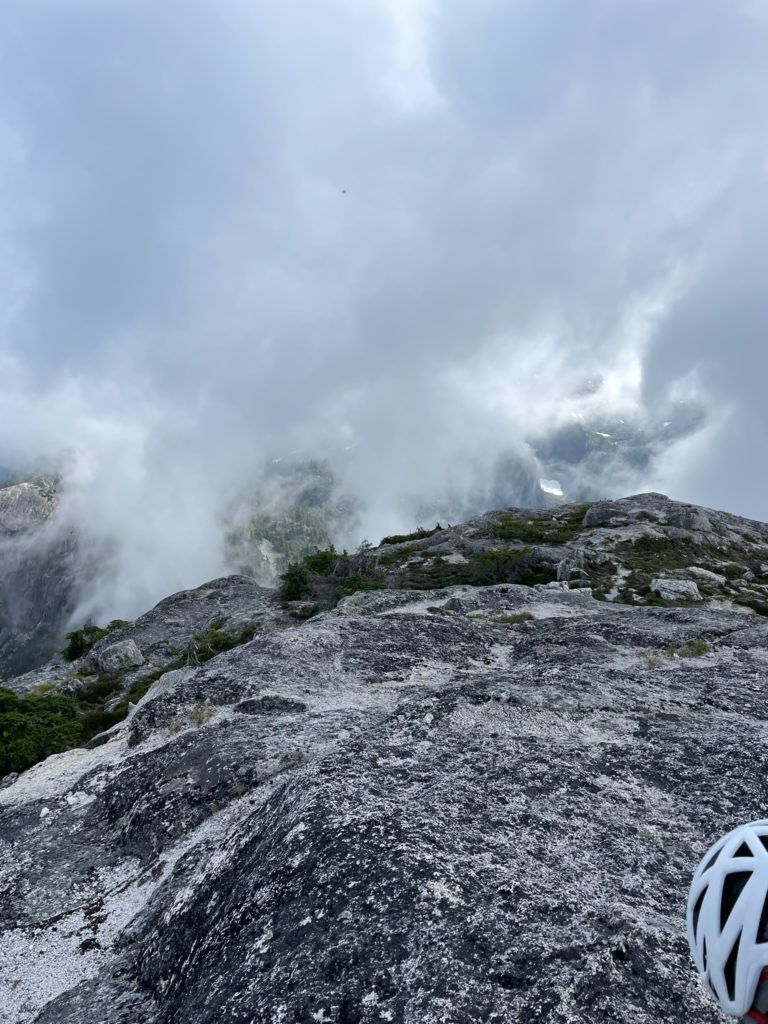
At this point, the clouds were still engulfing the route and we had some concerns that route finding might get tricky in these conditions. It was around 11:30am, so we were close to the forecasted time for the clouds to burn off and decided to chill out for a little bit to see if it cleared. Fortunately for us, we were the only ones around and after 30 minutes decided to just head up despite the clouds still holding a firm grip on the summit.
Andrea and I planned to swing leads and since I was aiming to do the 5.8 section on P2, Andrea took lead on the first pitch. We racked up and then started the climb. Pitch 1 only had one short slab section to traverse and then it was an easy walk over to the base of pitch 2. Andrea put me on belay for the traverse and then we just bundled the rope up and walked over to the base of P2. No need for an anchor at the bottom as there’s plenty of flat safe terrain to belay from below.


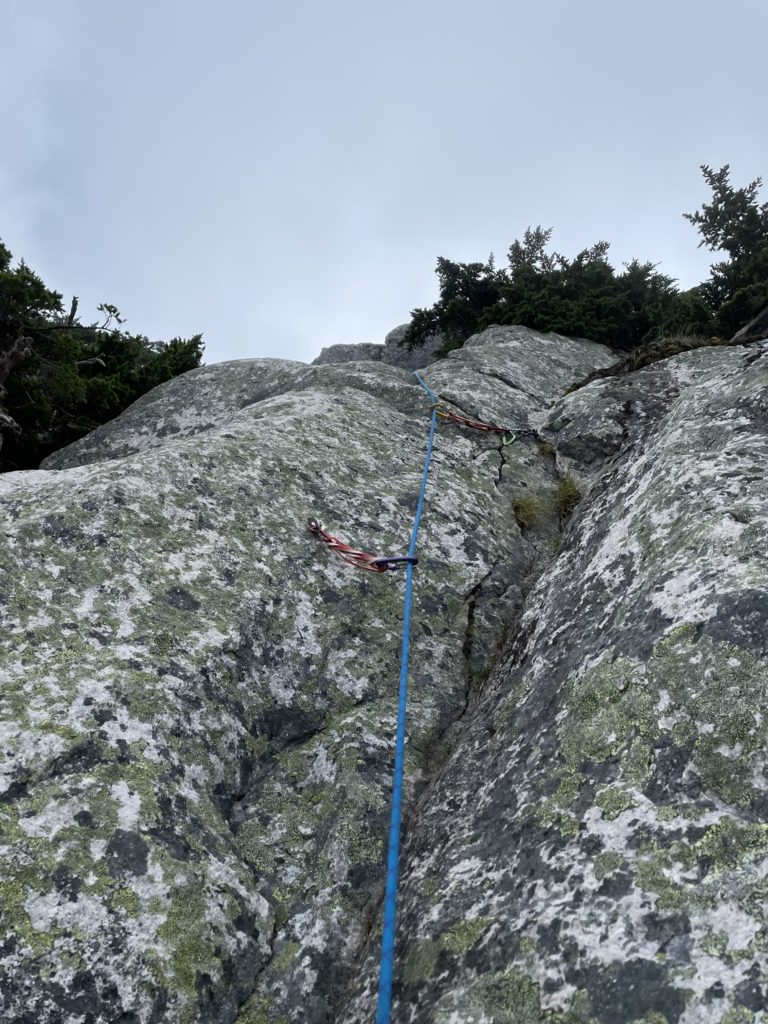
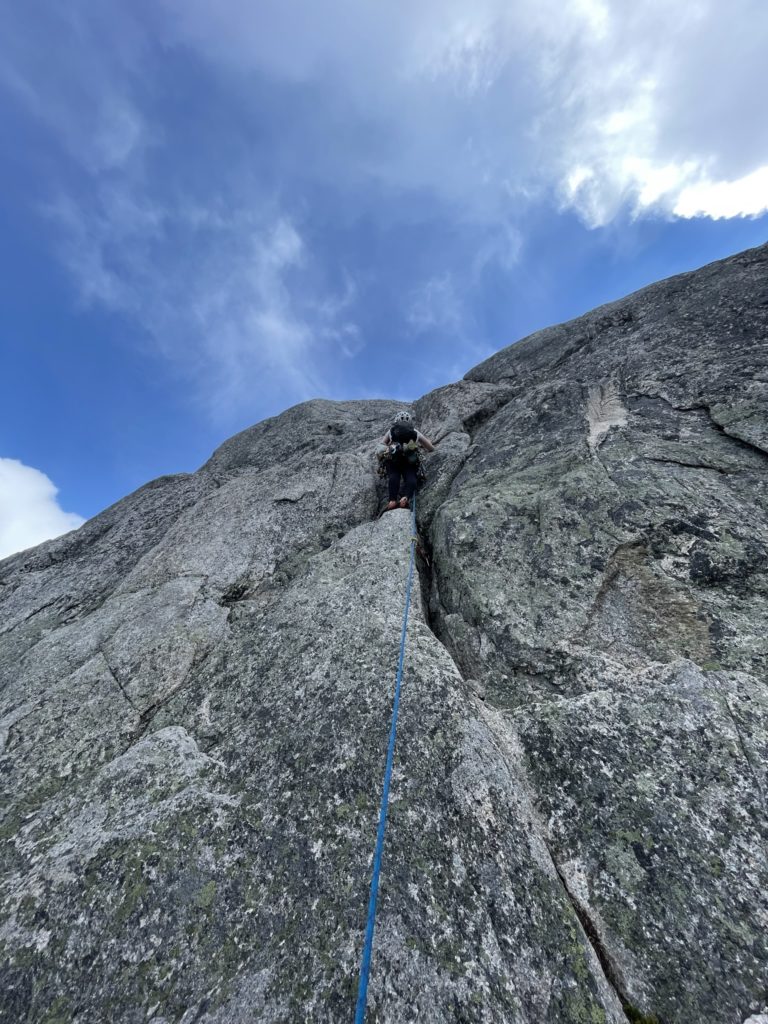
I now started up pitch 2 which began with a short hand crack up a corner to a ledge at climber’s right. From the ledge, I had to do an exposed stemming move out to a longer corner at climber’s left that would lead straight to the top of P2. There’s plenty of spots to place pro before this stemming move/traverse, but then the rope drag was going to pose a major problem so I skipped it. Once I moved across the traverse I placed a #0.5 in a nice finger crack at climber’s right and then climbed up a step to an interesting fist/off-width block. I was able to place a bomber #3 and then had to think through the sequence of moves carefully. The fist crack opened up to stacked hands higher up, but I don’t have great off-width technique yet. Instead I did one fist jam as high as it could go, then a heel hook on a small ledge and pulled myself up to the slopey ledge at the top of the block to overcome the first crux of the route.
Once on top of the block I found a great #0.75 piece and started making my way up to the crux at the top of the route, finding small but good feet placements to stem with in the corner. Mid way between the block and the crux was an easy jug to pull off of and I placed another #0.75 and #0.4, before pulling myself underneath the over hanging flake guarding the end of pitch 2. I got as high up as I could into the corner and then placed a #2 into a hand crack at climber’s right. For the final sequence I lay backed off the over hanging flake, then slipped my right hand into a thumbs down hand jam, at climber’s right, to bump my left hand to a good jug above the flake. This set of moves felt very committing, but the protection was great and I just went for it. Above the crux, there was one short section of loose steep dirt to reach the bolted anchor and then I was secure. I was nothing short of absolutely stoked to on-sight this pitch and who better to share the energy with than Andrea.


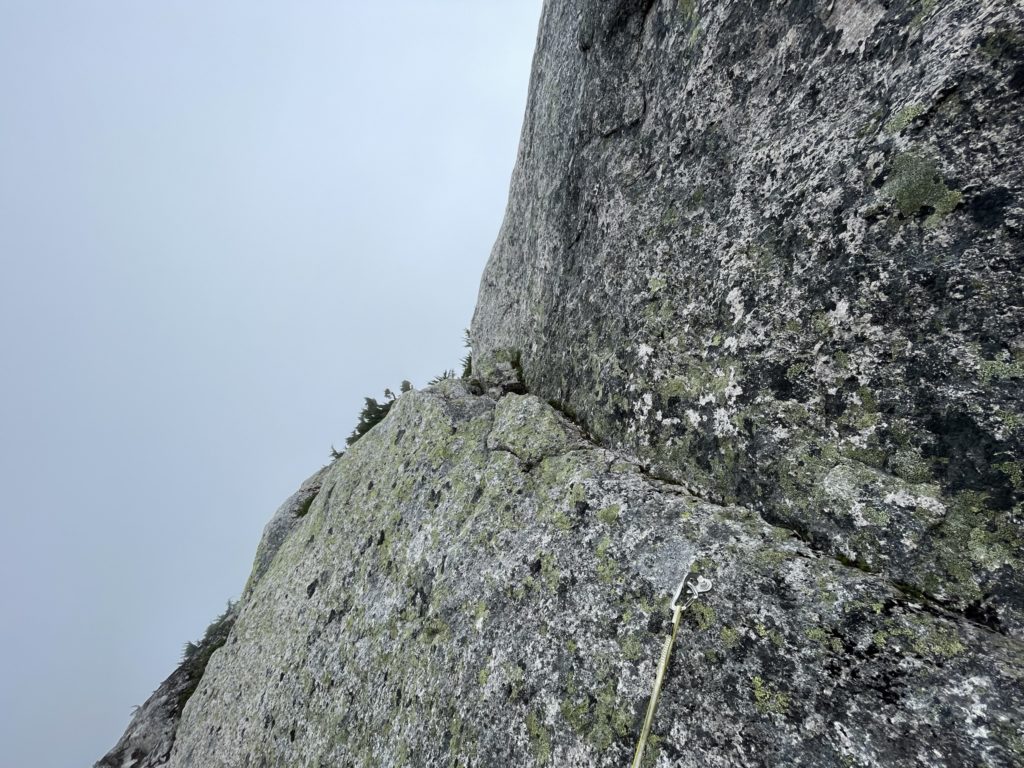
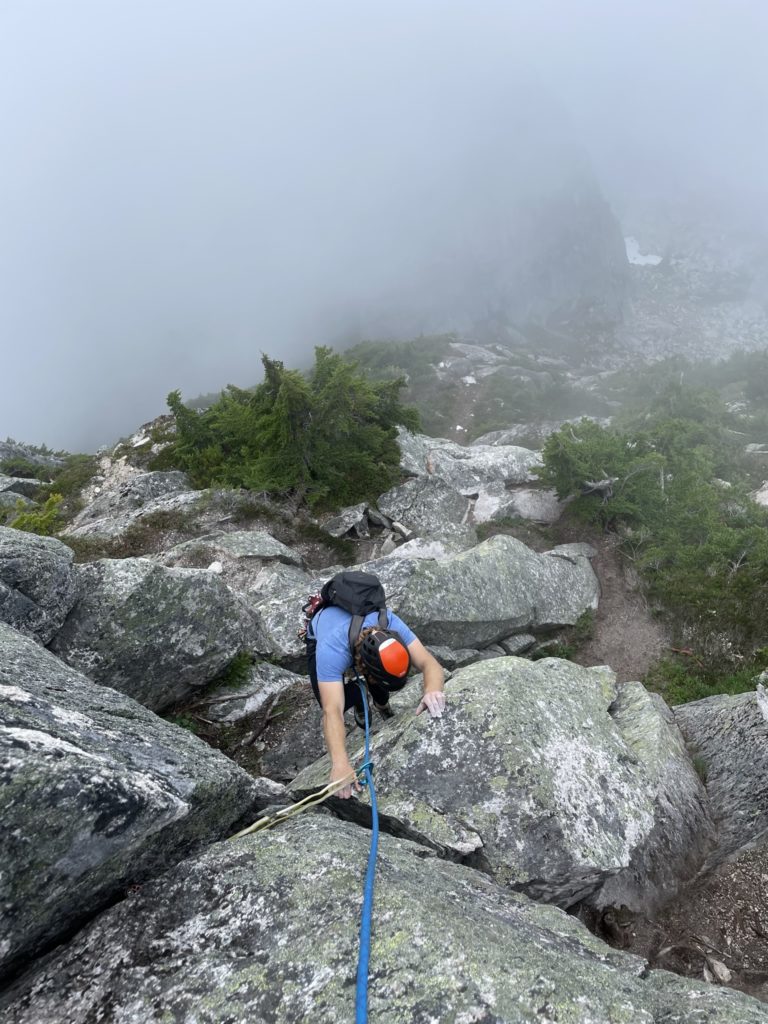
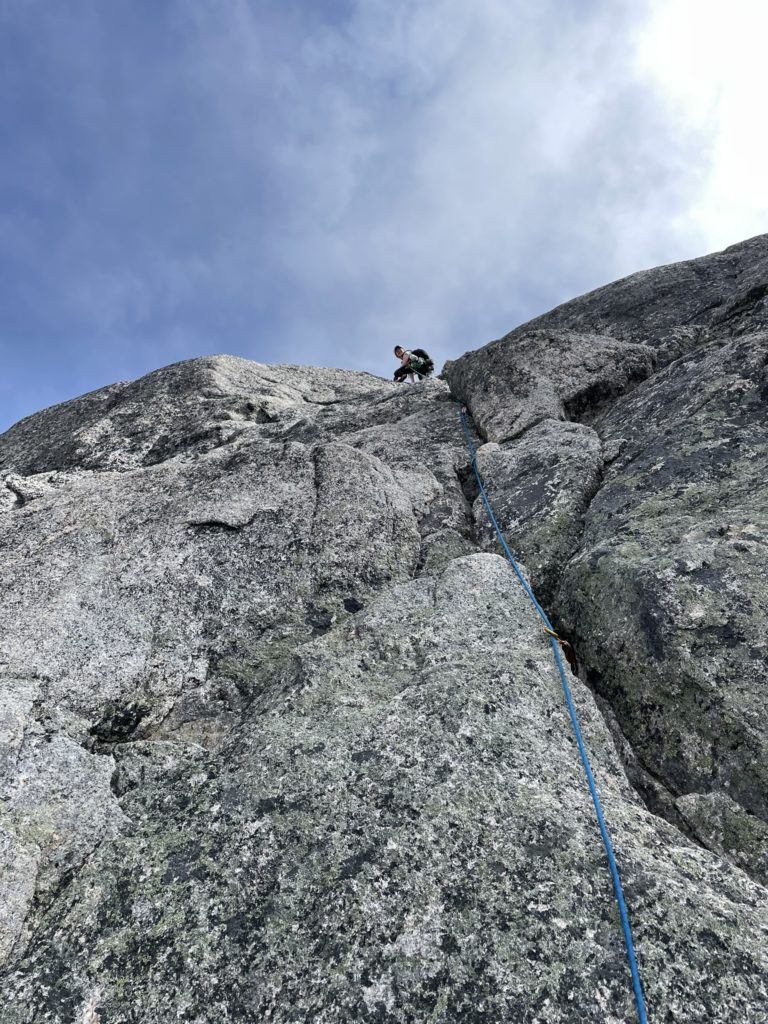
Now secured, I belayed Andrea up and then we swung leads to pitch 3. Andrea lead a smooth ascent up a fun chimney feature and then over a short section of bolted slab before reaching the next anchor. I seconded up and really enjoyed the cool stemming moves in the chimney. Next I took on pitch 4, which involved one short step to scramble up, then a walk along a hiking path before a very short easy traverse to the anchor. There were two bolts on the short traverse next to the anchor and I initially clipped a draw in. However, the rope drag got out of hand so I just unclipped and “soloed” the rest of the way to the anchor. Calling this a pitch is a major over statement, but it made for an awesome laugh watching Andrea second up the “route” and seeing no pro necessary. Andrea took an optional 5th class route directly below the anchor and that at least made pitch 4 a bit more exciting.


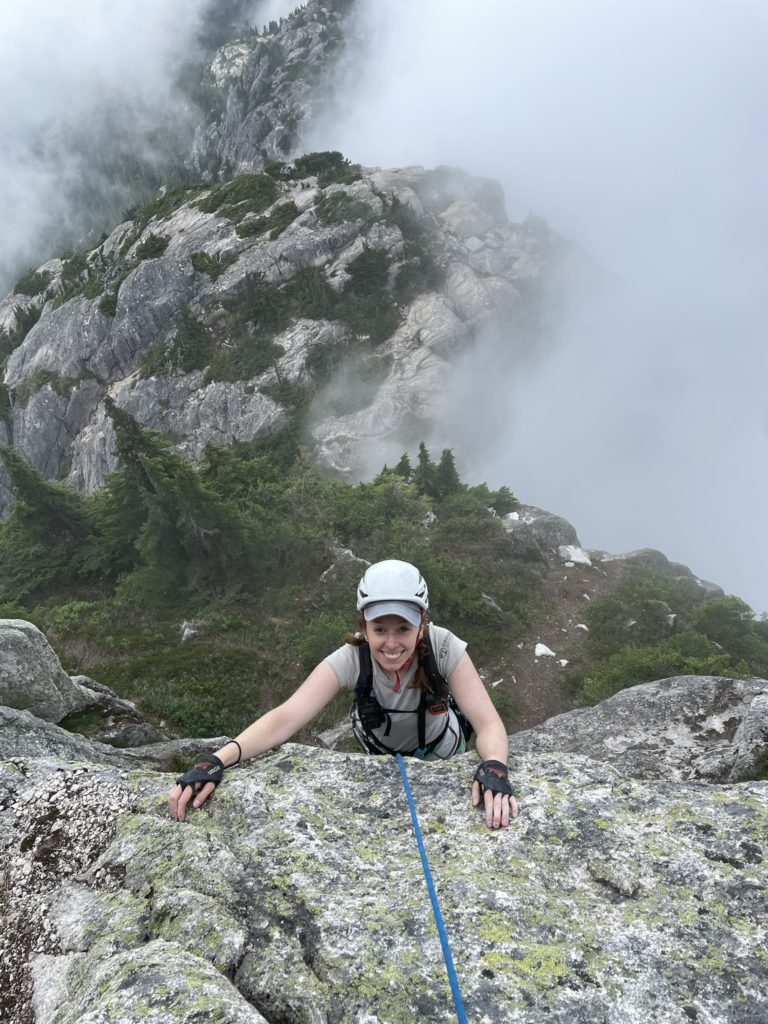
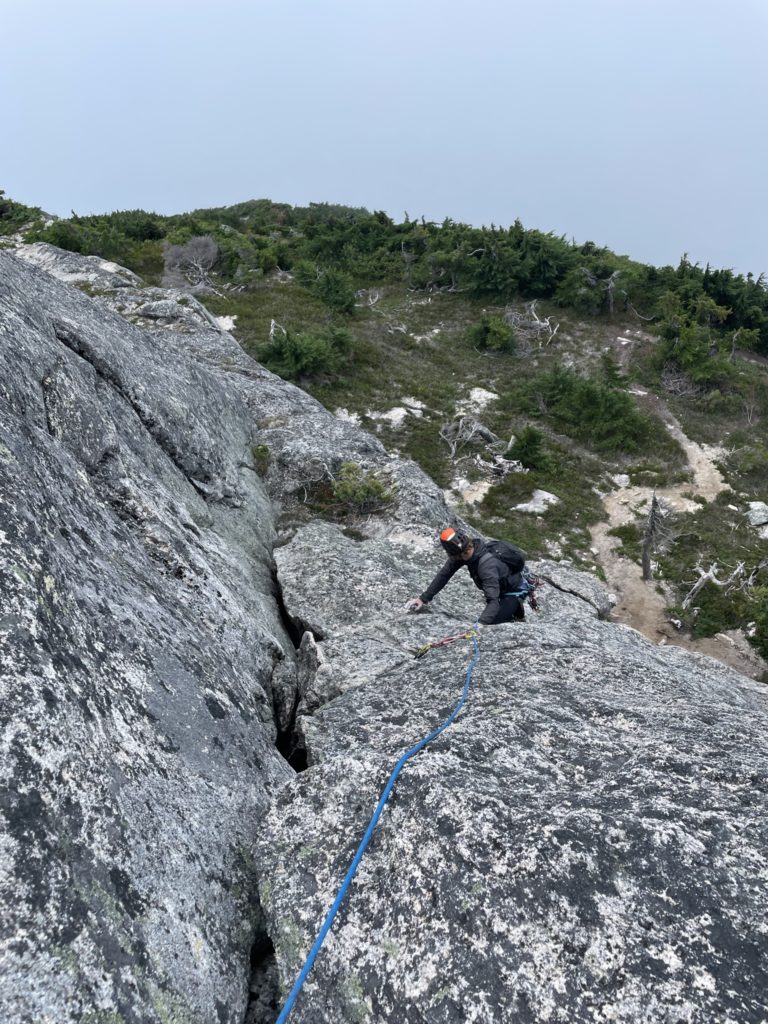
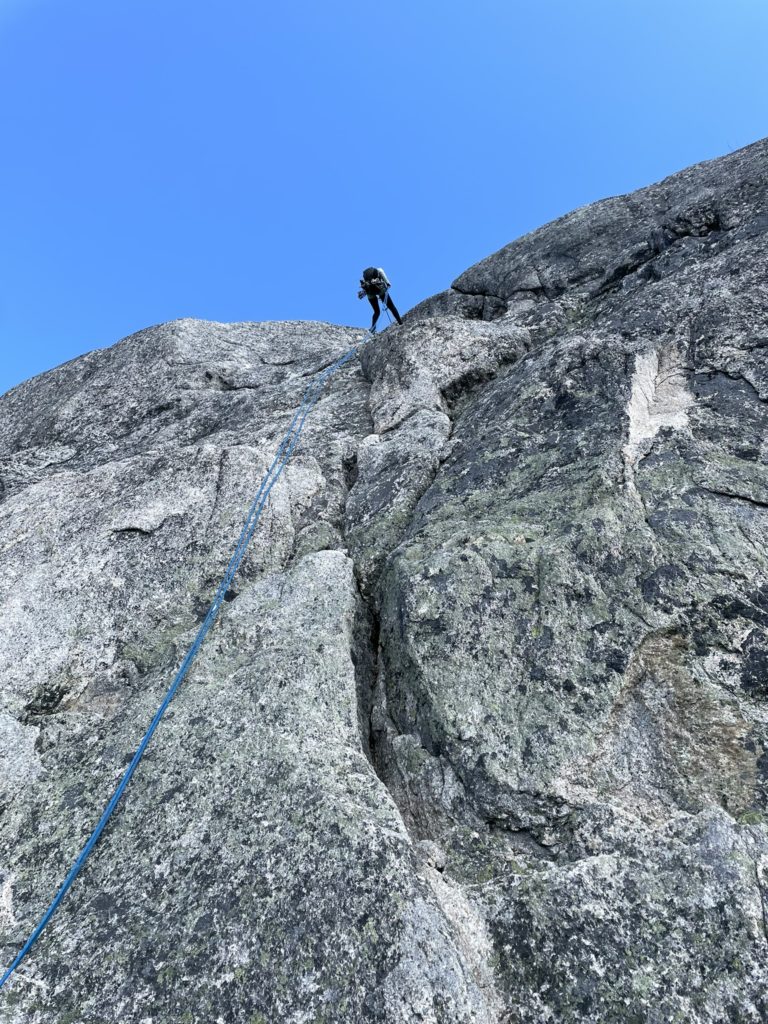
Pitch 5 was a the second hardest on the route according to the topo and it supposedly went up to 5.8 over clean rock. Andrea took lead again and found two bolts near the bottom before placing her own pro for the remainder of the route up. I followed up not long after and the topo description of “immaculate rock” proved correct. The moves were really fun going up the undulating slabby face pitch and I consider this the second best pitch of the route for sure. Pitch 6 was my lead and I started by traversing climbers right a few meters and then up a well bolted slab section. I skipped one bolt as we only had 8 draws, but in the end it wasn’t necessary as there were only 6 bolts total and no need to place your own pro. The slab felt a bit polished, but lots of good foot chips to work with and easy climbing over all.

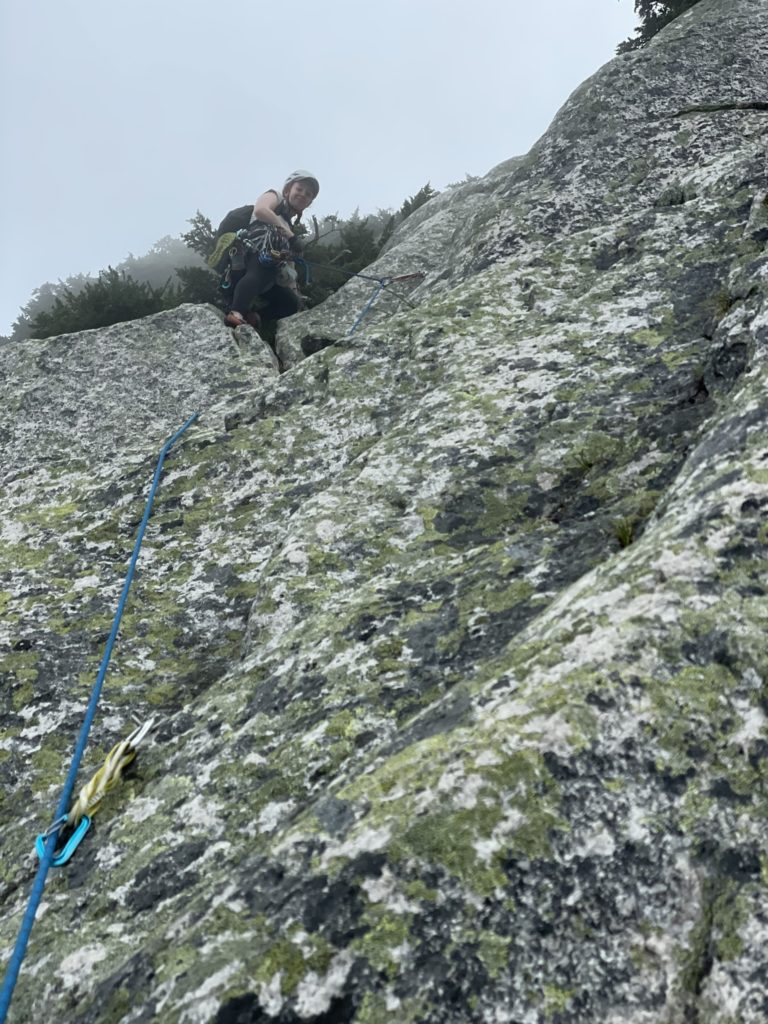

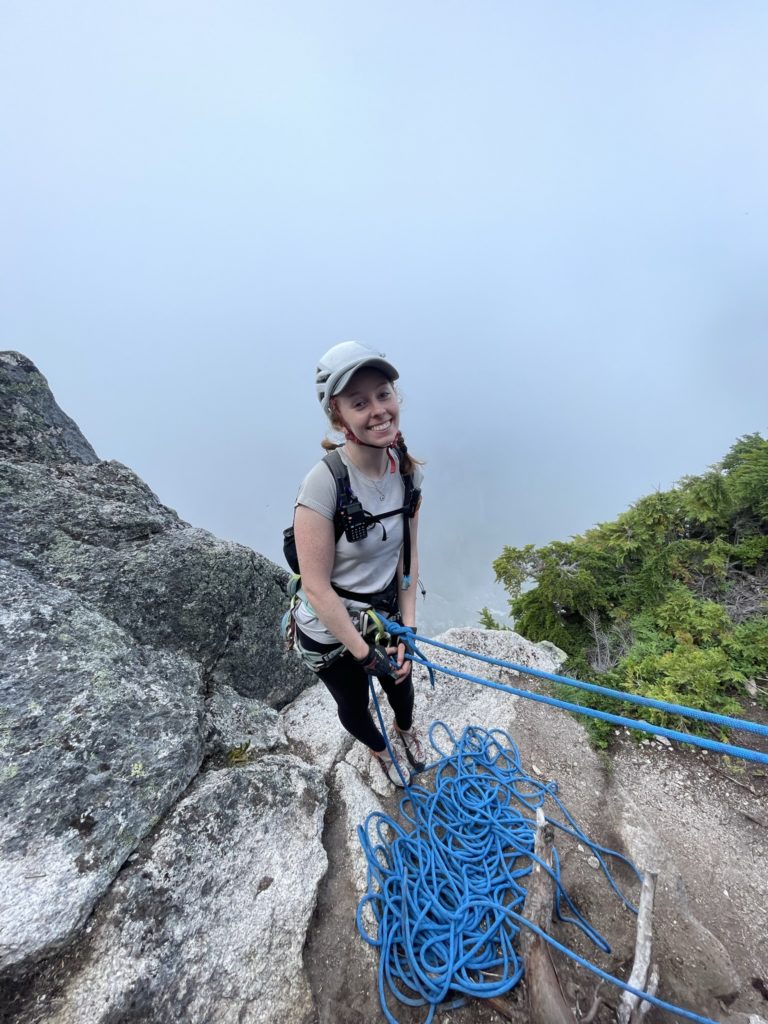


Once Andrea joined me at the anchor, we unclipped everything and did a short walk along an obvious path to the base of pitch 7. Again, there was a large flat area to safely belay from so no anchor necessary. Andrea started the lead up this pitch and found trickier pro. Placing a #4 at the bottom and then two nuts higher up. She had to run out the final section due to lack of good pro, but made it look effortless anyways. I topped out shortly after and we disassembled everything to make the short walk up to the summit from the anchor.


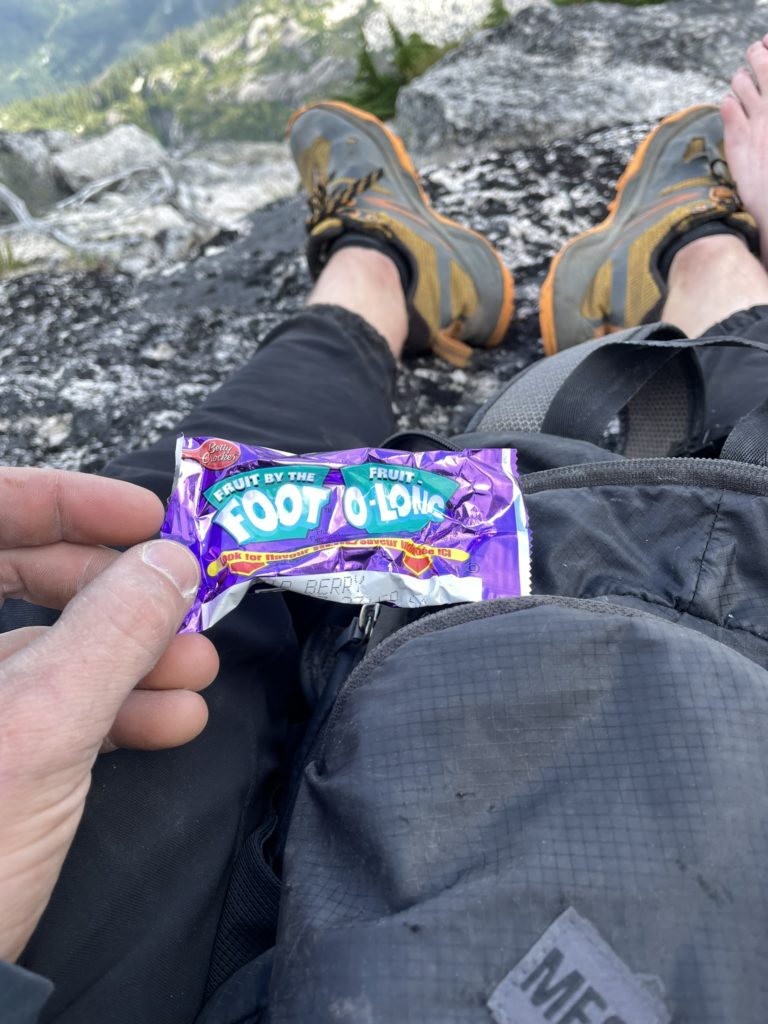
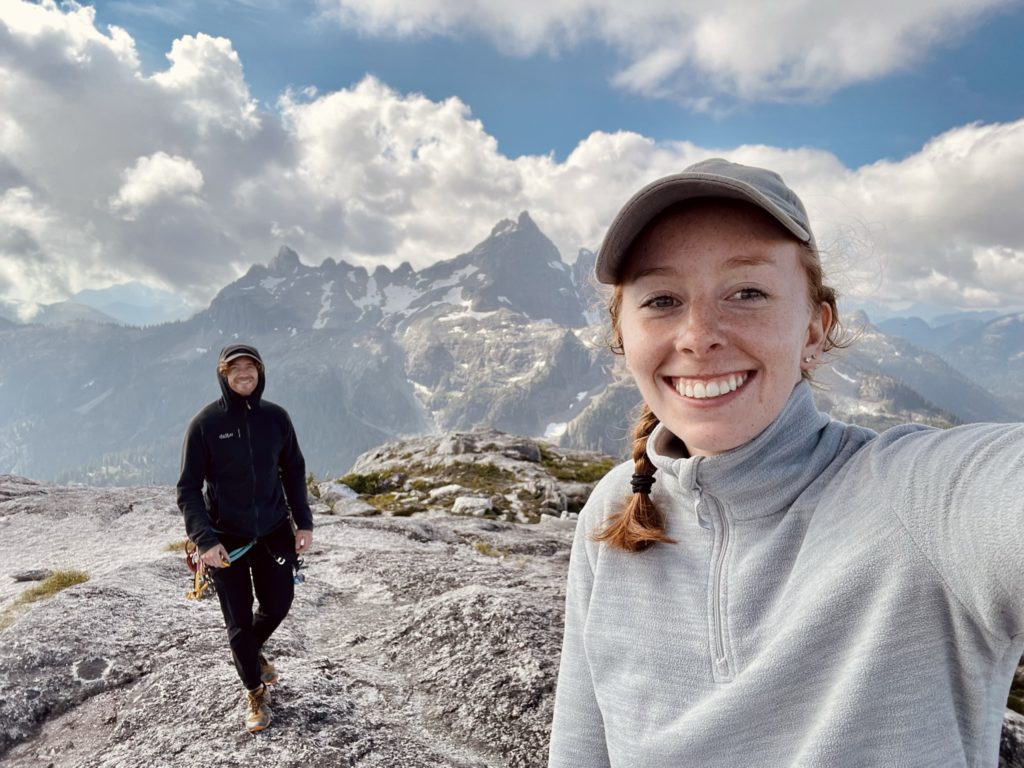
The clouds were just starting to burn off at this point, so we sat on the summit snacking on fruit roll ups and welch gummies to wait them out. Maybe 30 minutes later and the Sky Pilot group finally started to unveil from the clouds offering an epic view of the whole area. We relocated to the southern side of the summit and watched the clouds dance off the ridge line; losing all track of time. After what ended up being an hour and a half on the summit, we decided it’s time to get going and started the rappel off the top. The descent was straight forward, but from the top of pitch 6 to pitch 4 we did a saddle bag rappel to prevent the rope from hanging up on the ledgy terrain (a new technique that Andrea taught me). Mid way down we ran into a pair of climbers heading up Escape Velocity and a para-glider taking the more contrived 5.7 route to the top. We chatted for a bit at the rappel station and then continued on our way.


The remainder of the descent was super straight forward thanks to the bolted rappel anchors and easy route finding and we made it down to the col in under an hour. We had a short snack break and then reversed our tracks down to the Sky Pilot valley trail. I found the upper trail a touch slippery with the diminished grip on my worn out shoes, but otherwise it was easy peasy all the way to the bottom. On the return, the road felt way longer than we remembered, but we kept ourselves busy and soon enough reached the parking lot after an amazing day out.


If you are looking for a fun and not too committing alpine route, I think Escape Velocity is a must do. The approach was really straight forward and the route itself was super fun to cruise up. Some of the pitches are more of a scramble, but the views make up for it entirely and it feels like a relaxing time out overall. Thanks to Andrea for bringing the stoke and allowing me to send the 5.8 pitch. I’m excited as ever to get after more technical routes.
Gear Notes:
The topo mentions bringing a single rack from #0.4 to #3 and doubles in #1 and #2. It’s not much extra weight to bring doubles in the smaller pieces so we just decided to bring a full double rack and a #4 instead of two #3. All said we had:
- Double rack of #0.3 to #2
- Single #3 and #4
- DMM Wallnuts #1 to #6
- 8 Alpine Draws
- 60m x 9.8mm rope
There was no pitch where we needed every piece, but we did end up using all pieces across the course of the route. I was really happy to have doubles of #0.75 on pitch 2, but you could search around for something better with a single rack.