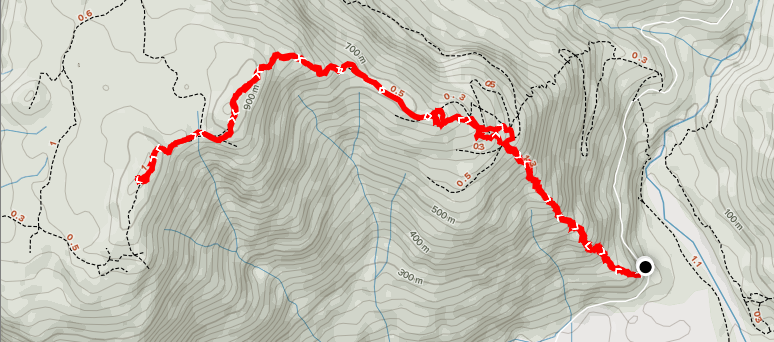
Elevation: 1084m
Distance: 9.4km
Total Time: 3 hours 14 minutes
Date: February 14th, 2021
Yet another weekend of low cloud cover was ahead and this time the forecast was also calling for significant snow as well. Significant, at least, by metro Vancouver standards. I figured I’ll hit a peak where lack of views wouldn’t be a major bummer. I had just been to Evans Peak the weekend before, so I wanted to find something a bit further east this time. That’s how I came across Dewdney Peak. The trail is known locally as the Dewdney Grind and has an ~1000m elevation gain over 4.5kms. According to previous reports, the views are nice on a sunny day, but the summit itself is fully within the forest. Seemed like the perfect summit for a bad weather weekend!
On Feb 14th, I set out from Vancouver at around 10am and made it to the trail head for ~11:15am. I really enjoyed the drive over, as I had never been through Mission, BC or any of the small communities beyond Maple Ridge. The road is paved the entire route except for the last 1.5km on a well-maintained logging road.
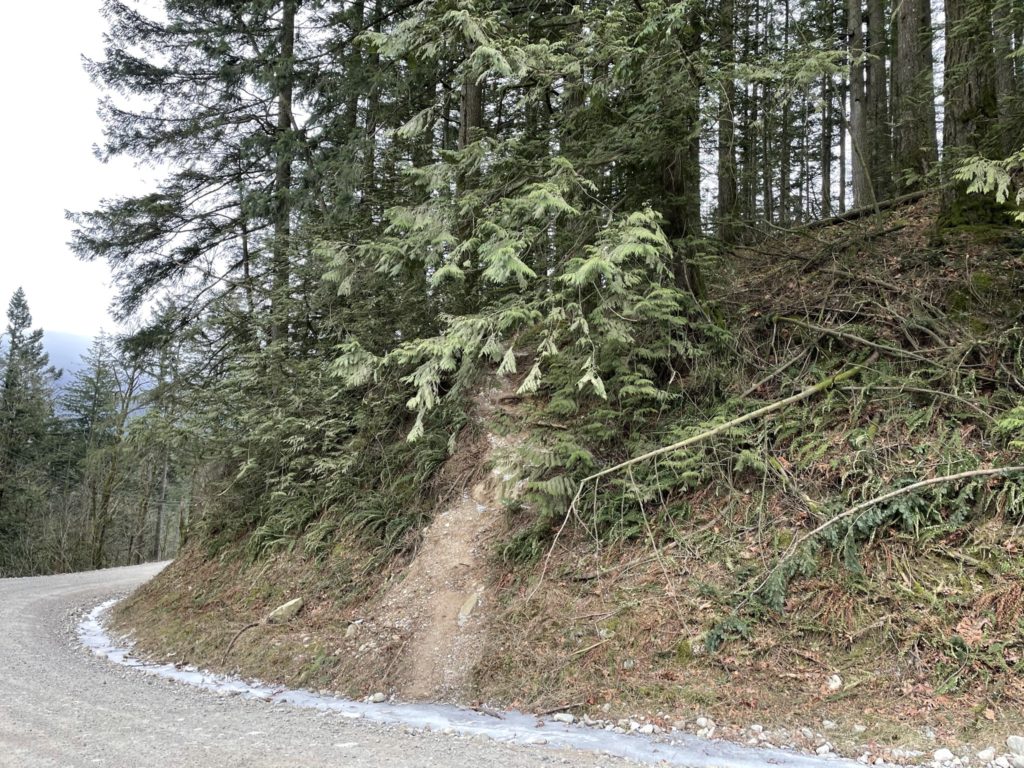
The trail started out quite steep, pushing nearly straight up through the forest. The elevation gained quickly and I had already ascended almost 260m in the first 20 minutes or so. While not as strenuous as the Grouse Grind, I could certainly see where the Dewdney Grind namesake comes from. Above the 300m mark, the snow became a permanent fixture of the trail, albeit just a light dusting for the first while.
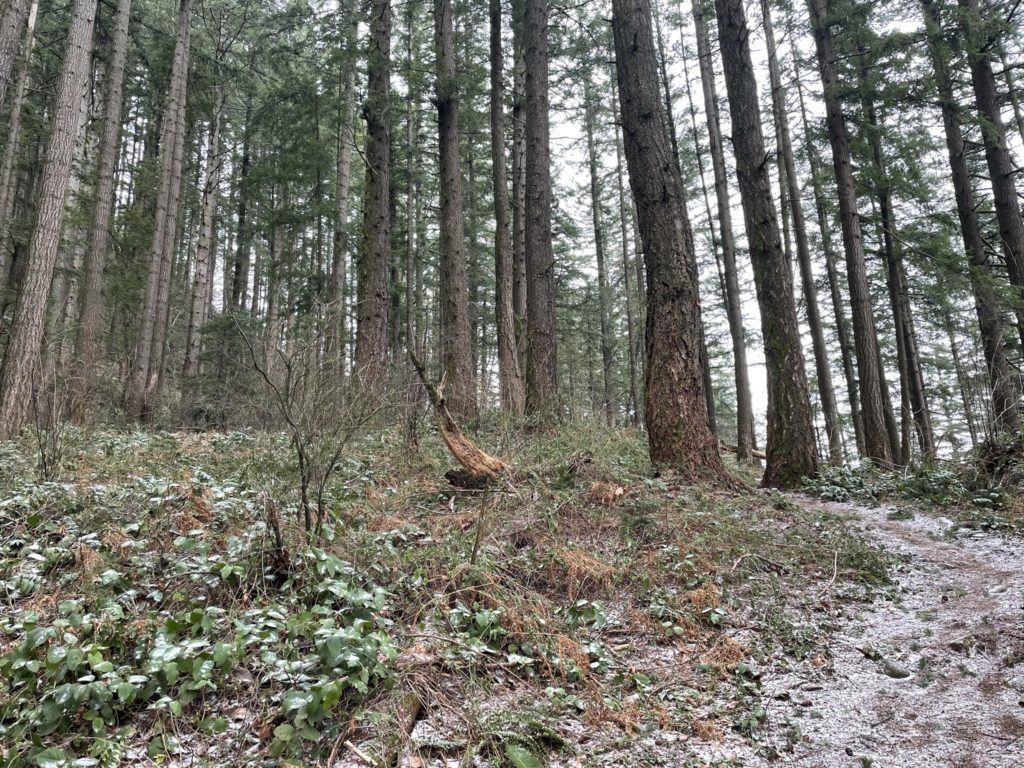
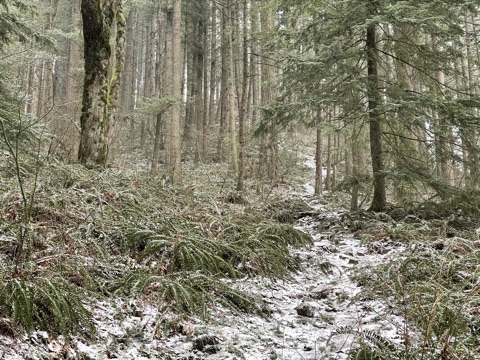
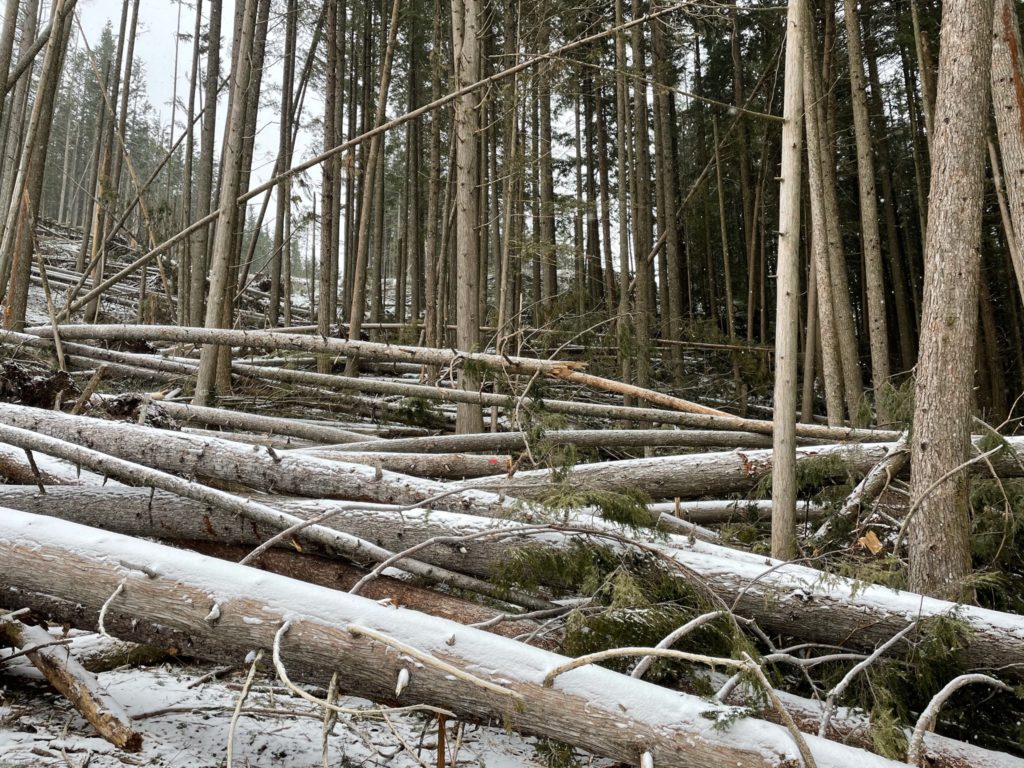
After climbing up through the forest for about 40 minutes, I reached the first cut block and FSR at the ~575m mark. The GPS route directed me straight through an impassible section of dead fall. I could see the trail flagging, but there was no great way to reach it from where I had hiked. I decided instead to go climber’s left through the center of the cut block where all the debris had been cleared. This worked great and I made it to an upper FSR just before the junction to a community built cabin.
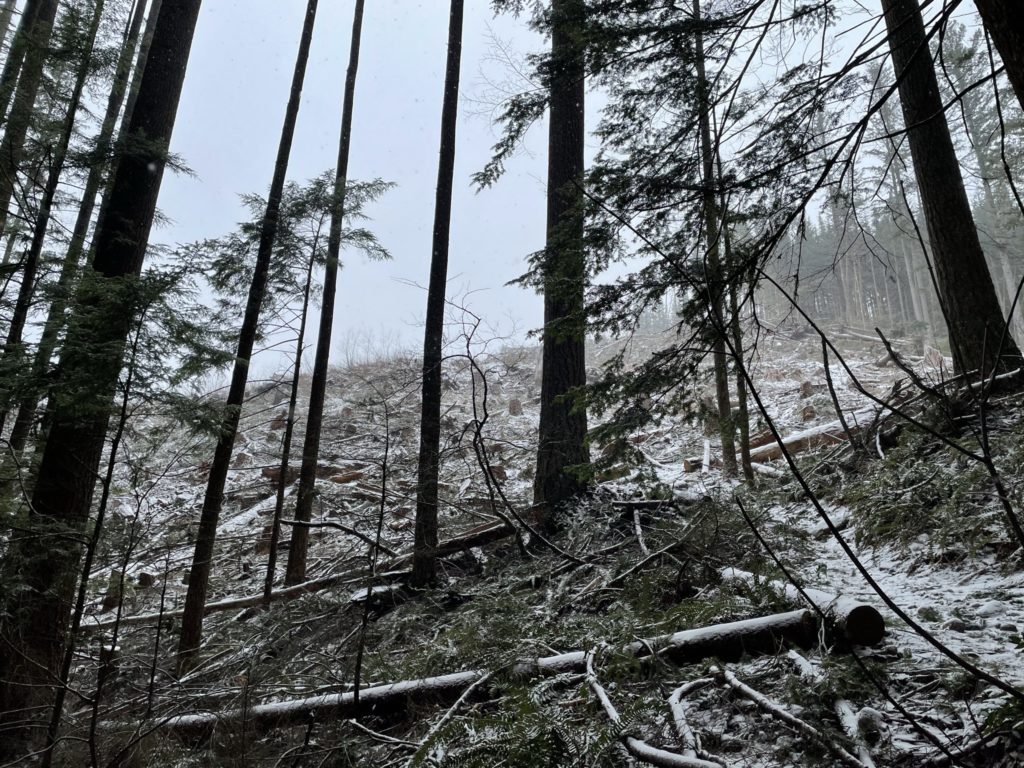
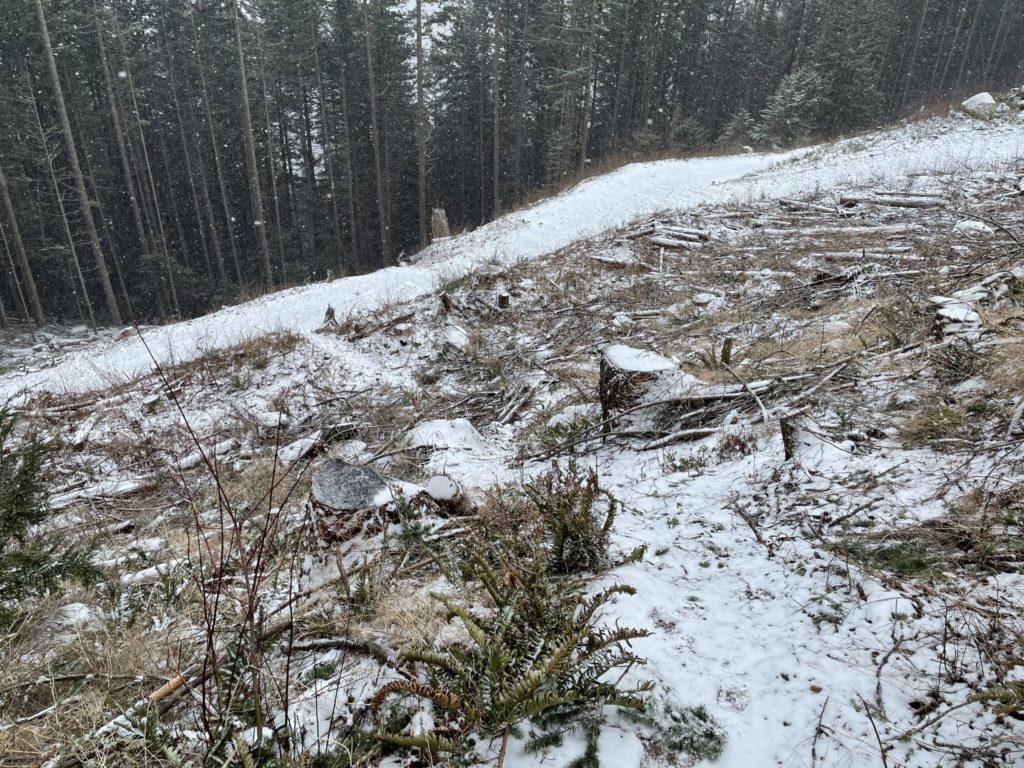
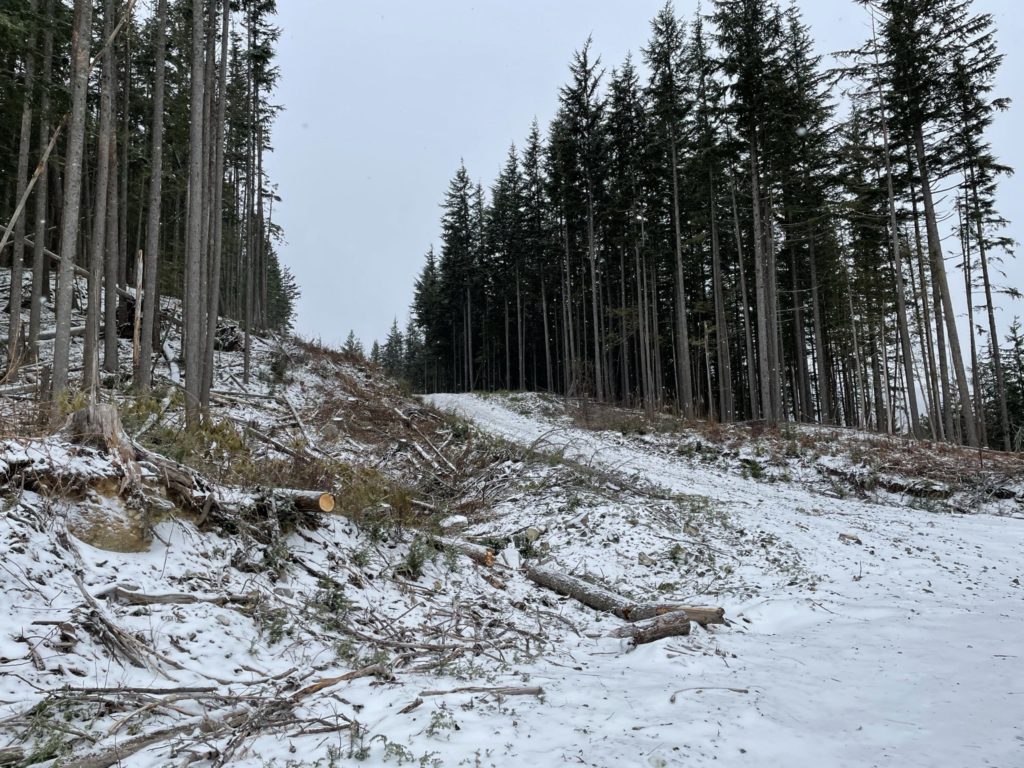

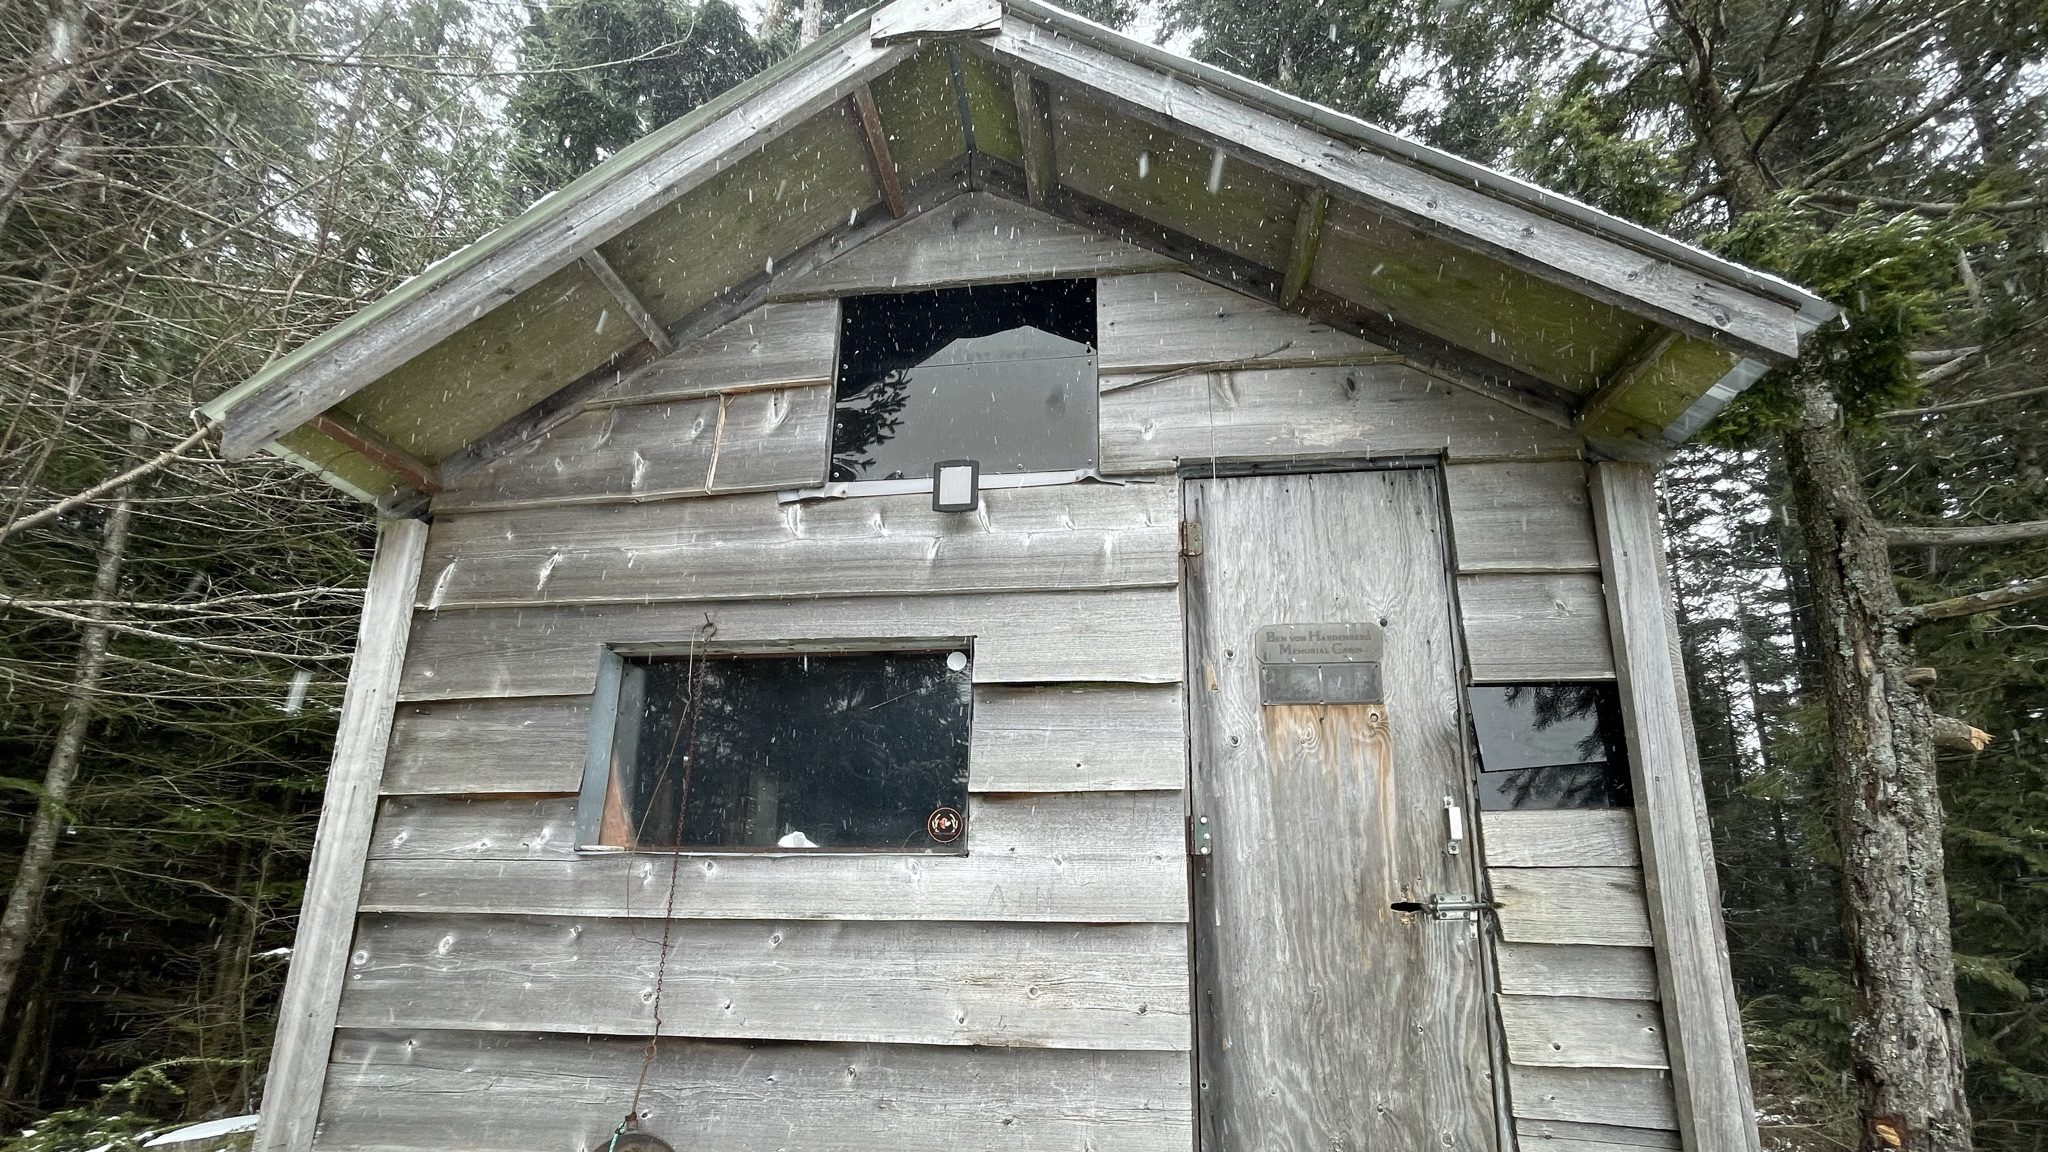
Not wanting to miss out on the cabin, I took the detour and followed the marked route to it. I stopped in to sign the register, take a few photos and then pushed on. After exiting the forested section from the cabin, I followed along a mellow FSR through a big cut block for about 500m until the next forested section. Once I was back in the trees, I was met with a light layer of dry snow on top of hard packed snow and earth. I didn’t bring poles, so had to put on crampons to counter the slippery conditions.
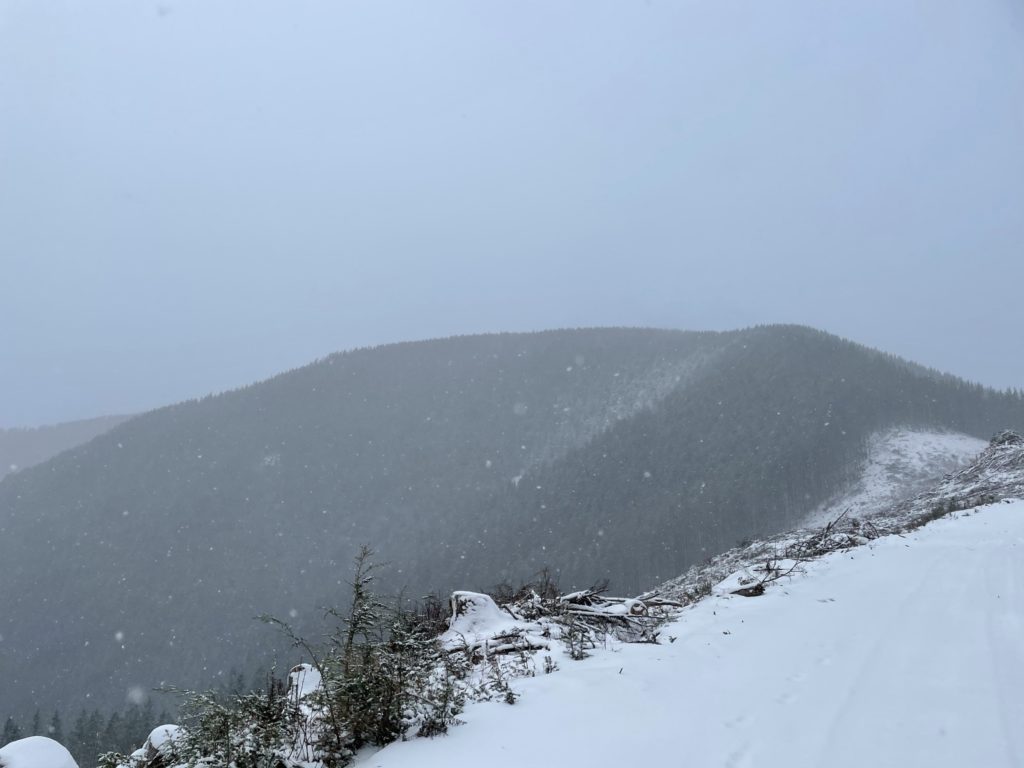
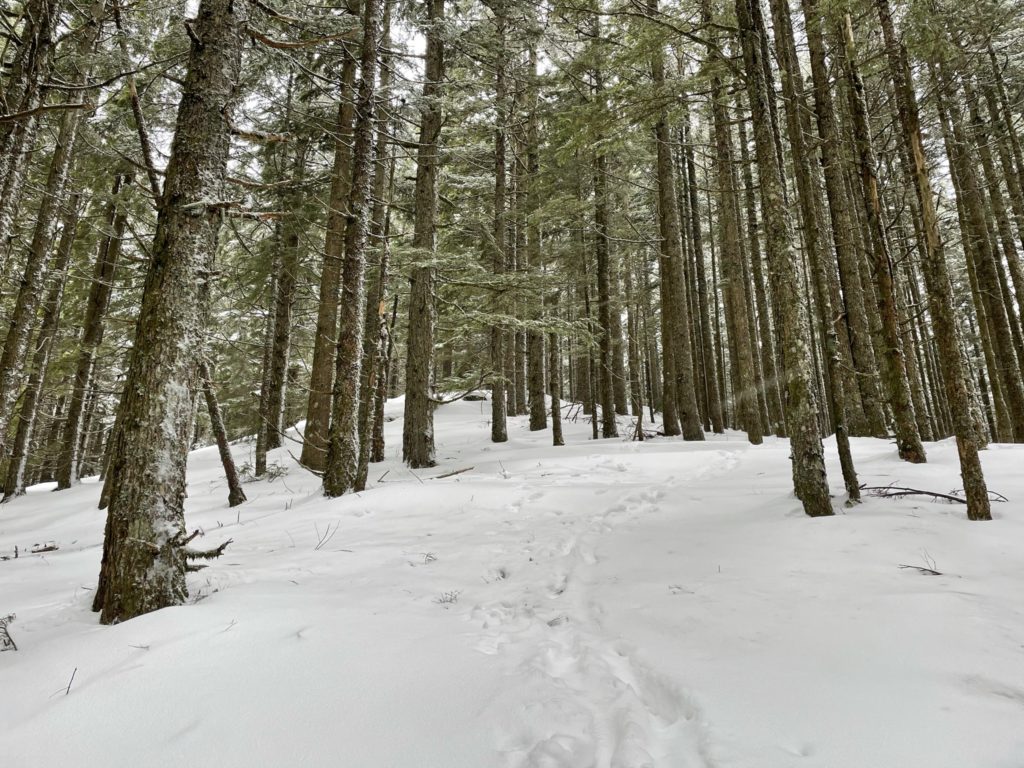
After a quick gear change, I was up the trail again. By this point, I was past all the steepest sections and from here on it was modest inclines for the rest of the route. I continued up trail until reaching the first high point at ~947m. This, however was a smaller secondary peak and the actual Dewdney peak was further beyond. At the top I could see beyond the trees where another FSR and cut block bridged the gap between the high point I stood on and Dewdney peak.
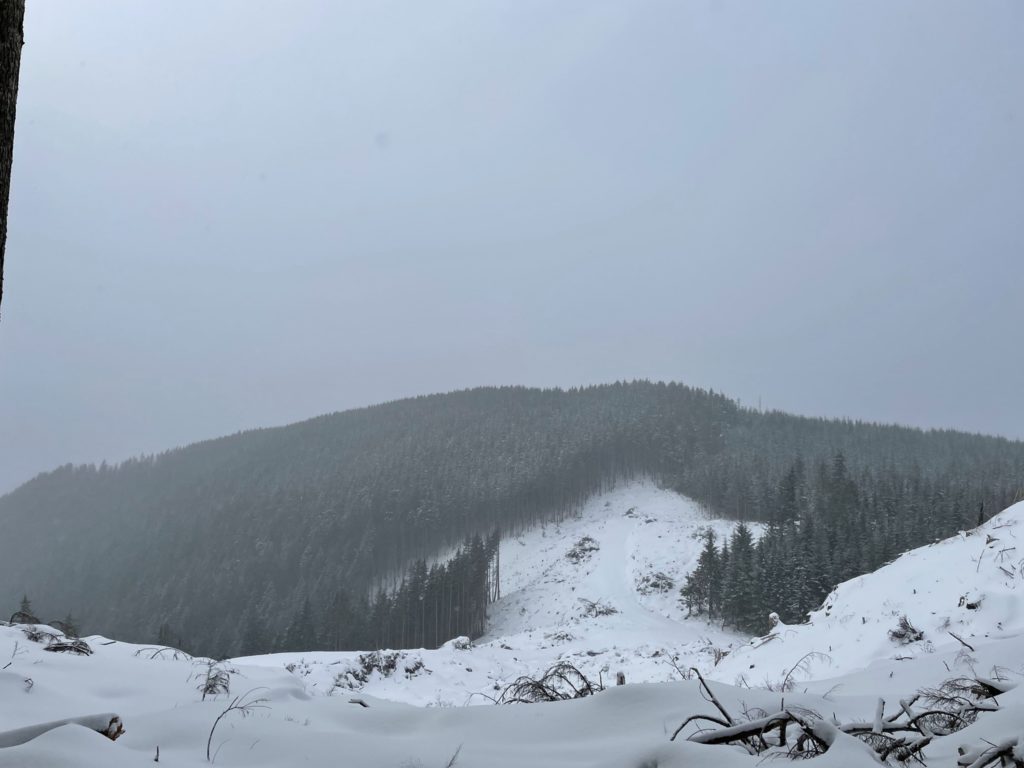
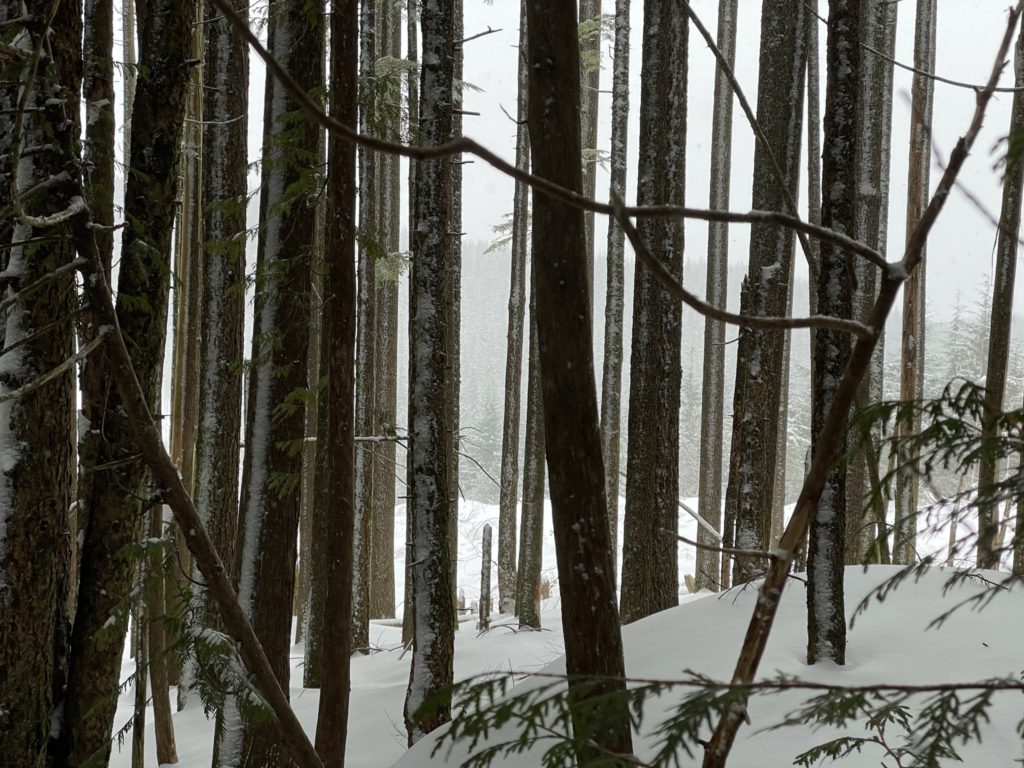
To get to the final slope to the summit, I had to drop about 150m in elevation along the cut block and then ascend back up again. Once I made it past the final cut block I continued to follow the marked trail until I spotted the summit about 15 minutes later. The trail itself does not go over the summit, but instead passes about 30 feet to its side. I had to use my GPS to confirm where the exact summit was as the difference in elevation from the trail to the top is perhaps 3-4 meters. Once I confirmed its location, I made a beeline to the top and then hung around for 10 minutes to grab some photos.
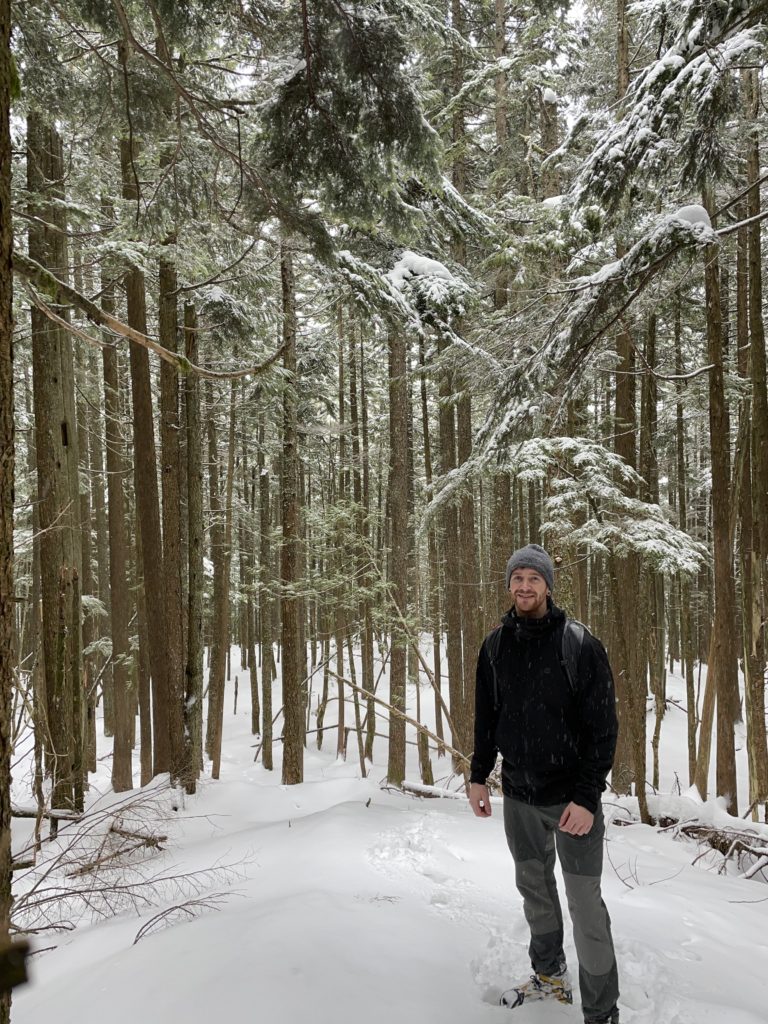
The trail continues a bit further beyond the summit towards what I presume is a view point. However, most of the area was shrouded in clouds and I couldn’t be bothered to check it out as it meant losing and regaining another 150m. I had tagged the summit, so off I went.
I continued down the same route I came up until I reached the junction for the cabin. Rather than take the cut block down, I followed some existing prints in the snow to a proper trail which was marked as “Dewdney Grind North” on my map. As it turned out, this was a detour trail that everyone was taking now that there was impassible deadfall on the first section of trail through the cut block. I continued down this trail and then linked up with the original Dewdney Grind trail shortly after.
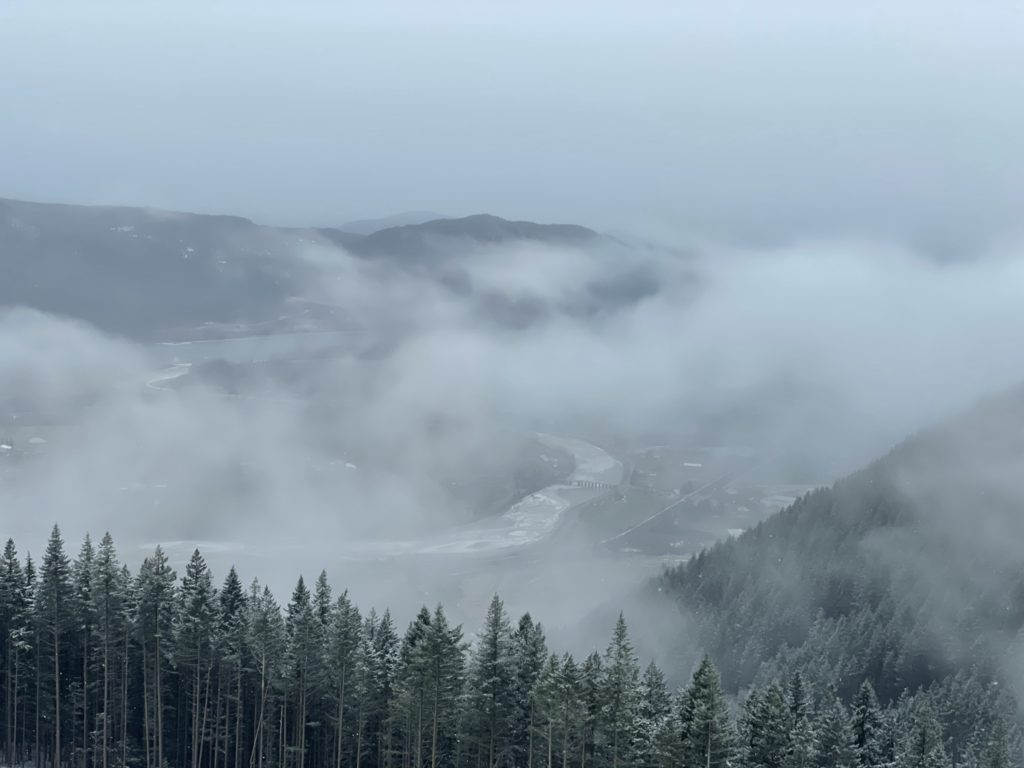
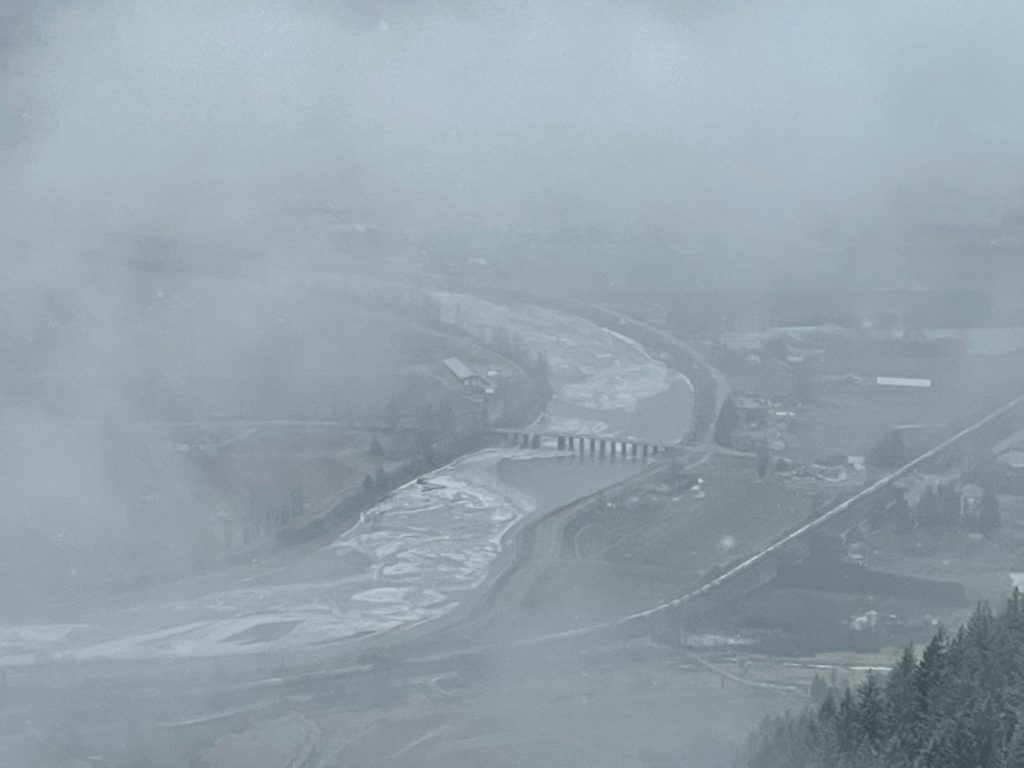
From there, it was an uneventful descent back to the car. Although, I’ll say with the fresh snow it would be exceptionally slippery without crampons or spikes or poles. For those looking to do a summit during bad weather, I’d say this is a fine enough hike. For those looking for a beautiful hike with stunning views, I’d say the forested summit and heavy logging leave a lot to be desired.