

Stats include all five peaks + overnight stay
Elevation Gain: 1,724m
Distance: 18.64km
Total Time: 10 hours 54 minutes
Date: August 14th, 2021
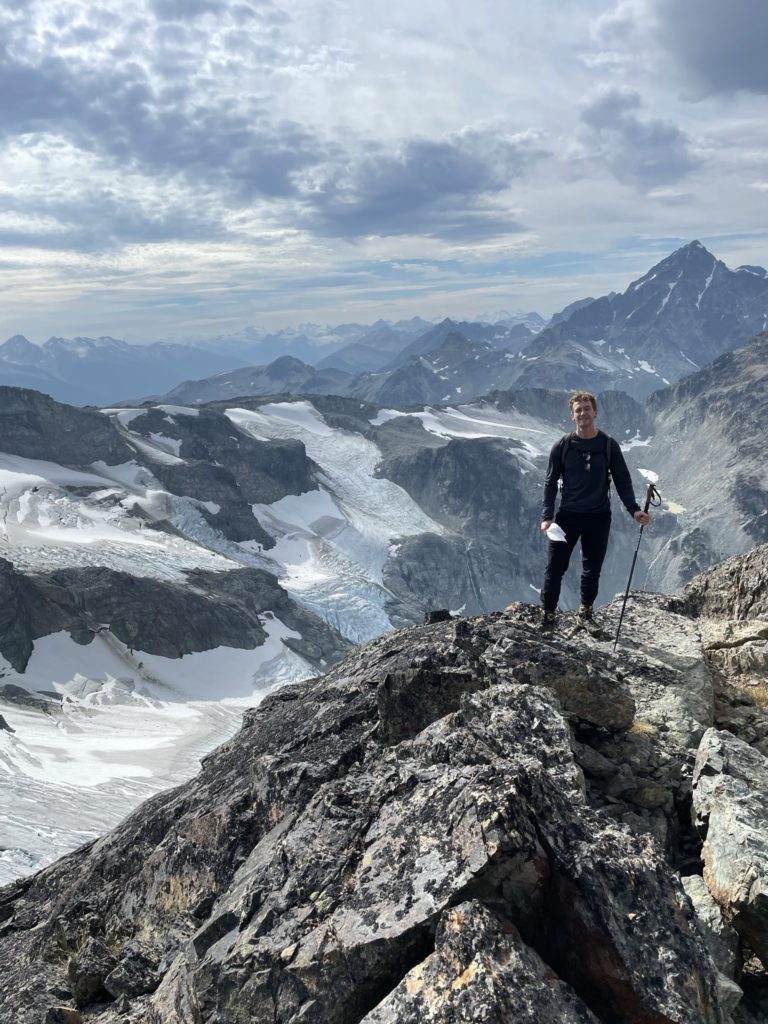
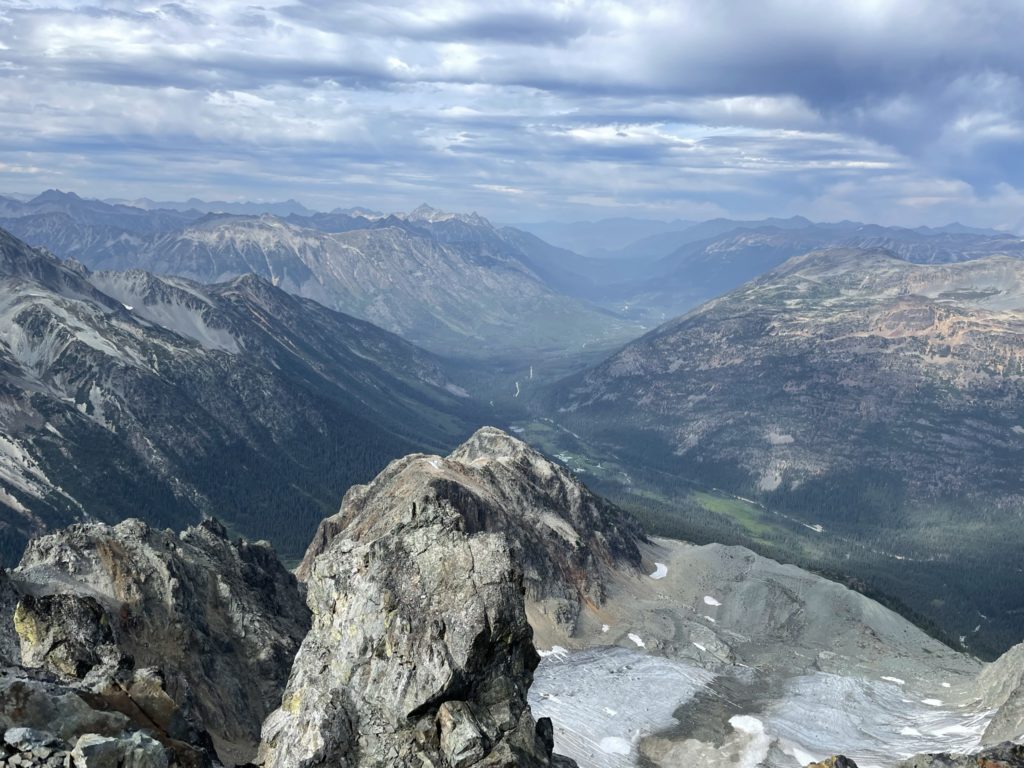
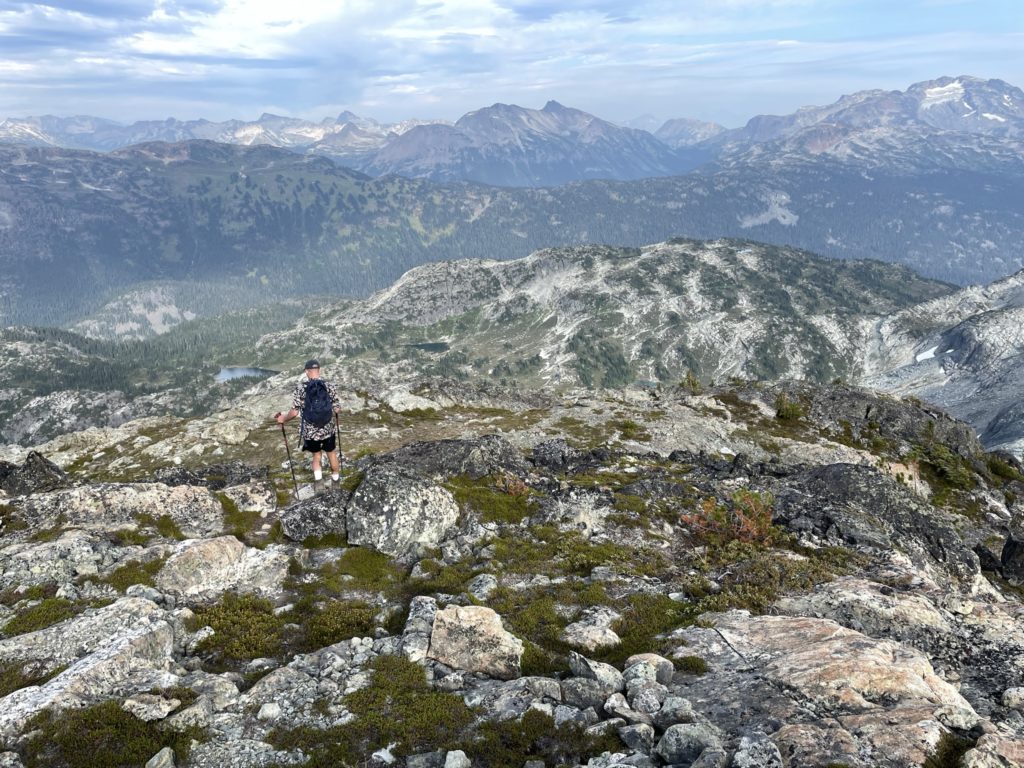
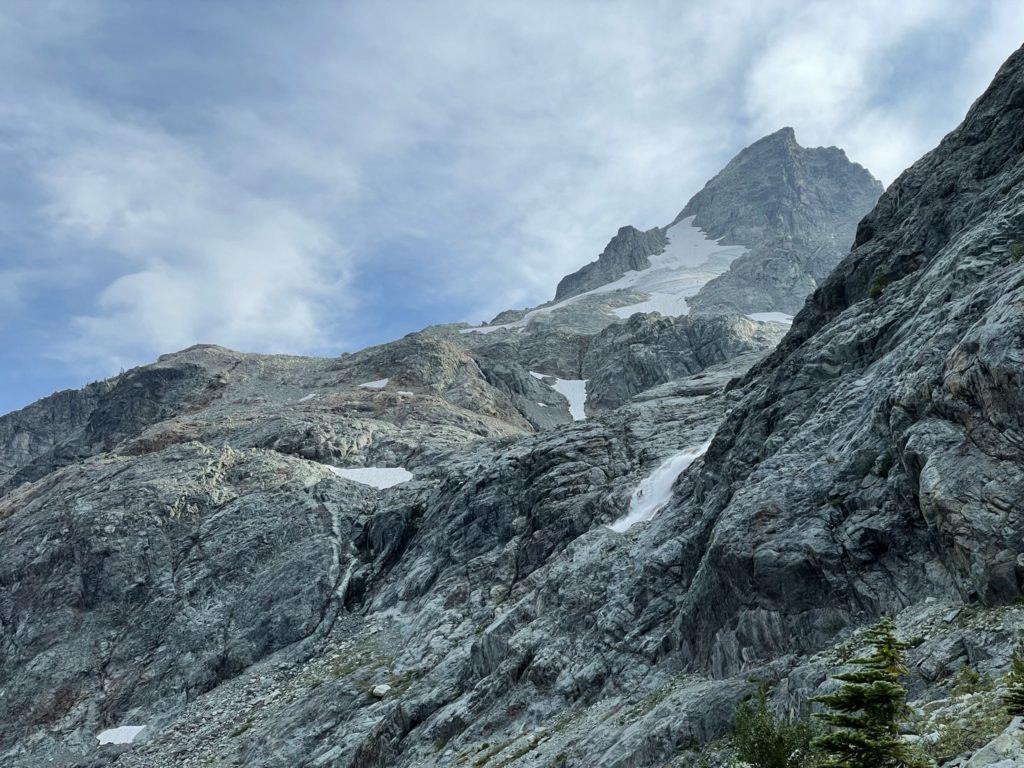
At 2485m, Face Mountain is the tallest among the group around the Train Glacier and is also outlined in Matt Gunn’s scramble book as a moderate quality scramble with tricky route finding. The normal approach is to cross Donnelly Creek and ascend the eastern talus slopes to gain the summit. On this occasion, Mike, Jacob and myself had just finished traversing from Locomotive Mountain to Faceless Mountain and were now about to take the much less traveled route across the Face-Faceless col to gain the summit from the southern aspect.
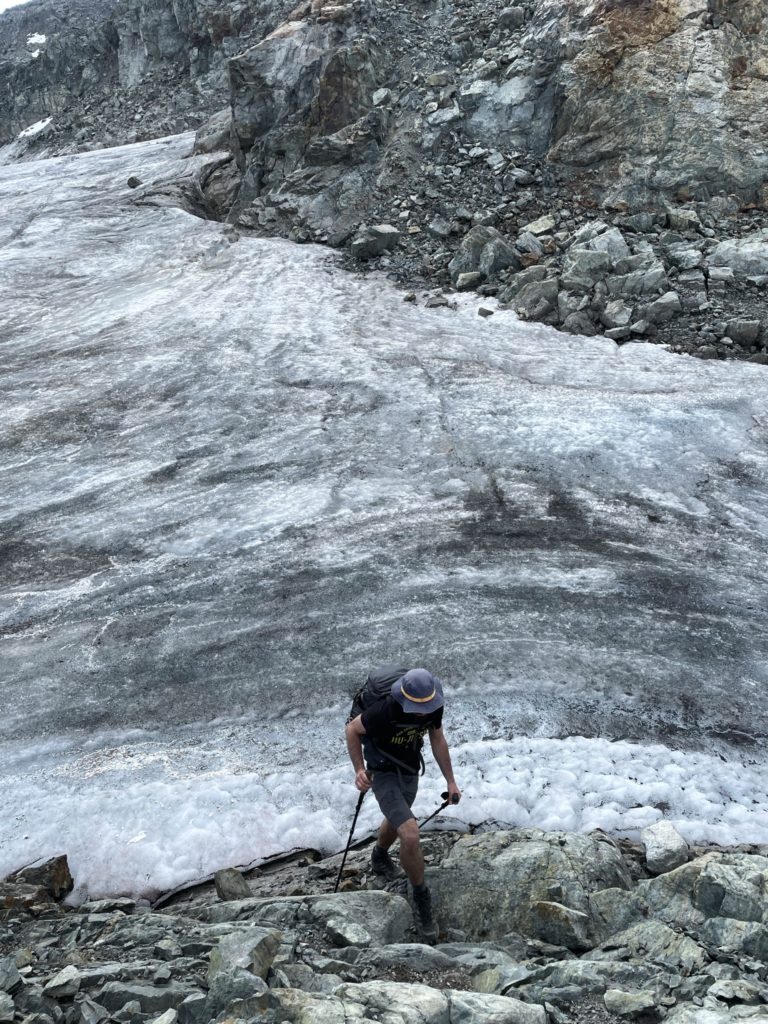
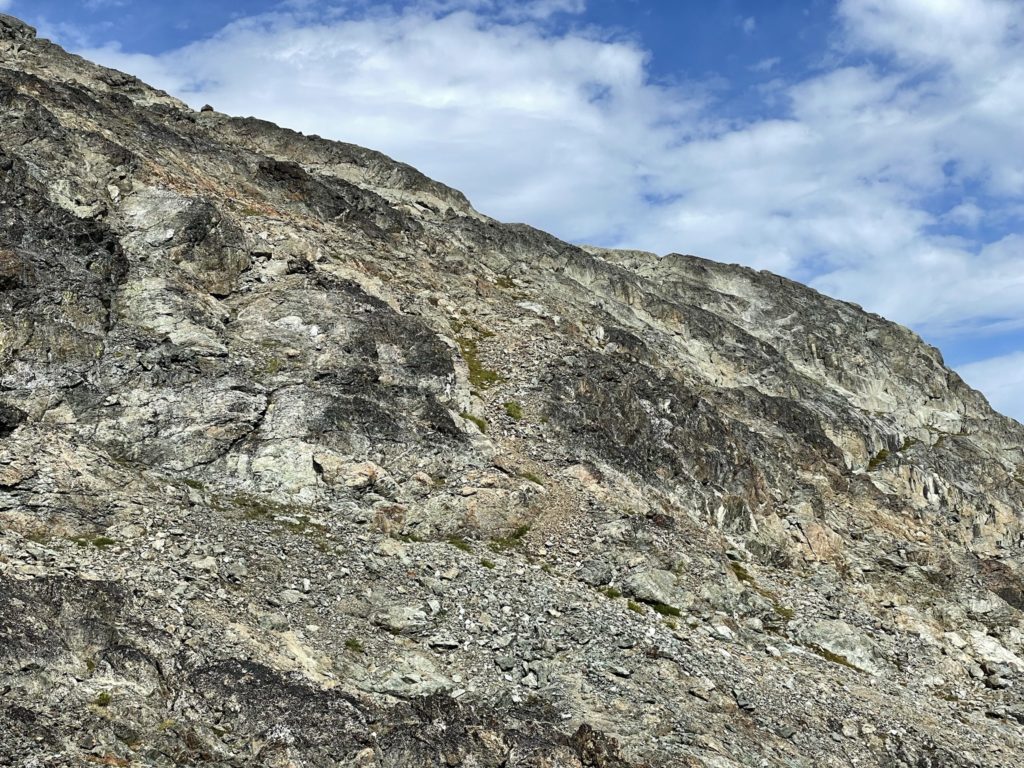
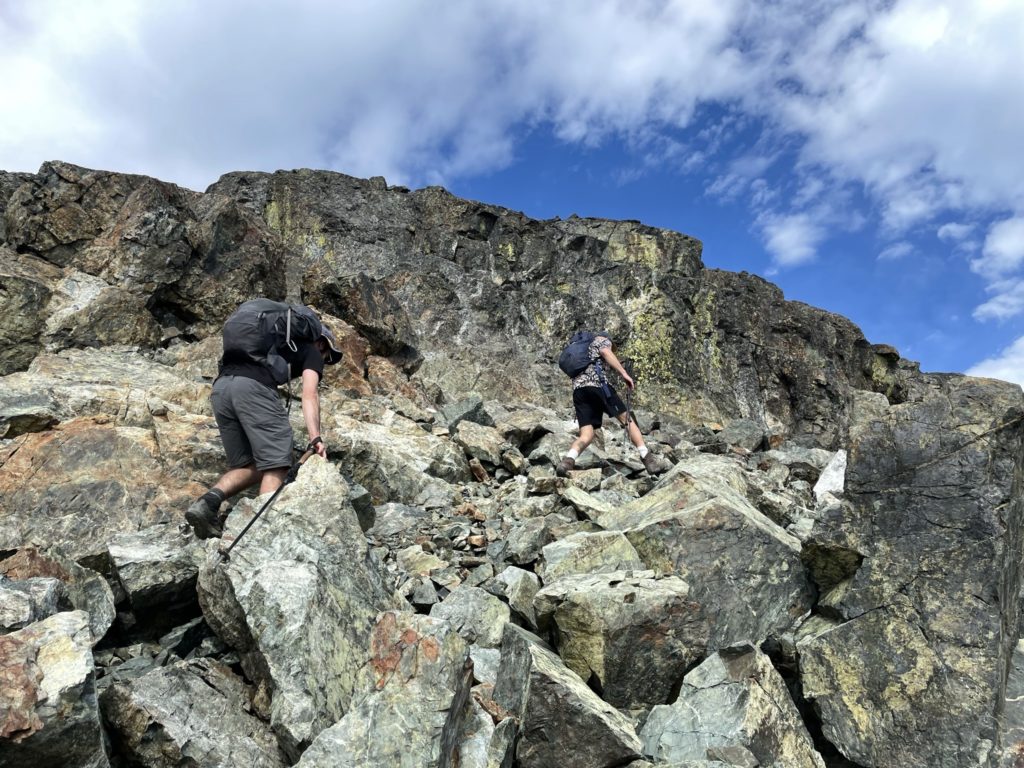
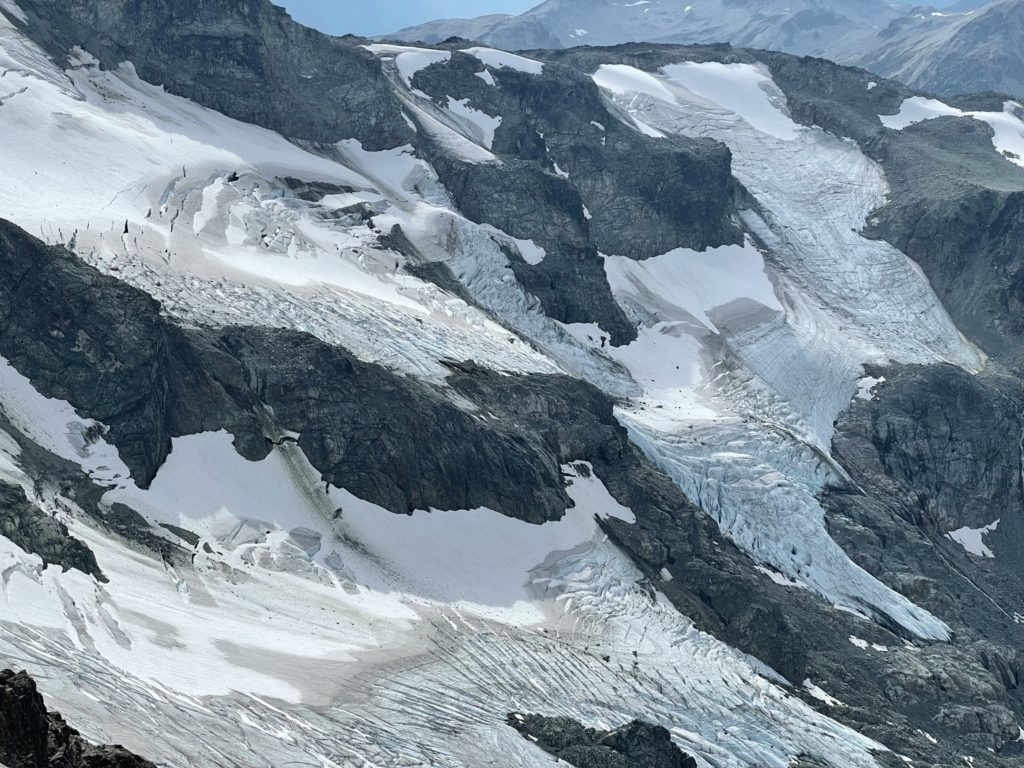
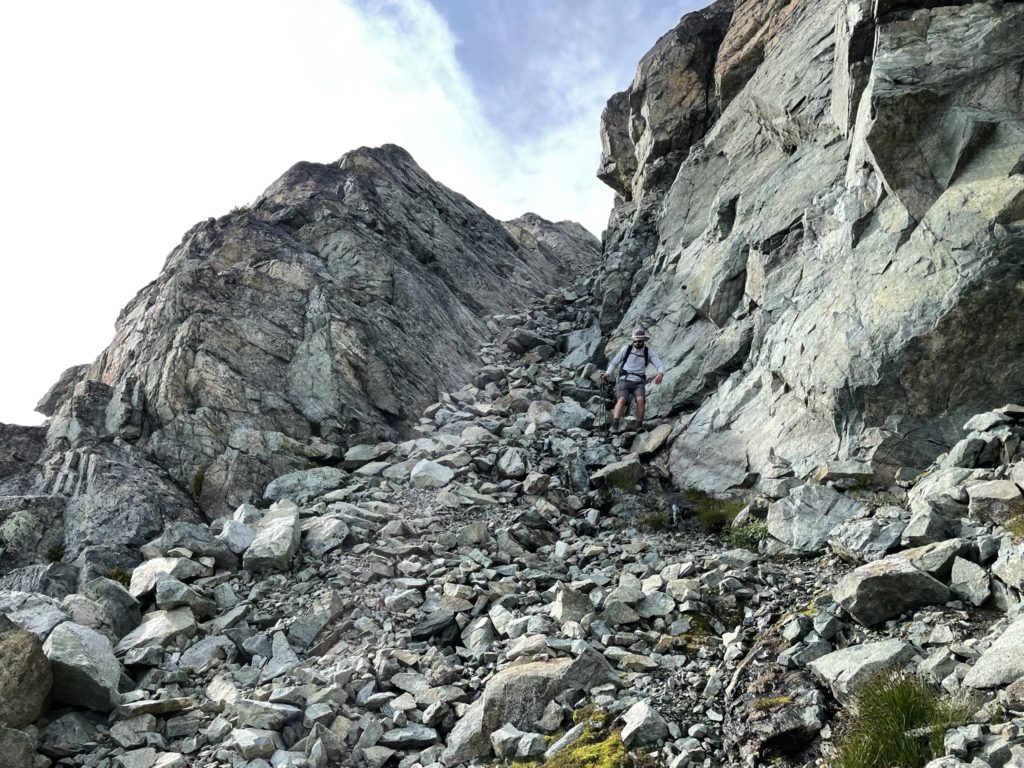
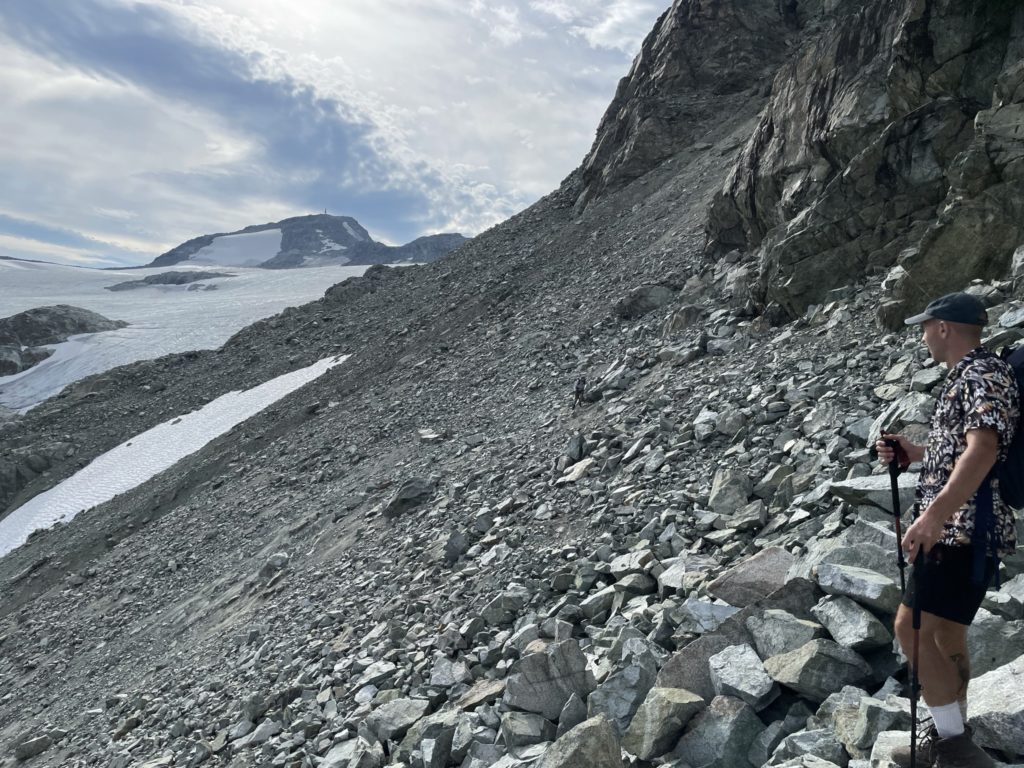
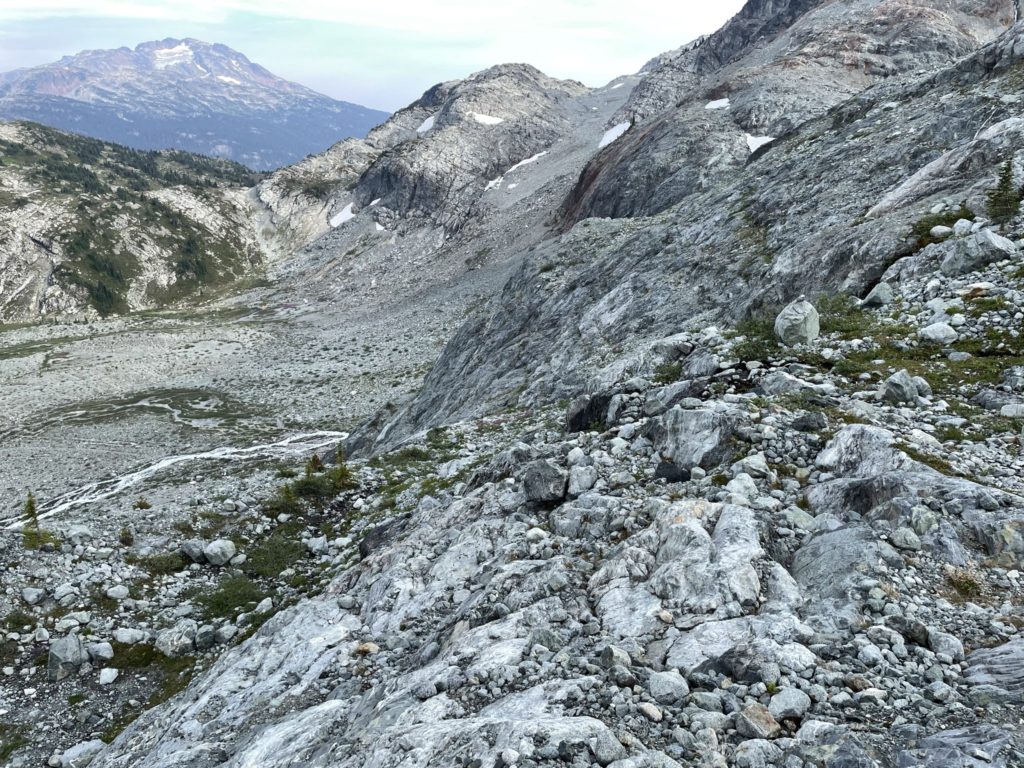
We started the descent from Faceless down a steep and loose talus slope that ran alongside the top of the Freight Glacier. Here the rock was actively falling from the eastern side of the ridge and we didn’t linger for long due to many precariously hanging boulders. Once we were below the steepest section we stopped briefly to scoop some snow for melt water from the Freight Glacier. Then, we continued down the ridge before ascending part way up a short pinnacle. We stayed climbers right and cut around the side to avoid gaining more elevation. On the right side of the ridge were a few loose scree covered sections with a certain death fall at the end, but wouldn’t pose any problem unless you took a very big slip down.
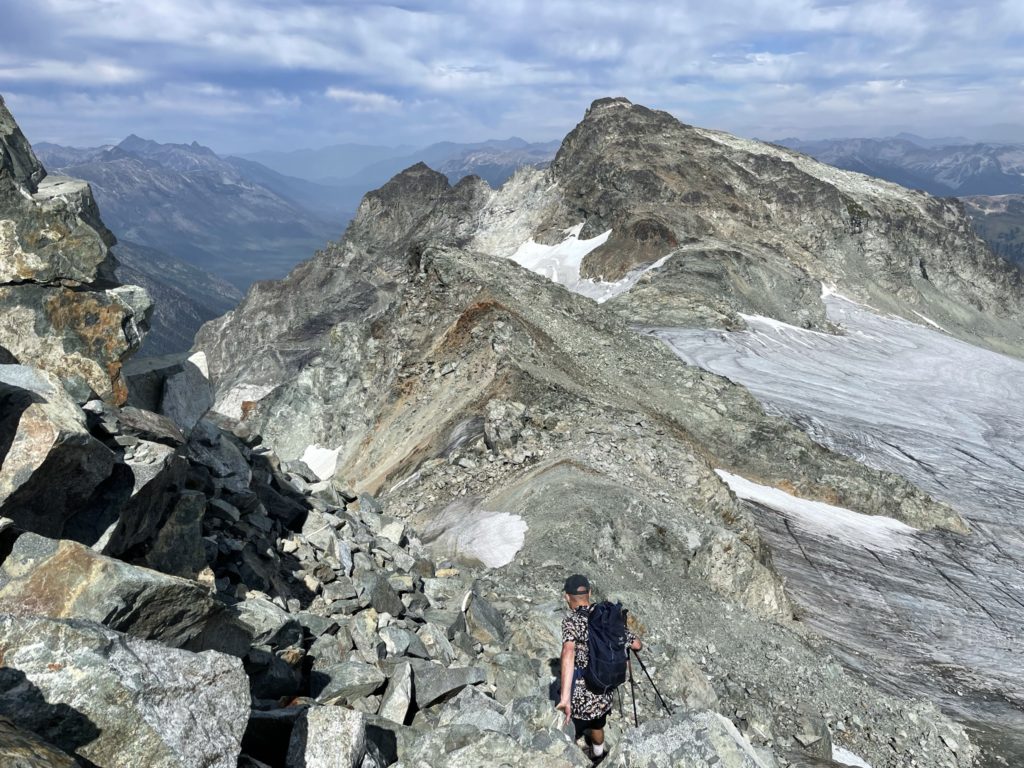
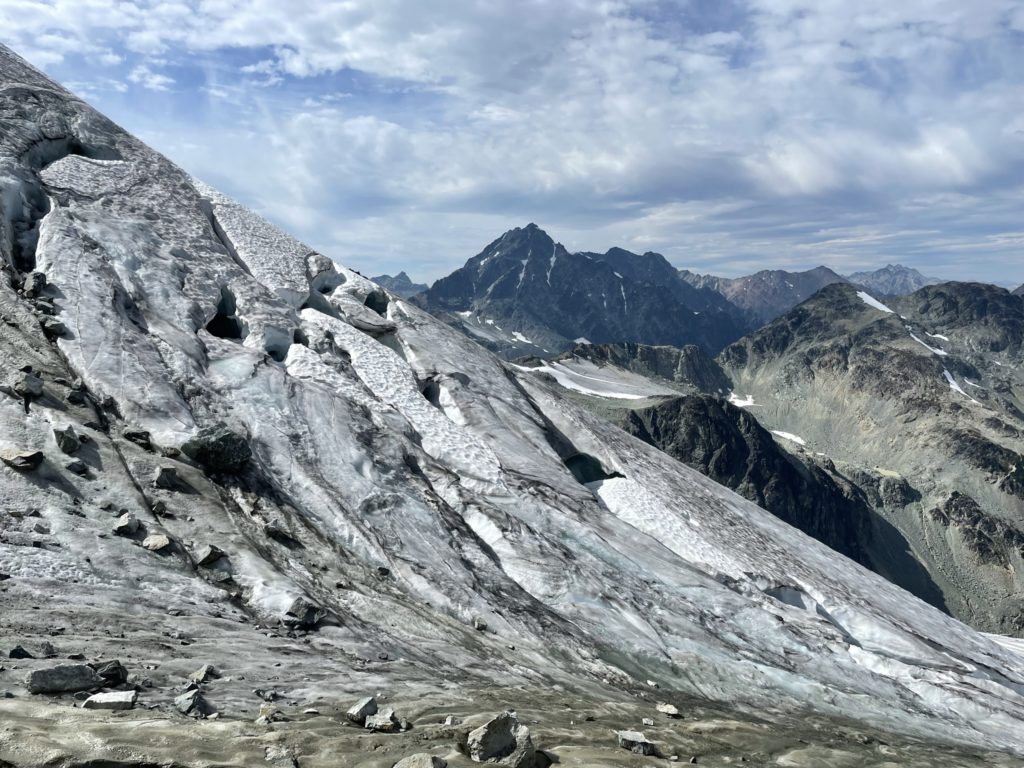
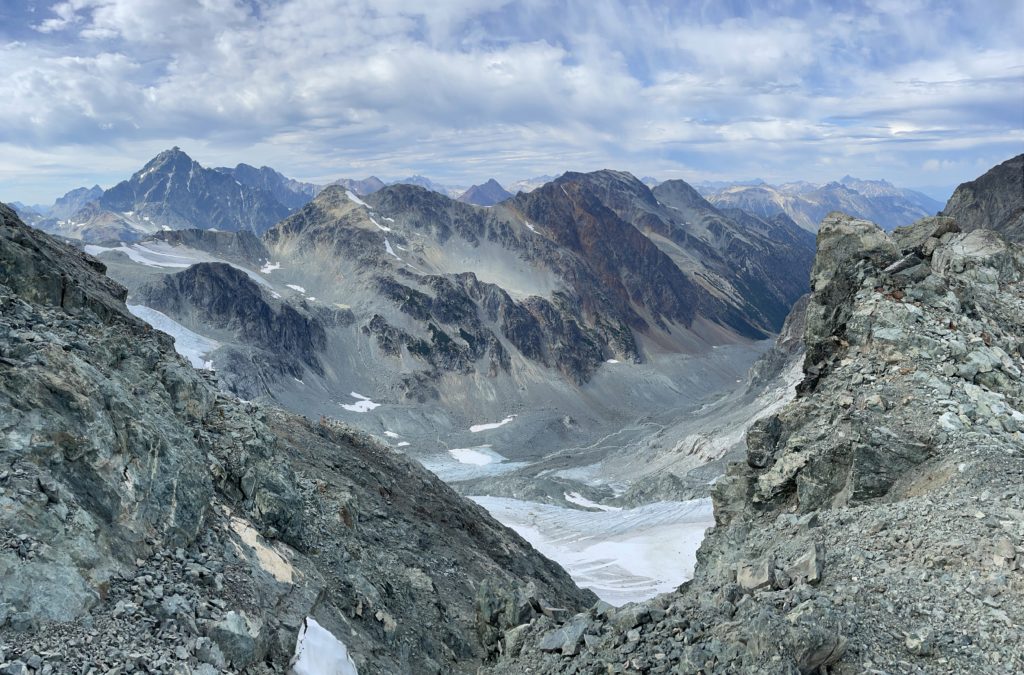
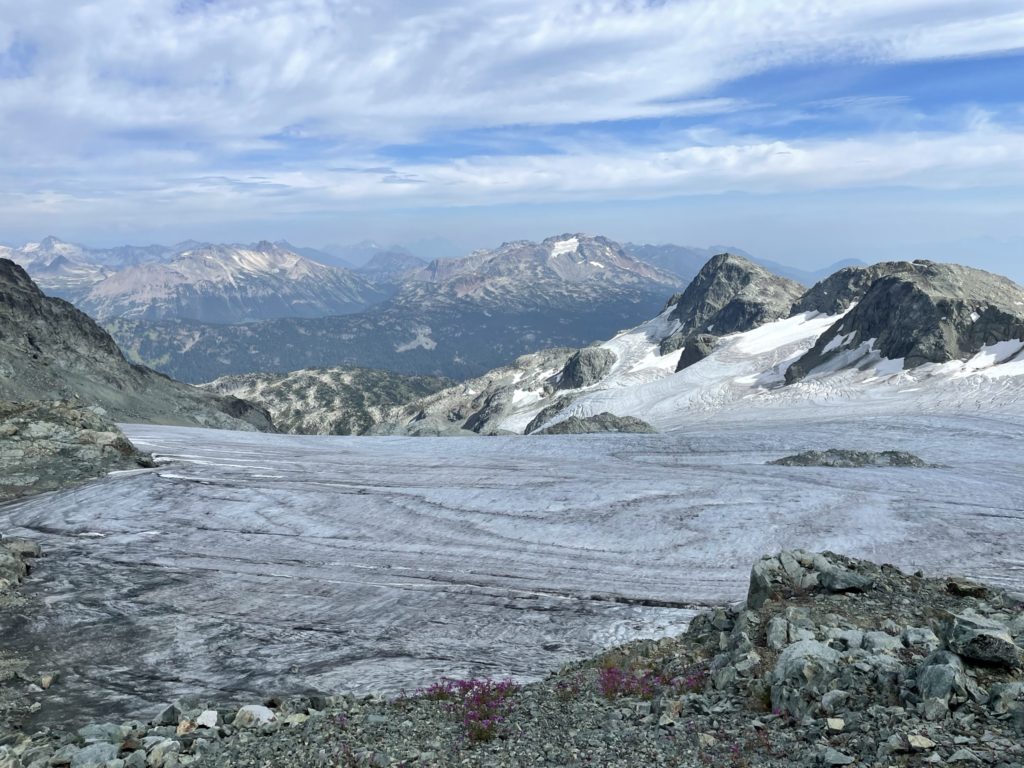
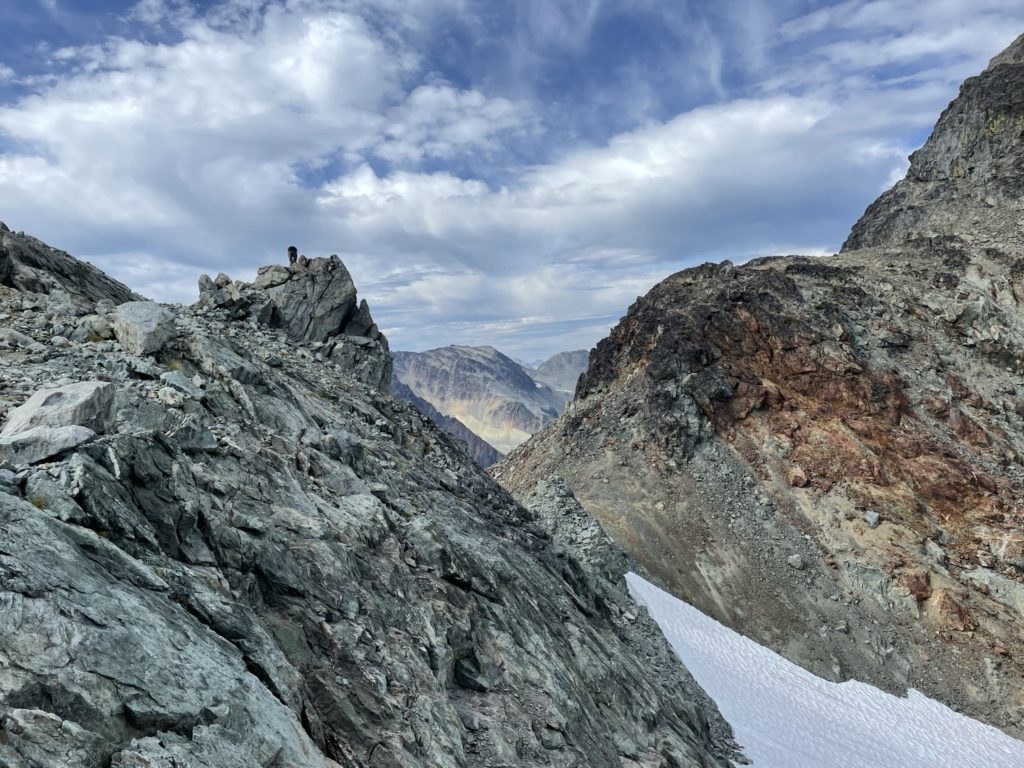
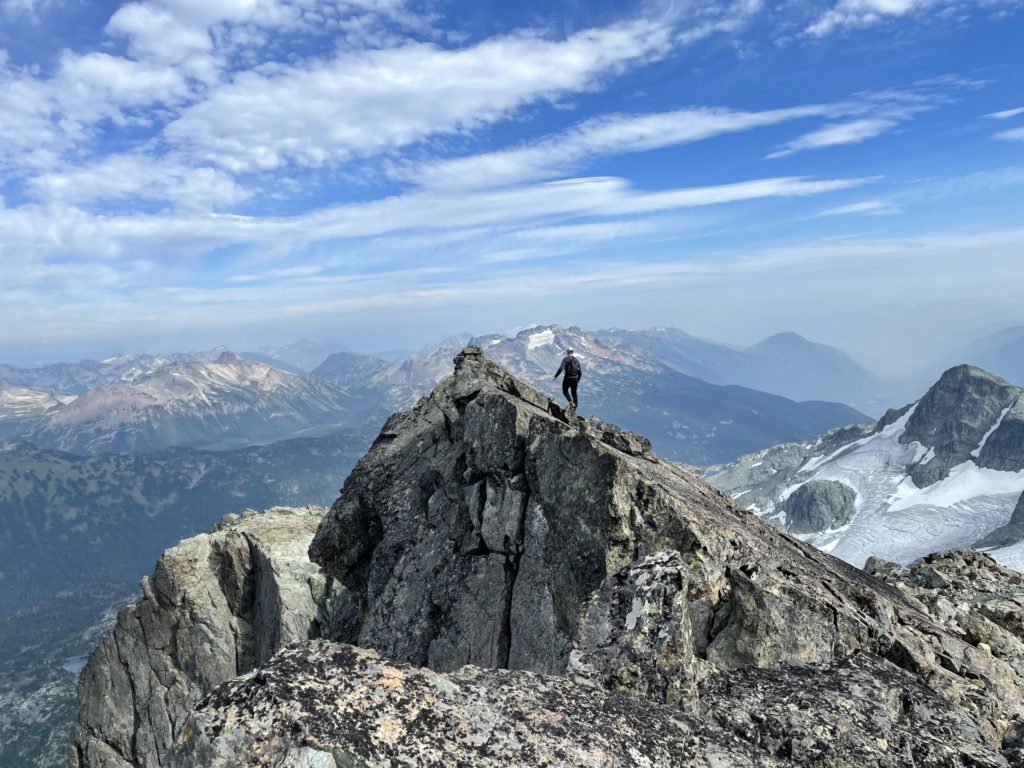
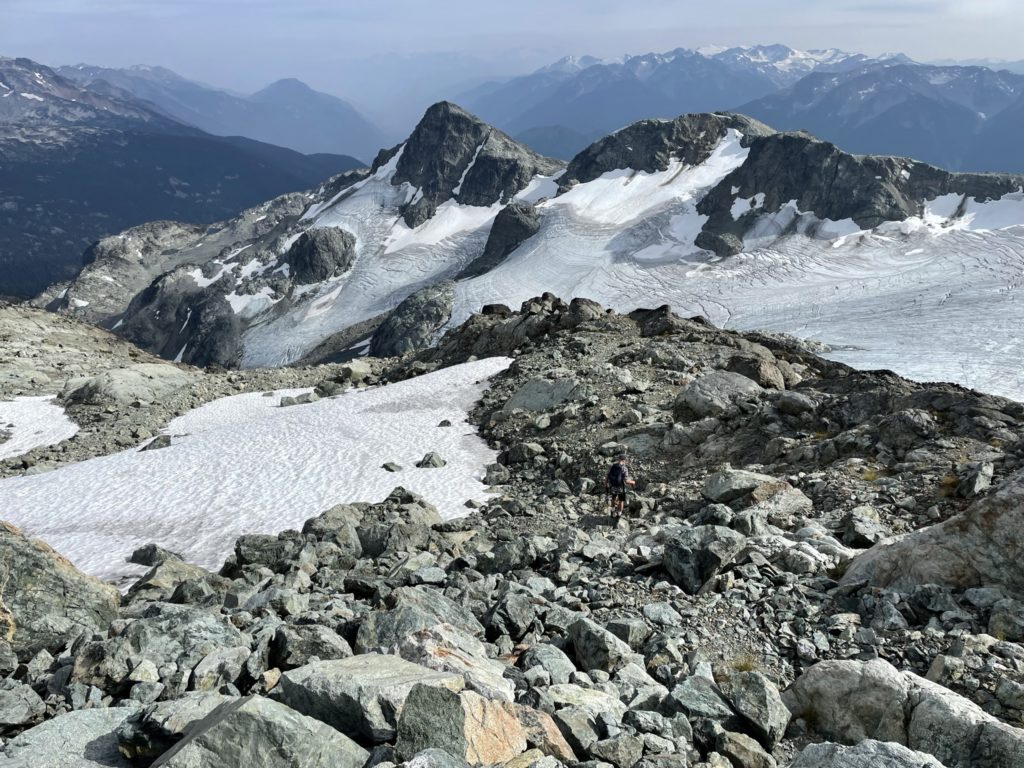
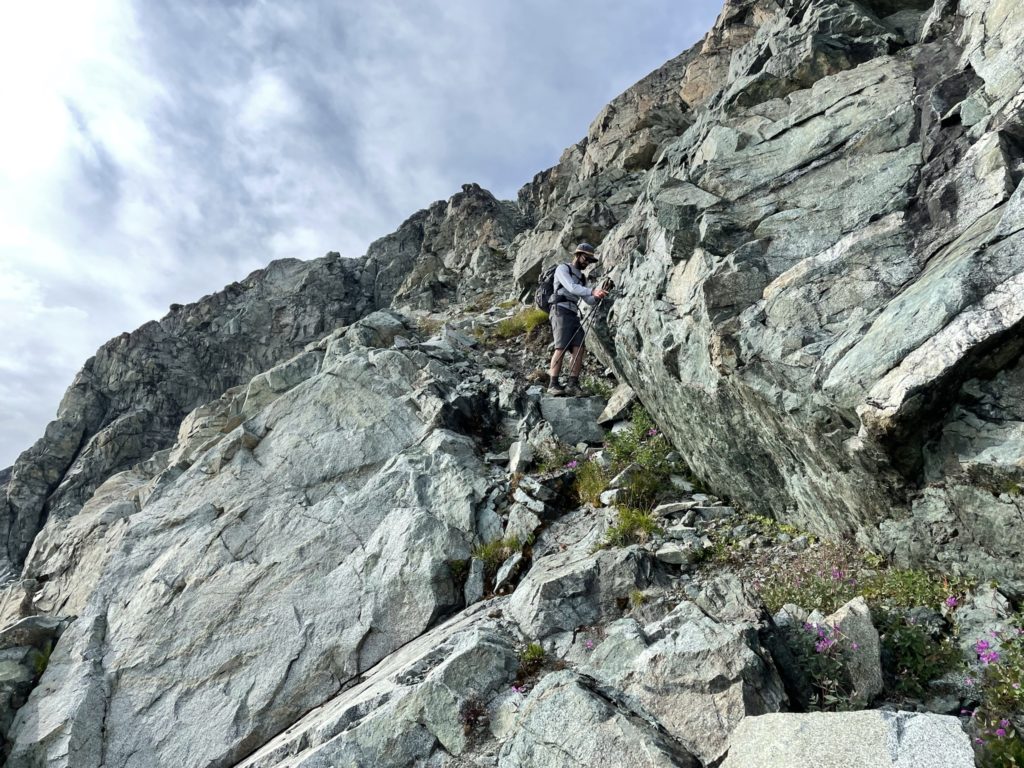
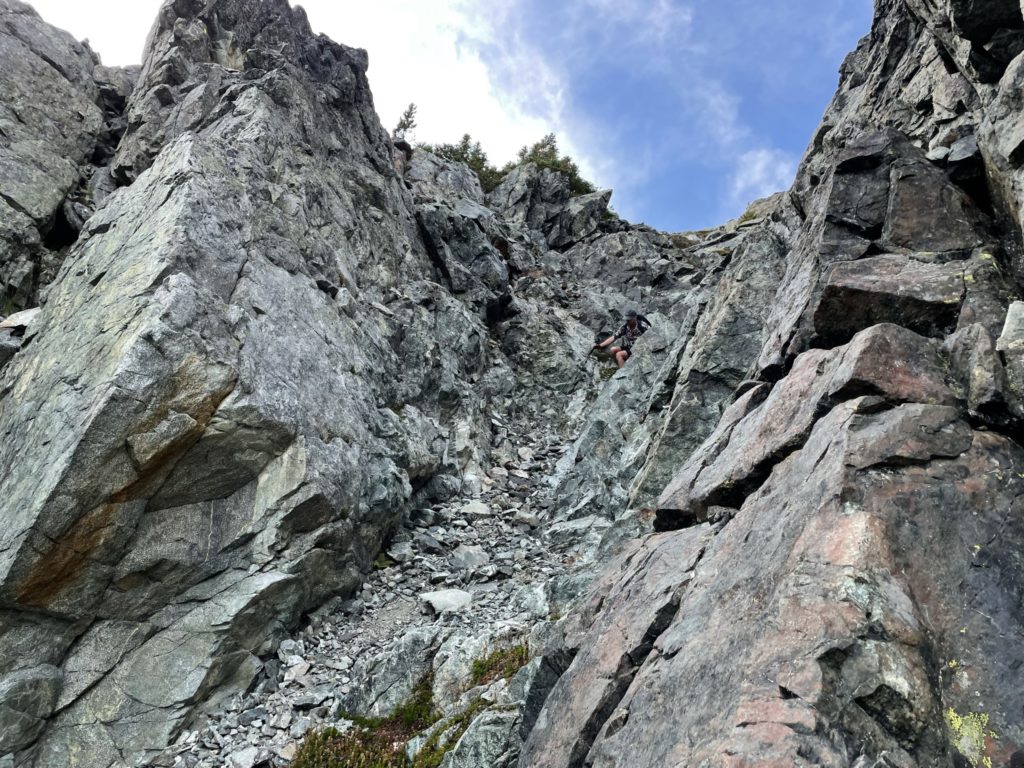
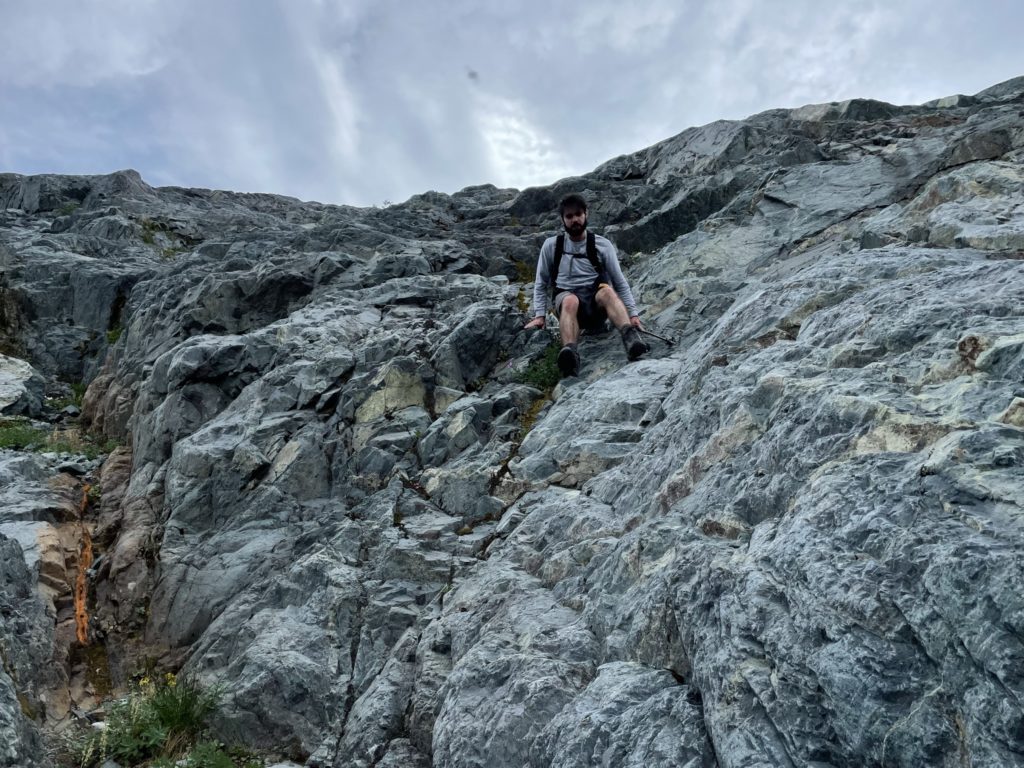
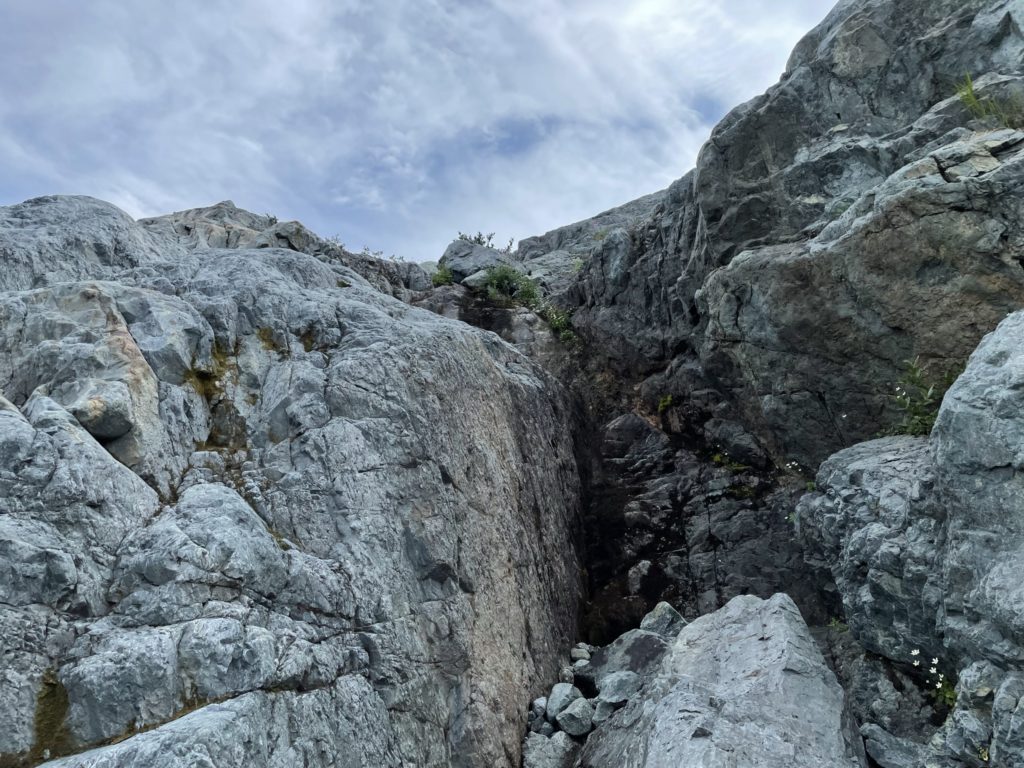
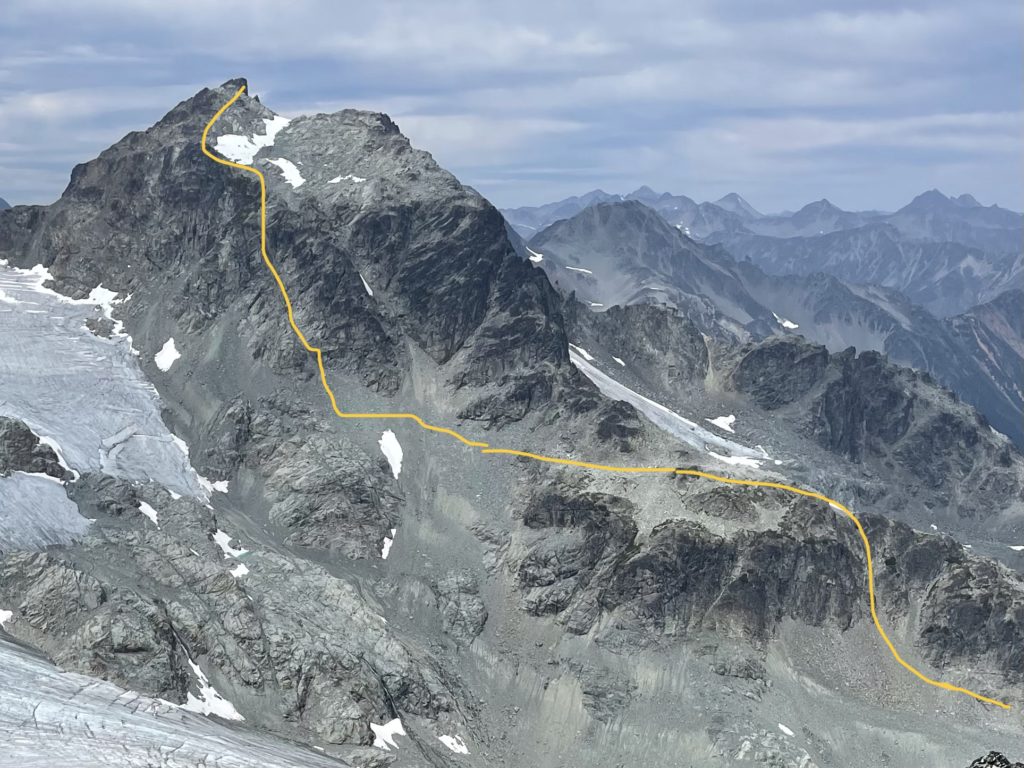
After skirting around the high point, we reached a break in the ridge where the Freight Glacier and Train Glacier joined together. Reaching solid ridge line again involved a short 10m walk across the glacier. This section of glacier was comprised of rock hard ice and we didn’t spot any crevasses or other objective hazards. We crossed quickly and then re-ascended up the ridge. The ridge continued for awhile longer over easy terrain before we reached the crux of the ridge traverse. At first, it appeared there was no way down except over 4th or 5th class terrain and I went east along the ridge to spot a better line. Shortly after, Mike found an easy 3rd class descent to get down the ridge and to the base of Face Mountain. I started my way down first with relative ease and called out for the next person to come after I was clear, due to rockfall hazard in this section.
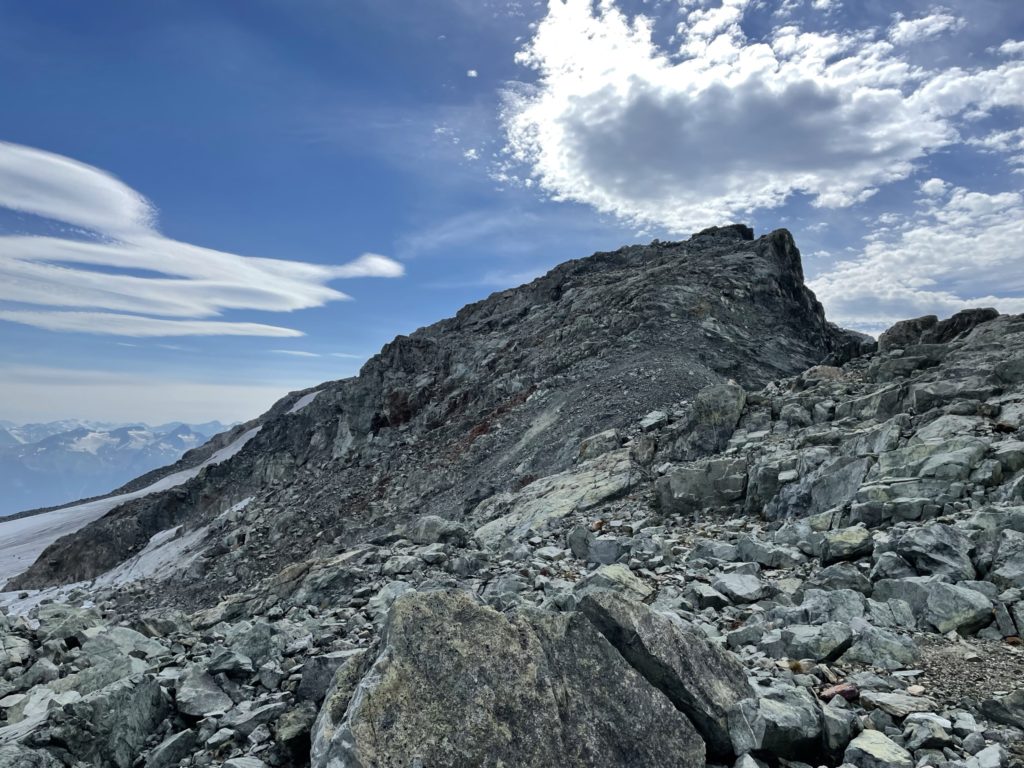
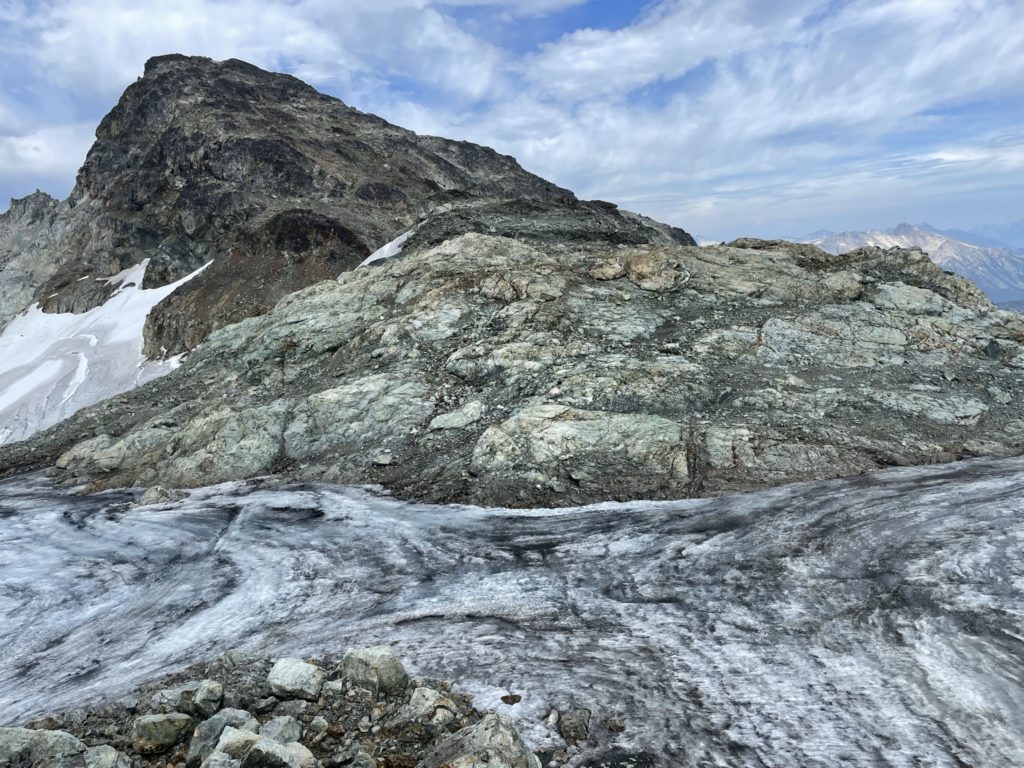

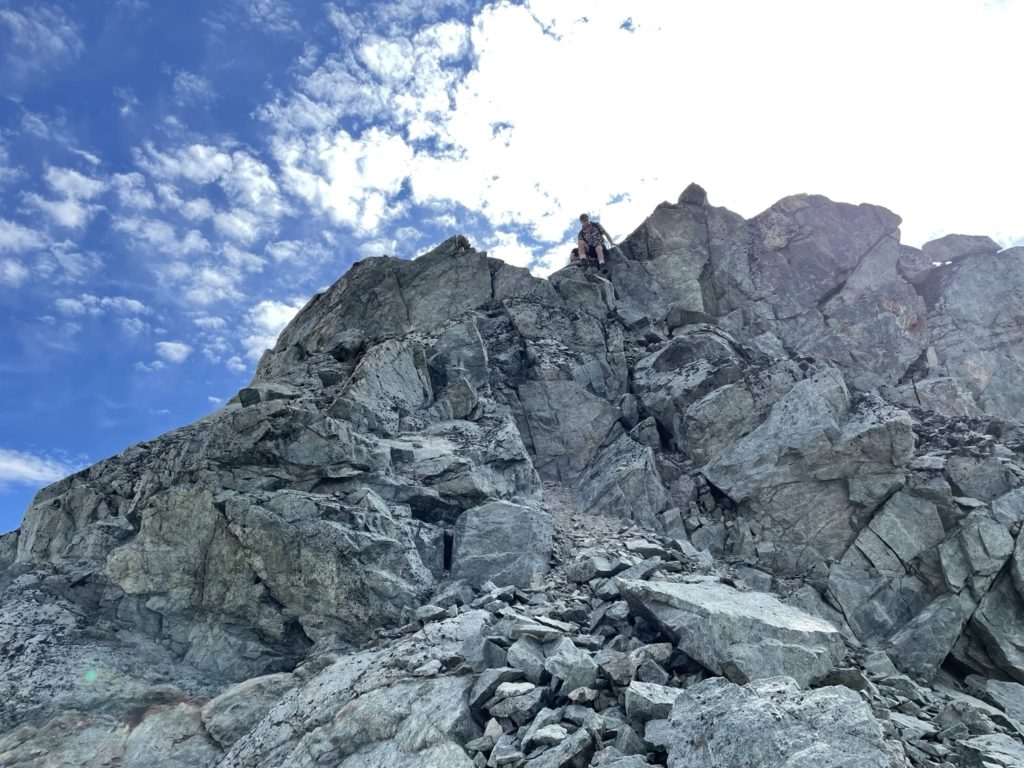
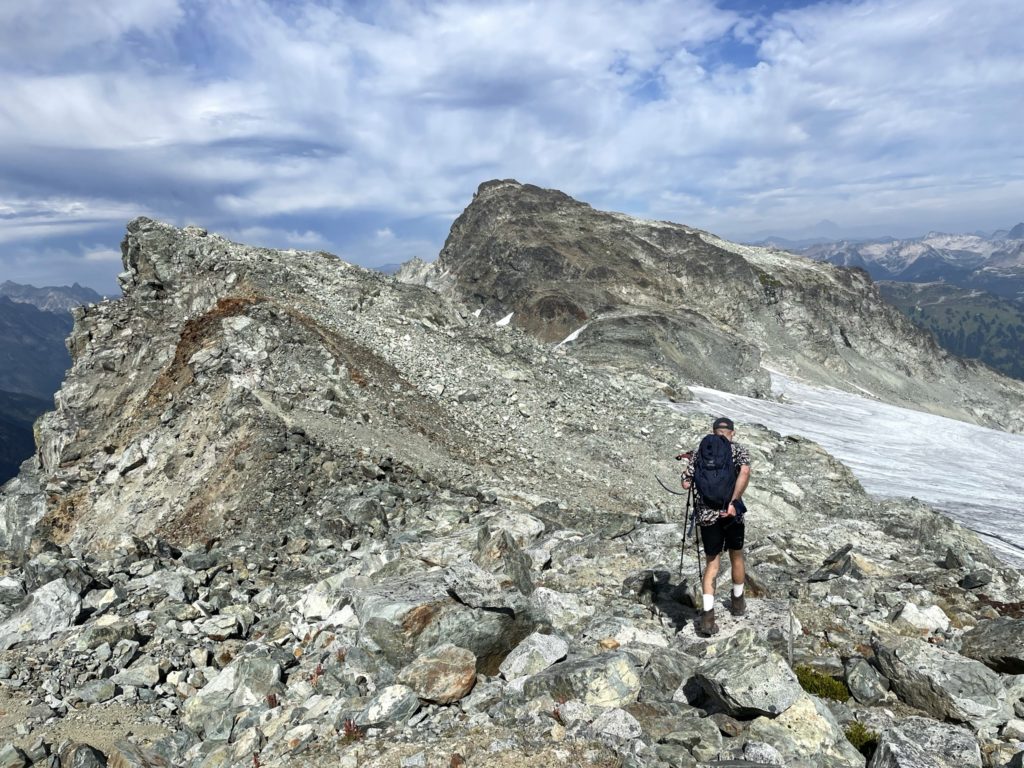
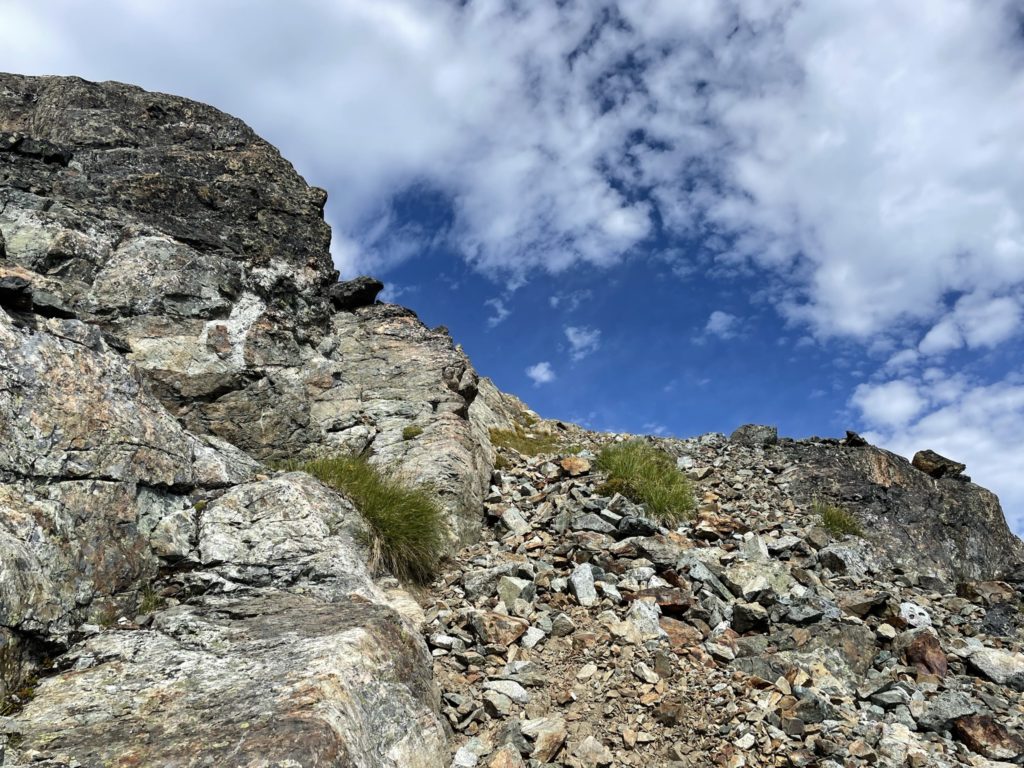
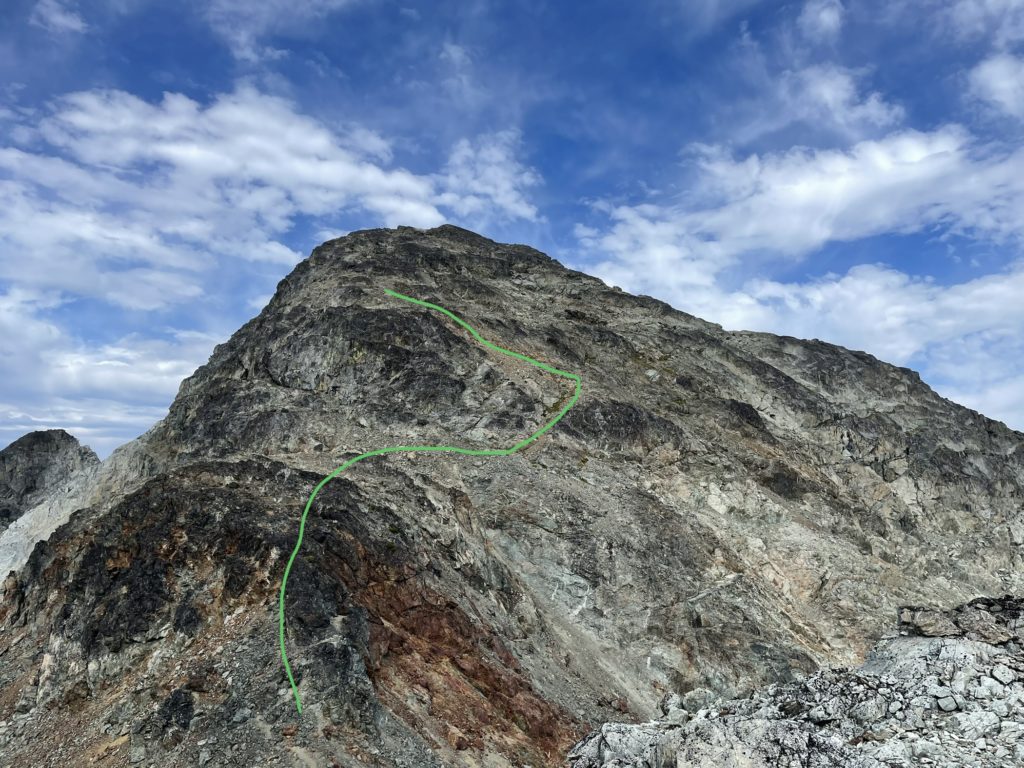
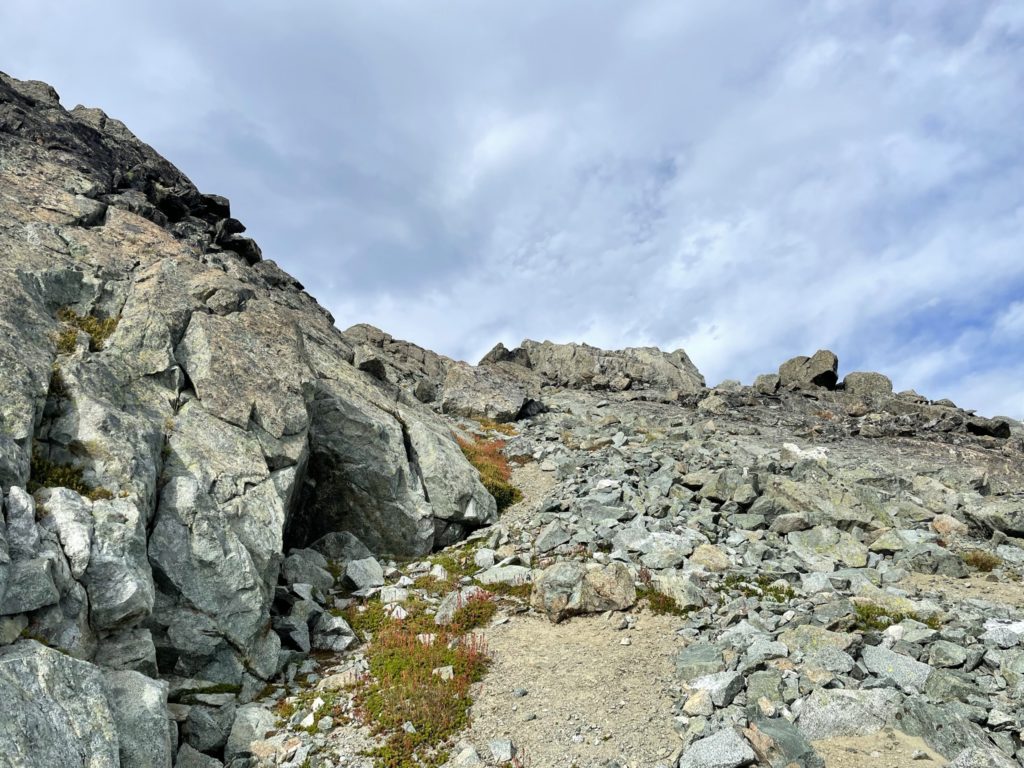
From the low point in the ridge it was a bit more scrambling up a red/black/oxidized band of rock to get a good close up view of what lay ahead. Already from the ridge before, I had spotted a narrow scree ramp that we could take to gain more moderate terrain. Once I scrambled up the band, I confirmed that this route indeed went and was easier than it looked from afar with a mere 2nd class section of terrain.
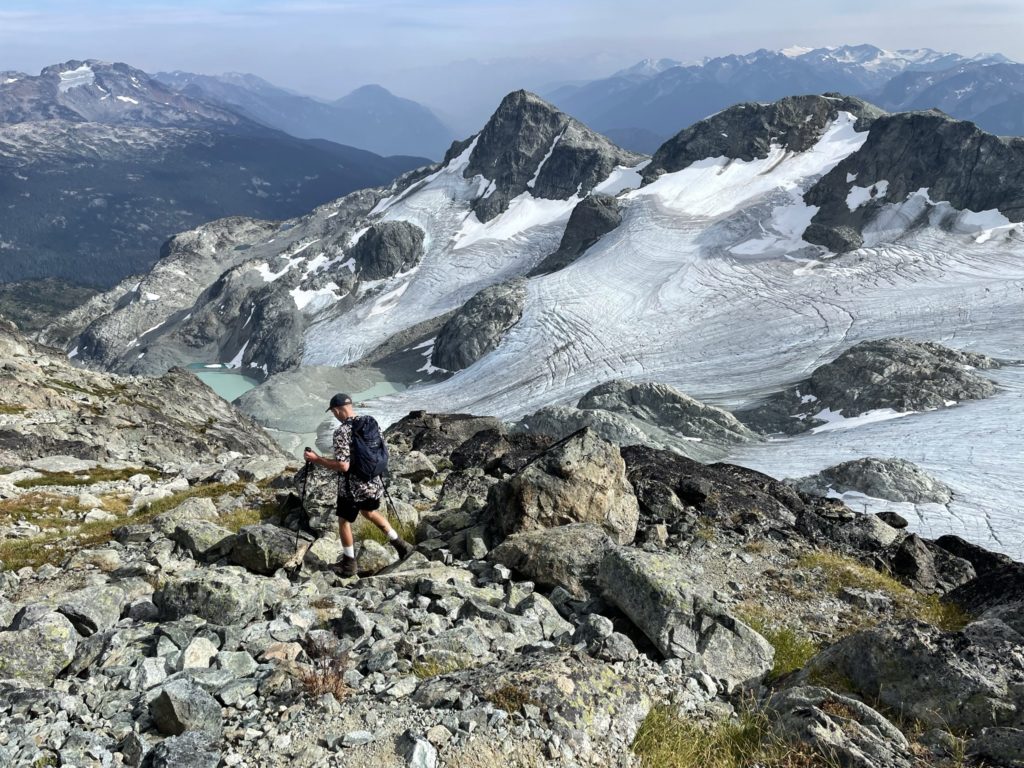
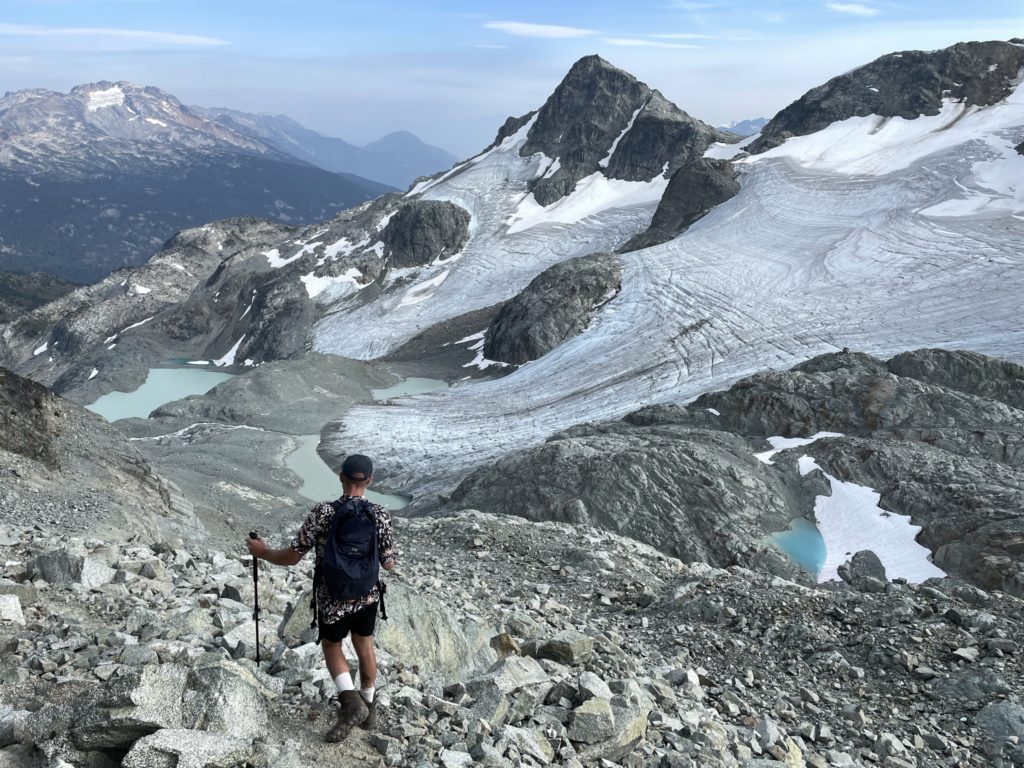
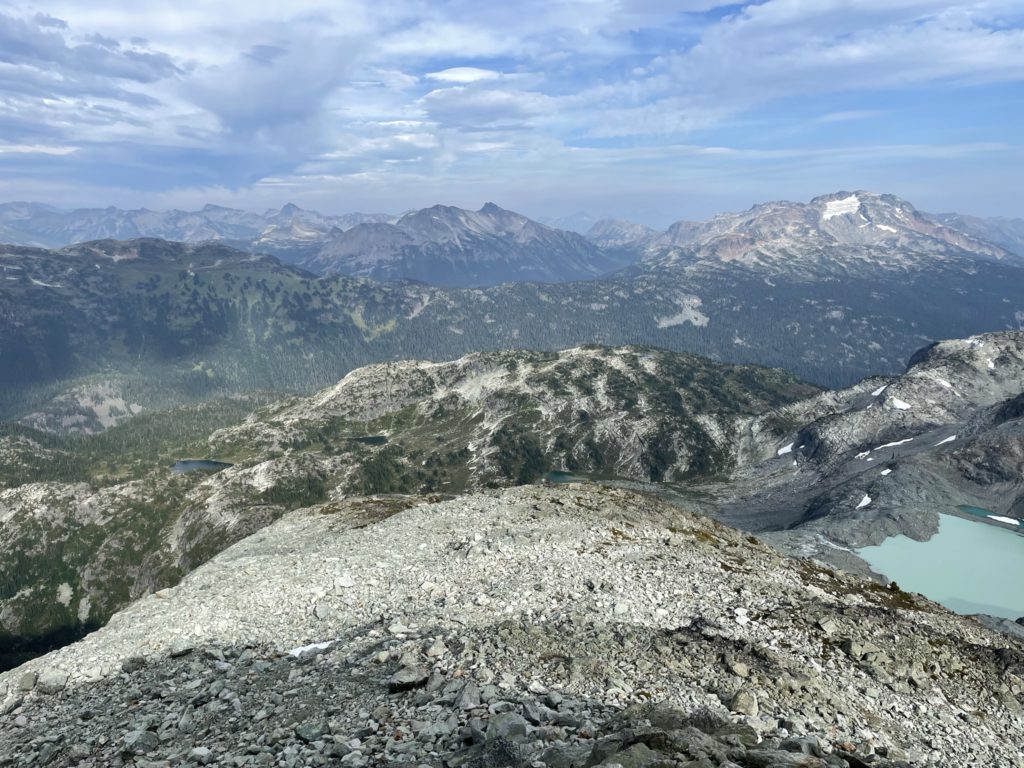
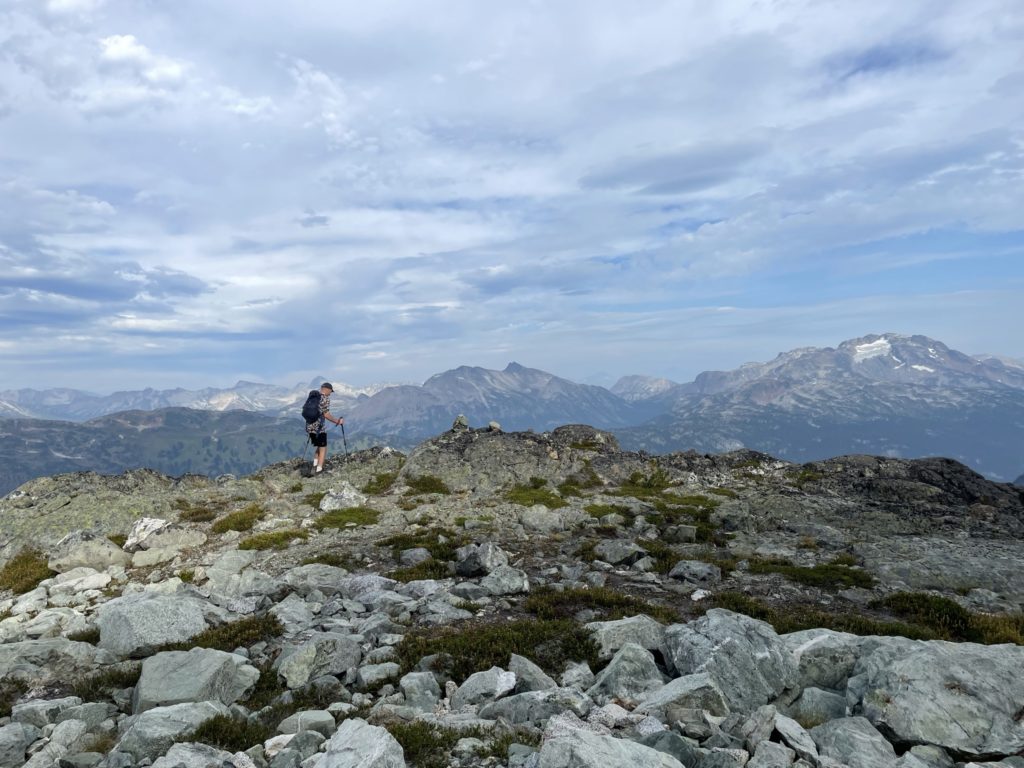
Once Jacob and Mike joined me from the ridge, we traversed a short ways climber’s right to reach the entrance of the scree ramp. Climbing up the ramp was easy and then at the top we spotted some cairns that lead us through moderate 2nd class rock steps. We lost track of the cairns shortly after (or there simply weren’t any more) and just picked our own line up straightforward terrain the rest of the way to the summit. We topped out on a slightly lower high point and so traversed perhaps 10m across a slabby section to gain the true summit.
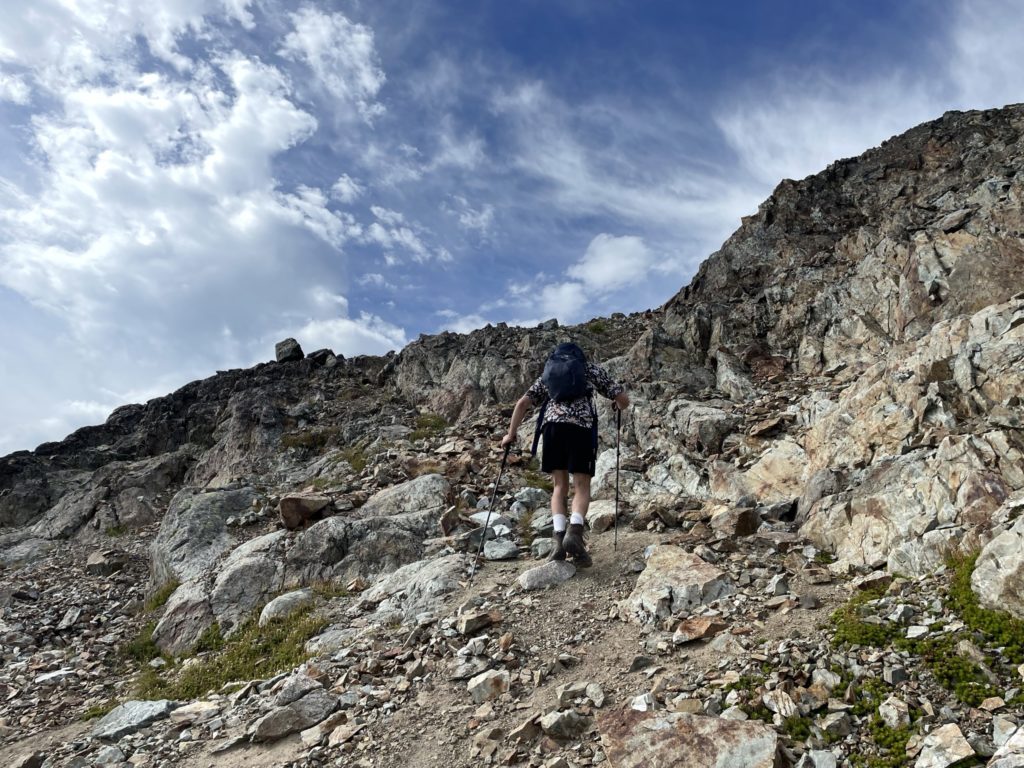
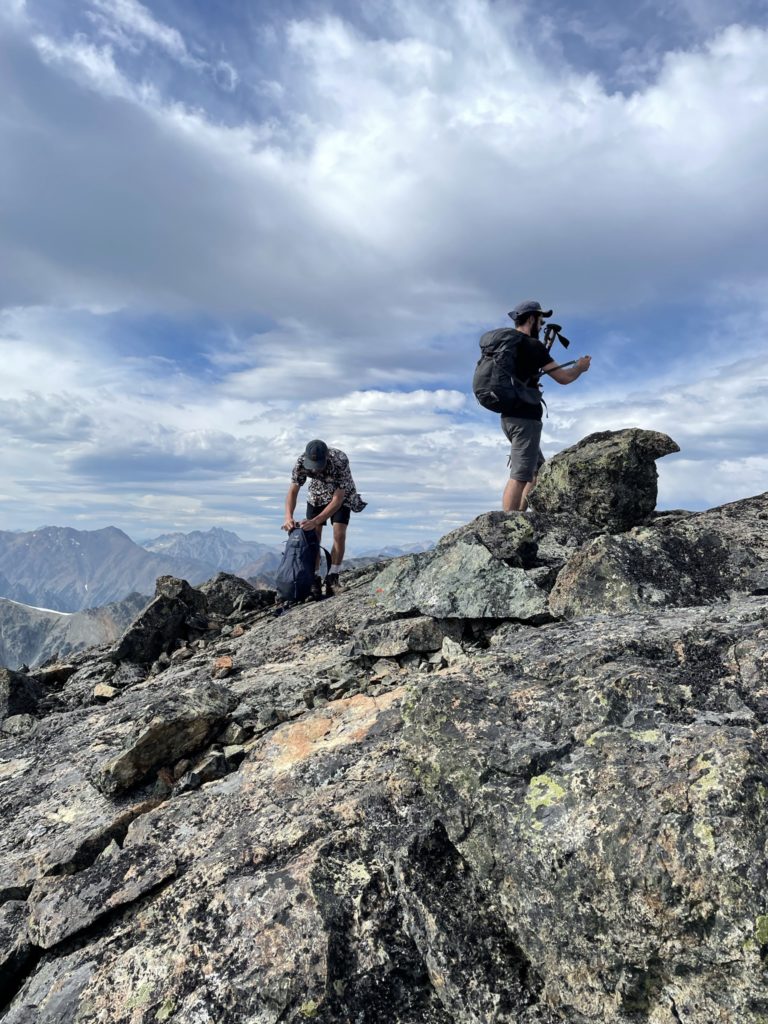
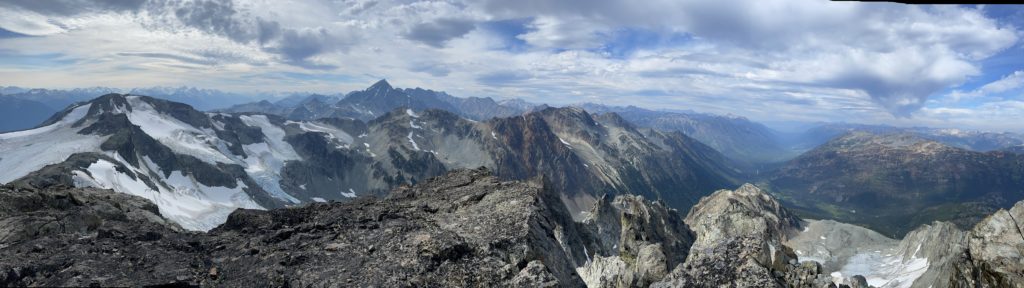
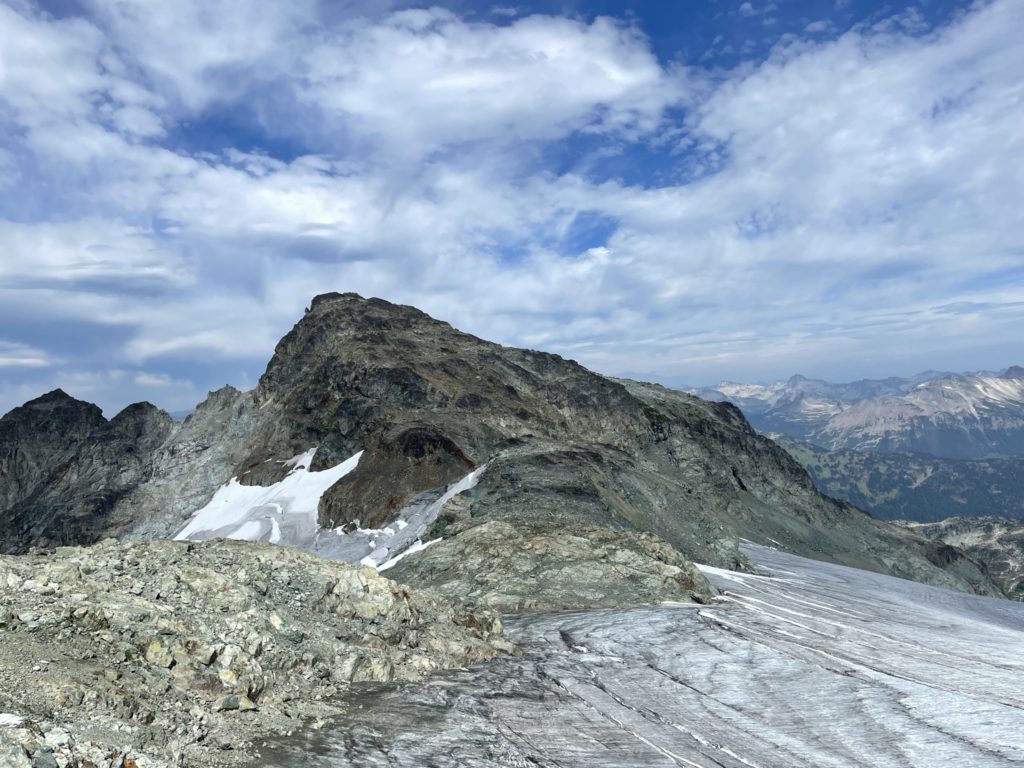
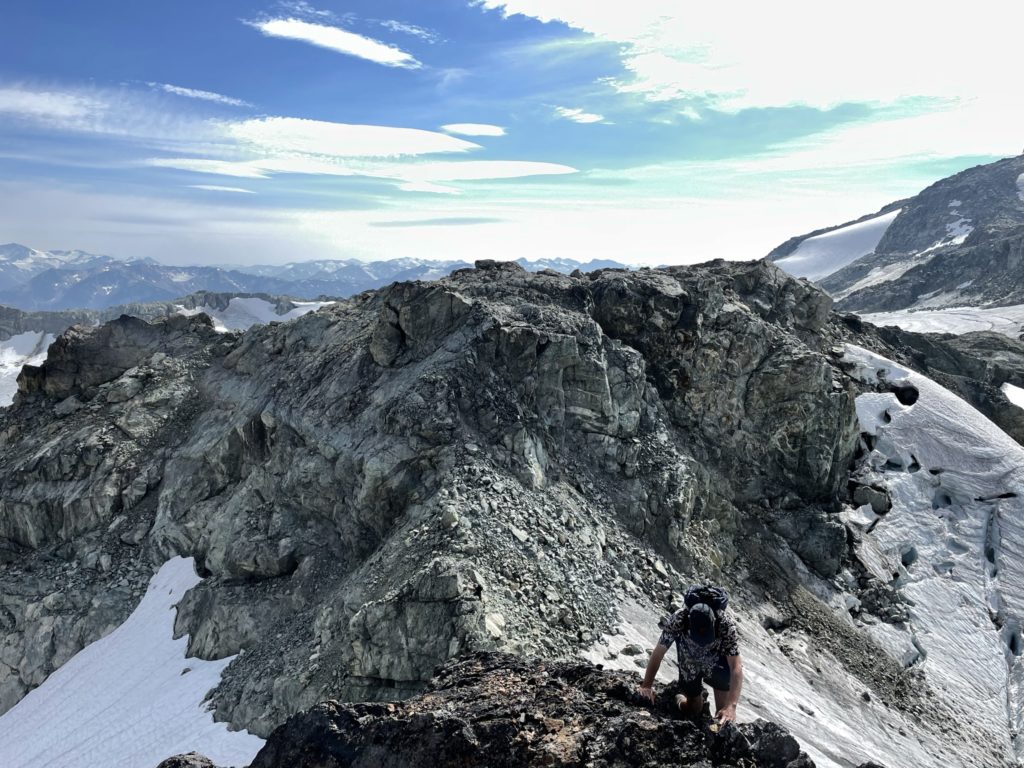
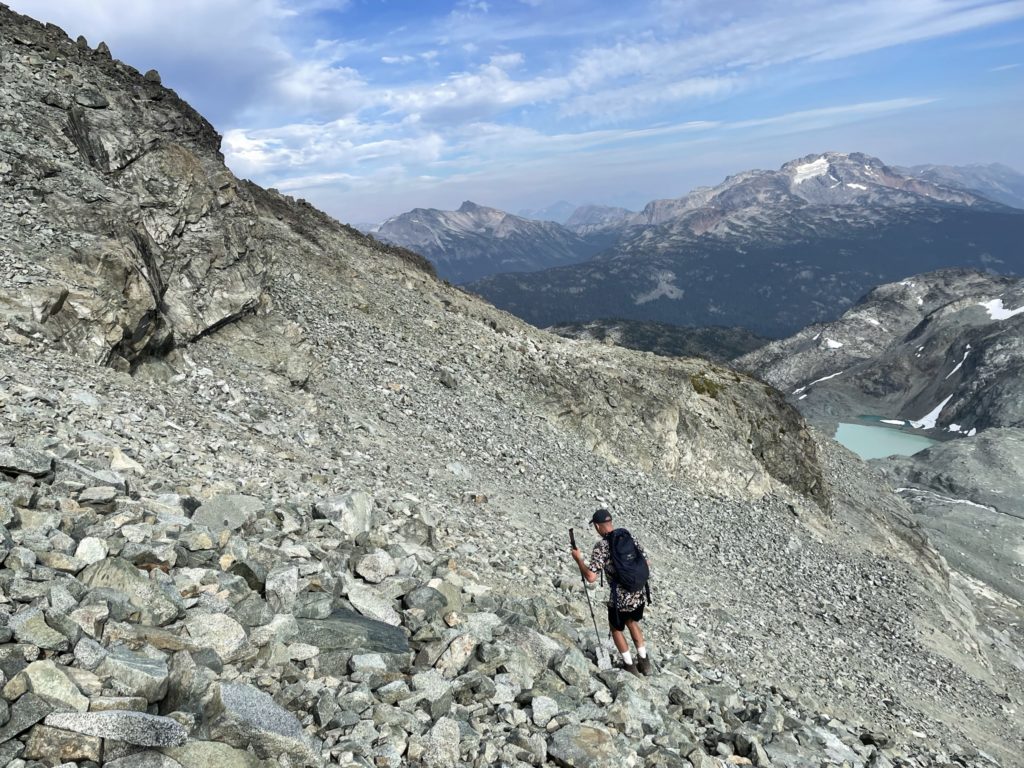
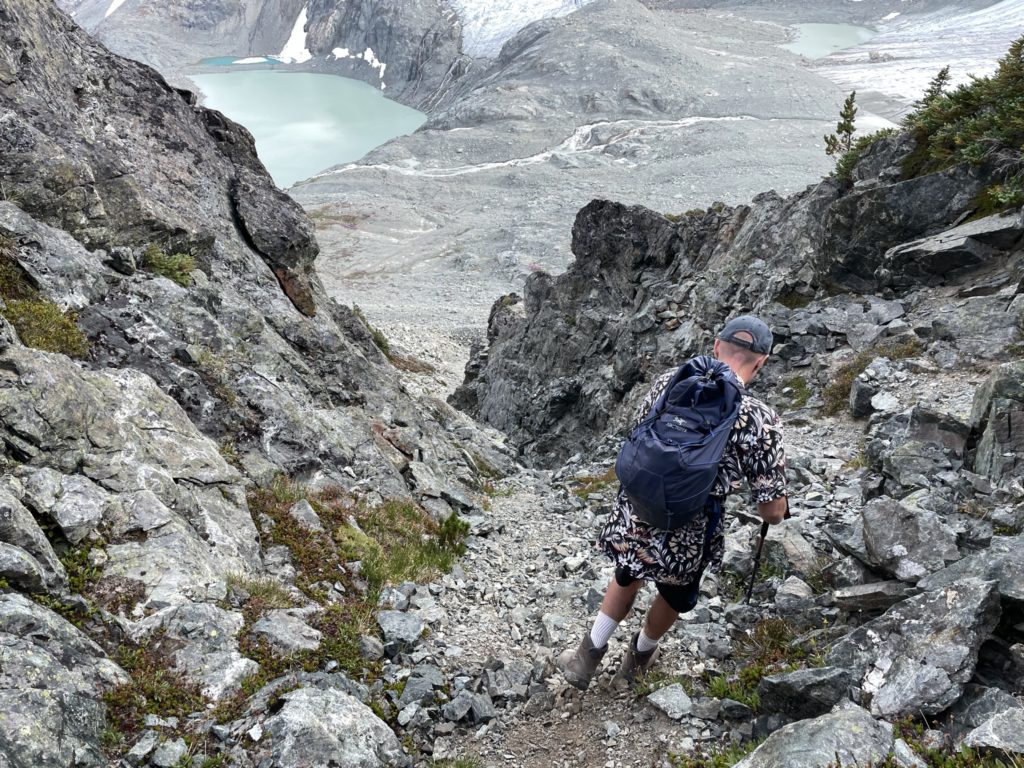
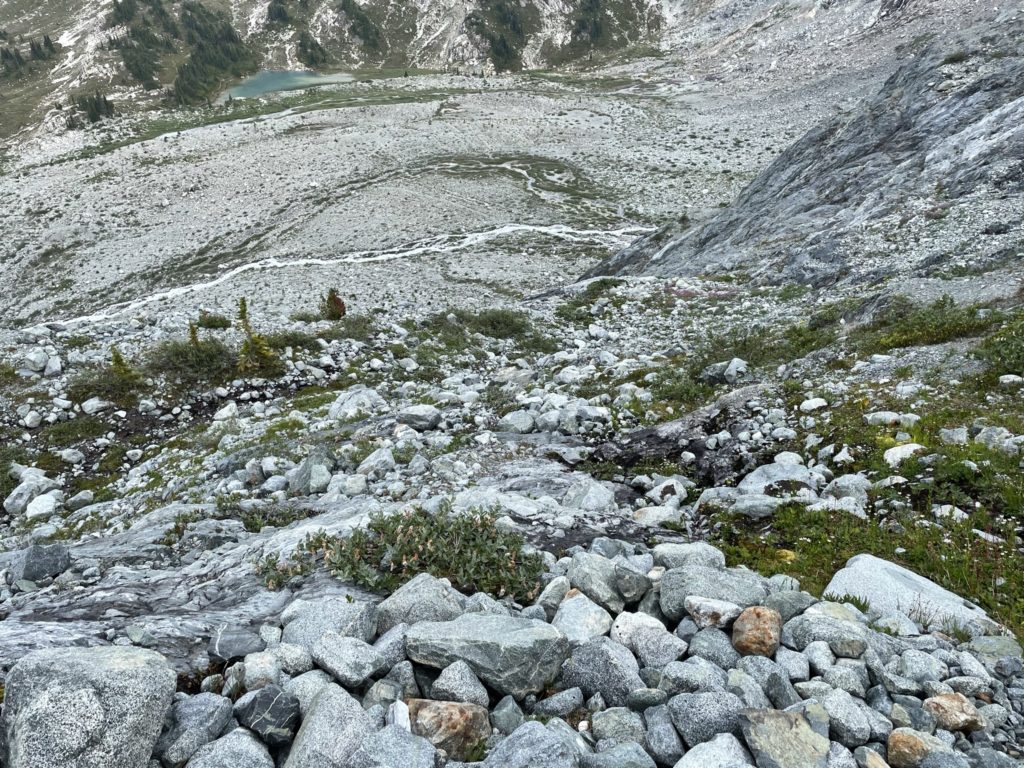
In total we spent 15-20 minutes at the top and then began the descent down. This time I had a GPS track for the remainder of the descent and so I used that for course correction on our way down. We headed east along the summit plateau and then started descending along side a small ridge on the southern side. We continued down the ridge until we reached a small alpine field with some running water. Everyone took the opportunity to top up their water bottles here and then continued on. The route followed down to the bottom of the alpine field before it linked up with the top of a protected gully on the south side. The gully wasn’t very steep, but did involve some loose scree, so we had to be careful not to slip.


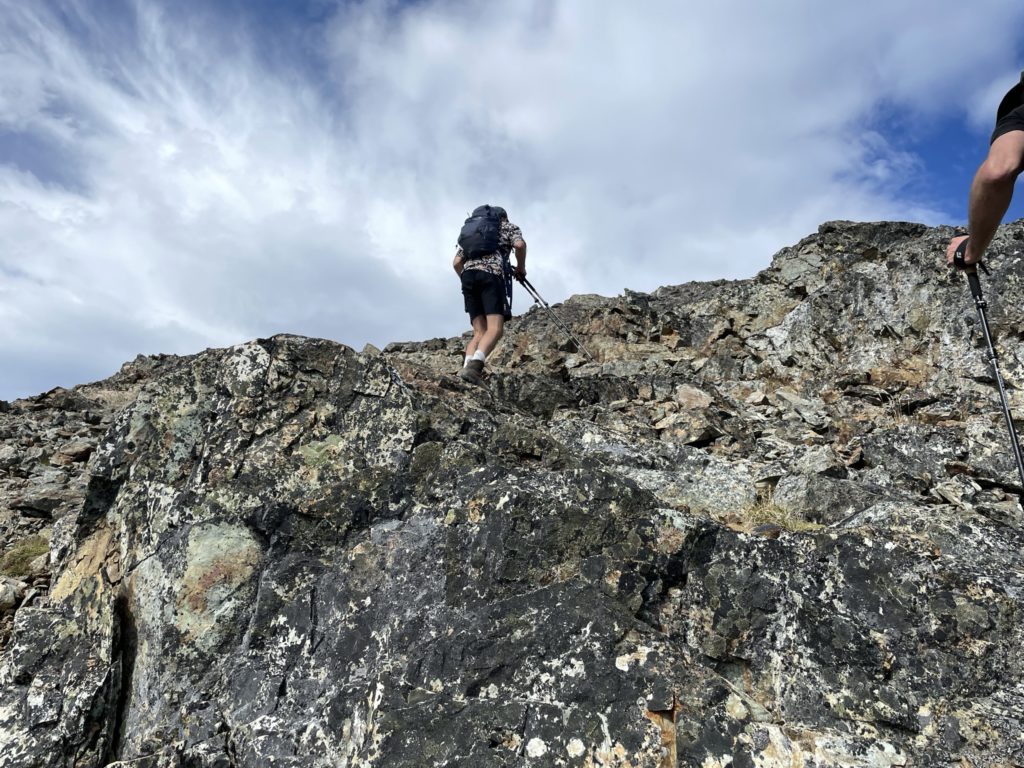
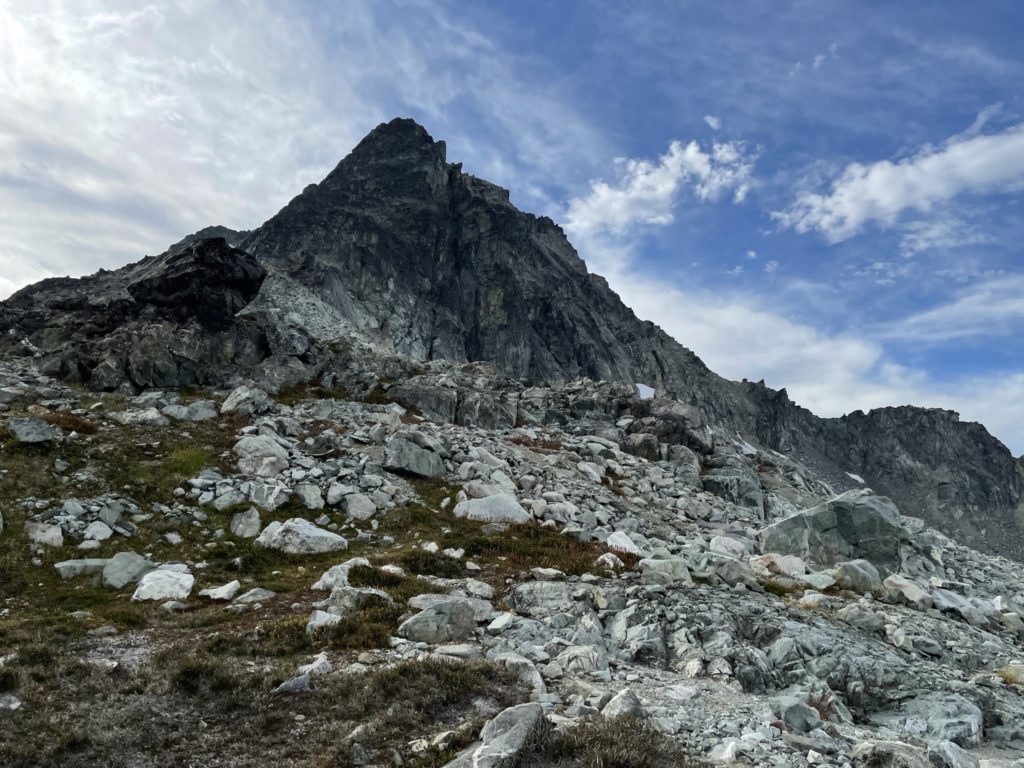
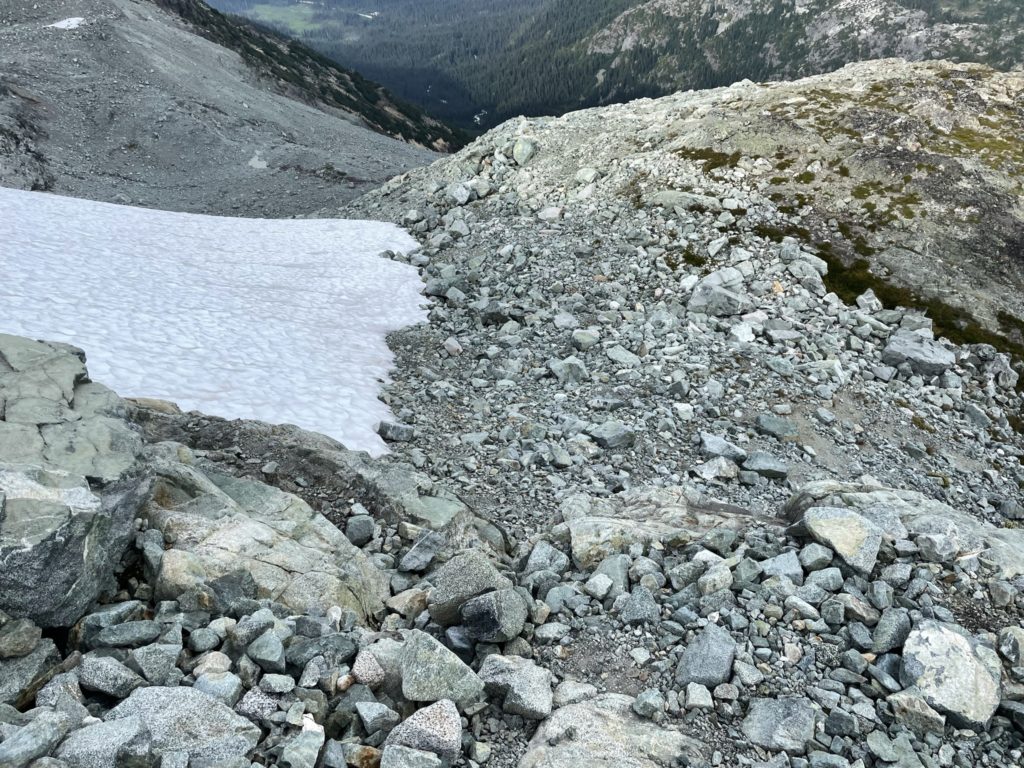
At the bottom of the gully we continued east along a talus bench and then some side-hilling careful to avoid a tempting descent to more moderate terrain below. The side-hilling continued for a ways, with a few cairns to mark the way. Once we reached the eastern edge of the talus slope, we had to ascend 20m to gain the ridge again. From the ridge was a long series of undulating talus slopes until we reached the top of a large cliff band. Here we went left towards a snow patch and found an easy step down to a narrowed section of the ridge.
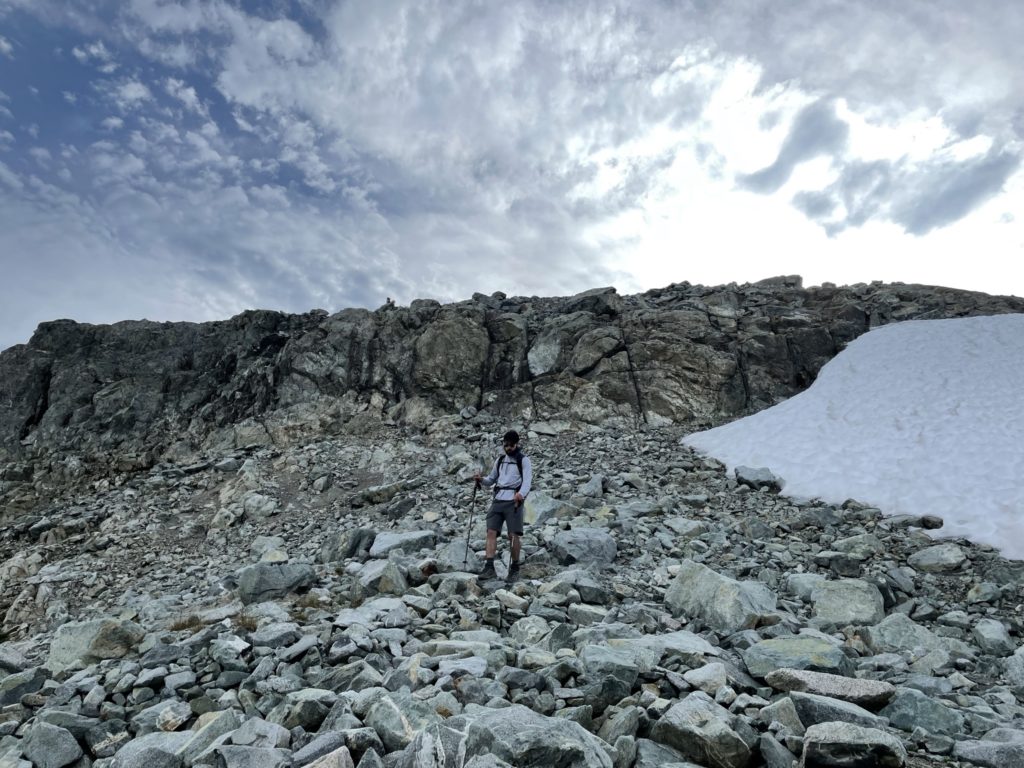
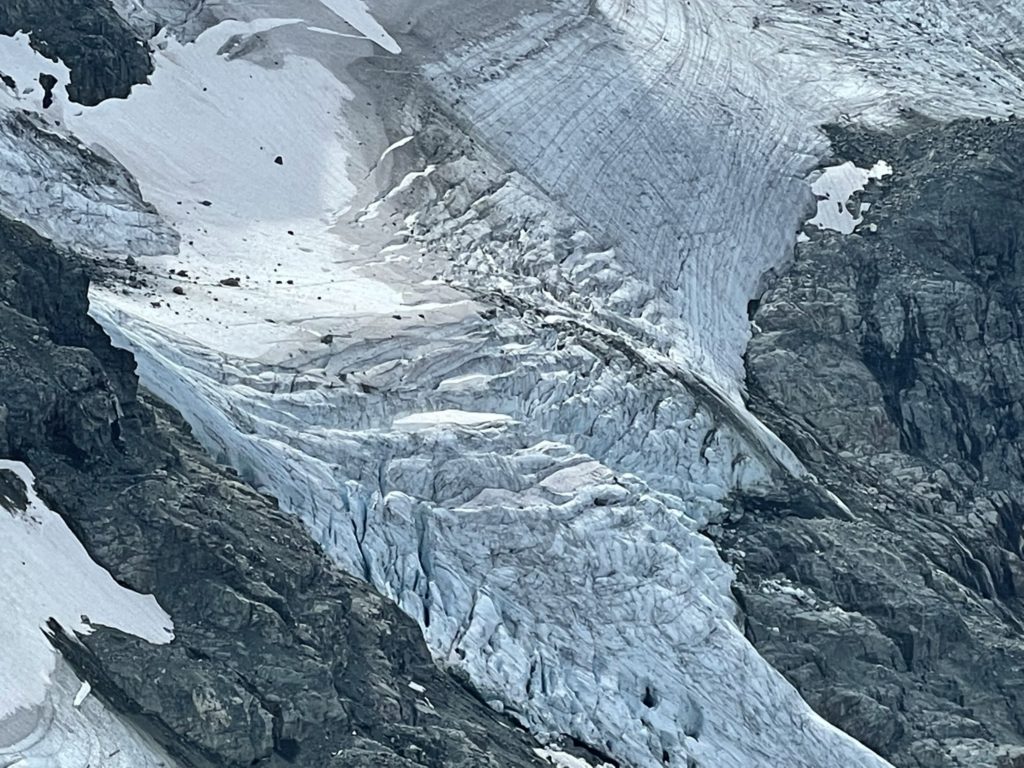
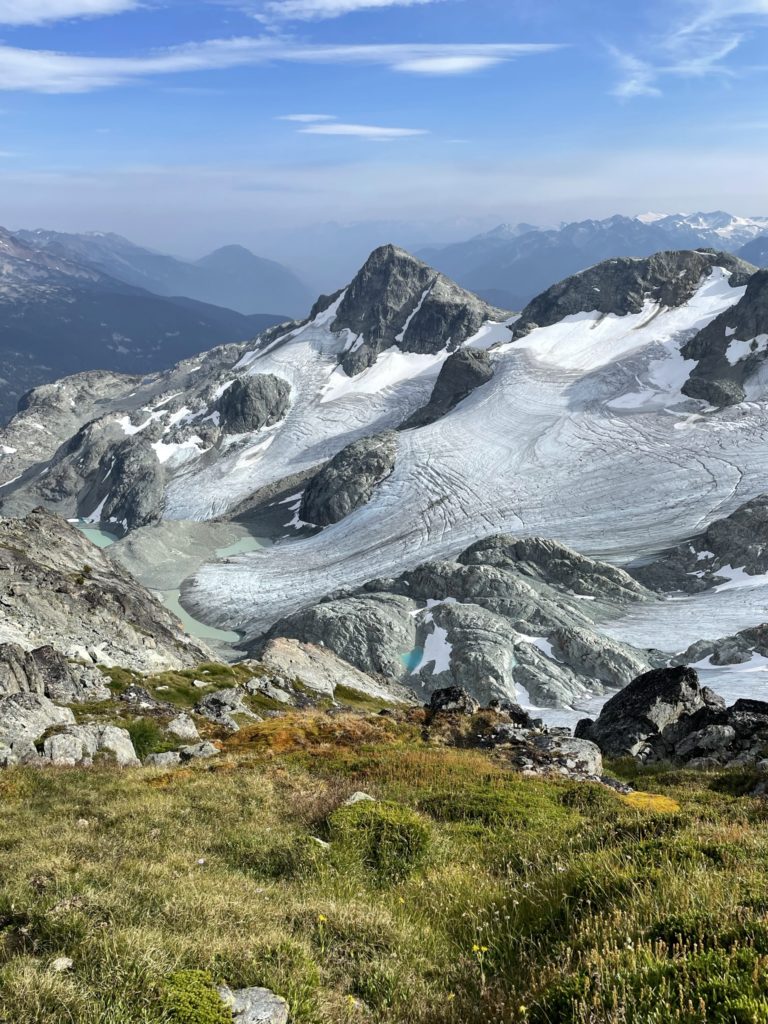
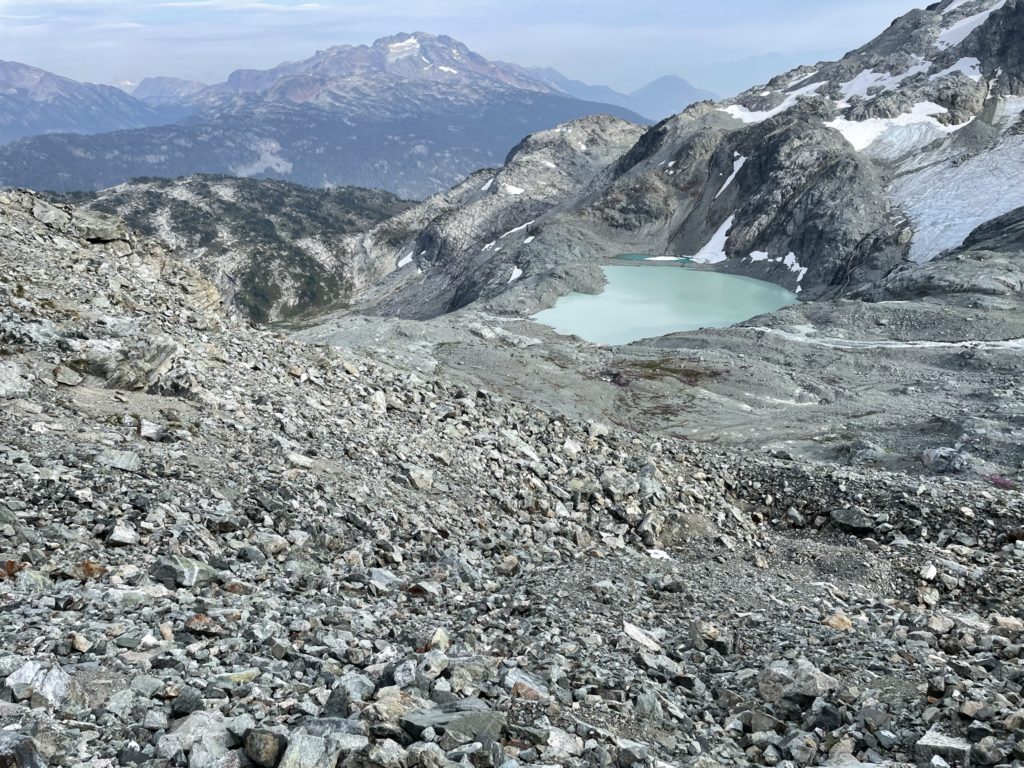
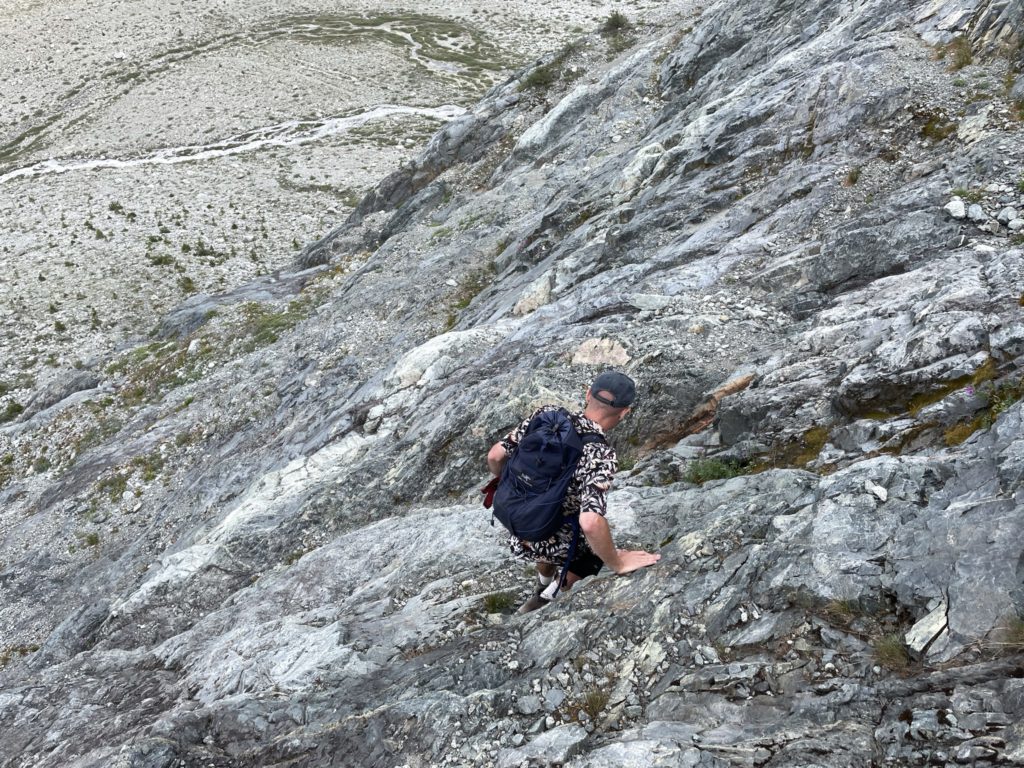
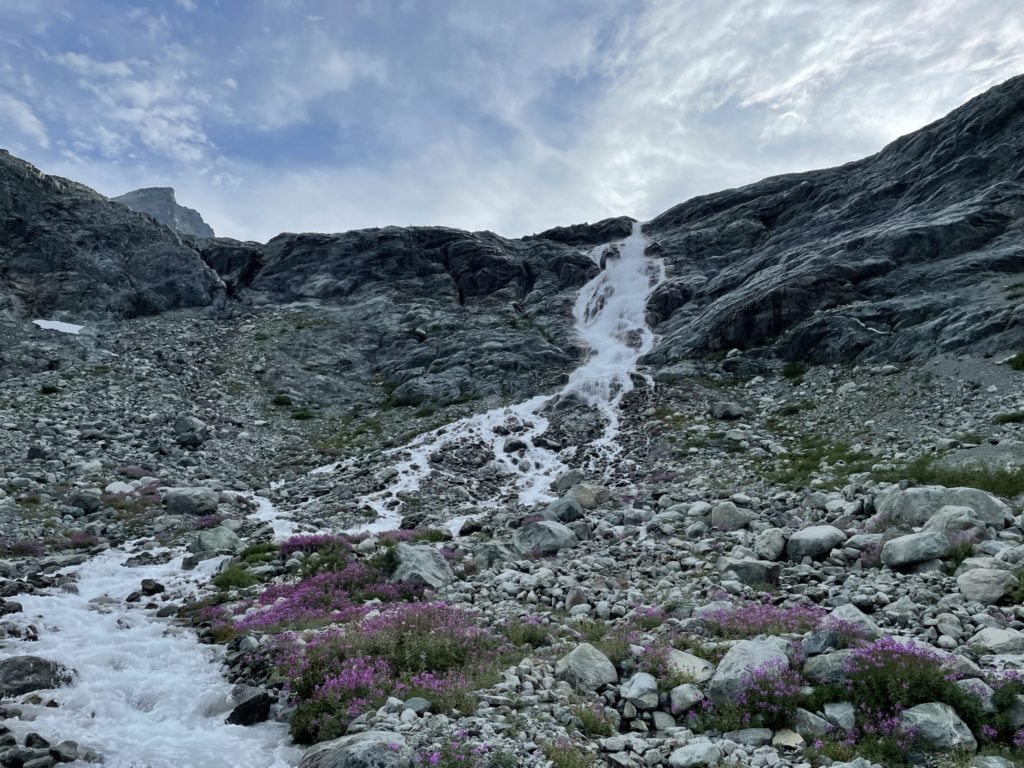
We crossed another short section of talus and then followed the GPS track to another gully. This one was similar in nature to the first gully, but with much more rock fall hazard. We took care, one at a time and then reached a talus/scree cone that we descended to another bench. I lead the way across the bench until our elevation was in line with the top of the large waterfall that runs at the end of the Train Glacier. Here the terrain got more technical as it was hard, slabby rock with mostly 5th class terrain around. I believe in Matt Gunn’s book you are supposed to go left at this point and rejoin with another talus slope, but we found a nice line through slabs that made for a quicker descent.

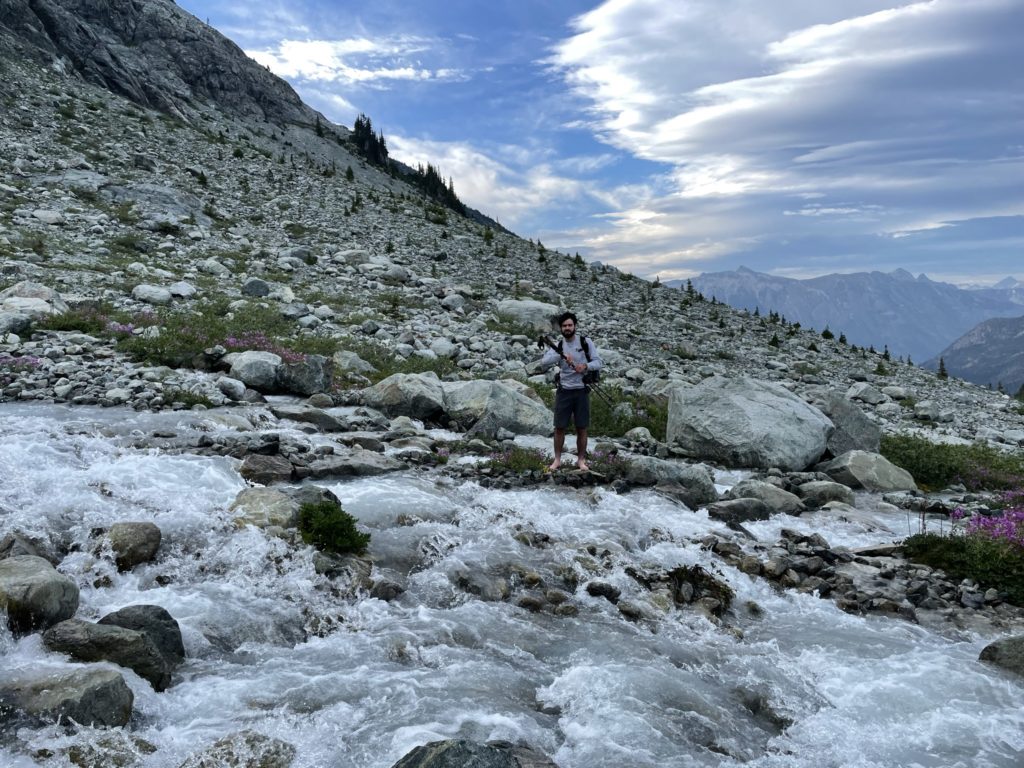
At last we reached the bottom of Face Mountain and started our walk across the broad alpine field towards Donnely Creek. Once at the creek, we realized we had hard crossing ahead of us. There was no obvious line across and the water was flowing quite fast and deep in most places. Mike went down stream to see if he could find something while I went further up towards the waterfall to see if there were any options. Higher up the torrent of water split into smaller streams and it looked more crossable. Mike joined up shortly after and we picked a line across. Mike managed to rock hop across the fastest part, while Jacob and I opted to take our boots off and cross through the water. The last section ended up being quite difficult with very fast running water, but we did manage to make it across unscathed.
Now over the last obstacle we started our walk back to our bags and then located Kate and Madi which concluded our trip. Initially, I was expecting only to get Locomotive, Tender and Caboose Peak due to the groups original sentiments. However, I was super pleased that part of the group wanted to push on and that we managed to grab all 5 peaks surrounding the Train Glacier except for Handcar Peak. In my opinion traversing from Locomotive first is the best approach as the route up Face Mountain involves tedious talus fields, side-hilling and steep gullies. The views from Face/Faceless make it well worth the extra effort to continue the traverse and the whole journey is sub 19km. The only caveat is that Handcar Peak, which is not directly on the glacier, is likely only to be done by the most hardcore of the peak baggers out there. It didn’t appear to pose any technical challenge, but offered a very low effort to reward ratio with large elevation loss and gain up steep scree slopes.

Thank you for the excellent and detailed photos and description of your hike, Francis! Very well laid out and explained. Congrats on your successful hike and thanks again for the valuable info!