
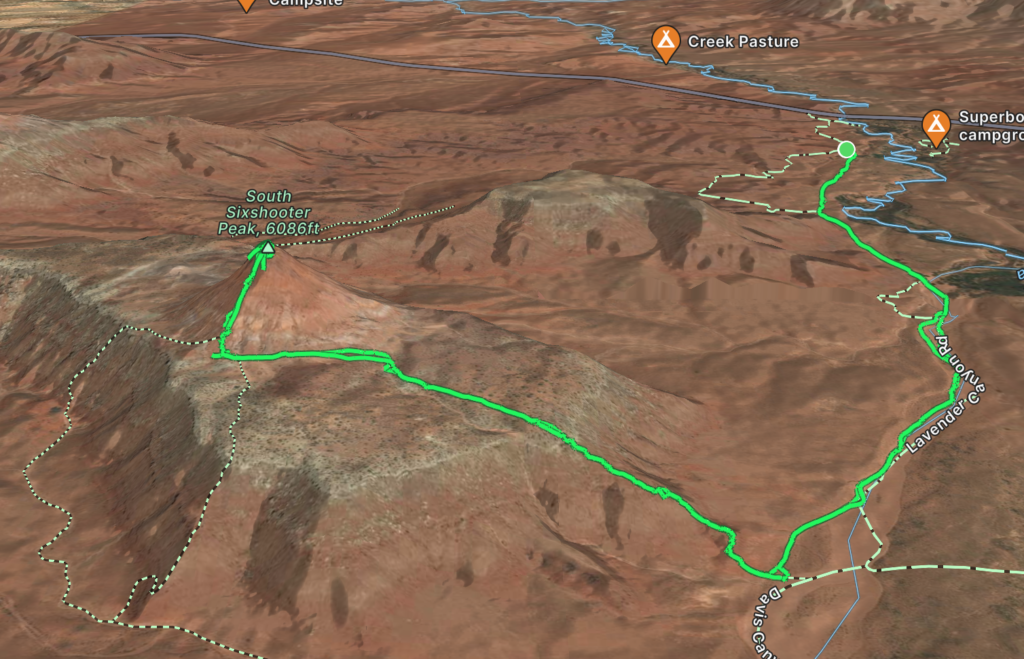
Elevation Gain: 331m
Distance: 12.95km
Total Time: 8 hours 1 minute
Date: October 15th, 2022
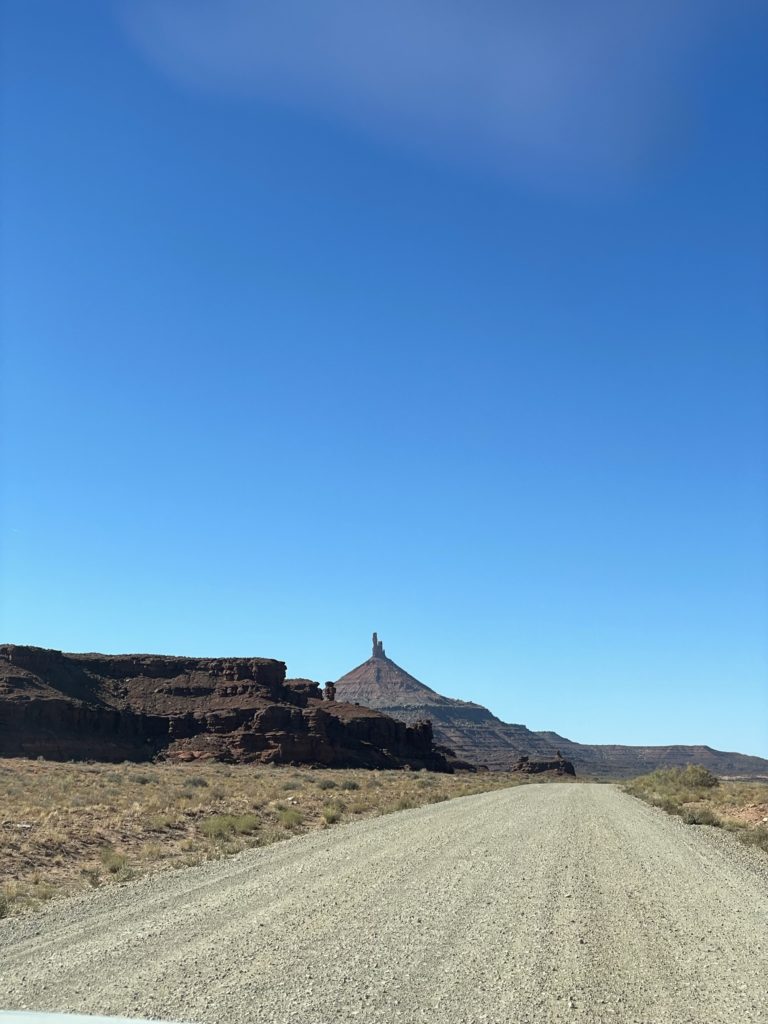
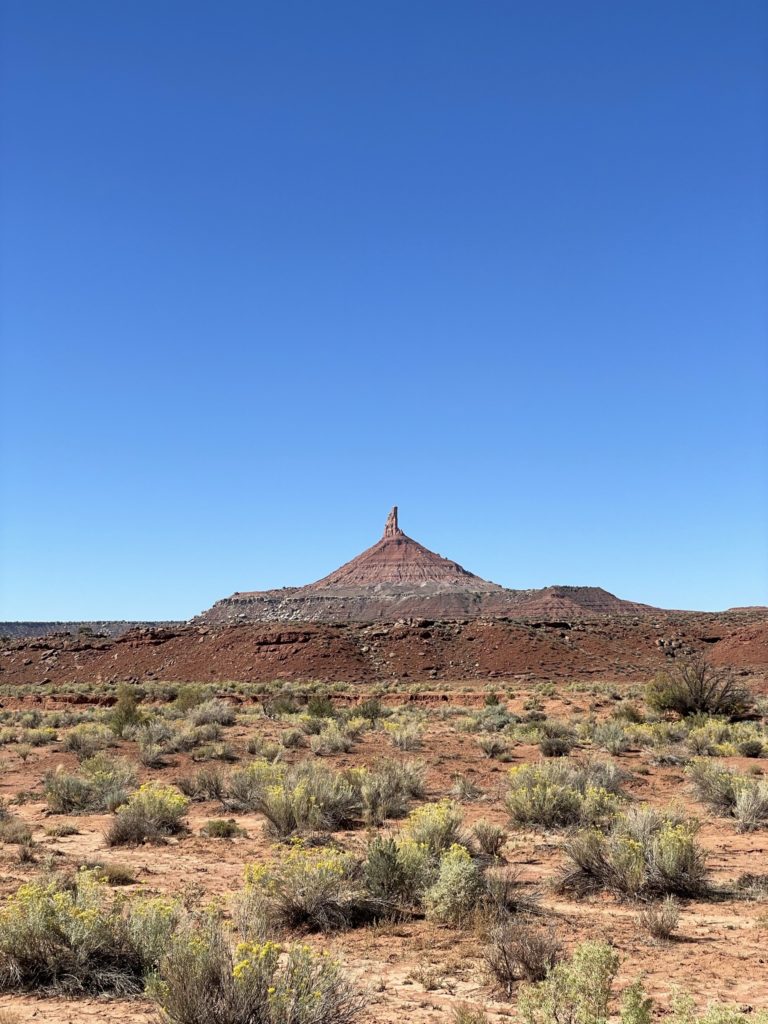
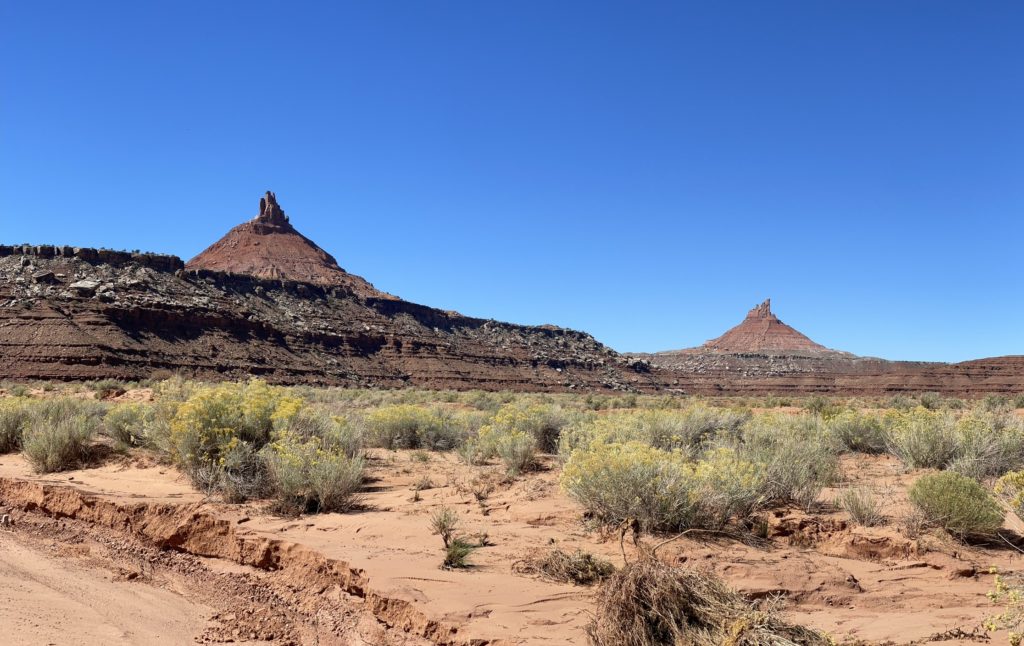
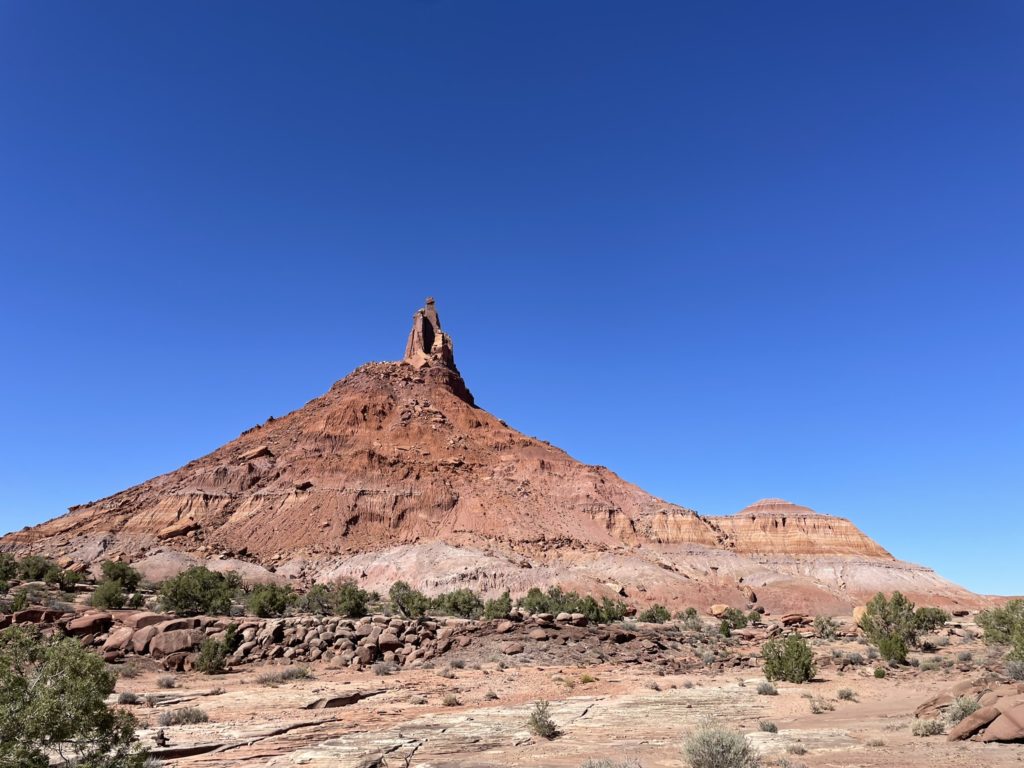
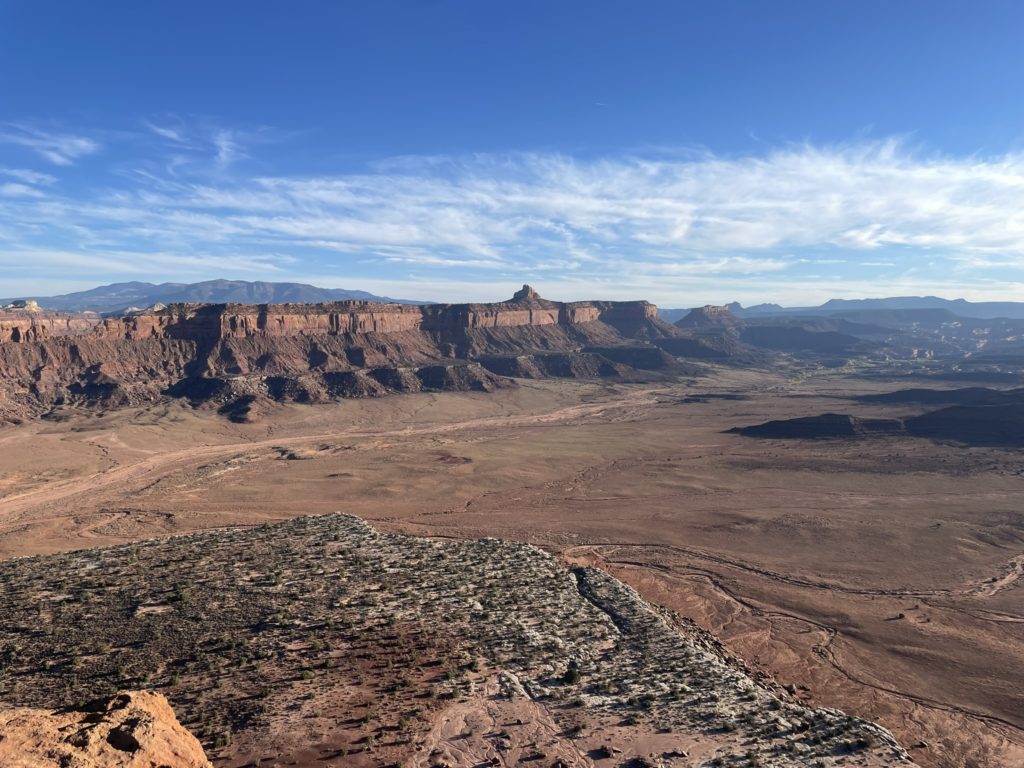
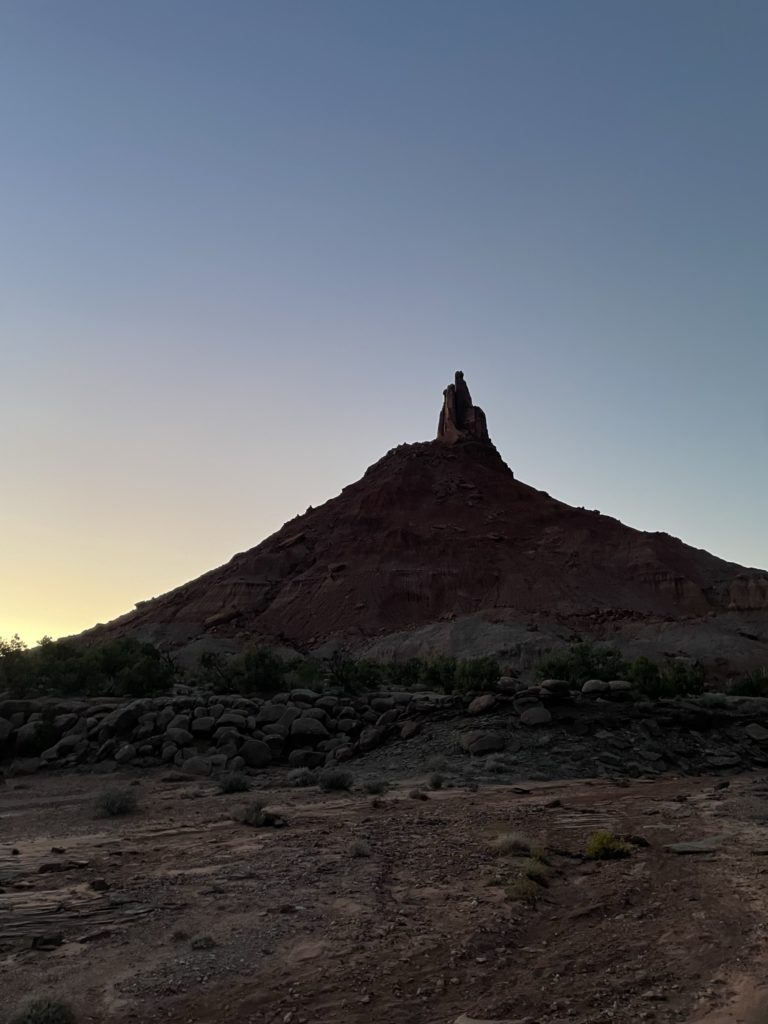
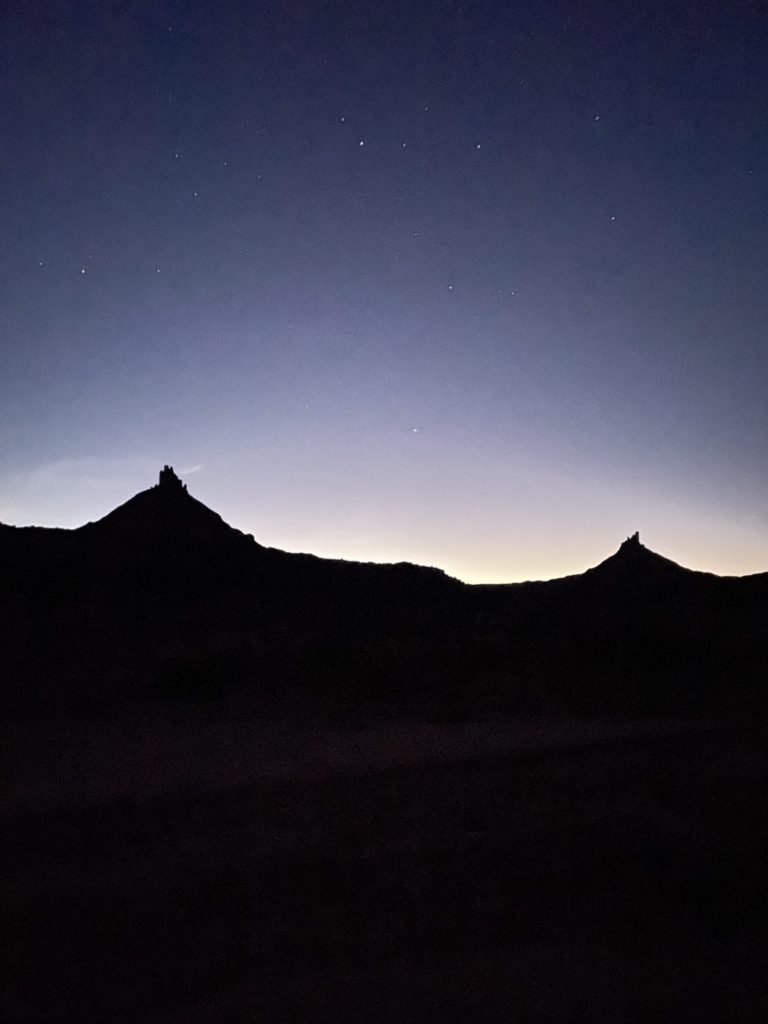
South Sixshooter and it’s neighbor North Sixshooter are an iconic duo of narrow sand stone towers rising high above the desert floor in the Indian Creek area. They are comprised of the world-famous Wingate sandstone that makes “The Creek” a major destination for climbers. South Sixshooter is the shorter of the two summits by ~16m, but offers one of the easiest tower climbs and potentially climbing routes in the whole of Indian Creek. North Sixshooter meanwhile can only be ascended by a 5.11- route at the easiest. These summits are generally considered an early catalyst to Indian Creeks current status with some of the earliest climbs taking place on them. Both are named Sixshooter because of their resemblance to a revolver standing on it’s back.
While climbing Big Methow Needle with Sarah and Steven a few weeks ago, I mentioned that Andrea and I planned to climb in Indian Creek. Sarah suggested South Sixshooter as a must do summit with an easy 5.5/5.6 route to the summit and I immediately added it to the list.
After doing some more research on our road trip down, I found the 5.5 route in question is known as the “Trade Route” and is 3 pitches to gain one of two summit towers. Both looked to be similar in height, so I had to do some more digging and it seems by general consensus that the south east summit is the tallest. Meanwhile the trade route seems to go for the north west summit. Andrea and I figured worst case we could tag both towers if it came to it.
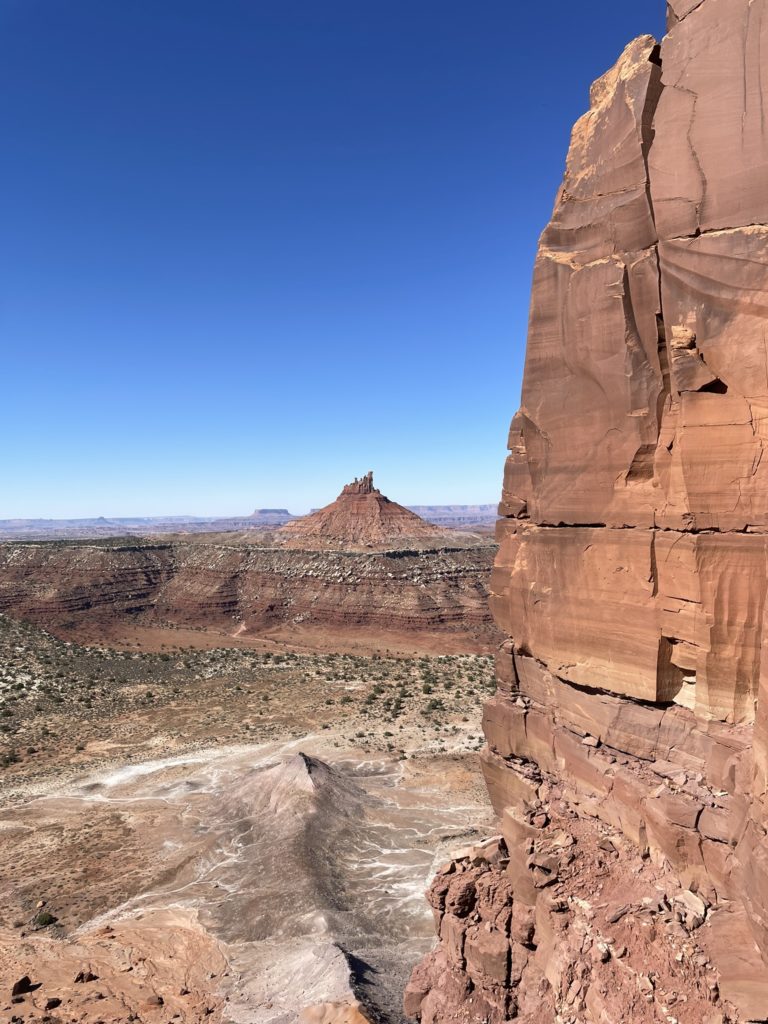
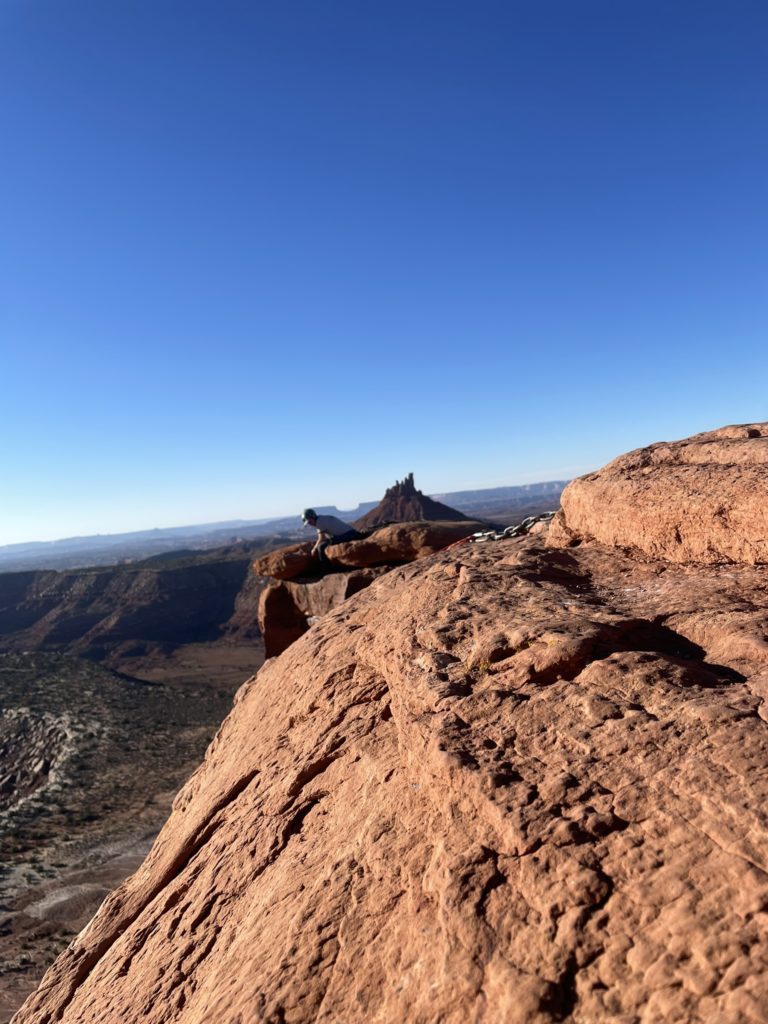
We spent the first two days in Indian Creek getting humbled by the pumpy vertical nature of the crack routes around the area. On our second to last day we wanted to take a break from getting broken and try for South Sixshooter. I wasn’t 100% sure what to expect as our idea of 5.8/5.9 climbing was being completely redefined and now whose to say what 5.5 would actually be like. Nonetheless, it’s an exceptionally aesthetic summit and we could see it from all across the many Indian Creek crags.
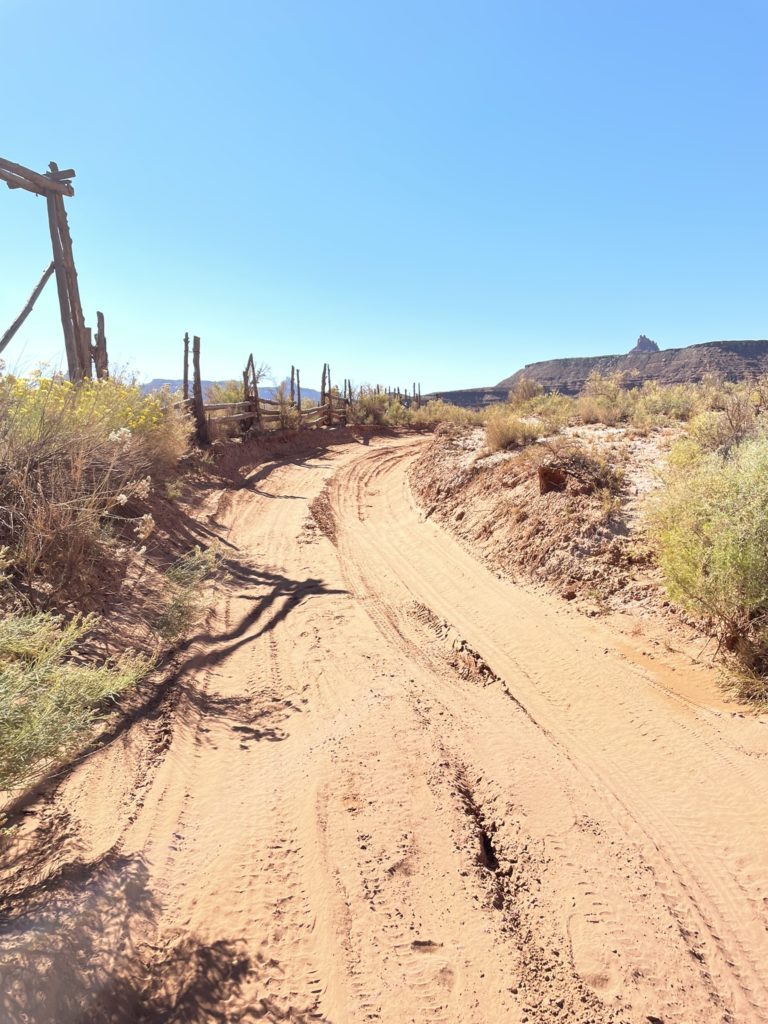
The Sunday that we went to climb it was off to a bit of a late start, but we were anticipating a short approach (~1.5km) and only three pitches of climbing. However, as we branched off the main road through Indian Creek and onto the approach service road we discovered a major washout only a kilometer in. It was a total show stopper and we were now faced with an additional 4km of desert road walking to the trail head. We waffled over the decision for at least 20 minutes before finally deciding to commit.

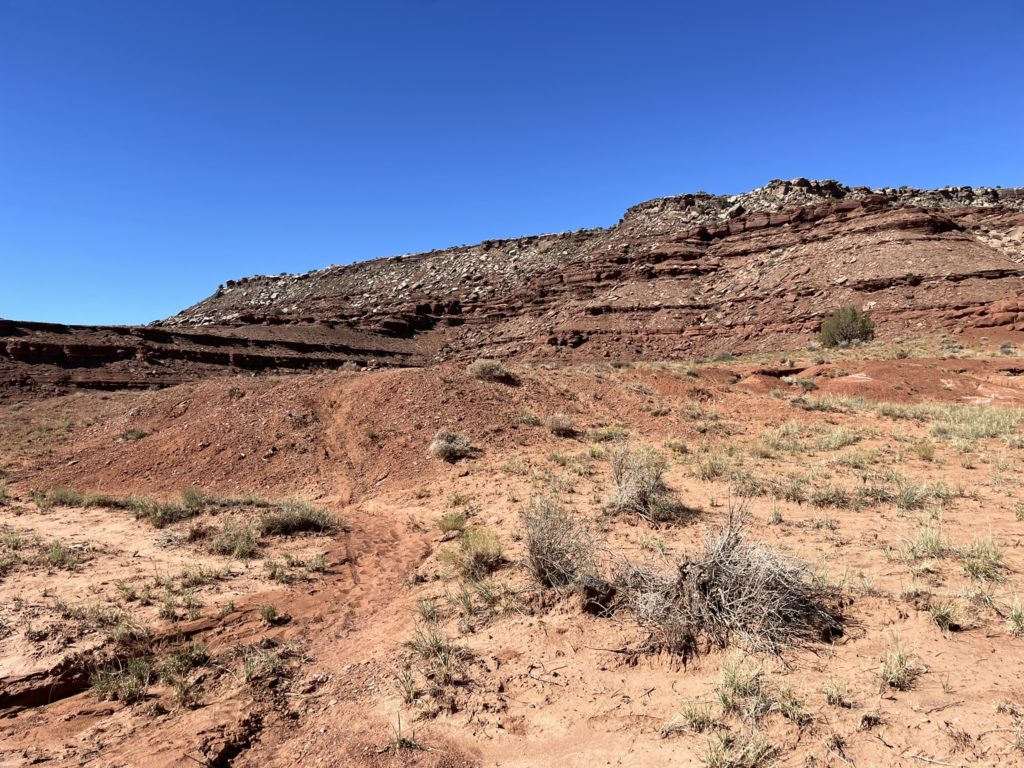
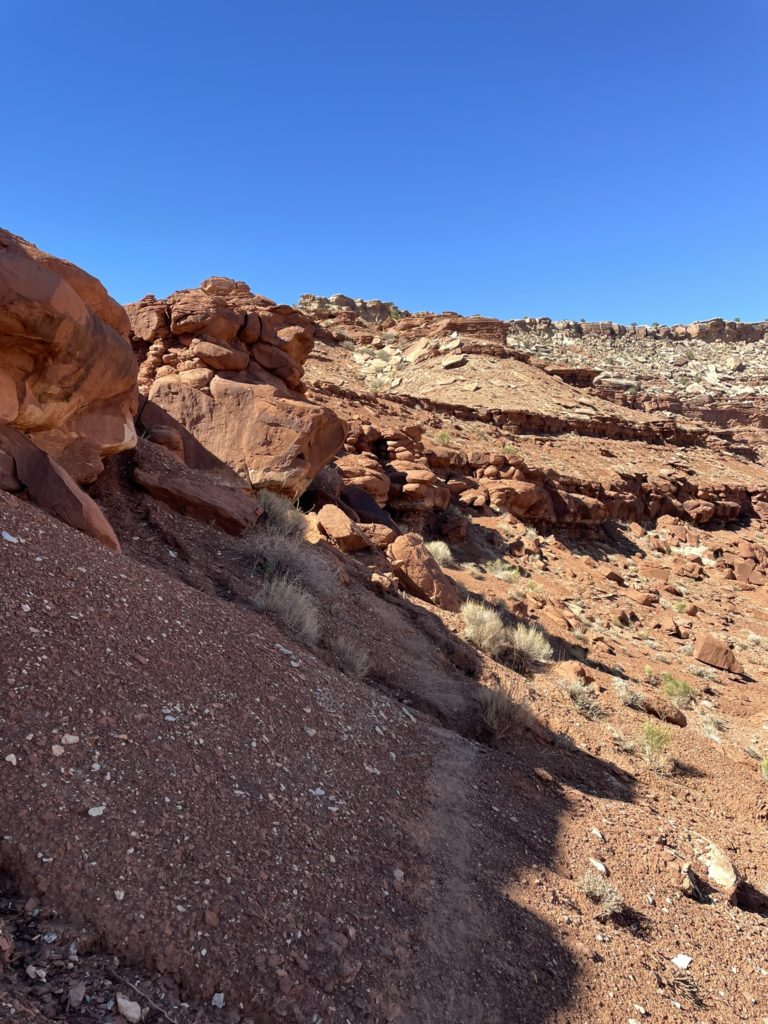
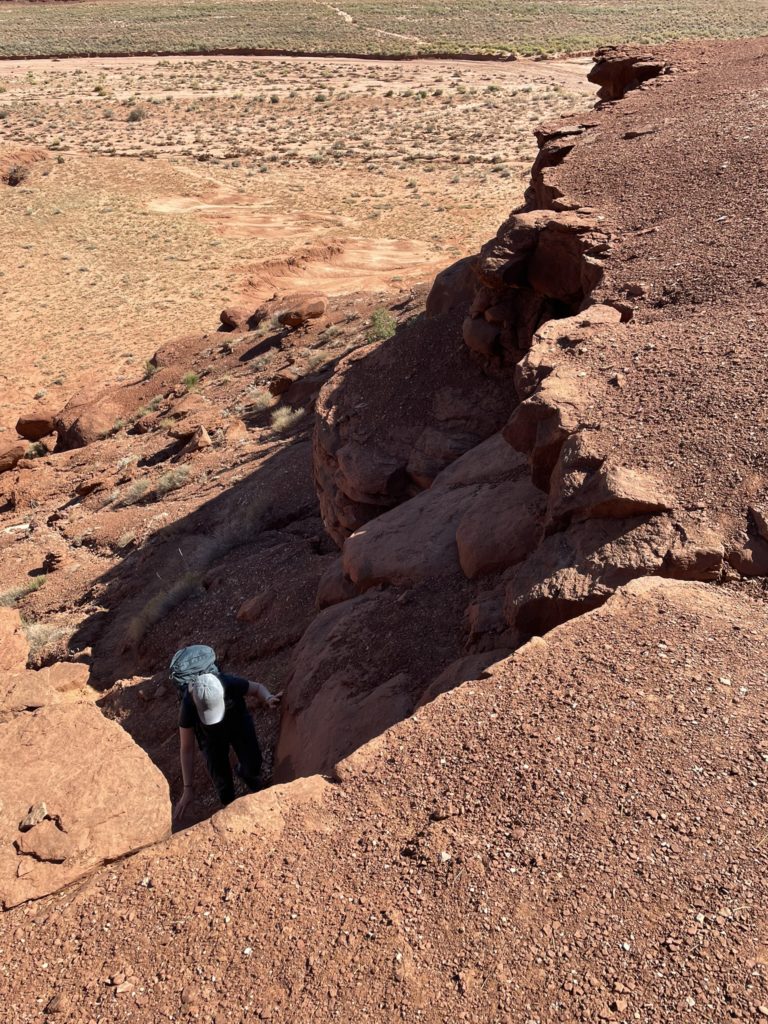
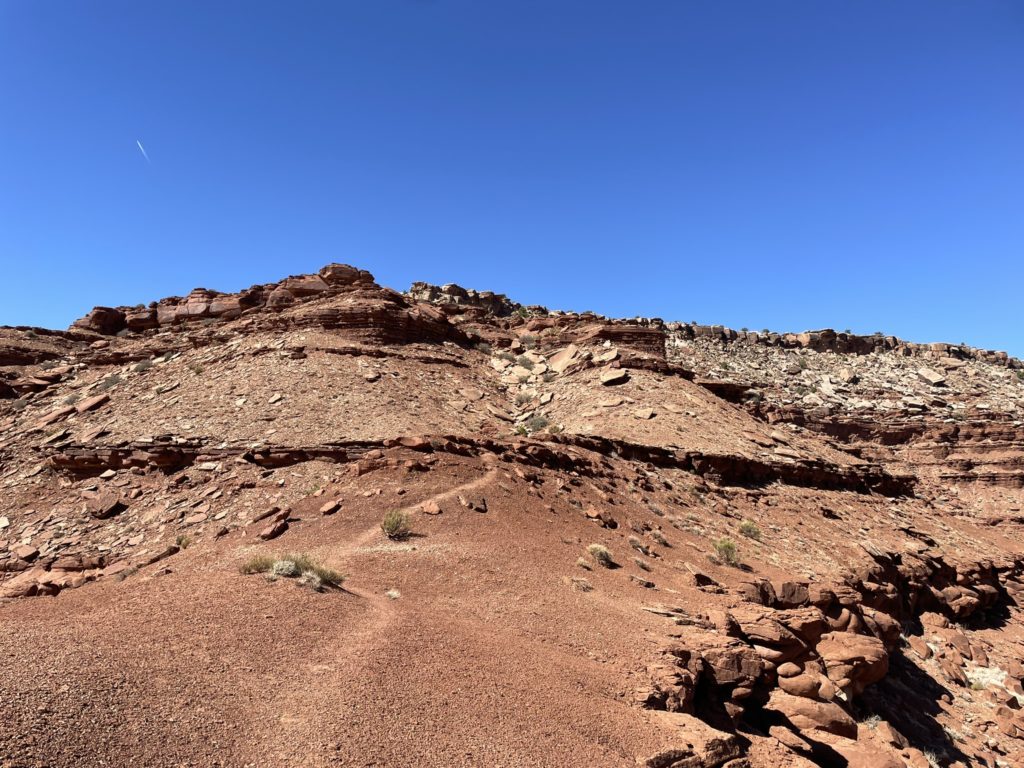
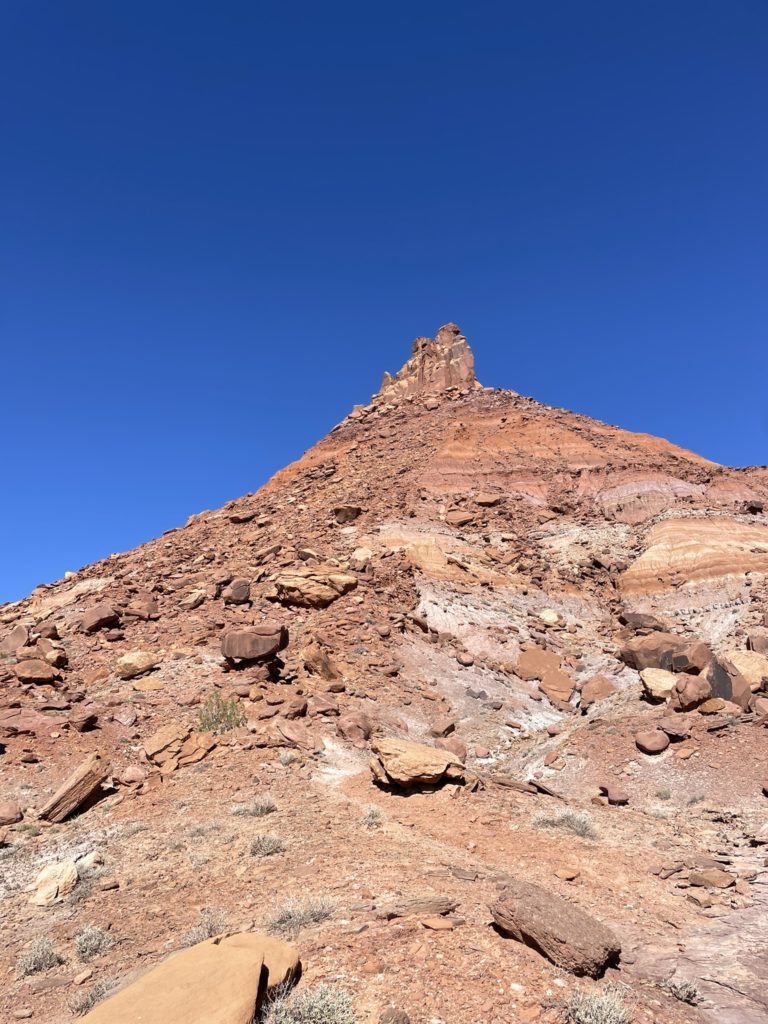
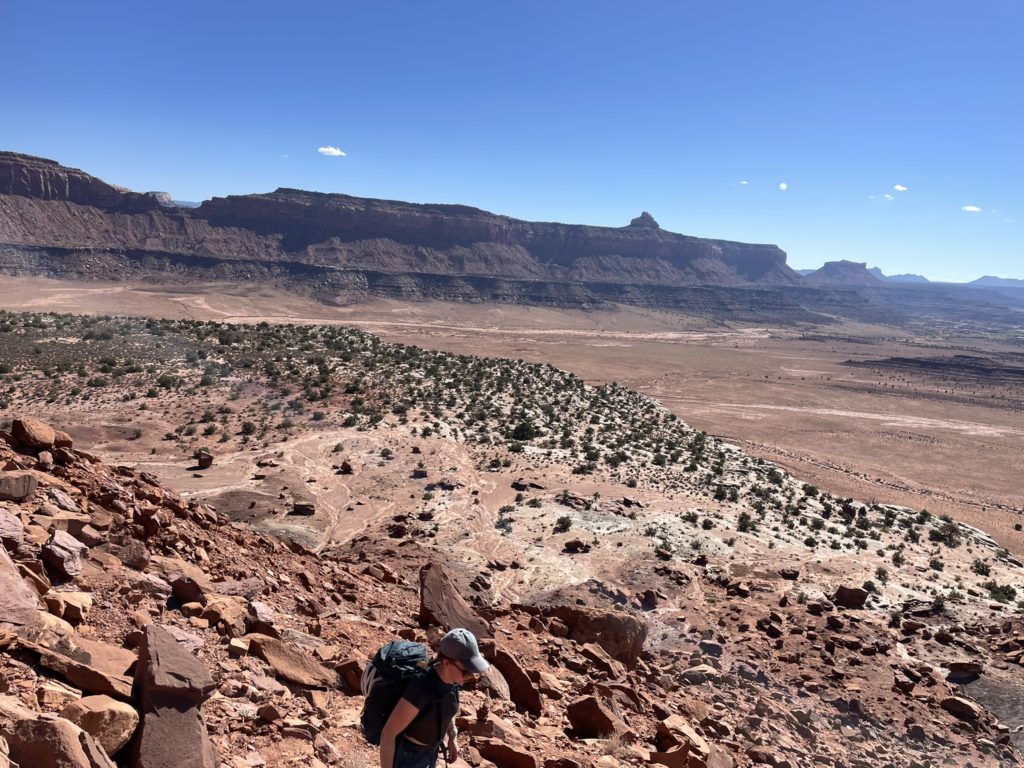
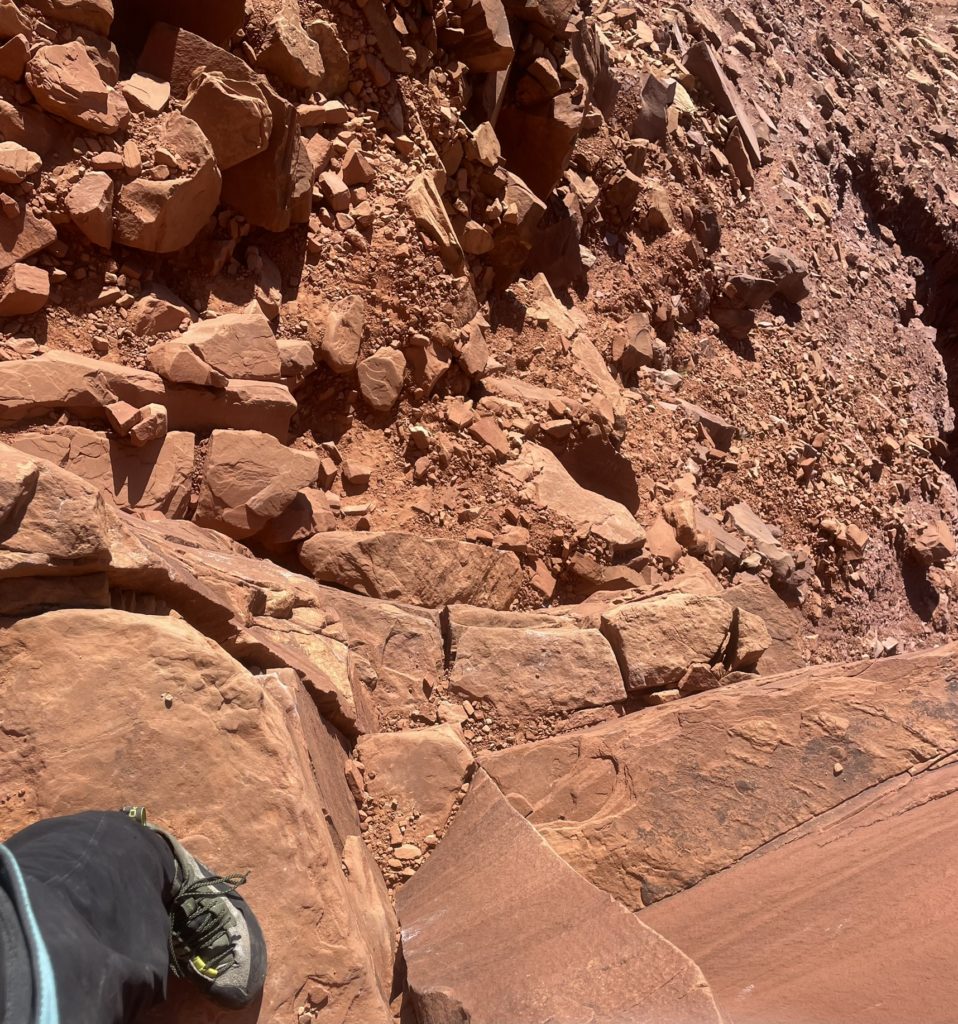
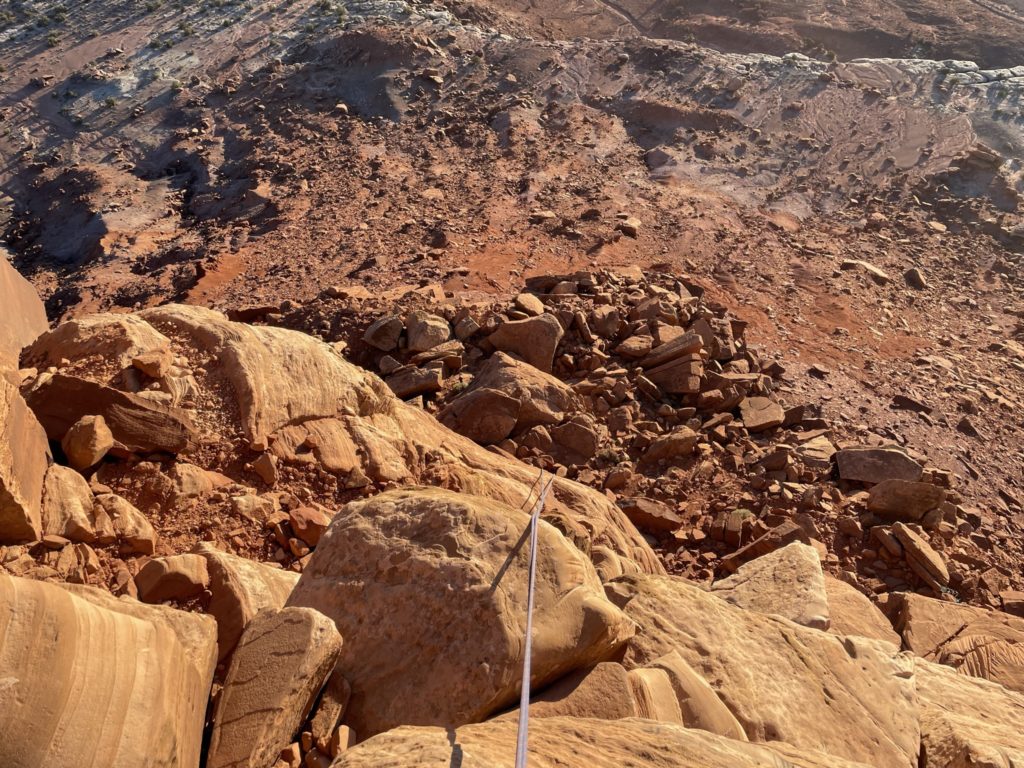
Armed with extra water and snacks we started the journey towards South Sixshooter. Despite the desert sun casting fire on us, the road walk was overall fairly pleasant and we made sure to take as many breaks in the shade as we could. In less than an hour we had reached the approach trail and started our way up through the chossy mesa layers. The approach trail was exceptionally well marked and before long we were at the base of the massive debris cone that surrounded the sand stone towers of South Sixshooter. From the base the debris cone looked tedious to ascend, but after following the path through we find that to be exceptionally straight forward as well.
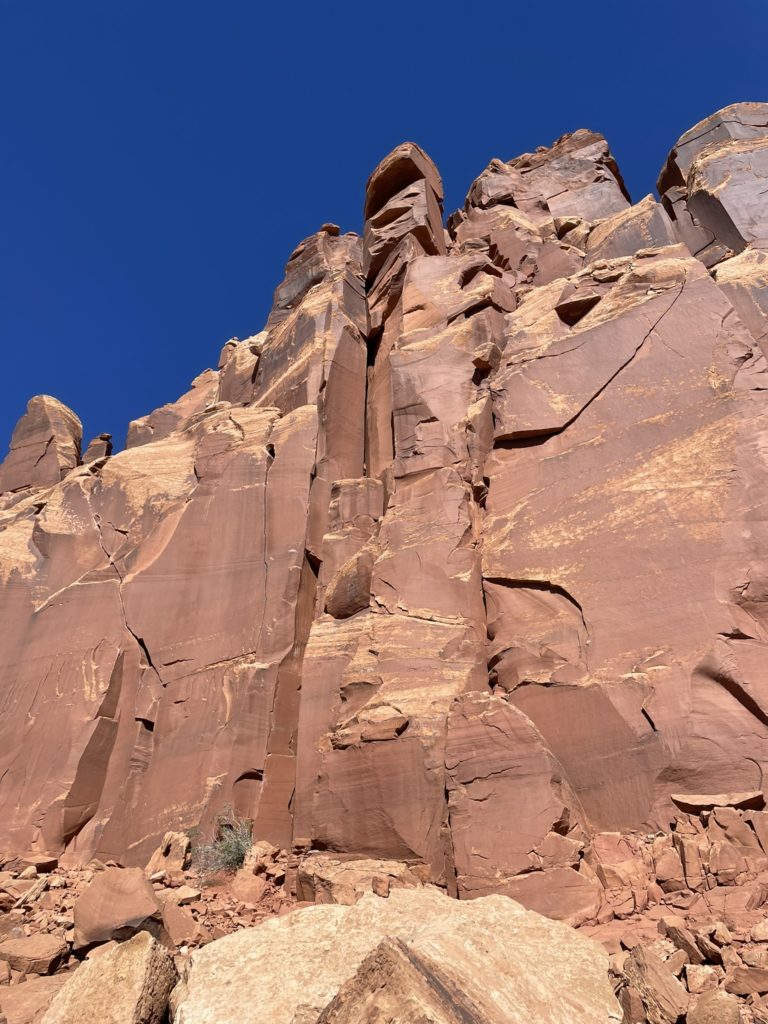
It was now ~2PM and we had reached the base of the climb. Perfect timing we thought, as we could climb the three pitches and be back at the car well before dark. That comfortable thought quickly left that as we discovered there were a total of three parties ahead of us on the route. We couldn’t be mad though, we had picked one of the most popular routes in Indian Creek and on a weekend no less. No matter, these parties should be quick, we’ll just wait it out. And wait we did… for over an hour and twenty minutes. There were still all three parties ahead of us, but they had progressed enough to free up the first pitch. Andrea and I were getting bored of waiting so we decided to fire up the pitch and at least get some climbing in.
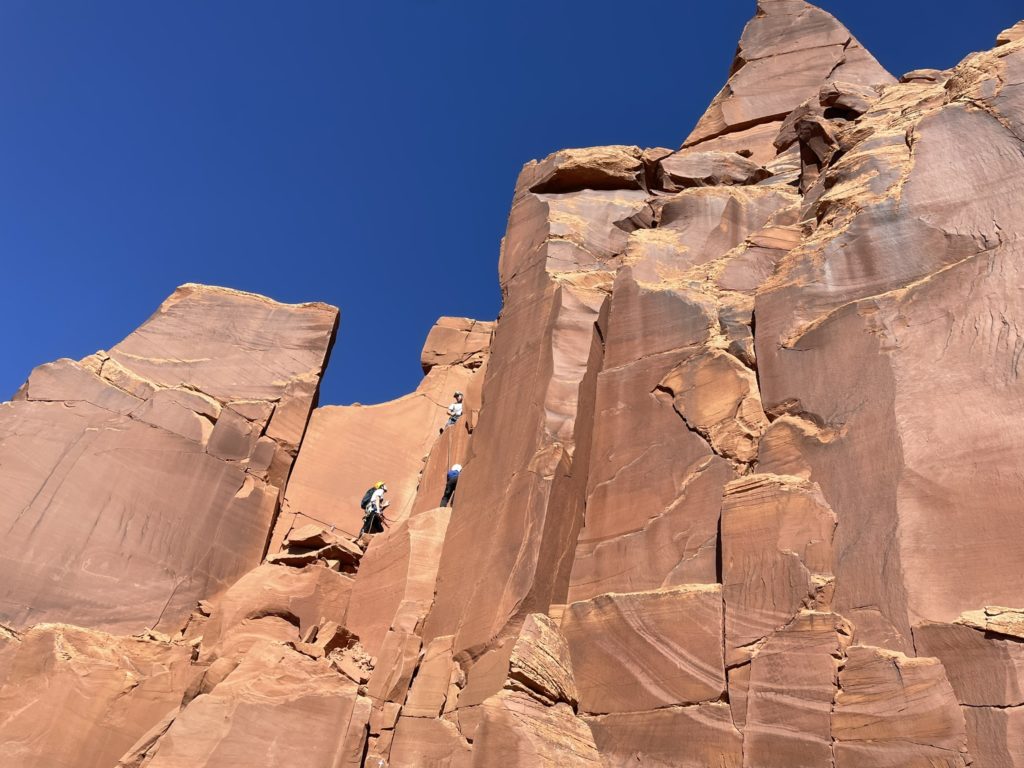
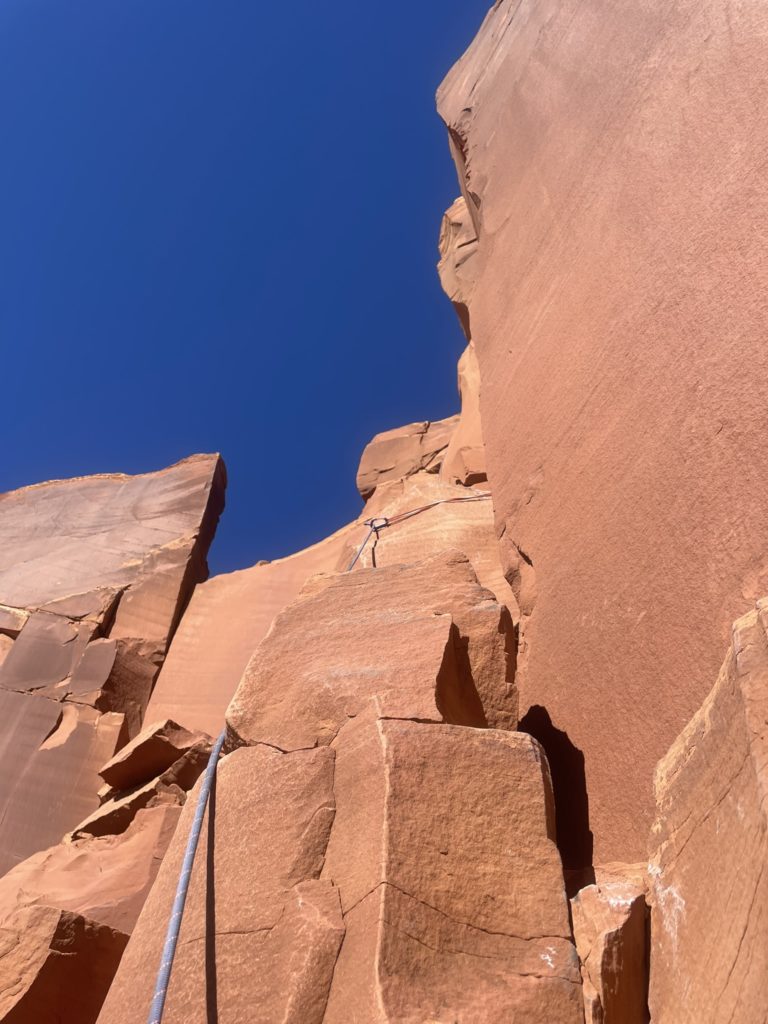
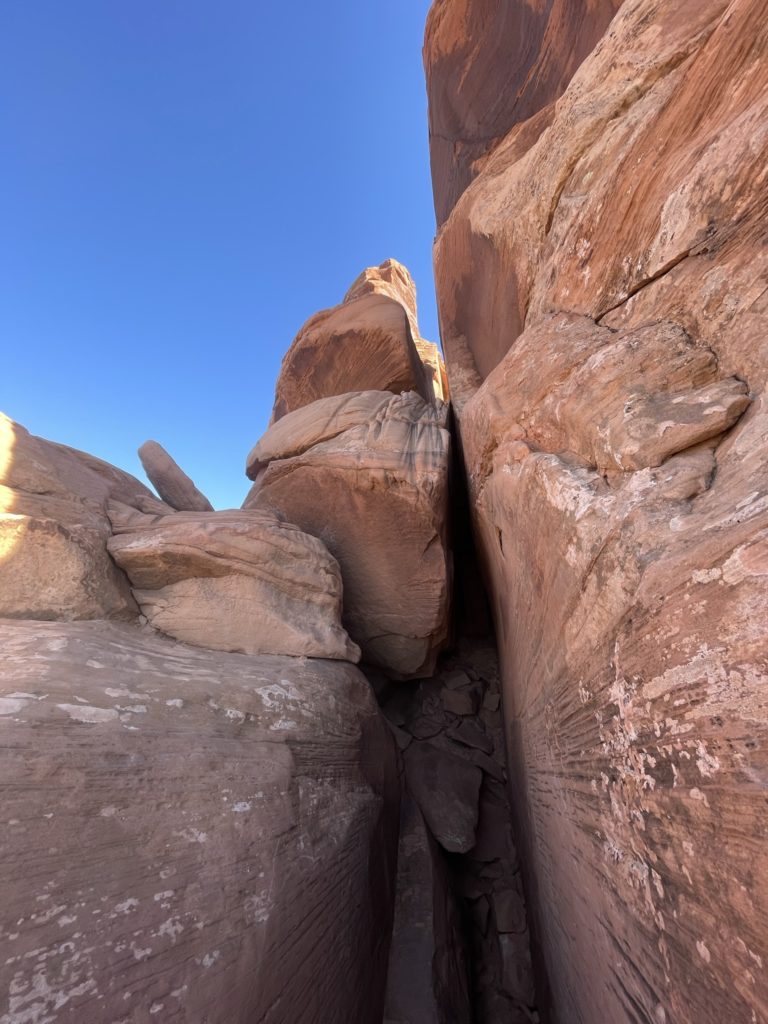
Andrea lead the first pitch, which turned out to be mostly low 5th class scrambling with one 5.5ish set of moves up a chockstone-laden chimney. I followed up and prepared to swing leads. The next pitch supposedly involved a short chimney section and a traverse to the base of an optional 5.7 layback crack or further along to a face-climbing section up chock stones. I made it up the chimney section without needing to place any pro and traversed over the non-exposed ridge to the base of the layback crack. There the group ahead of us (a nice family of 5 named the Berrett’s) was climbing up the crack in turns. They were stuck as well as two other groups ahead were slowing everyone down. I found a block to sling and belayed Andrea up.
We then waited for over 45 minutes while a dad and his two young kids rappelled from the summit down to the ground. He was in the process of teaching them how to rappel and the process was painfully slow. On the one hand, I think it’s awesome to teach your kids these skills and what better place than a beginner friendly tower climb. On the other, I found it quite inconsiderate to hold up three other groups (a total of 10 people combined) to provide that lesson. If you see that many people waiting to climb up, it’s best to go with a faster descent method and save the lesson for another time. In this moment, getting baked by the sun, I found myself getting really frustrated and losing perspective of where I was…. a beautiful sand stone tower in one of the most striking desert locations I’ve ever visited. Oh well, I wasn’t able to ignore the lack of courtesy, but when they eventually reached the ground my mood improved a bit.
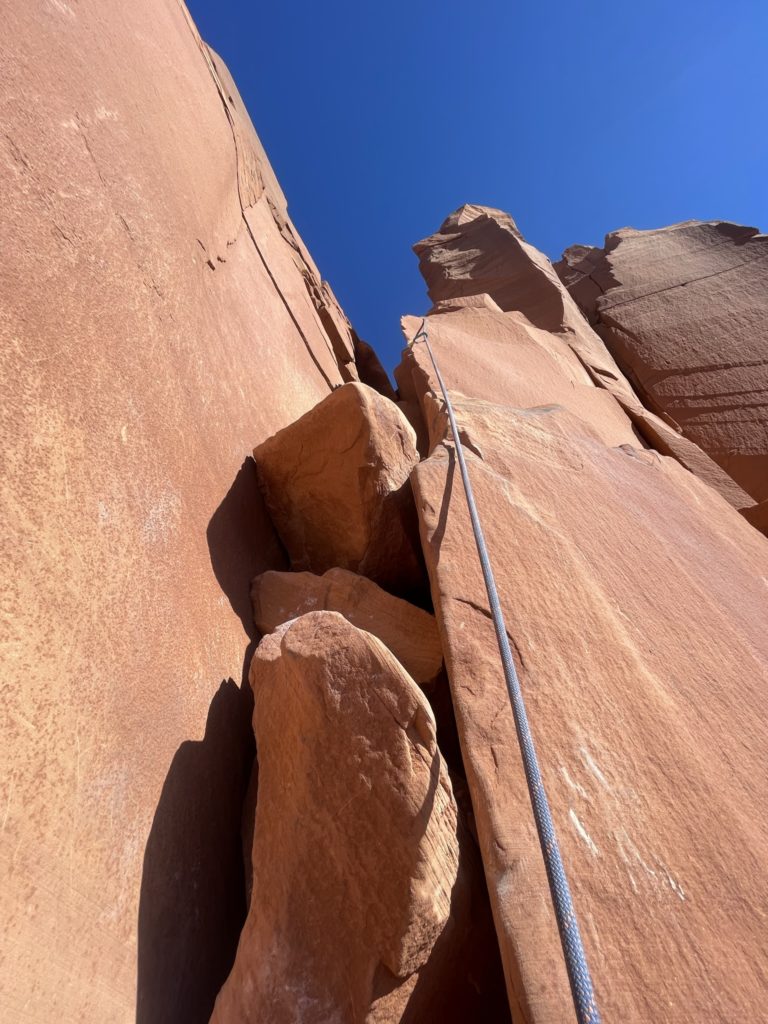
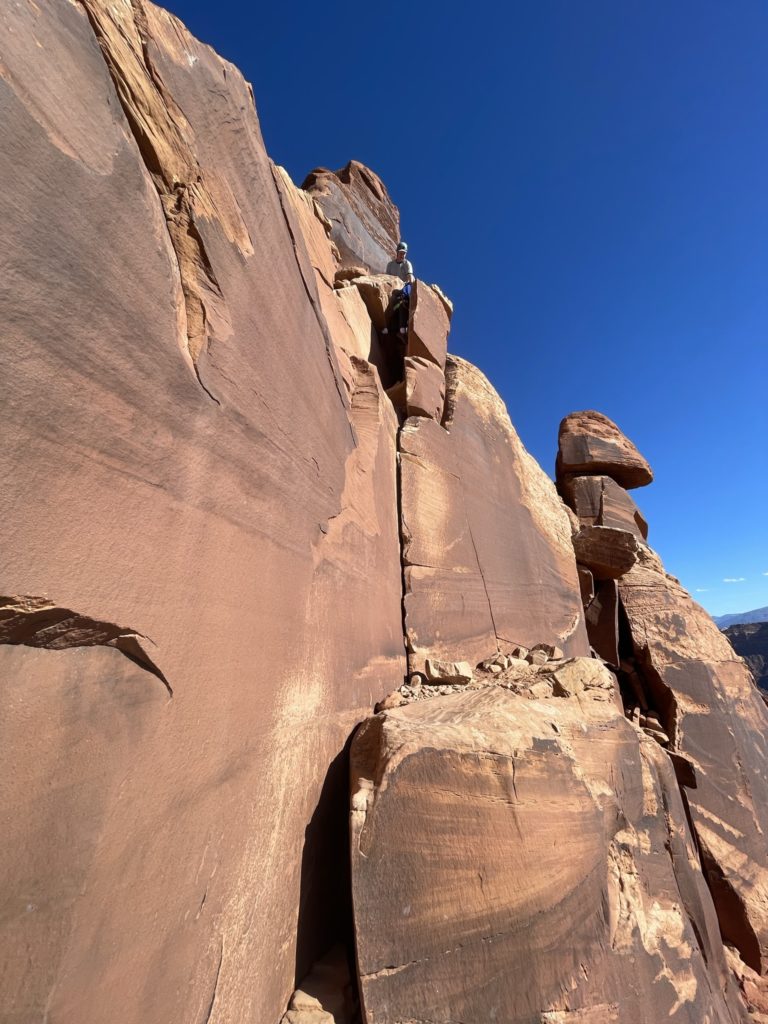
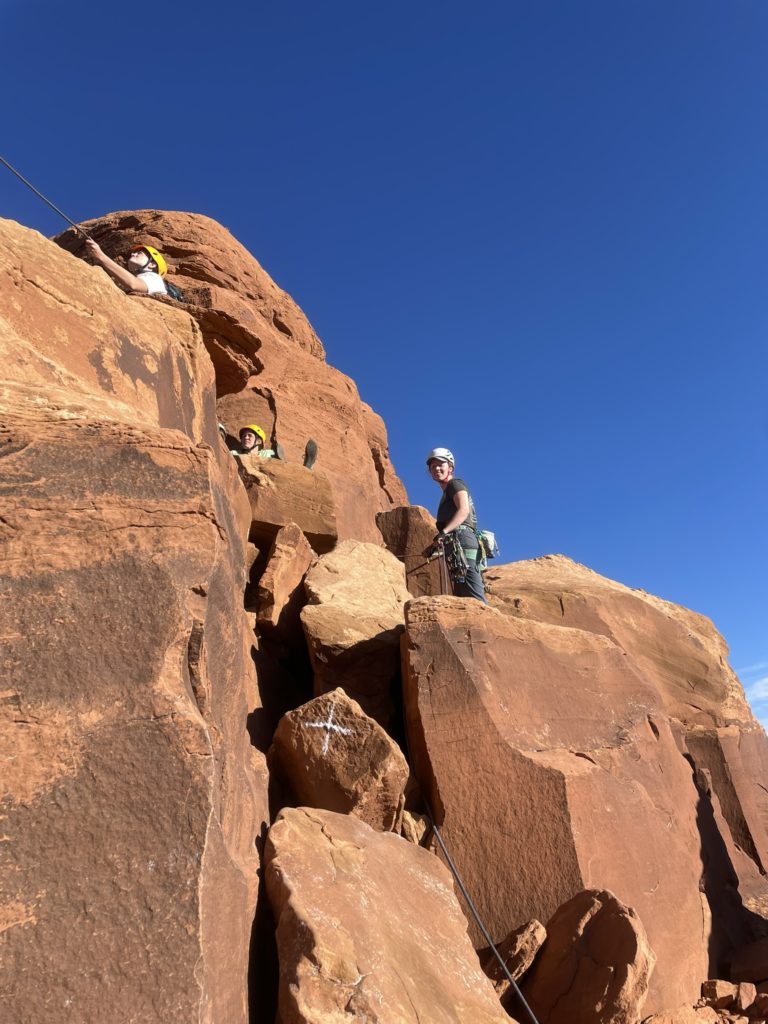
Andrea was keen to lead the layback crack pitch, so after the family of five had topped out, she started up. After a few tricky sequence of moves, Andrea pulled herself out of the short crux and onto a broad ledge system below the two summit towers. Now another calamity presented itself, as the next group was getting ready to rappel. Andrea couldn’t belay me up without interfering with their rope and to make it worse they were having an argument with themselves about rappel systems. I hung out at the base for a long while, before a solution was sorted out and Andrea was able to belay me up.
To speed things up, Andrea and I decided to go directly for the south east summit, considered, but not confirmed, to be the tallest. Meanwhile, the Barrett’s were keen to finish off the trade route which topped out on the north west tower. That worked perfectly for us, so we got ready to swing leads with me taking on the final summit pitch. Because the trade route is the most popular, there’s not much beta on the south east summit pitch and I was going to have to figure it out on sight. Looking at it up close now though, there didn’t seem to be anything too challenging.
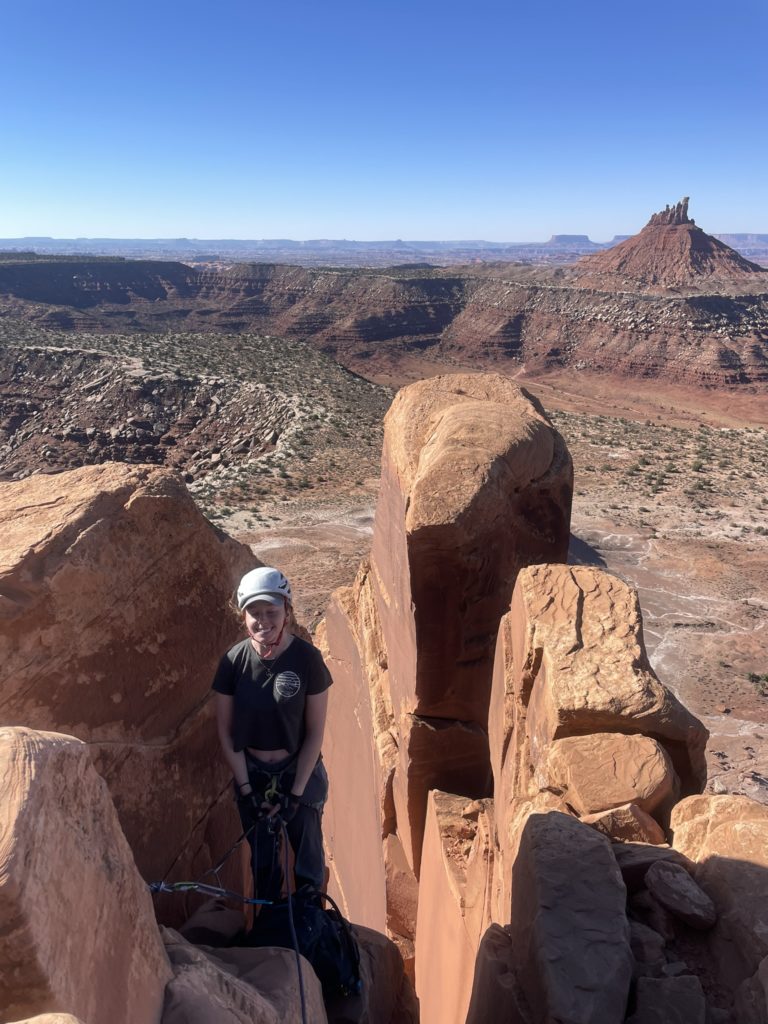
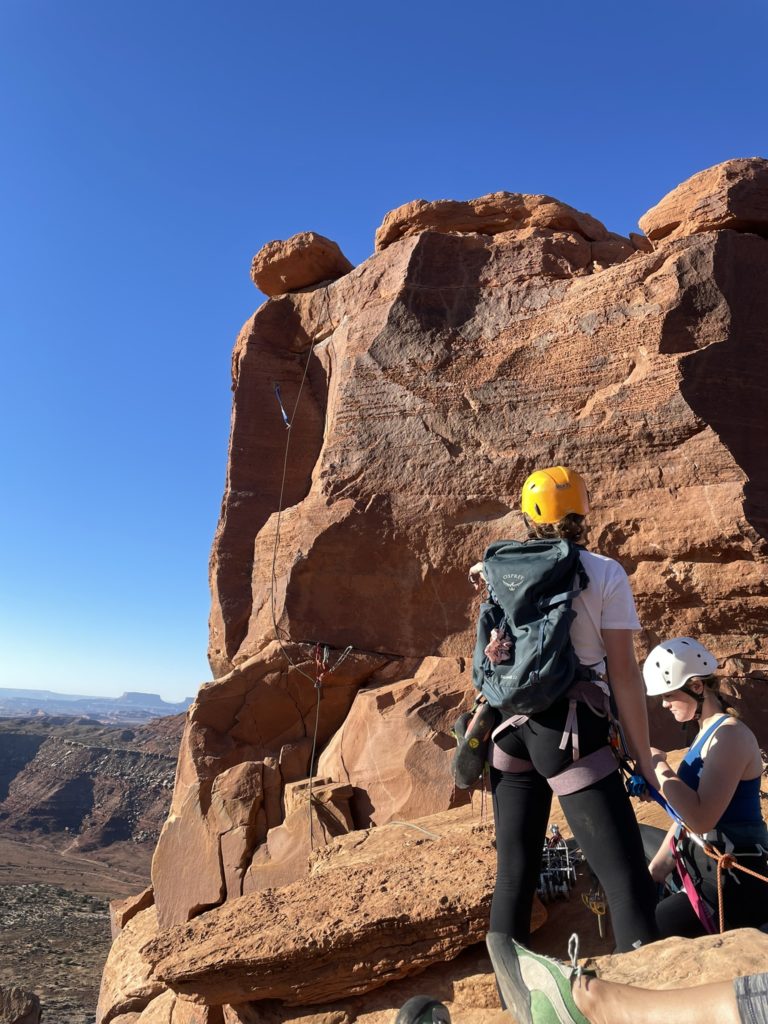
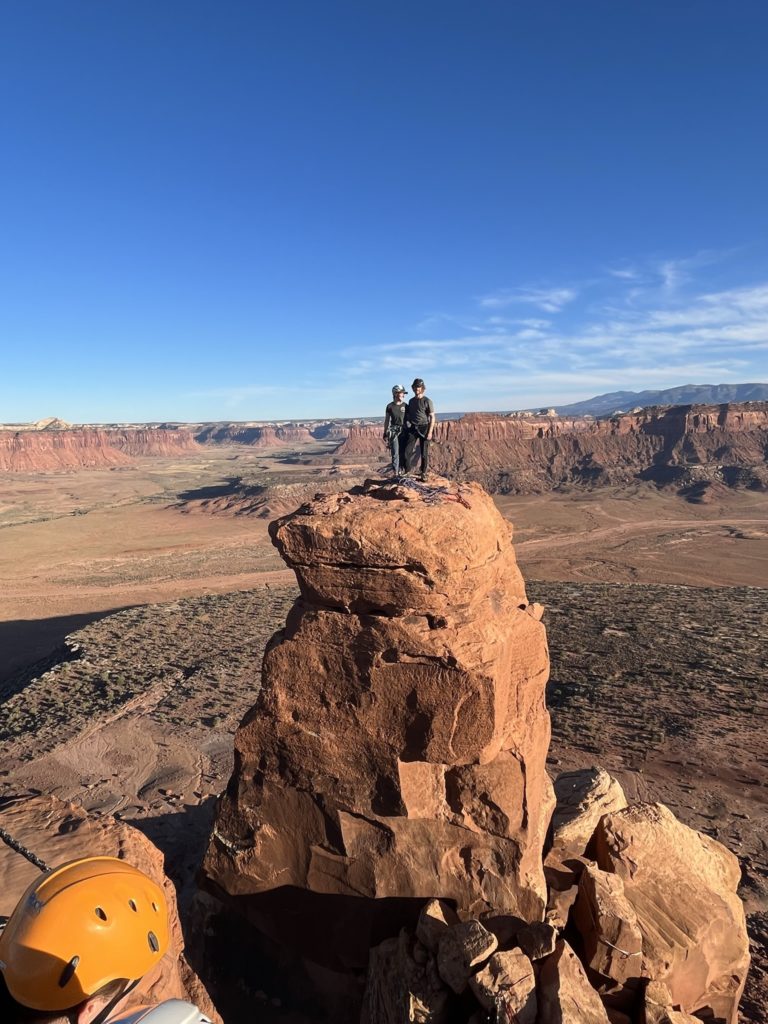
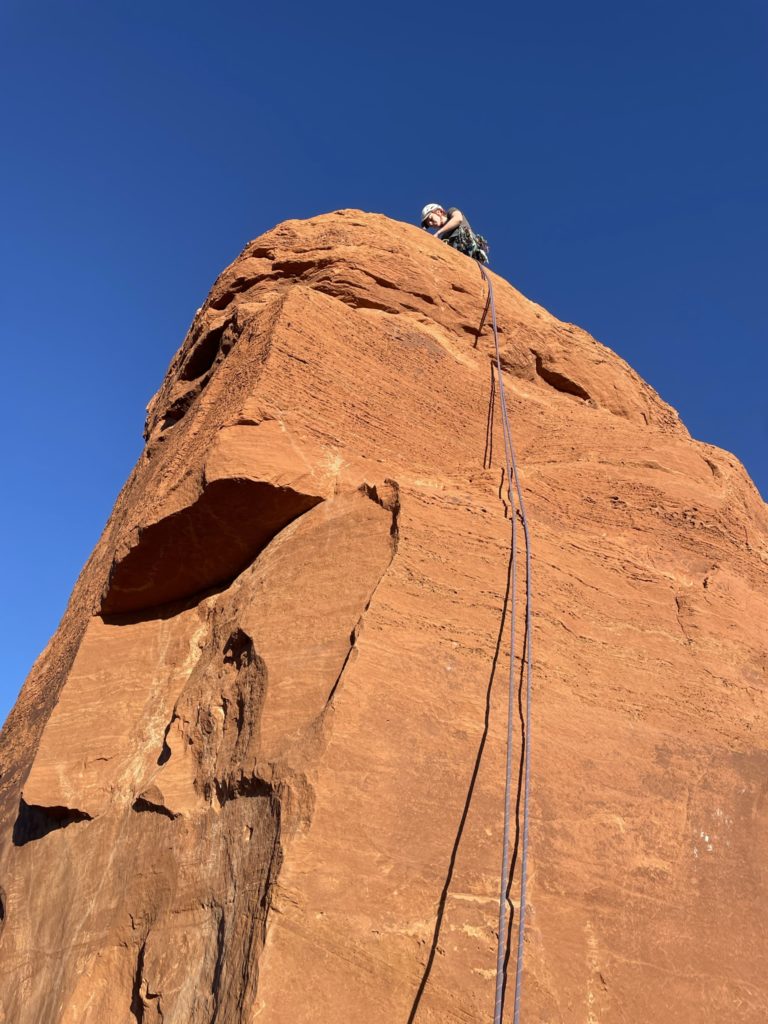
With that, I stepped out on to a large block below the tower base and then moved right onto an exposed ledge. After a careful balancing step up, I found a good ledge to hold onto. I found a #0.4 placement by my feet and then a #5 DMM wallnut at head height. I pulled off a good jug then had to trust my weight on two precarious looking flakes before I standing on the ledge that they rested. At this point my nut placement had fallen out, making clear that the placement was not adequate even with an extension. I placed a better #0.75 and then pulled my way up and onto the summit. I looked over to see the other group with a few members on the other summit and the rest on their way up. It was pretty cool to be on two separate towers so close to one another and looking across it seemed we had correctly selected the true summit to climb.
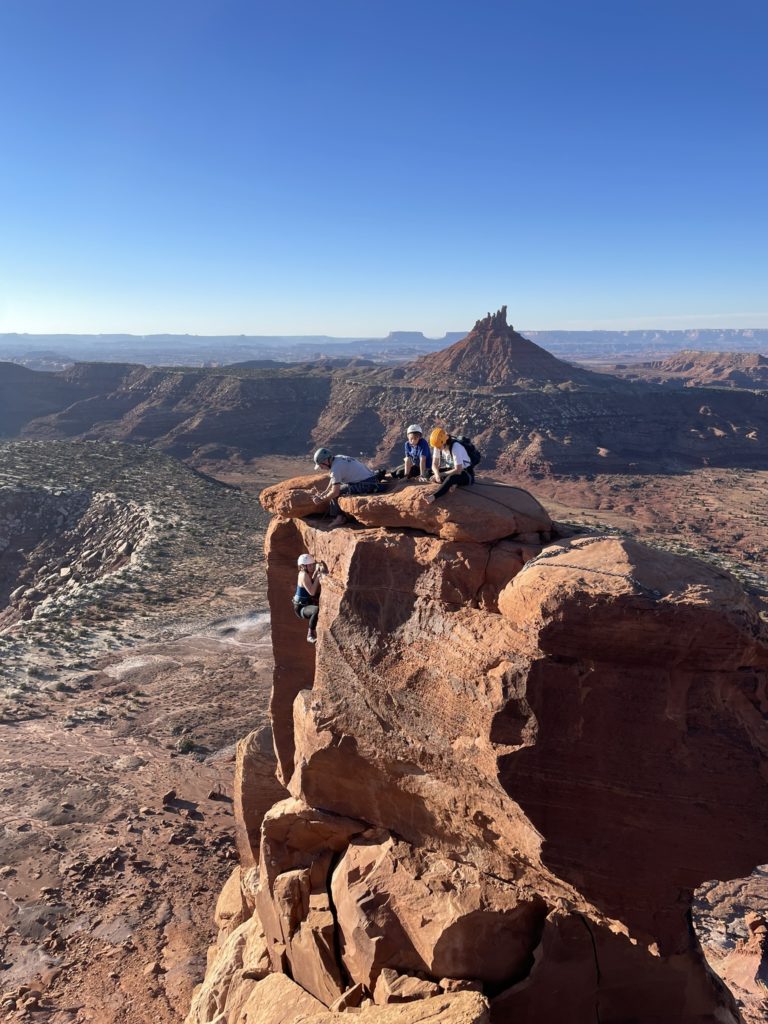
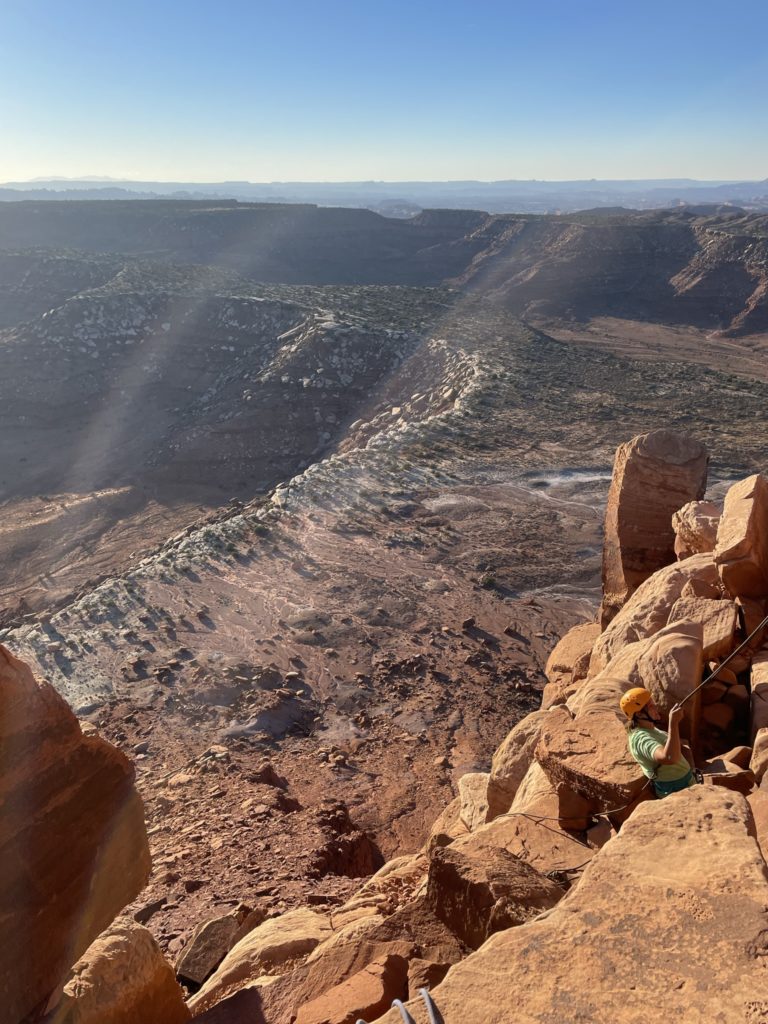
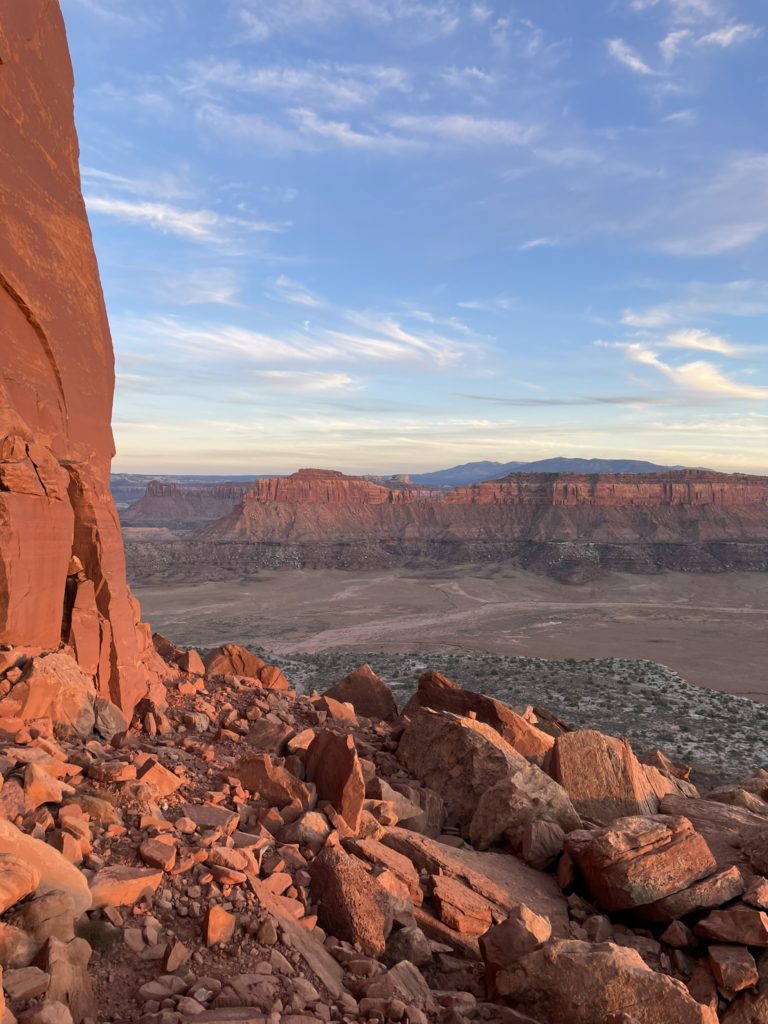
The next step was getting Andrea up and this turned out to be a more awkward affair than expected. There was a bolted anchor on the top, but the bolts had been placed very close the edge of the tower. That meant either a hanging belay or some extra faff to get secured and build an anchor that didn’t drop over the precipice. A few minutes later, I had something up and running and then belayed Andrea up. She cruised the short pitch up to the top and we now got to enjoy the amazing summit views together.
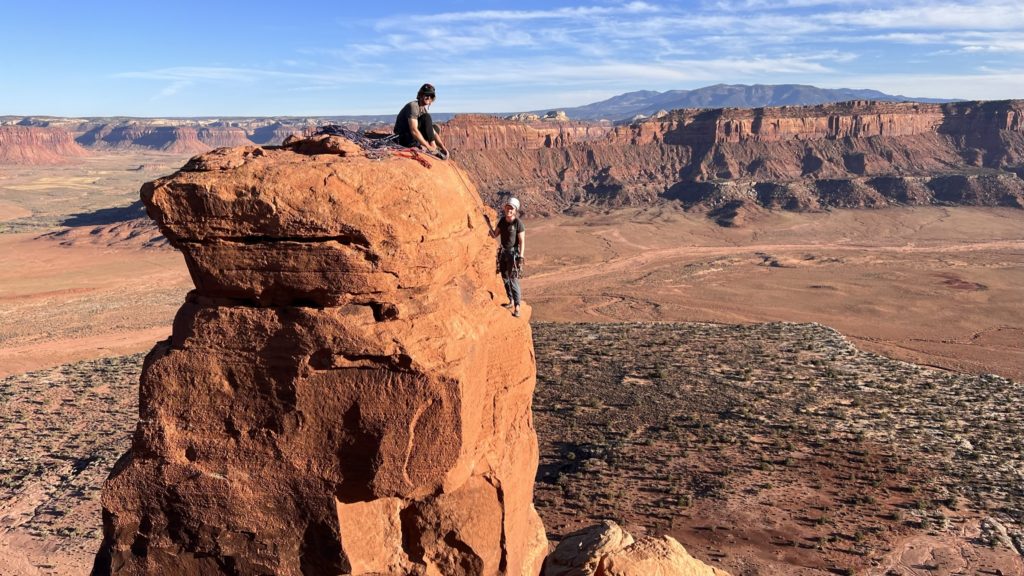
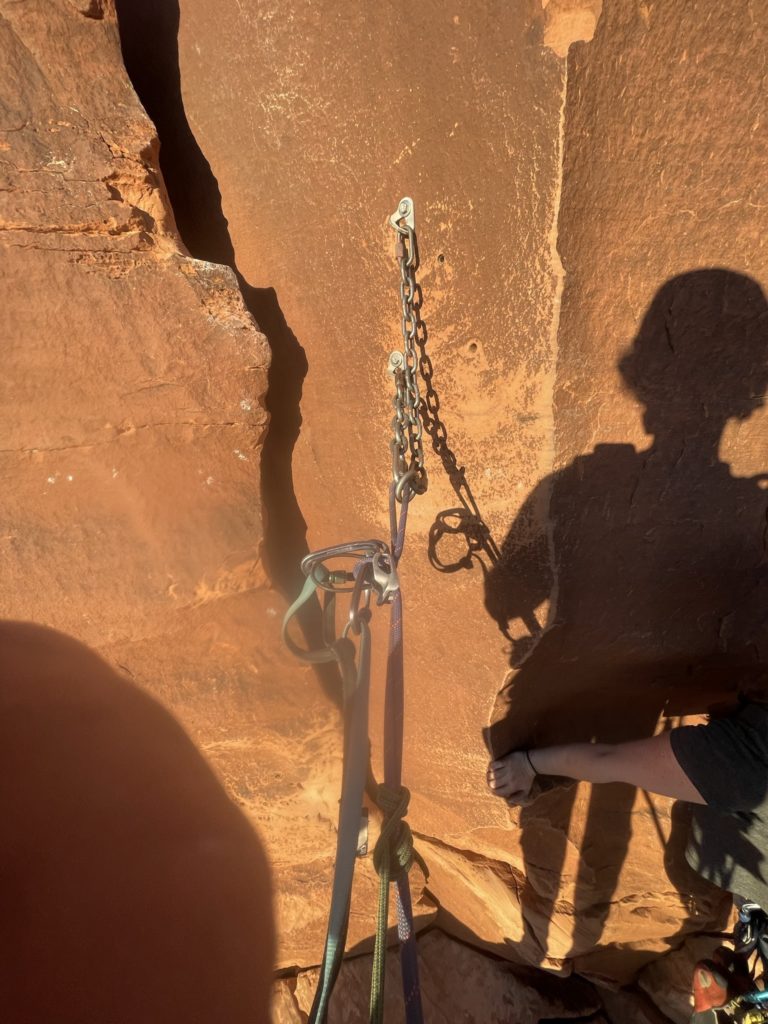
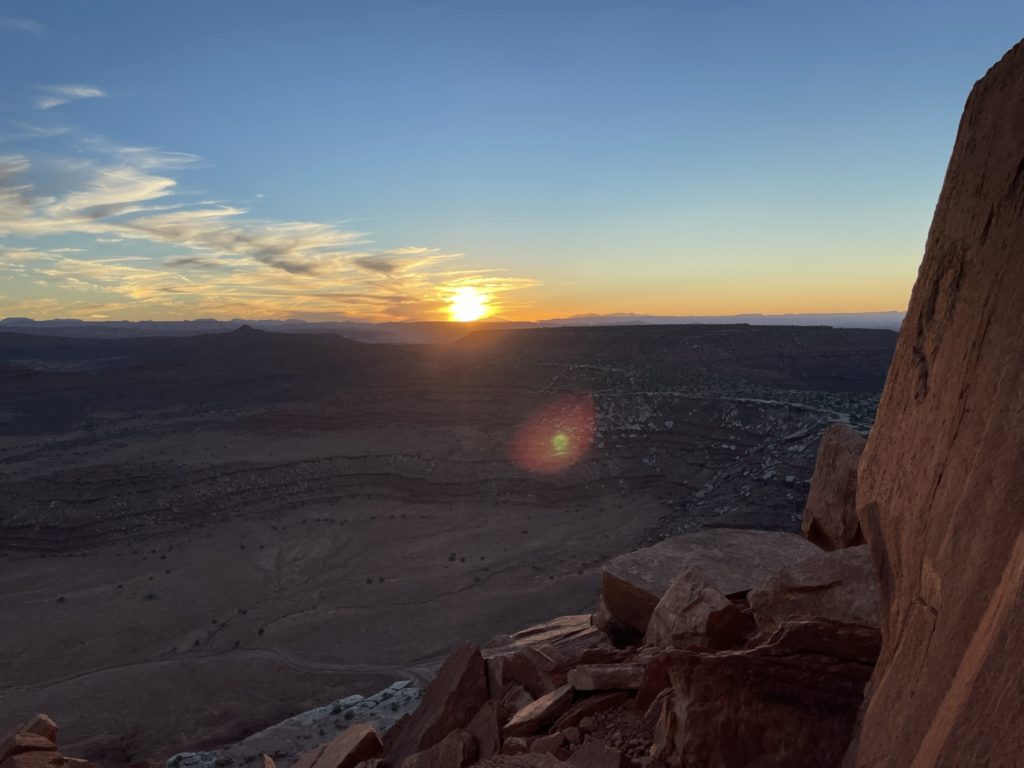
The Berrett’s on the other summit topped out shortly after as well and we all agreed to take photos of each other. In a rather cool display of technological power, we were actually able to air drop photos from one tower to other without the need for any cell signal or anything. After our neat photo exchange, we realized that it was almost sunset. At this point we’d been climbing/waiting for almost 3.5 hours and the sun was due to set in the next 45 minutes or so. Andrea and I were quick to get to rappelling and the first order of business was getting off the summit tower. Again the bolt placements made the setup really awkward, but I managed to slowly hang off the rappel tat into a hanging stance and get the rope down to the ledge below.
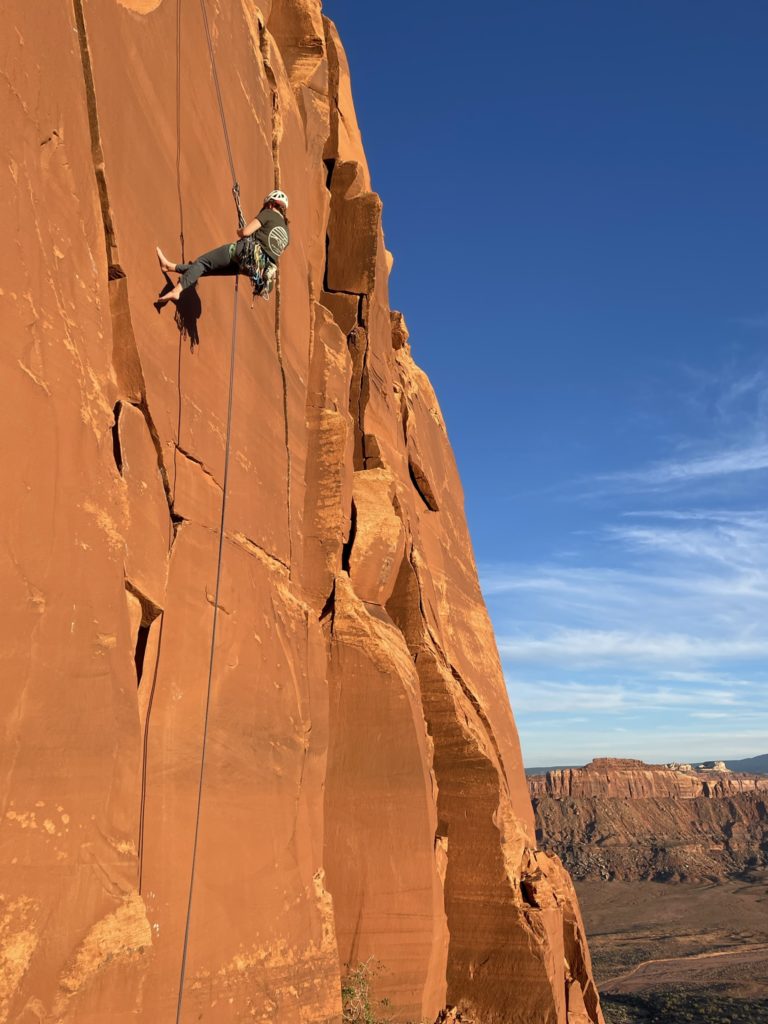
Andrea rappelled next and then we walked the rope over to the bolted/chained station below the north west tower. There was a bit of extra faff as the other group was in the process of rappelling all 5 people off their respective tower as well. Andrea and I managed to weave around them and with our 70m rope were able to reach the base of the climb from this secondary station. I rappelled next, descending down the vertical sand stone face on the lower portions of South Sixshooter. With the evening glow now just hitting the rusty coloured wall, it made for quite a show.
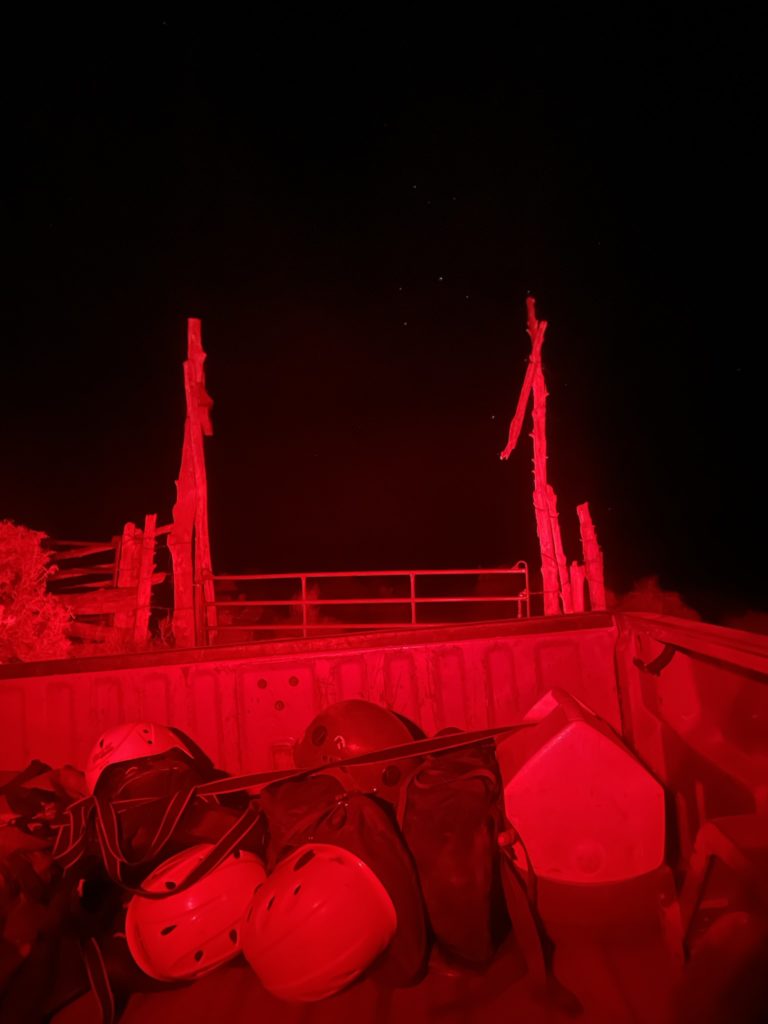
We cleaned up our gear and then started the descent down the debris cone. Before leaving the Berrett’s offered to drive us the rest of the way back to our car if they saw us on the road. With that great news, we headed back down the desert flats below and onto the service road. Our head lamps came on just before reaching the base and then we started the walk through the cool desert air towards the car. We made it probably 2km or so before the Berrett’s caught up to us in their truck. They offered for us to hop in the back and there’s no way we could pass up.
Thanks to the free ride we made it back to the car perhaps only 10 minutes later. A nice cap off of our long, but fun desert adventure. Despite all the waiting, I think it was a very very fun day out over all. It’s not often, if ever, you get an opportunity to climb a desert tower and Andrea and I were both grateful to summit such a striking formation.
Gear Notes:
- Doubles of #0.2 to #3
- DMM Wallnuts #1 to #7
- 9 alpine quick draws
- 70m x 9mm rope
There was no bolted anchor for the top of pitch one so having enough gear/options for a gear anchor is useful. However, one could suffer a bit of extra rope drag and locate a block to sling underneath the layback crack to save weight. The layback crack only took two pieces, a #2 and a #1 (a #3 would work as well) before you make it to the ledge. From there you can sling a block or belay from the bolts below the north west tower, if it’s not occupied. Overall a single rack would be sufficient in my opinion. A 70m is very useful if you want to reach the ground in two rappels. A 60m could work if you rappel of the block below the start of the layback crack.