Elevation Gain: 646m
Distance: 9.72km
Total Time: 9 hours 30 minutes
Date: October 1st, 2022
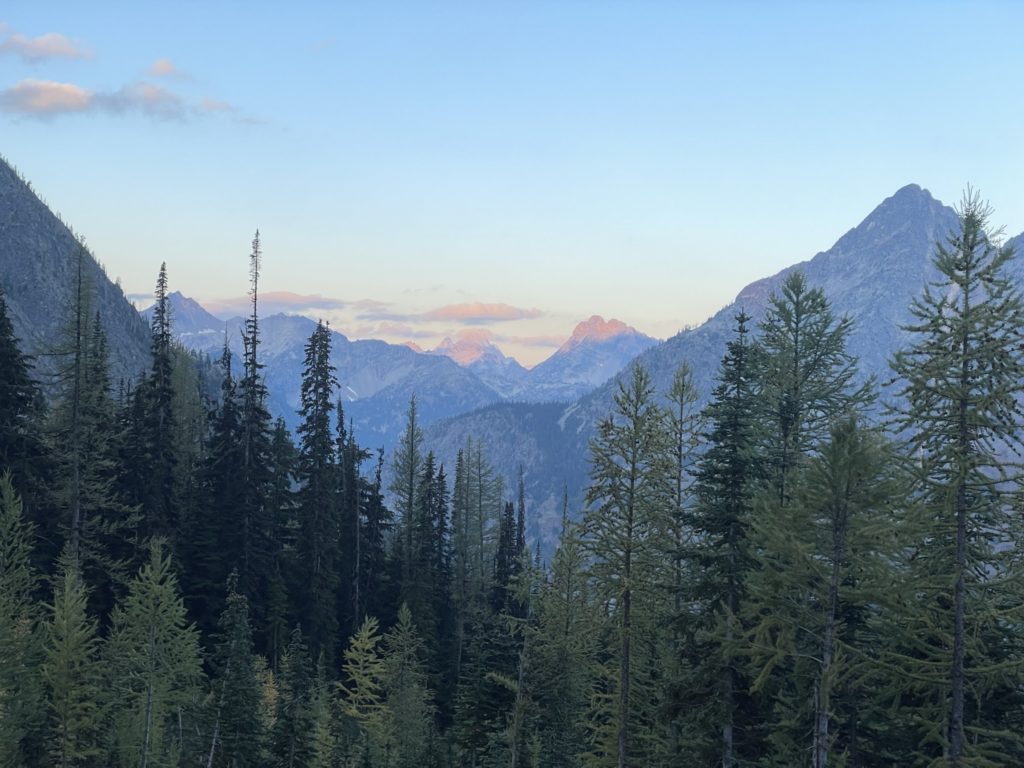
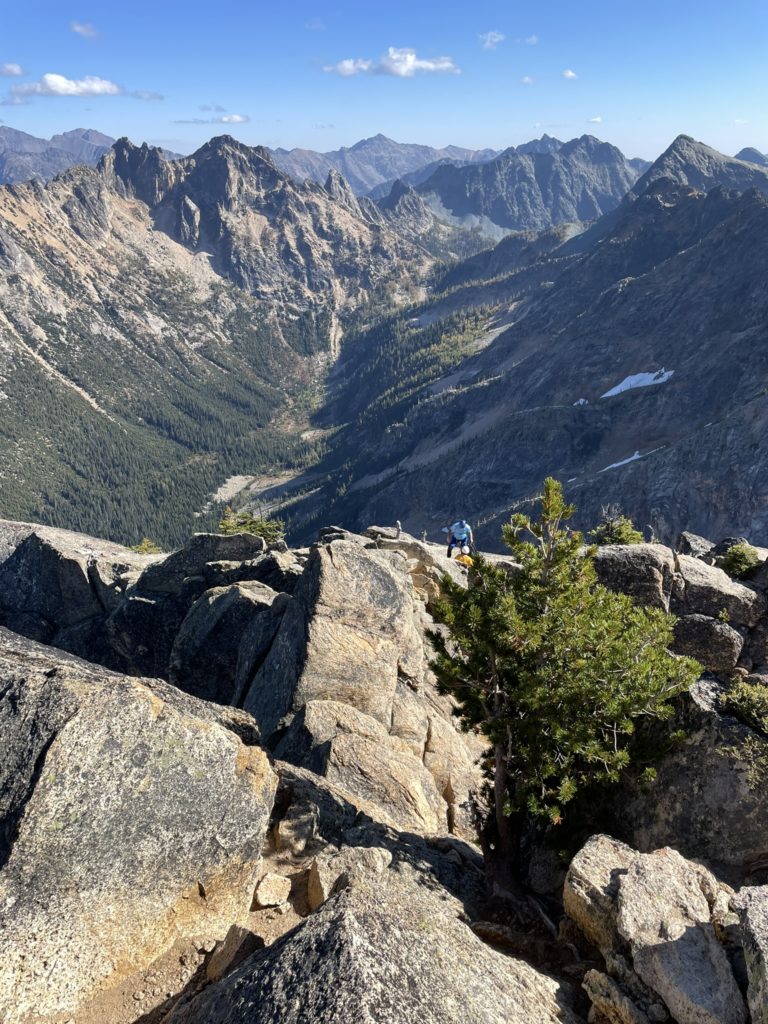
South Early Winters Spire is the tallest spire among the center-piece Liberty Bell group in Washington Pass. From the East side the spire rises almost 400m vertically above a hairpin section of Highway 20. Meanwhile, the west side boasts a number of classic climbing routes that enable many climbers to reach the summit without having to overcome the huge vertical relief of the western aspects. The summit can be reached most easily by a 5.5 route on the southwest ridge or in the winter via a 45 degree couloir. However, there are a number of more engaging and inspiring routes to reach the summit. Winnie had reached out about doing something in the Washington Pass area with our original idea to go for a more committing day up Burgundy Spire. However, we both had a big week of respective ascents and were wanting to dial back our ambitions for a more chill day out. I had already done Liberty Bell, Kangaroo Temple and Big Methow Needle so I proposed doing South Early Winters Spire via the Southwest Rib instead. The route is 7 pitches, up to 5.8+ and offers a varied mix of climbing styles to gain the summit. Winnie was on board. So, with that we set out to leave Vancouver on Friday night, car camp and then climb Saturday. We also added a stretch goal for tagging Concord Tower, but we’d play it by ear on the day of.
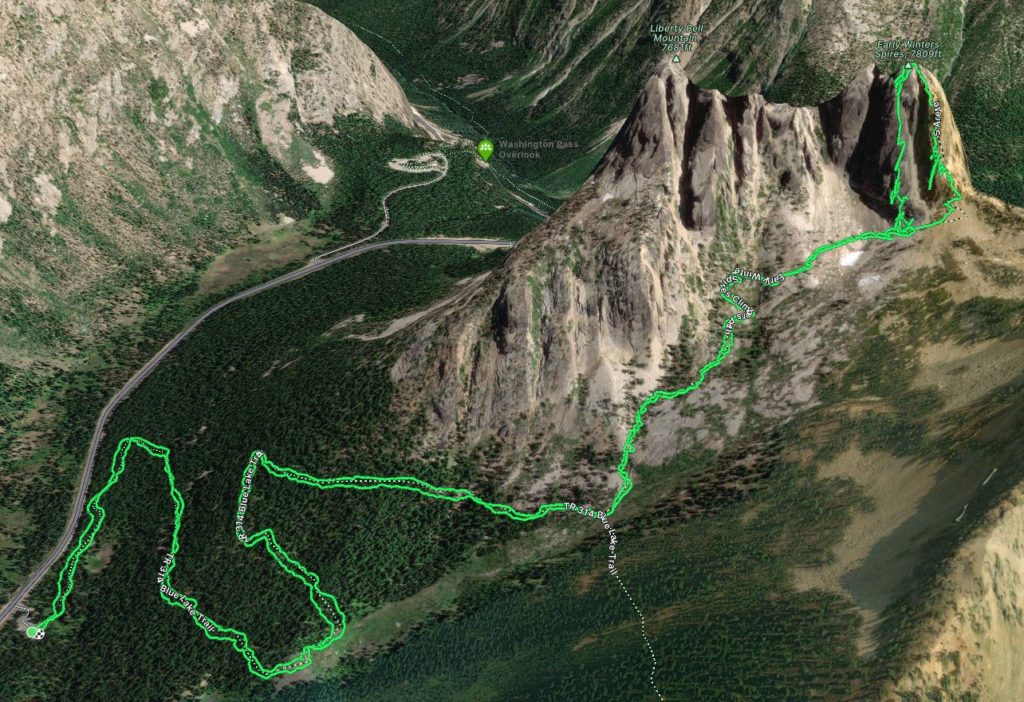
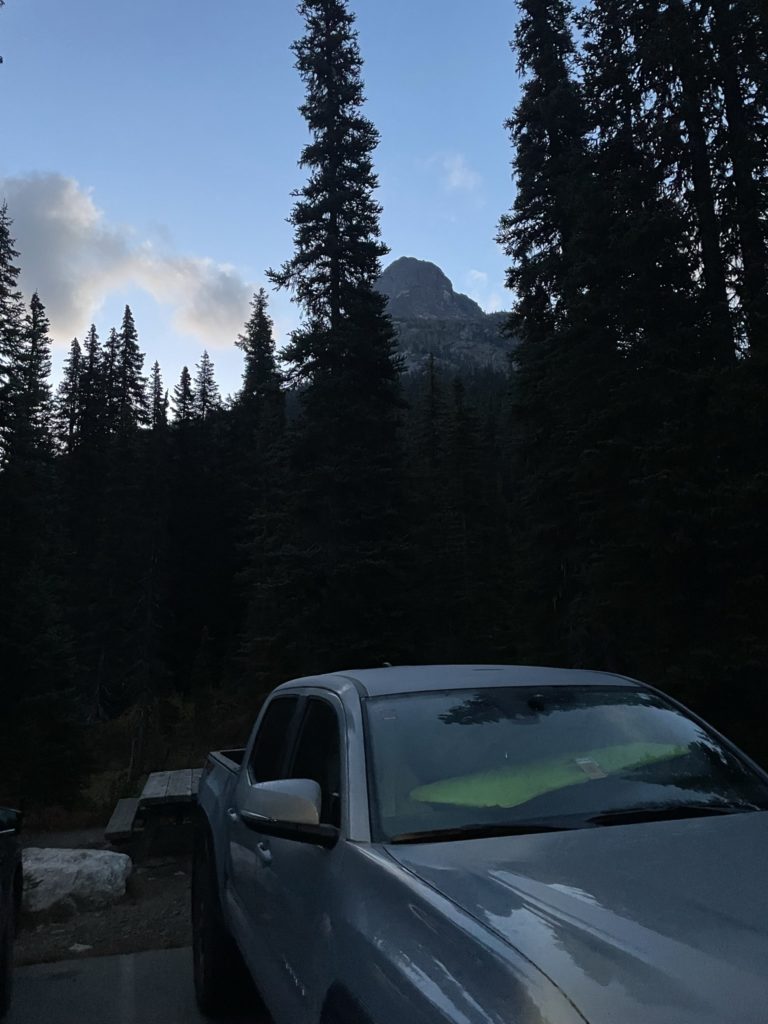
Friday night I was an hour behind to pick Winnie up but we reached the border without much delay. The border agent was a bit more inquisitive on account of it being my third day trip out to Washington that week, but otherwise we made it through without issue. I made the now quite familiar drive down to Burlington and then East towards Washington Pass; pulling into the trail head parking around 12:30AM. We decided on a 6:30am start to hit the base of pitch one for day light. I had a decent sleep in the back of my truck and we hit the trail almost right on time.
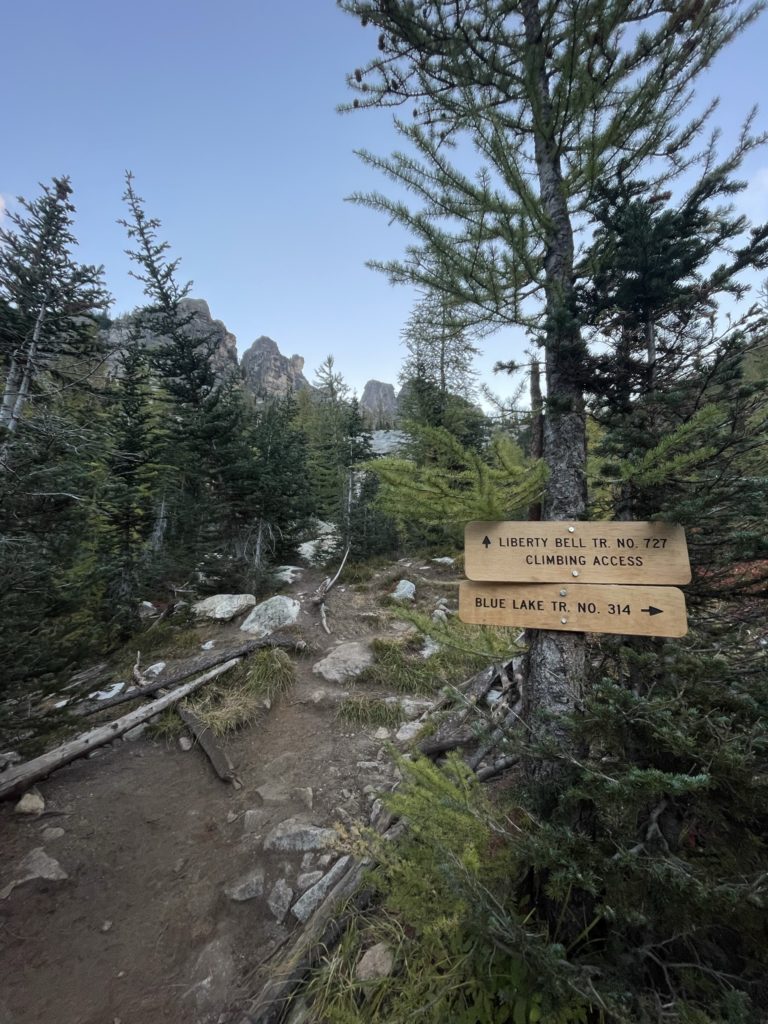
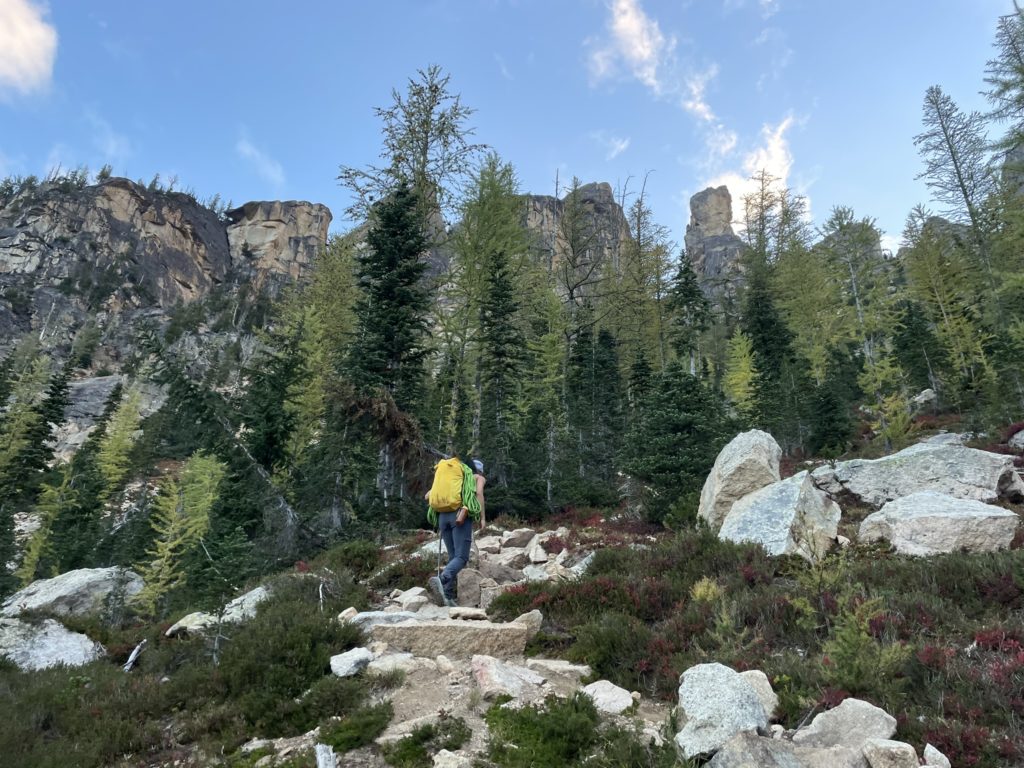
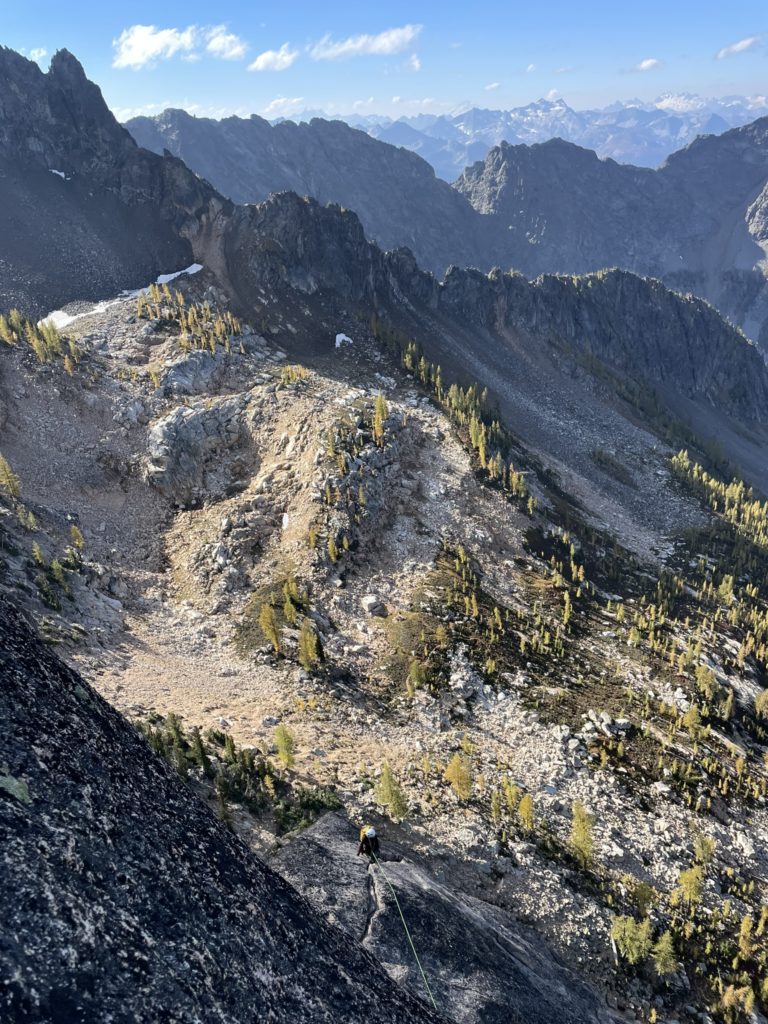
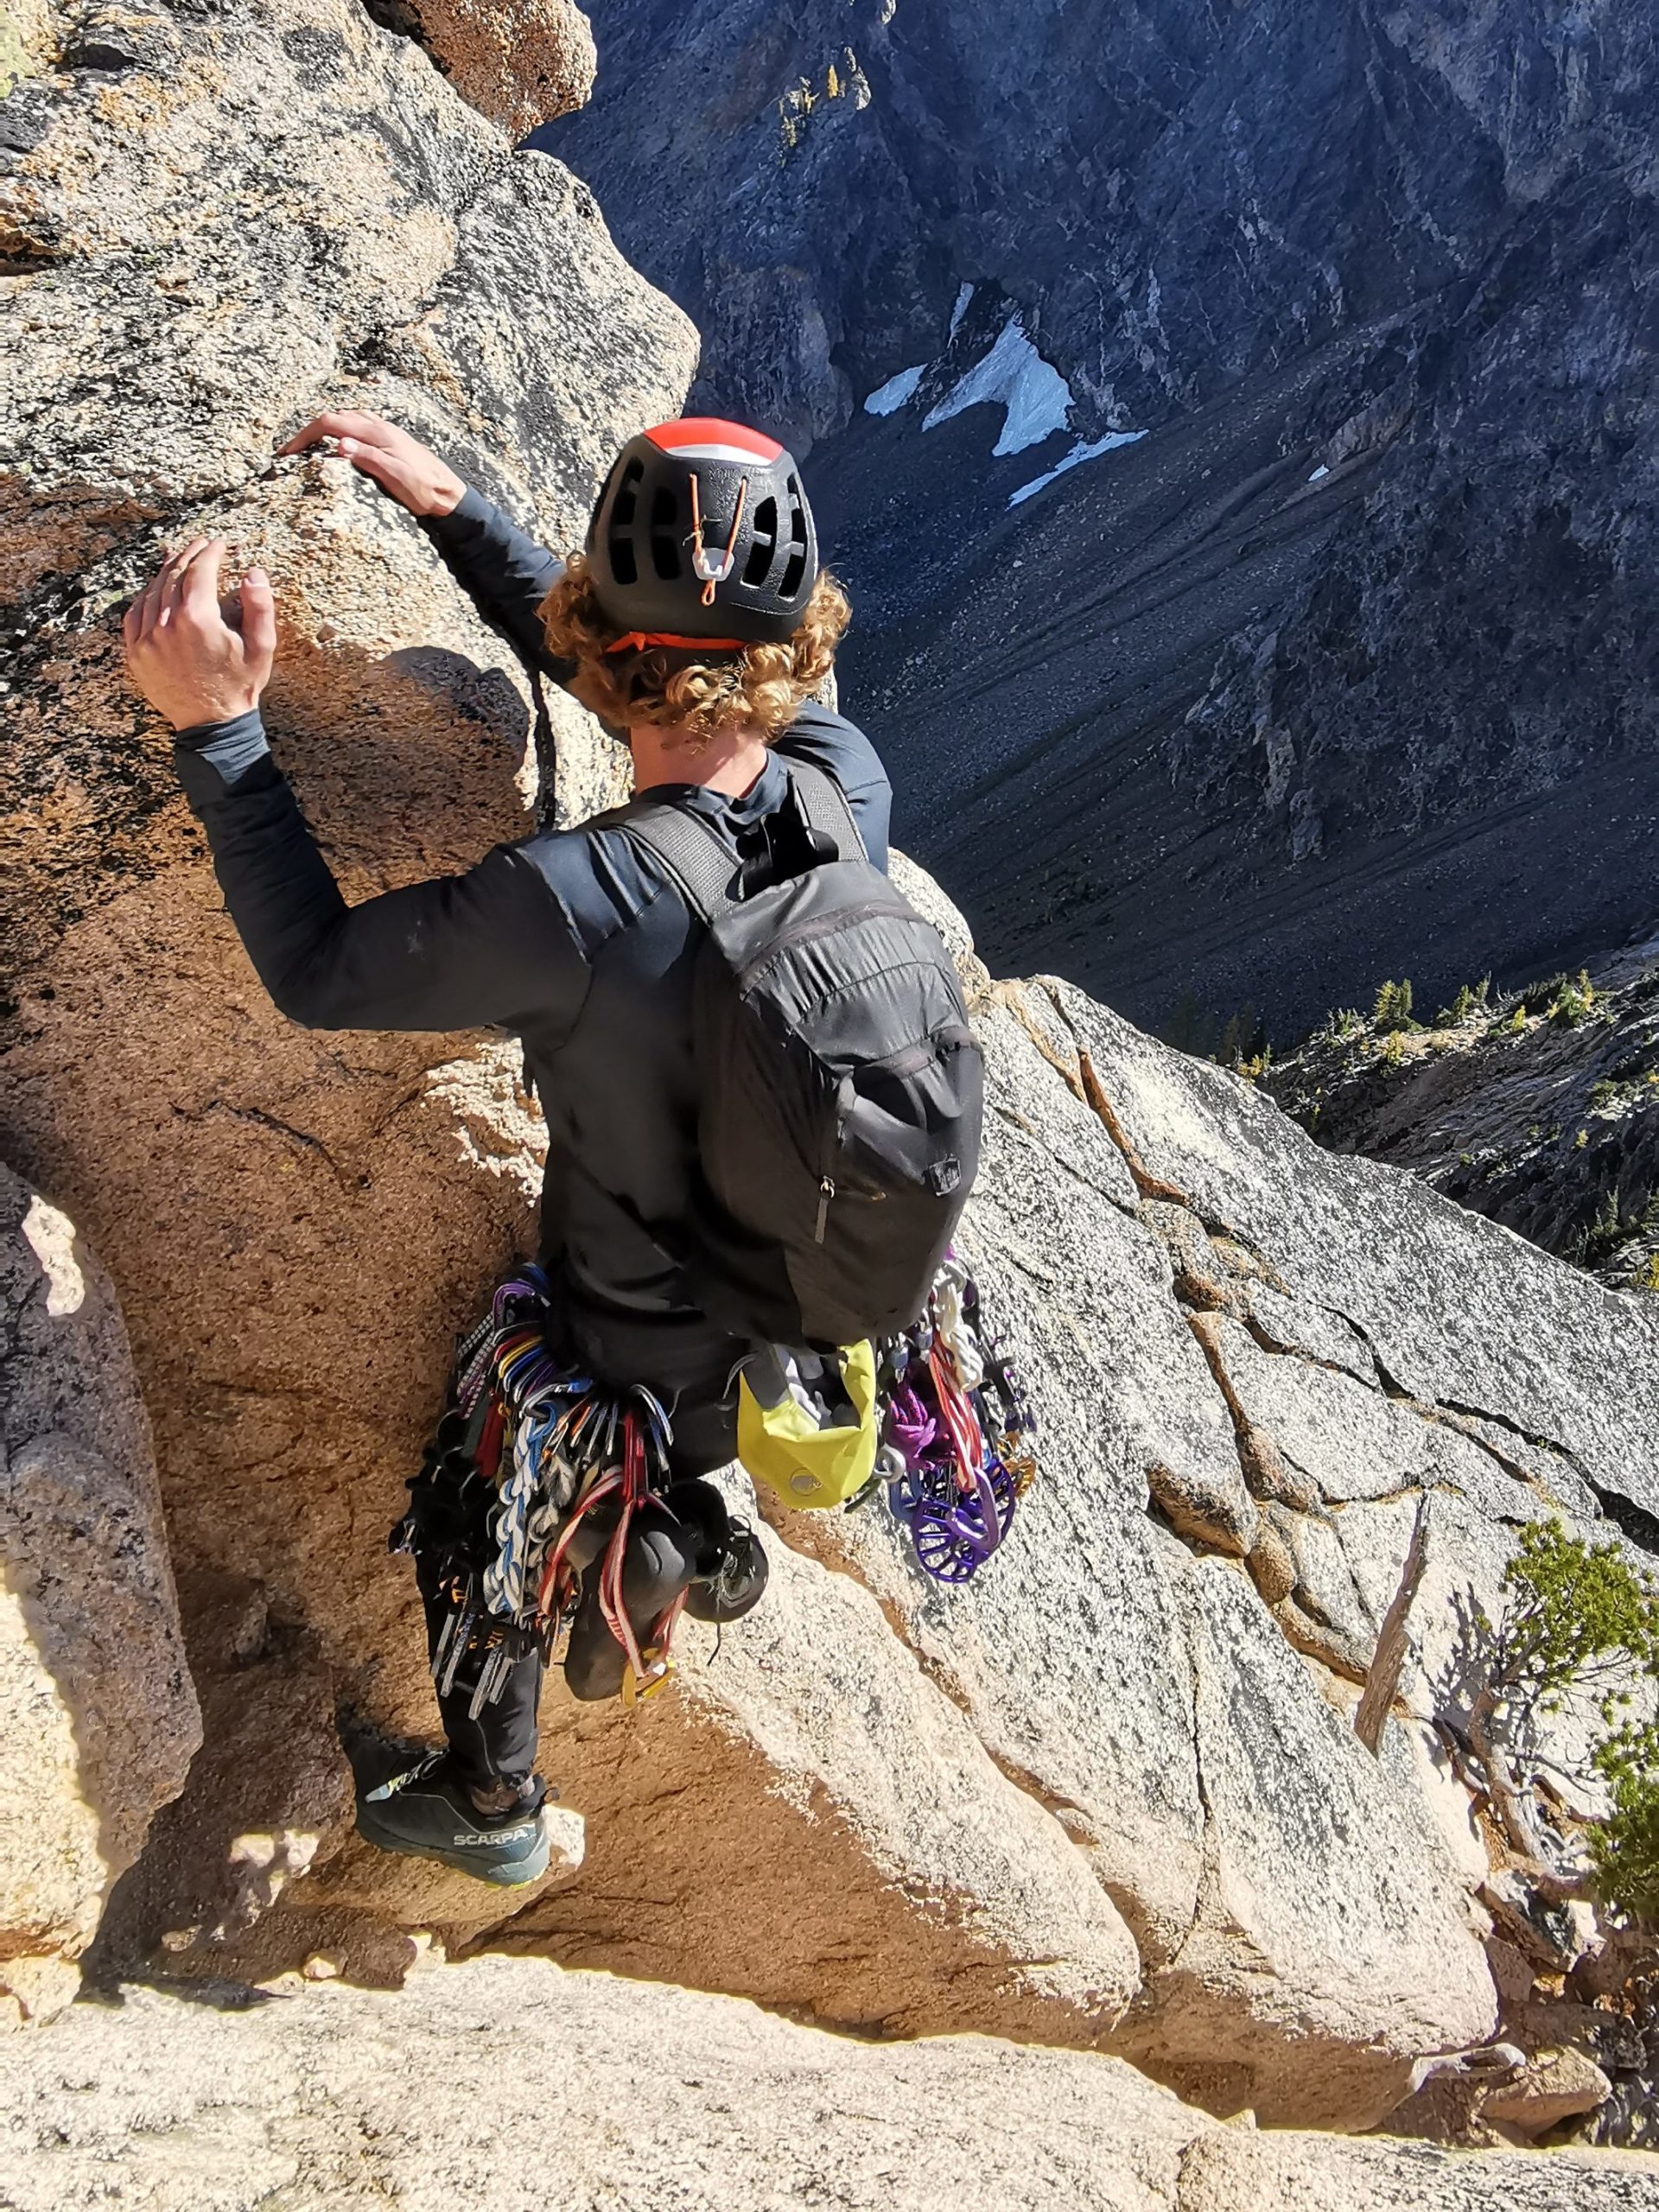
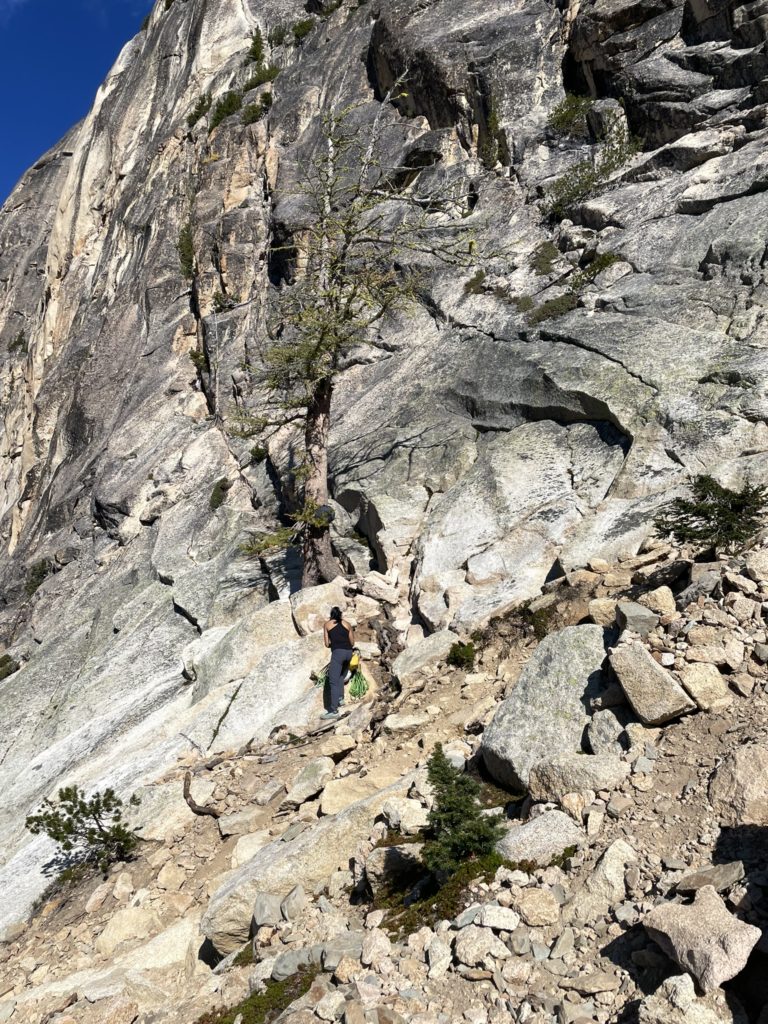
The approach to the base of the spires is exceptionally short and well-maintained lending to the “classic” status of the routes in this area. It took us only an hour to reach the start of pitch one and we appeared to be the first ones of the day for South Early Winters Spire. We switched to our climbing gear and having a look at pitch one, I asked if I could lead first. Winnie was happy to let me go, so I racked up and we scrambled a short ways up to a better belay spot below pitch one.

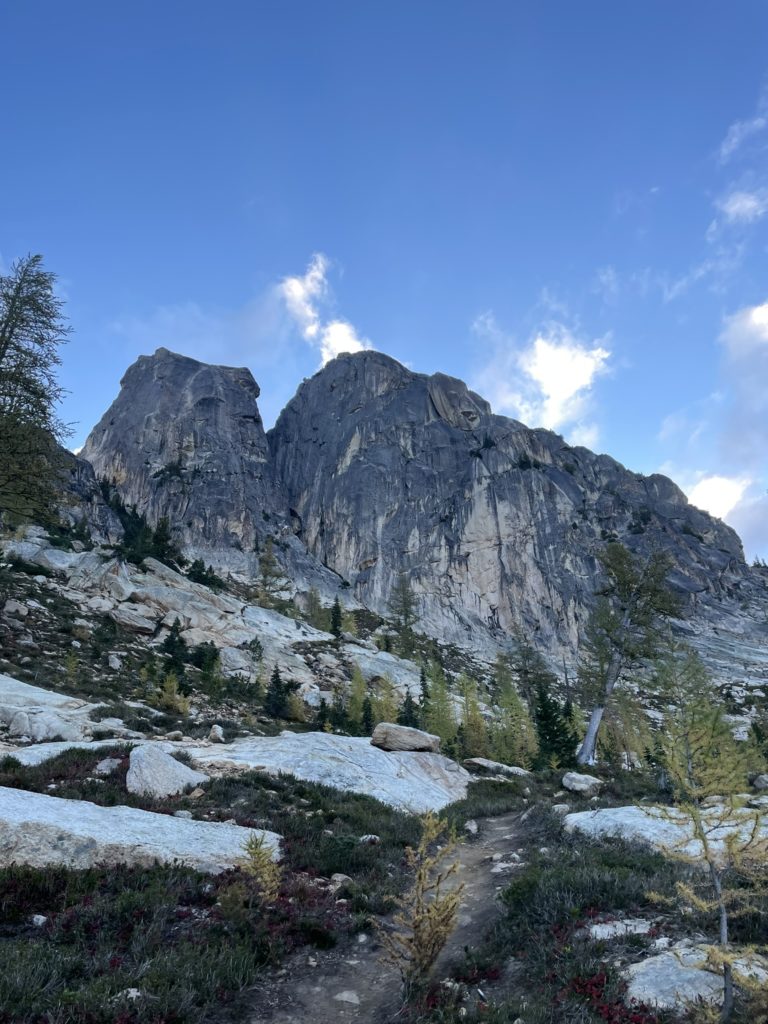
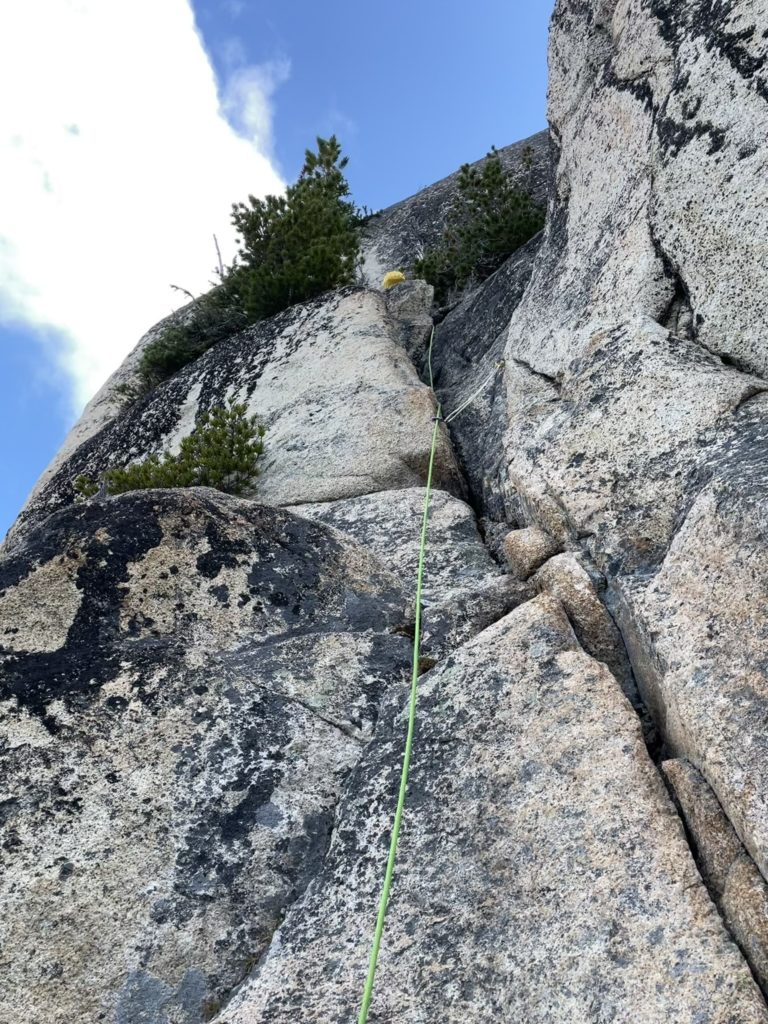
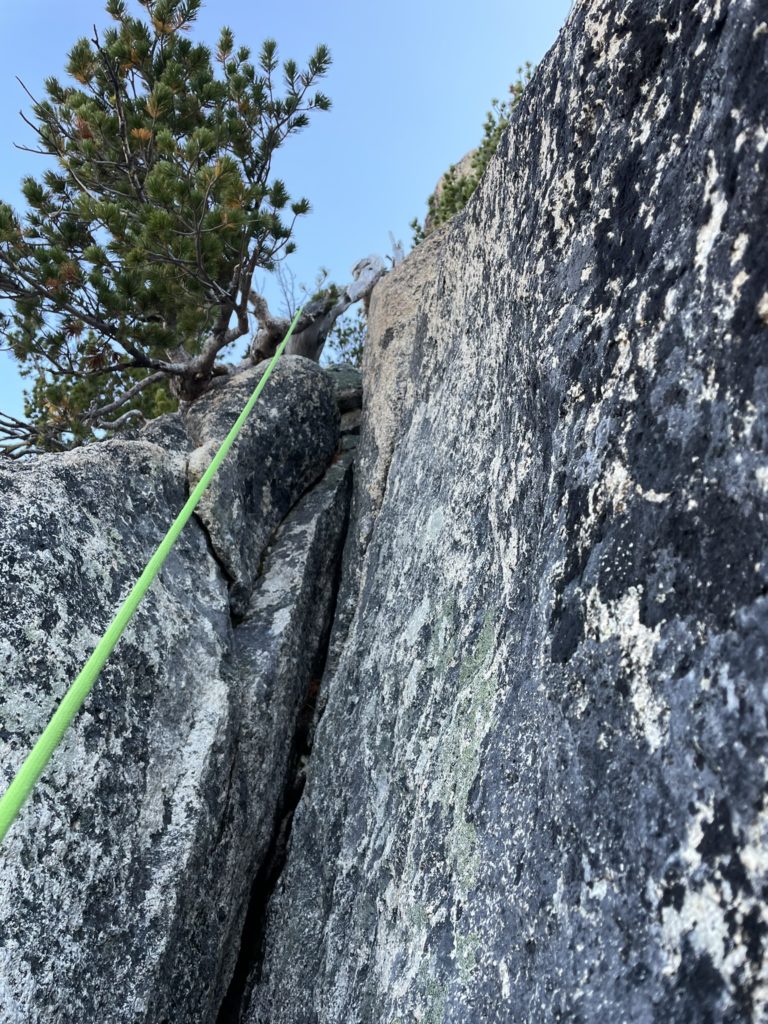
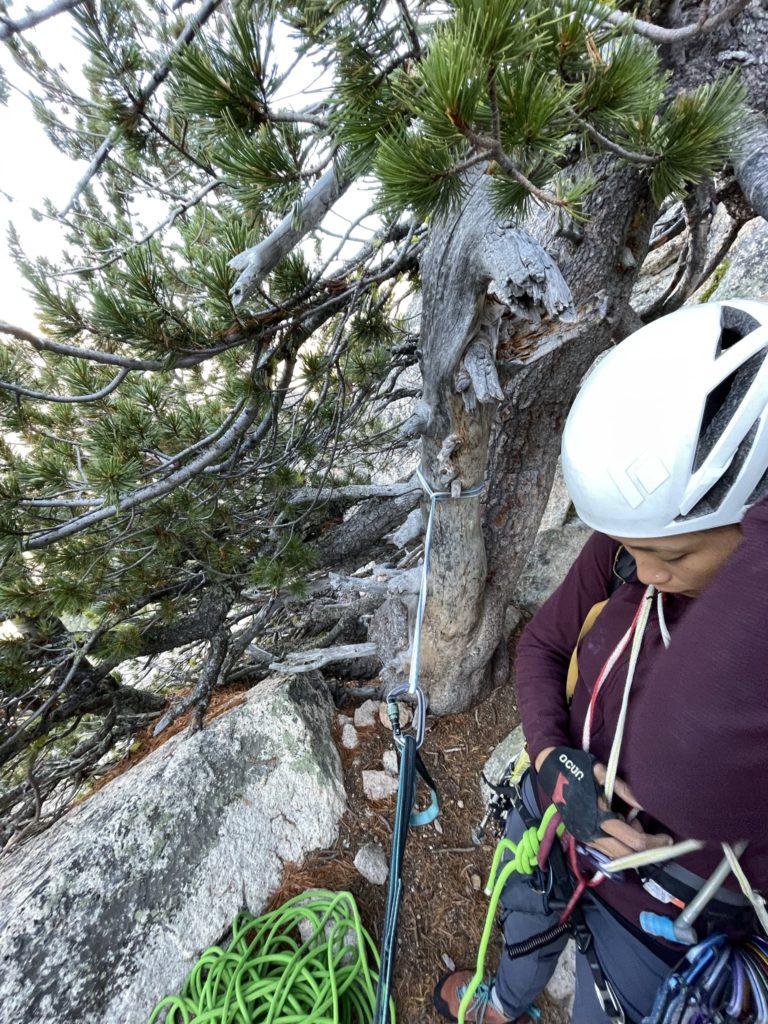
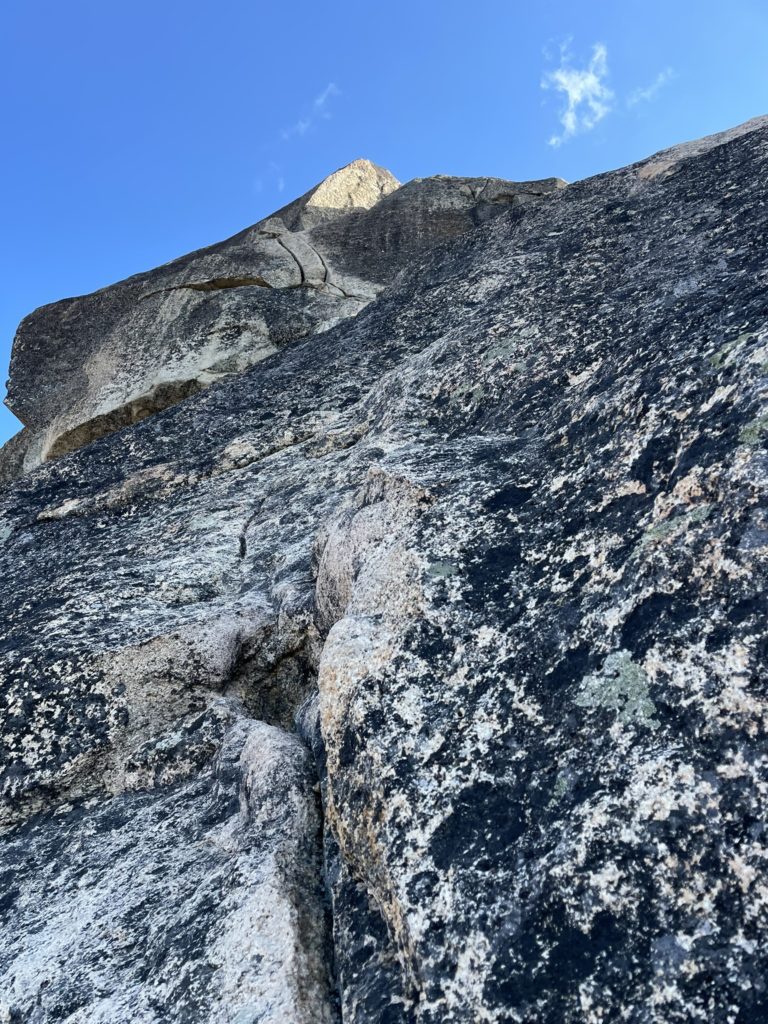
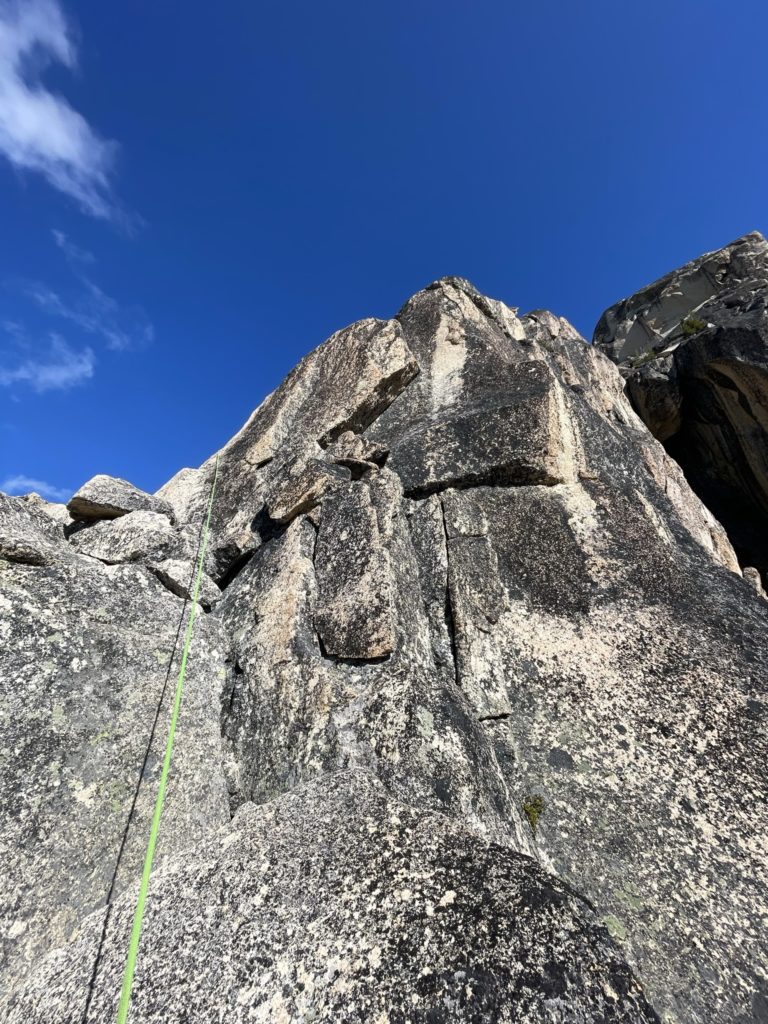
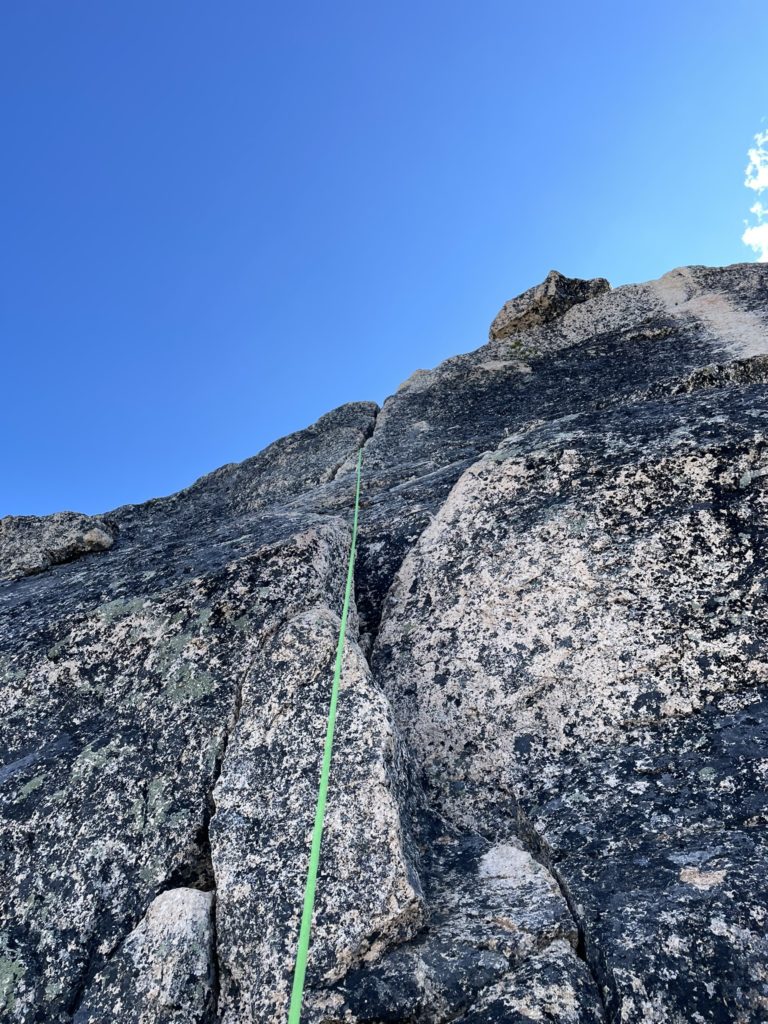
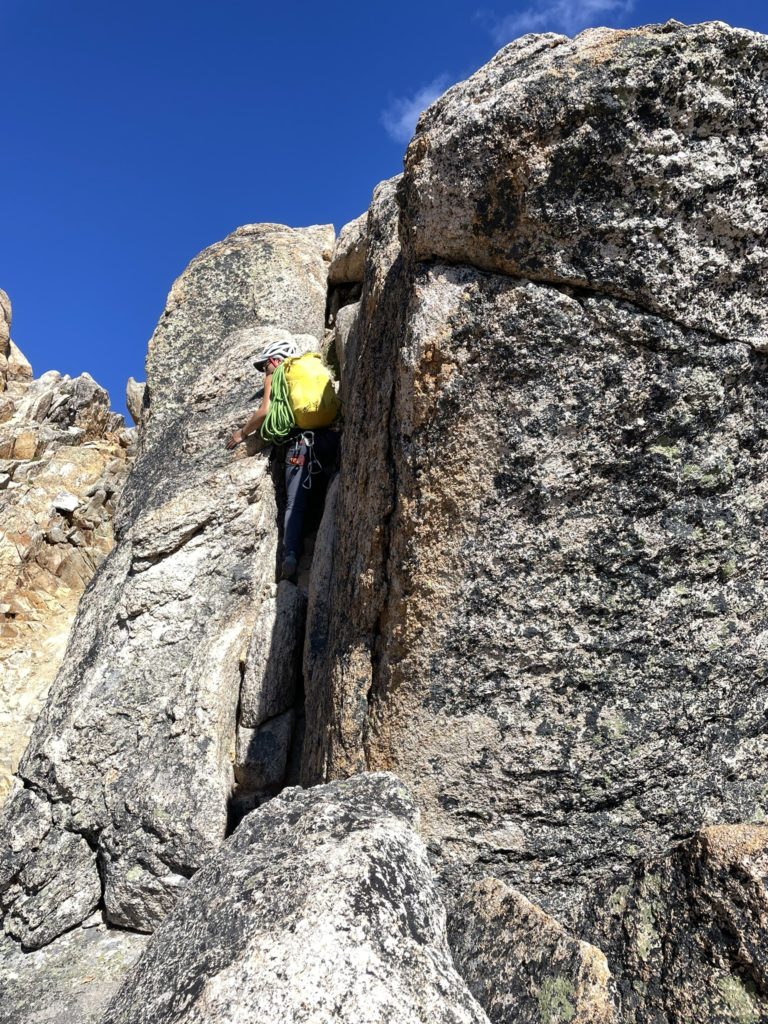
Pitch one began with a wide chimney of sorts on positive holds, with a few loose rocks that were easily avoided. I reached the top of the chimney using a mix of face holds and stemming without much exertion. Above the chimney was a short ledge and then an over-hanging bulge with a diagonal hand crack running through a corner underneath. I eyed it up for a little bit trying to figure out how to pull the moves and then decided to just plug a piece in and go for it. The hands felt bomber and stemming out into the corner added enough stability for more to “swim” up the crack until finding some face holds above the bulge. It was easy to pull out of the corner from there and that finished the crux of pitch one. I scrambled a short ways to a broad ledge with a huge tree and slung it for an anchor.

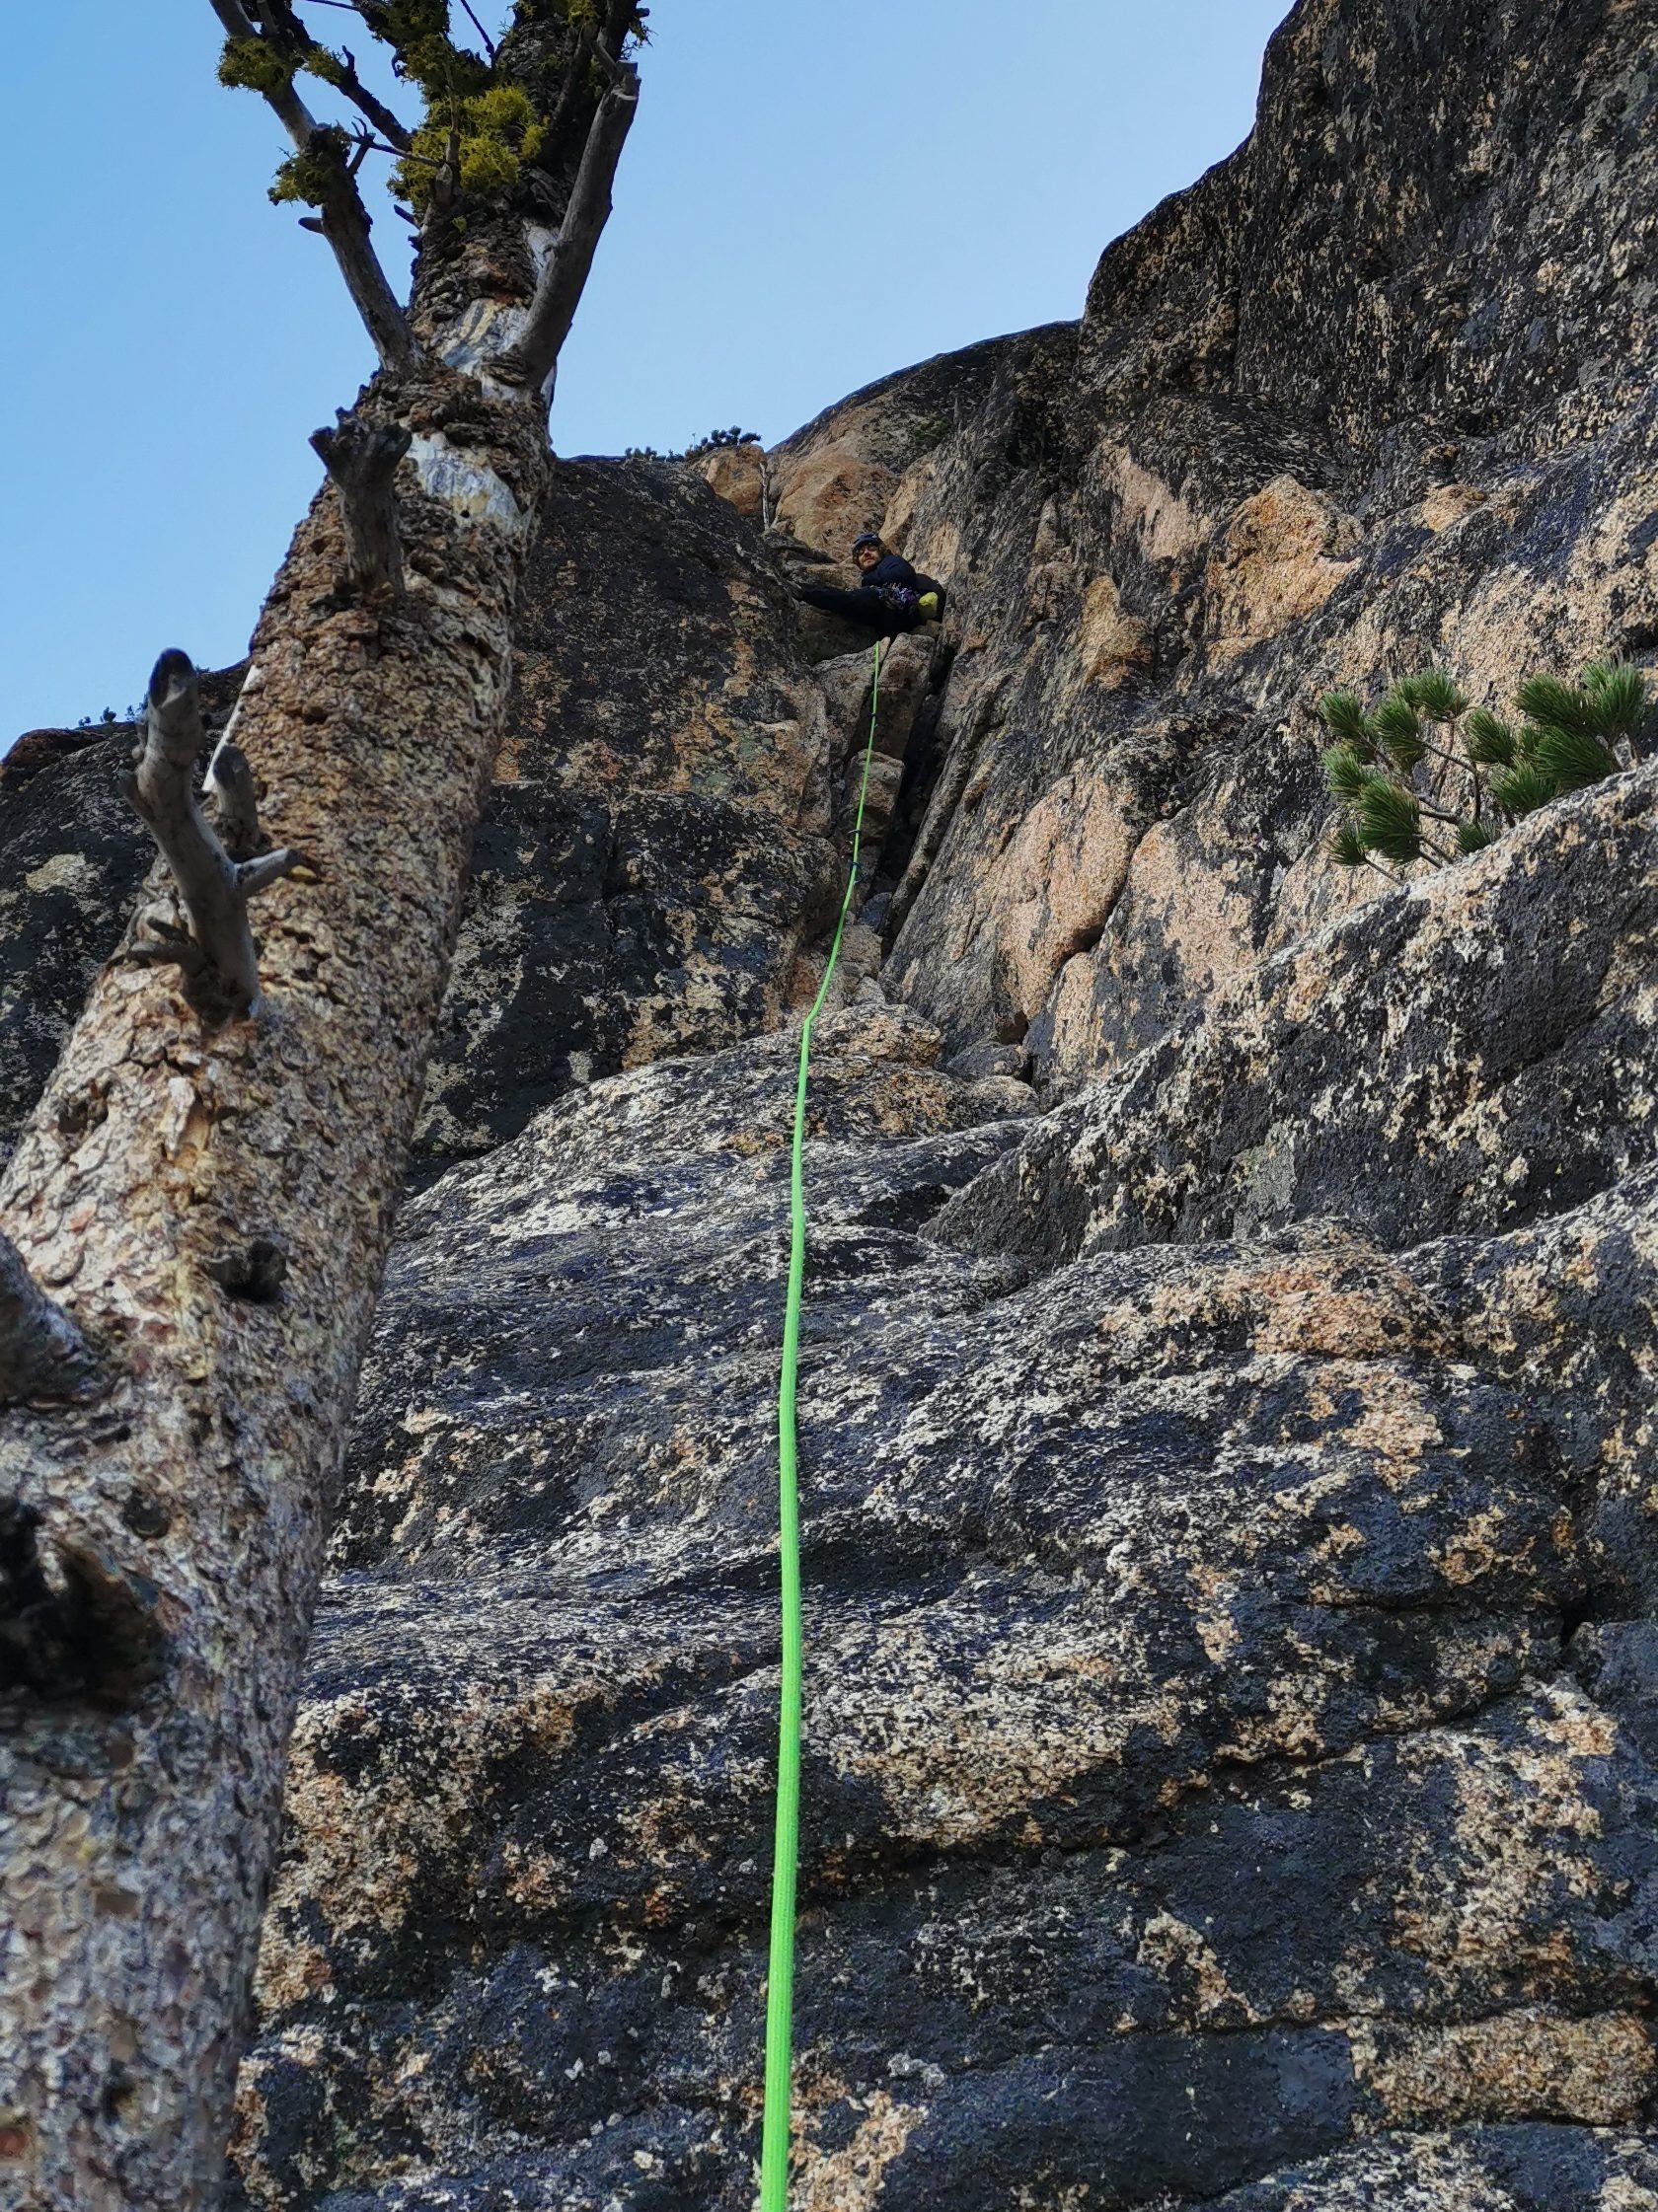
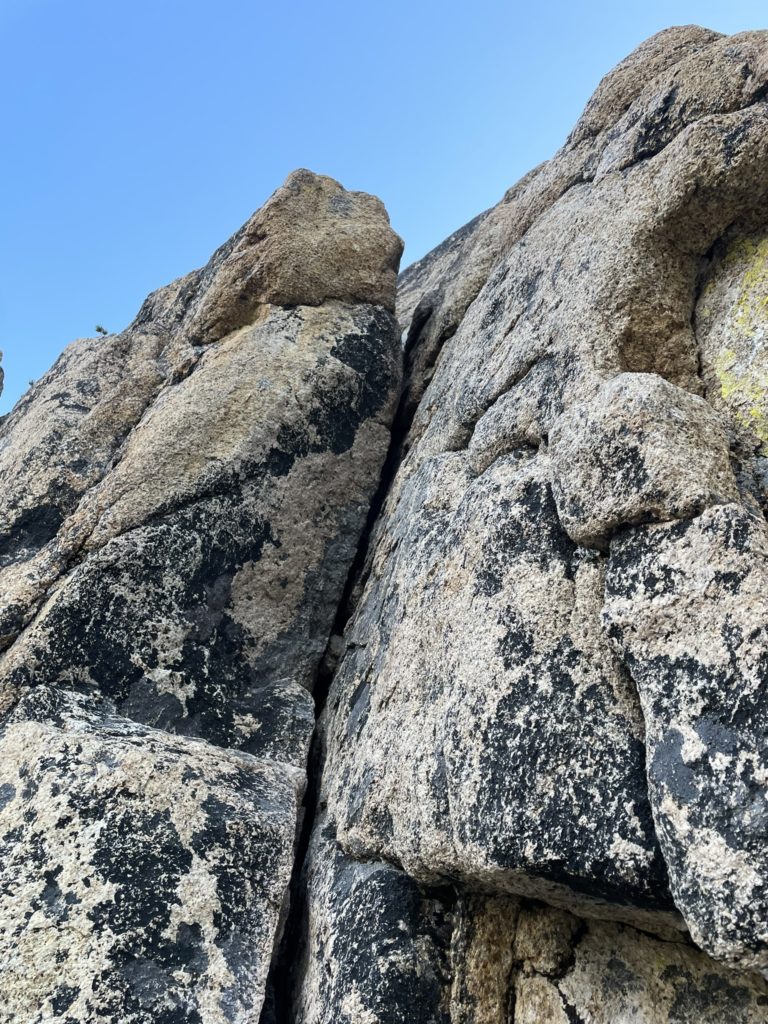
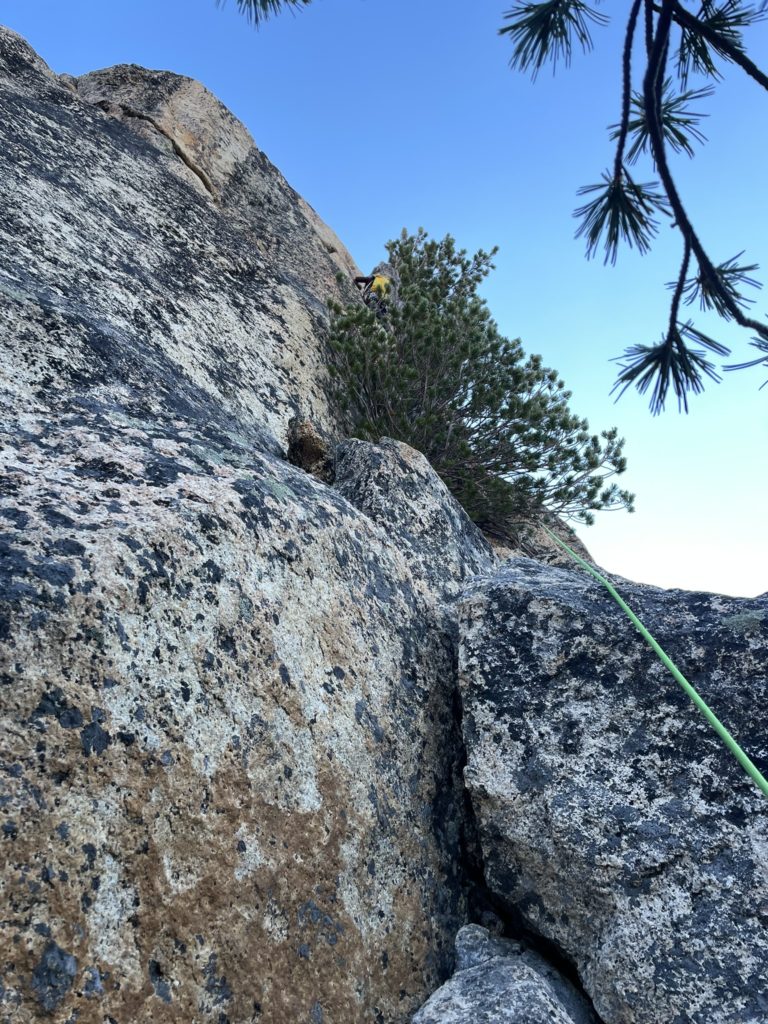
Winnie came up and then swung leads for the wavy crack of pitch two. The first half was apparently straight-forward but higher up I heard some pointed remarks about the crack getting into big off-width territory. Certainly not my skill set so I was happy to get to follow on this one. A short while later, Winnie topped out and now I started up. I reached the base of the crack with relative ease and found perfect hand-jams until half way up the crack. Now I saw what Winnie was remarking about, but I spotted slightly different beta thanks to my height advantage. Directly above the off-width portion was a large edge and I managed to just reach it with out-stretched arms and just pulled off it smearing directly on the face. With this I was able to avoid any tight squeezes and topped out where Winnie was waiting.

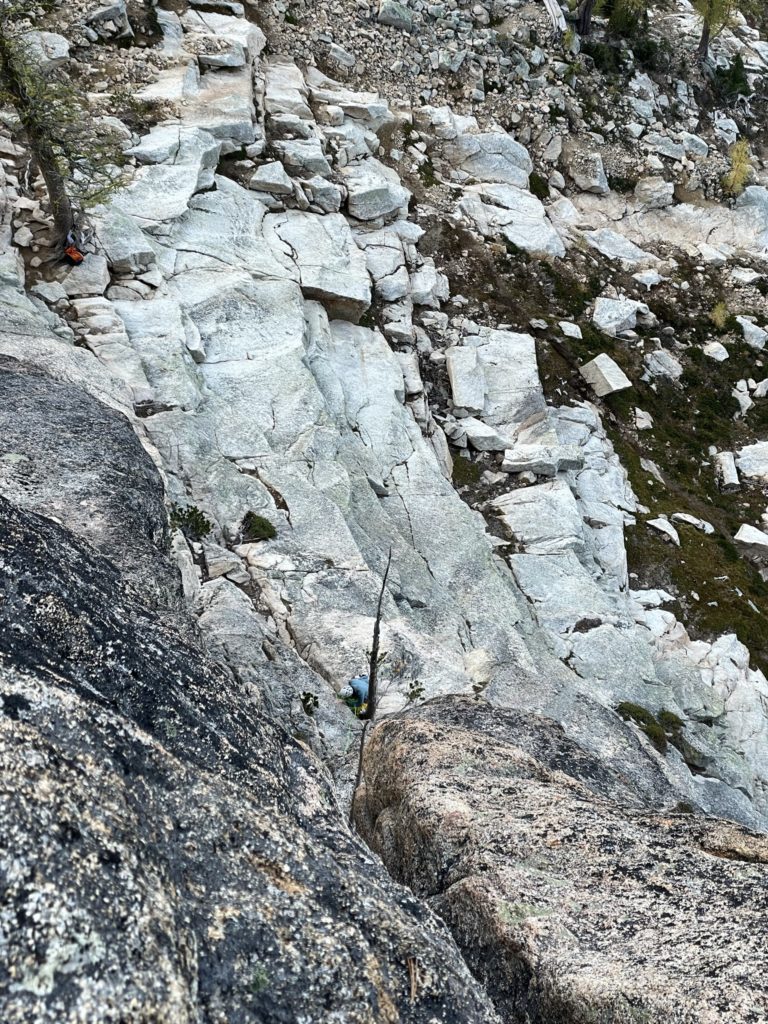
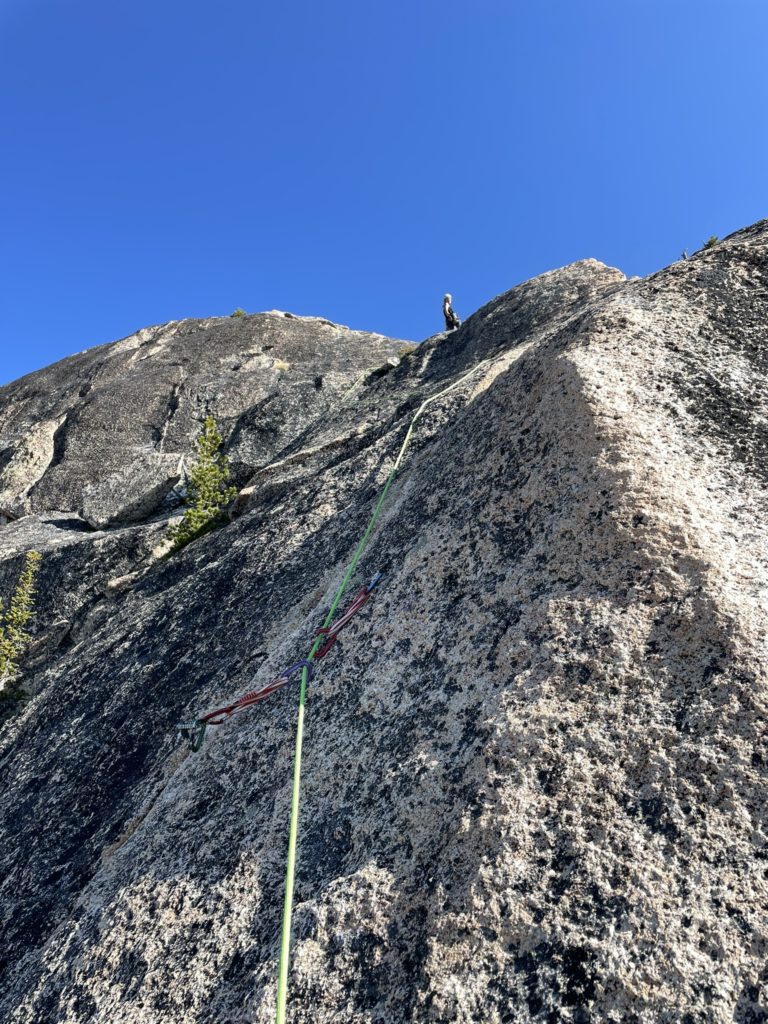
Pitch three is normally a 5.6 traversing route to a slab section above, however there is a 5.10b finger crack variation that runs more directly to the base of pitch four. Winnie and I had discussed doing this early on, but waited to be on sight to see if it was worth trying. Sure enough, it looked do-able so Winnie was keen to try it. 5.10b is harder than anything I’ve ever lead at the crag, let alone the alpine, so I was only going to second this one. From our tree anchor it was a short, easy, climb to the base of the finger cracks and then Winnie lead up, doing a few takes along the way to rest as the pitch was apparently quite pumpy. After enough rest, she finished up the pitch and setup a gear anchor to belay me off of. I followed up and eyed the crack more closely. The crack was offset and that meant I’d only get secure placements on my right hand. No time to over-analyze though, so I got to work trying my best. The lower section had decent finger jams, but opened up to awkward wide fingers mid-way up. I couldn’t get decent ring locks in and was forced to lay back quite a bit of it. That meant I pumped out several times and had to do quite a few takes. After the mid point the crack shot diagonally and then continued vertically about 2m above that. I lay backed and under-clinged as best I could until I finally found a hand jam near the top. By the time I reached the anchor, I had been totally worked by the pitch, but it was really fun to try nonetheless.
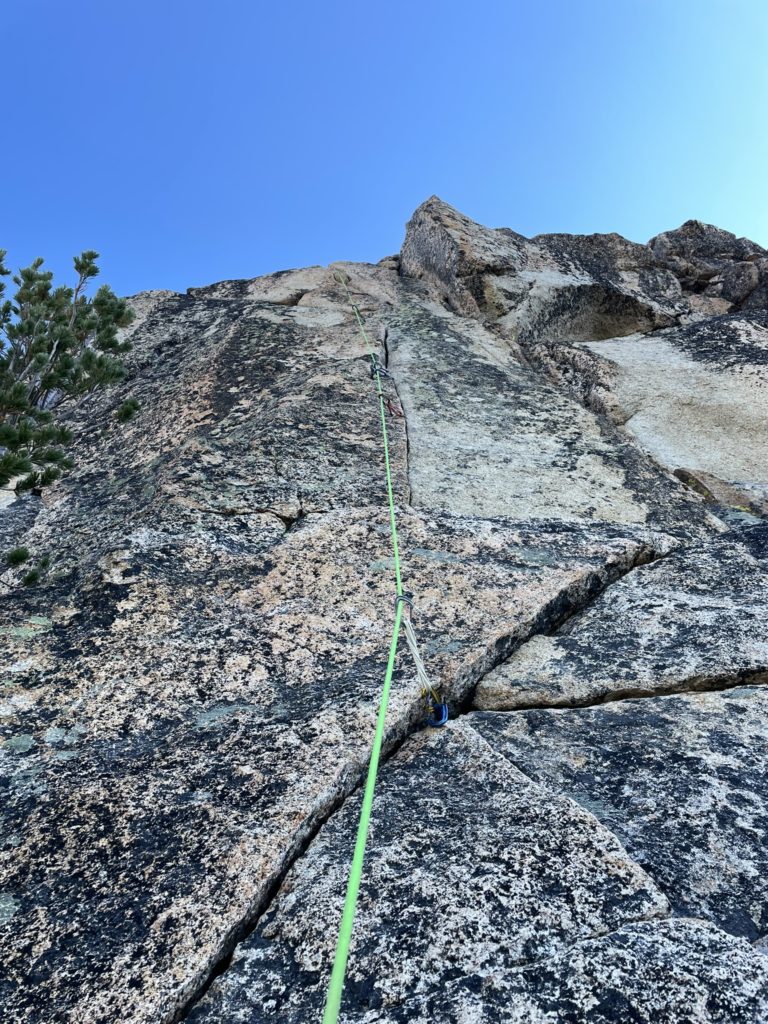
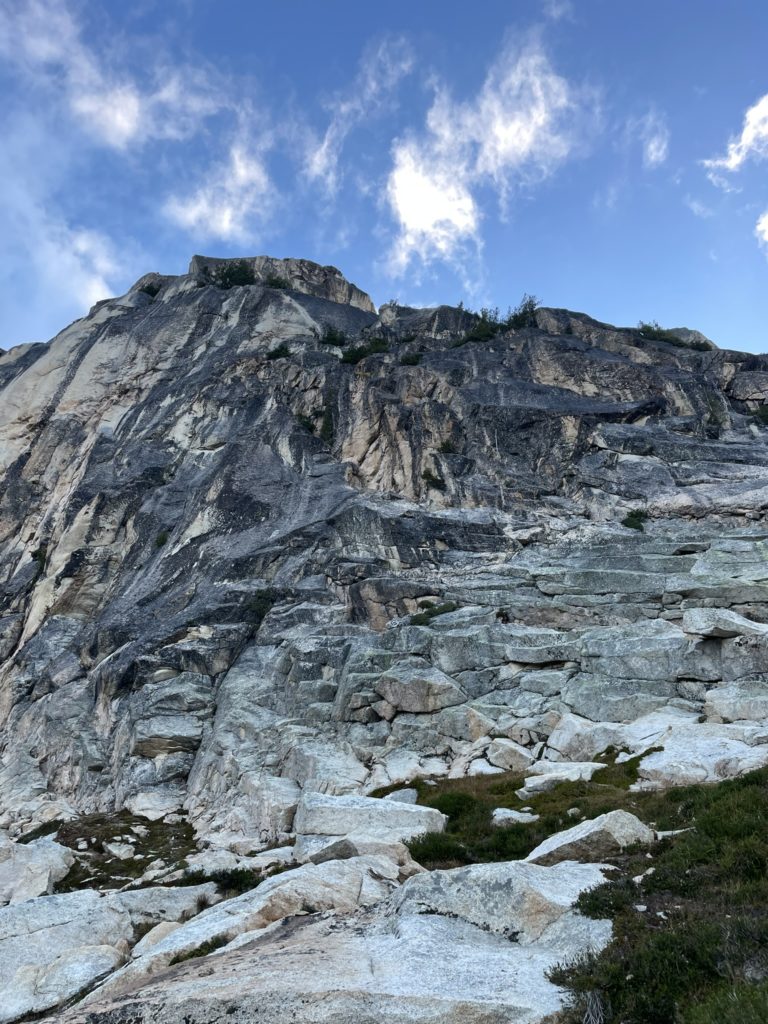
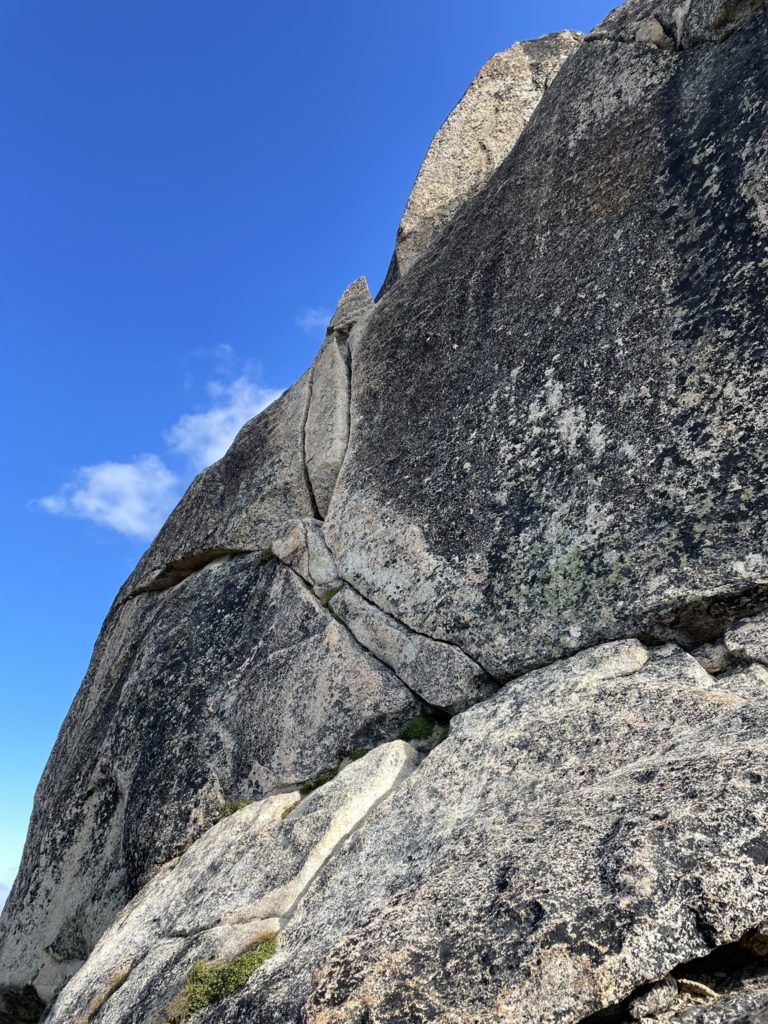
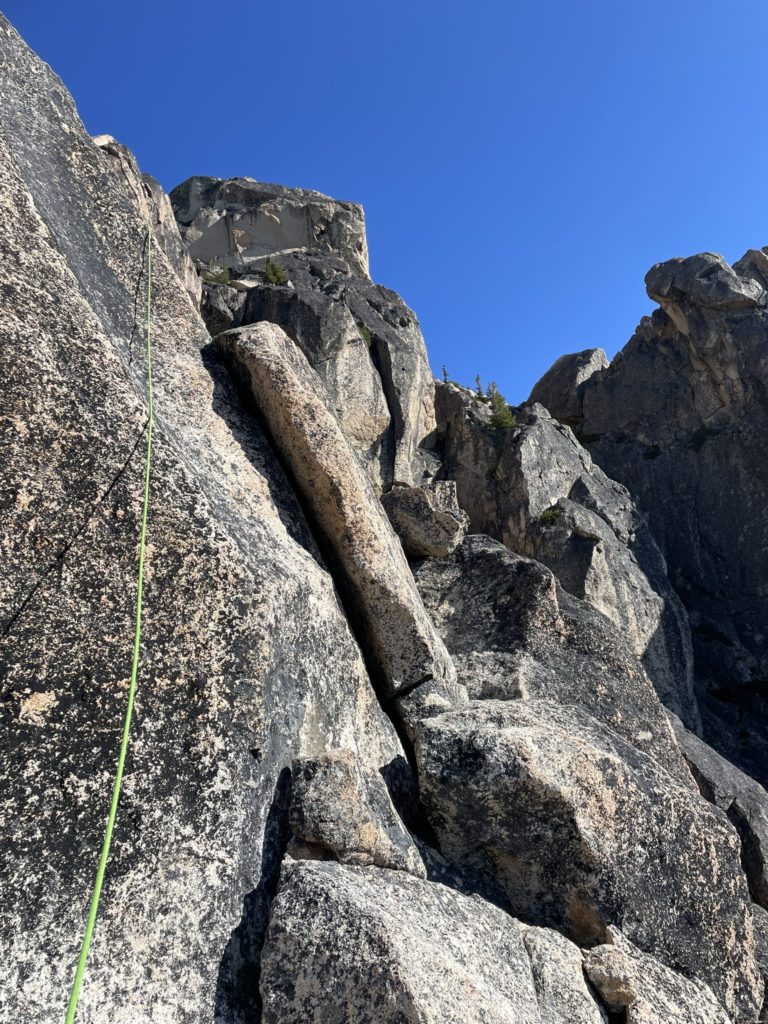
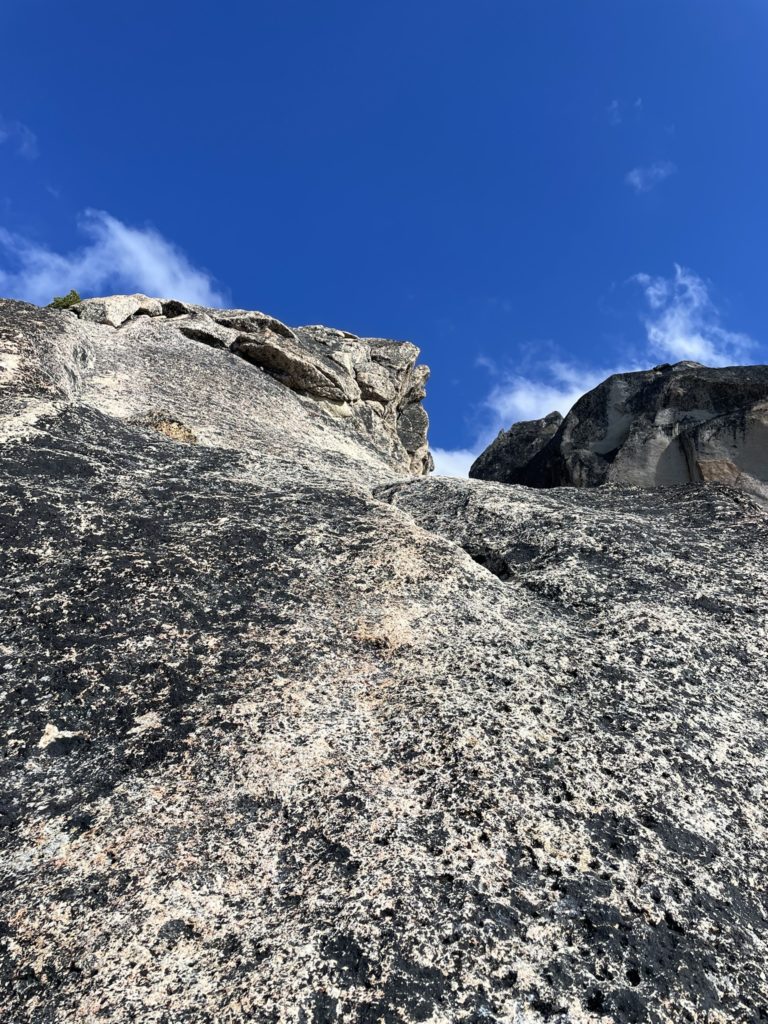
Pitch four was nick-named “nervous nelly” because it was a run-out slab that lead to a more protectable dual off-width crack called the “bear hug”. Since Winnie had just lead pitch two and three, she gave me both pitches to lead. We had enough rope to link both so I aimed to do so, while trying to avoid rope drag. I started up the slab pitch climbing diagonally right up a narrow sloping edge to a small crack about 5m above the anchor. I found a nice #0.5 and #0.4 in there and doubled up for security. The next sequence was the toughest, as the slab steepened and the face became more blank. I carefully pushed off of a few small edges until I was parallel with a wide, rounded out channel with some edges to pull off. I cautiously stemmed over and then pulled myself into the channel and then climbed easily to safety from there.
A few meters on low angle slab later and I was at the base of the bear hug section. I found a solid placement at chest height, then lay backed myself up the off-width cracks. I placed a #4 in the right crack and then lay backed of the left edge a meter until I could push my right foot of the right crack and find secure footing. Here I placed the #5 that we had hauled all this way about mid-way up the left crack. Any higher and you’d need a #6 it appeared. However, now the cracks leaned diagonally left and I was able to find a good mix of laybacking and wedging my left forearm to get higher while heel hooking for better security. Most of the way up, I realized the #5 had walked quite a bit and in hindsight I should have extended it. I climbed out to a narrow ledge and slung a constriction for an anchor to belay Winnie up. I largely managed to avoid any rope drag, but that’s mostly thanks to the lack of pro on the slab section.

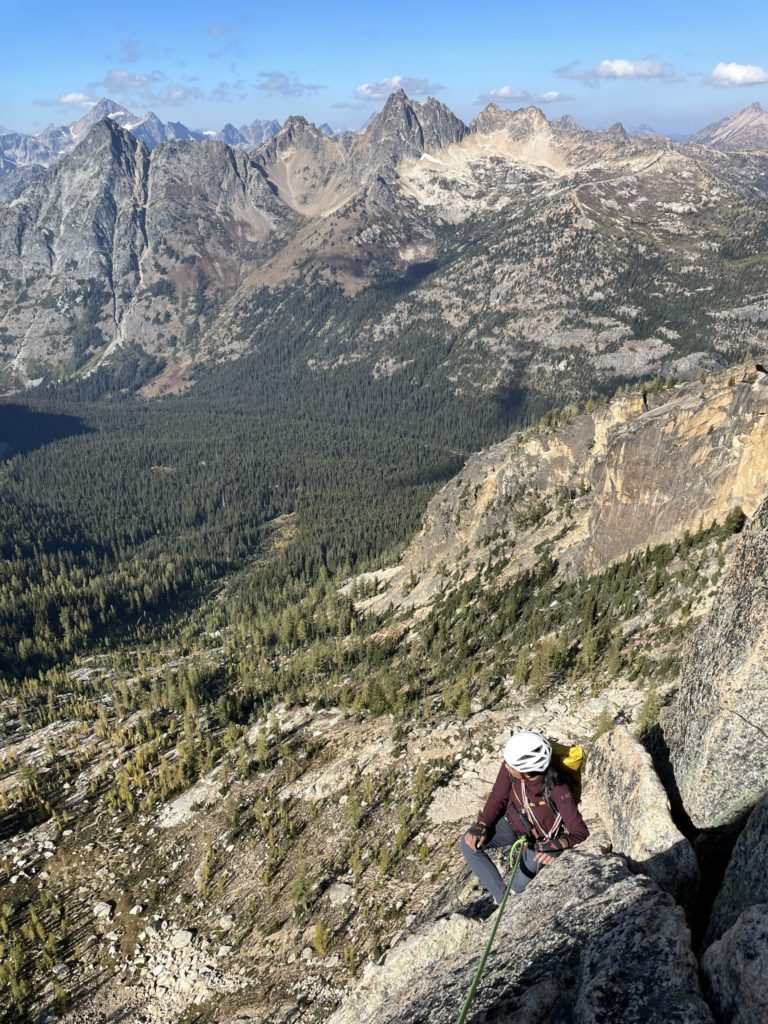
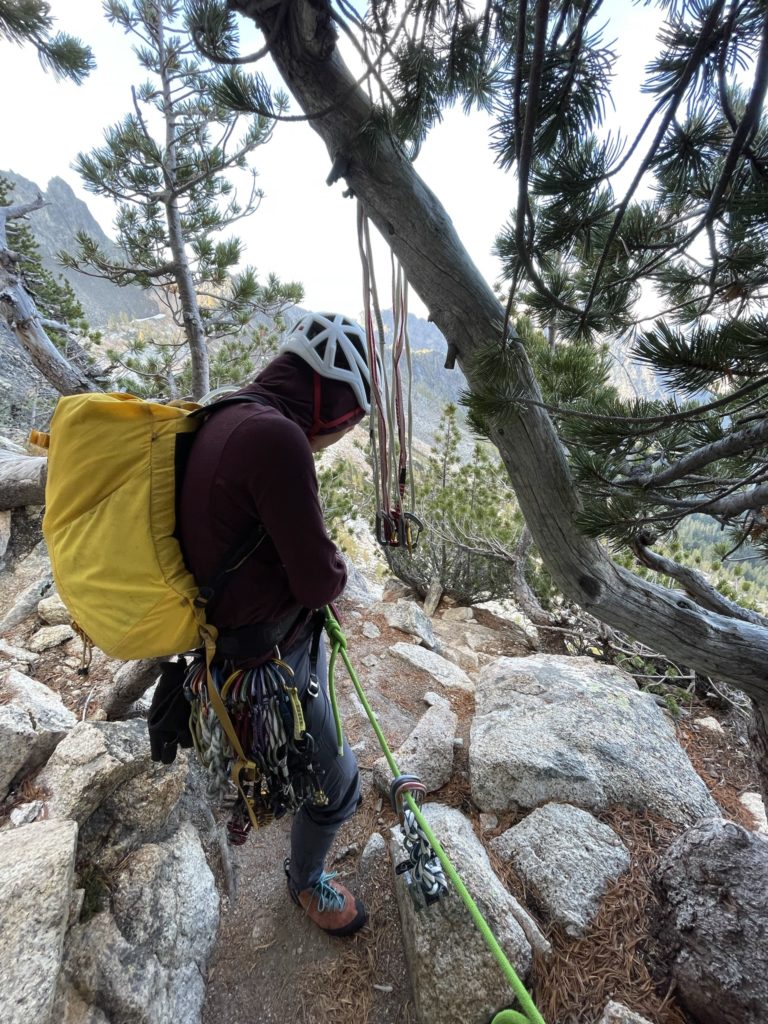
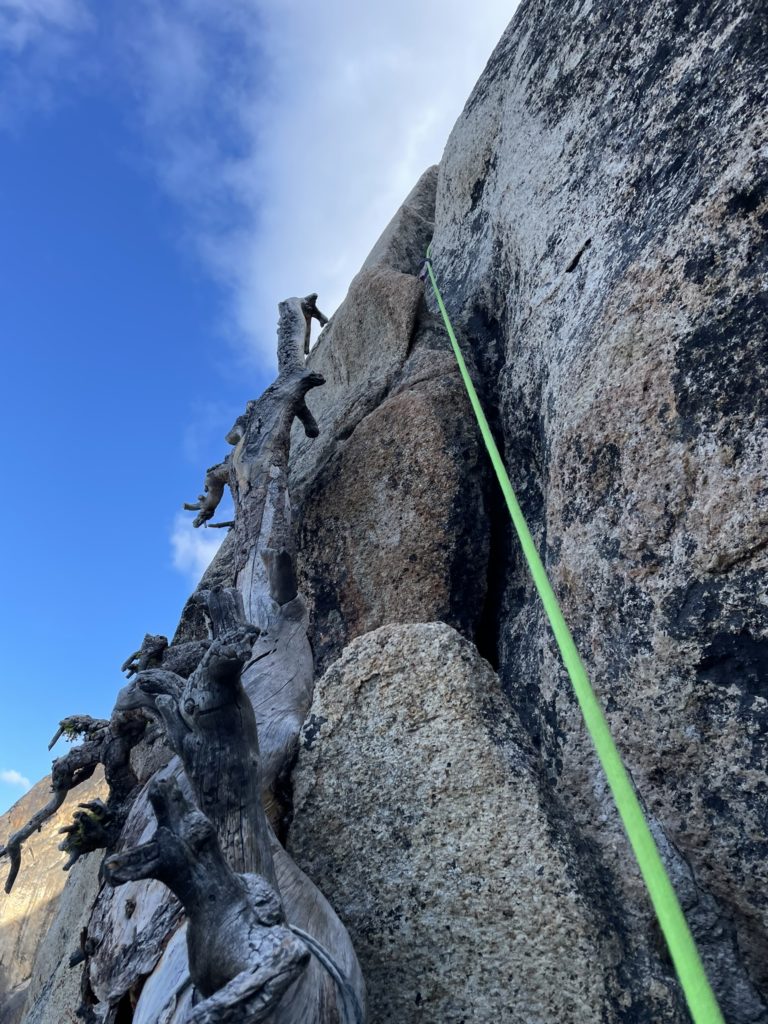
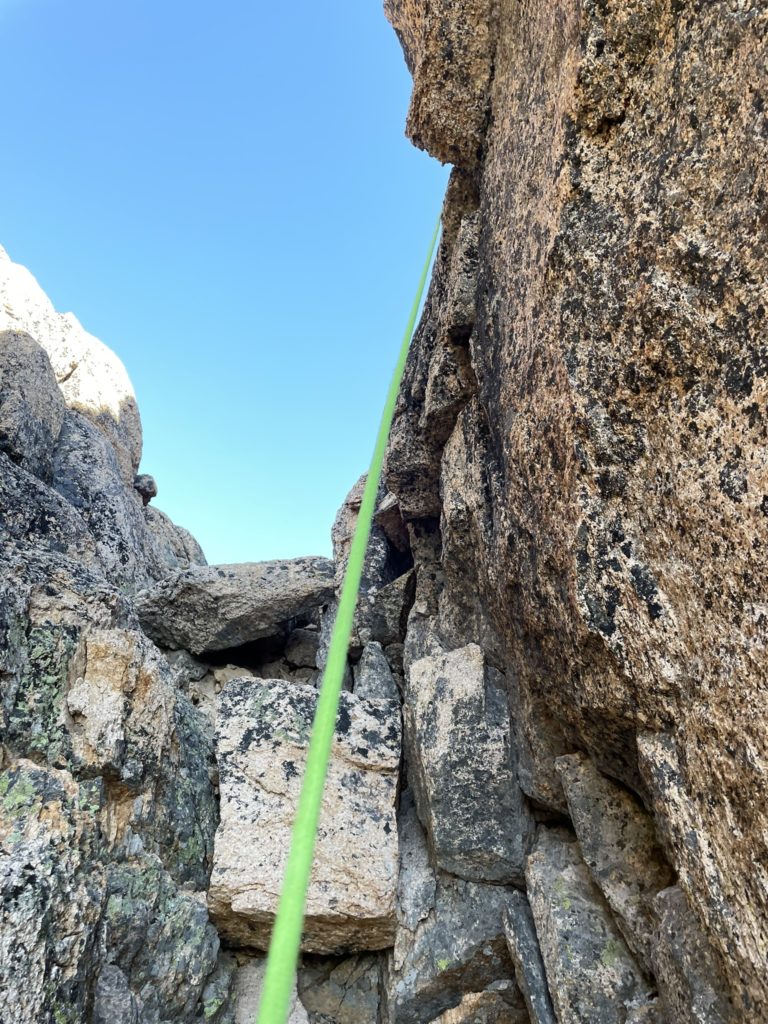
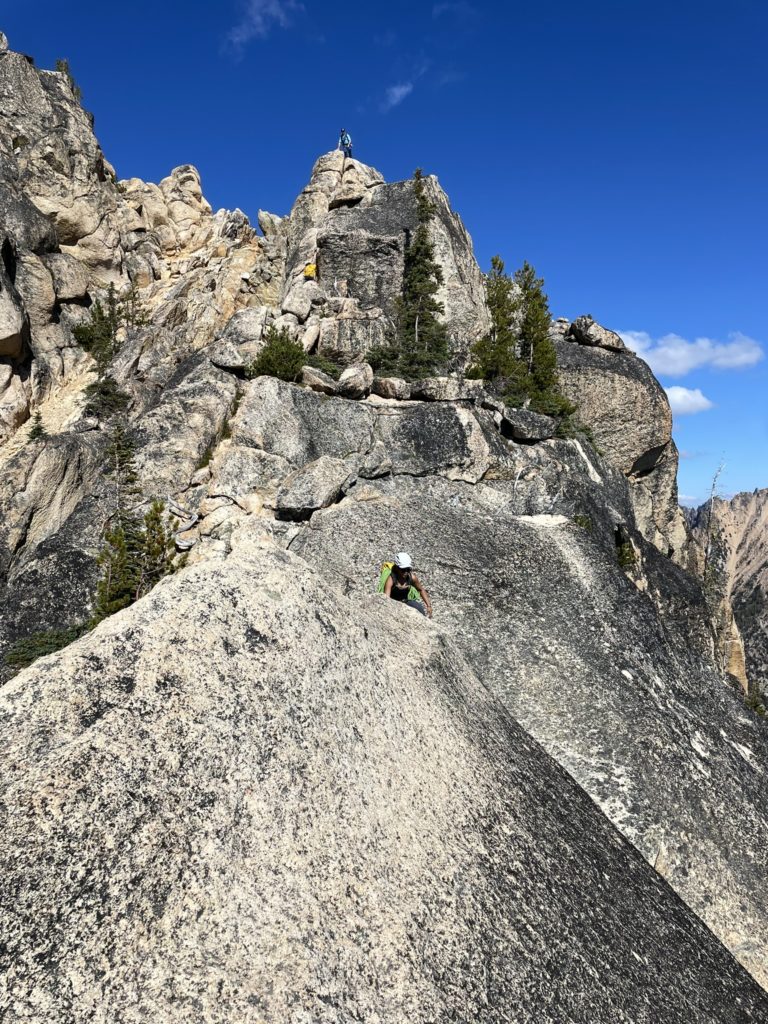
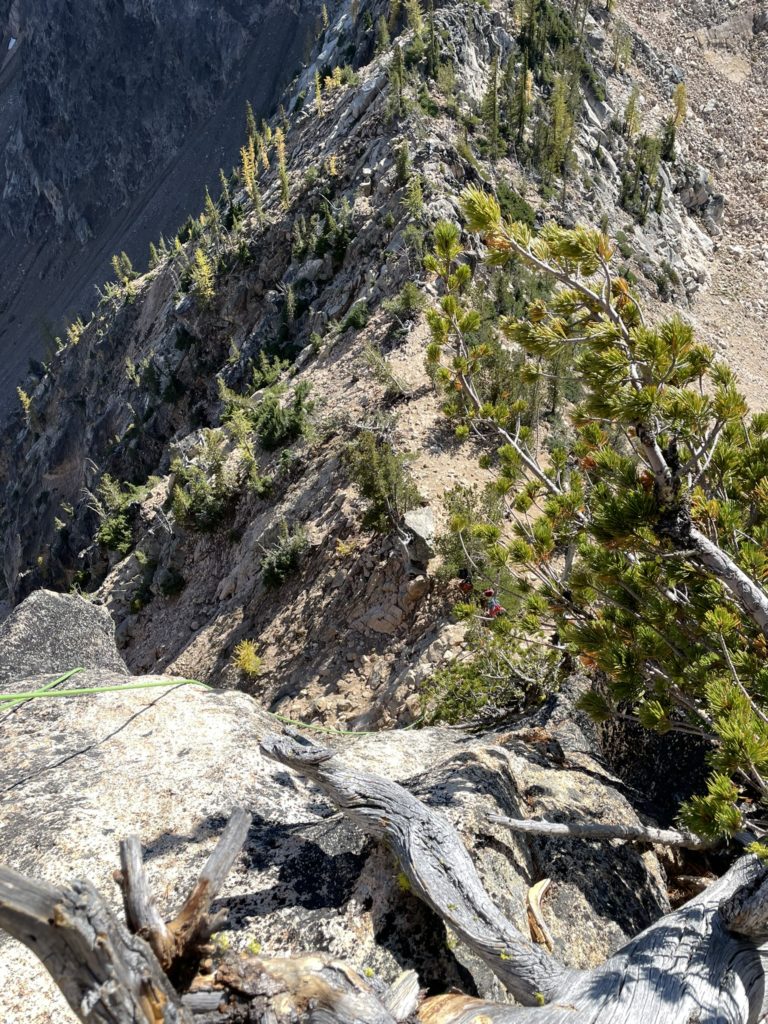
Winnie then lead a long meandering route around to the south side up onto the ridge and then a short slab section to the next anchor. I followed up without any problems and now got ready for the final pitch(es). We had read that pitch six can bypass a short rappel into the summit notch by doing a low 5th down climb, so that was our plan. I initially went out climbers right up a crack and found it didn’t go anywhere so down climbed back to the anchor. This time I correctly ascended a long, but easy slab section. I slung a hung about half way up and then climbed the rest of the way to the ridge. I continued over the ridge until finding a key tree that marked the down climb. The tree was quite solid, so I slung it for pro as well and then started the descent. It was fairly easy with good edges a few reachy steps to get down. I placed a #4 just above the last step to protect the second and then reached the wide gully/notch in between the summit and SW rib.
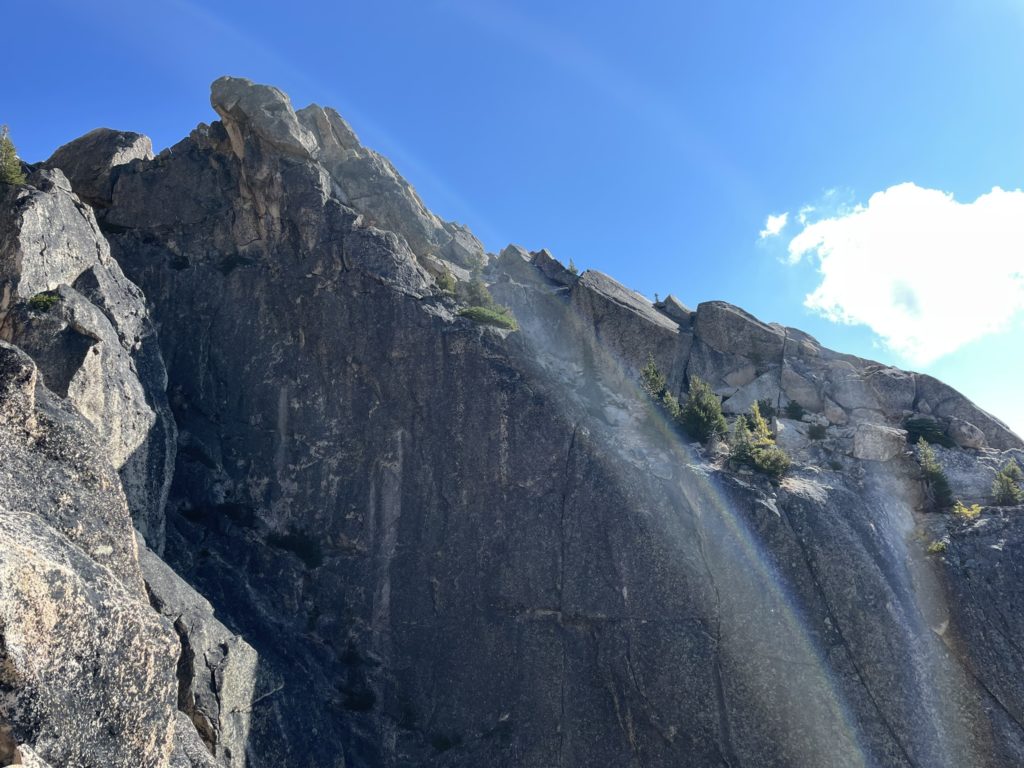

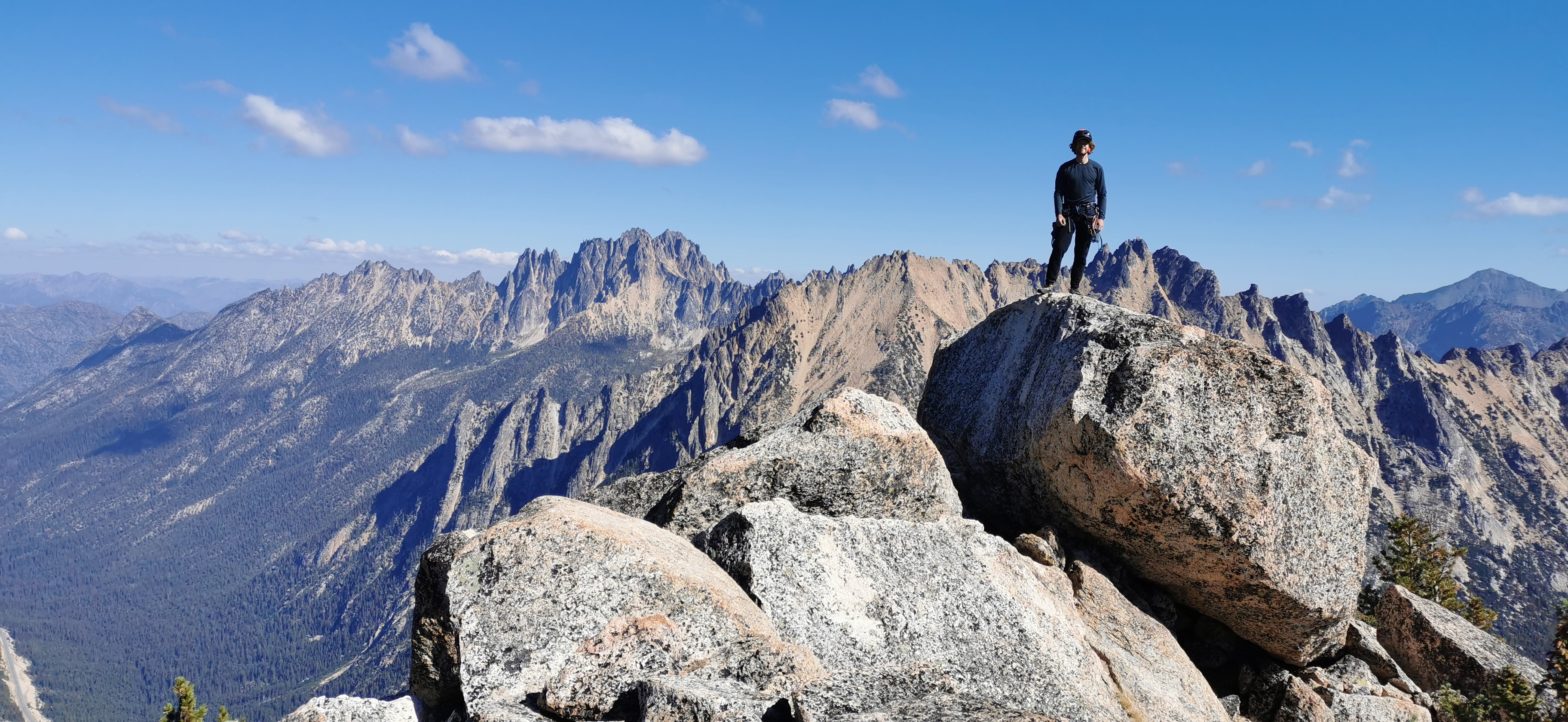
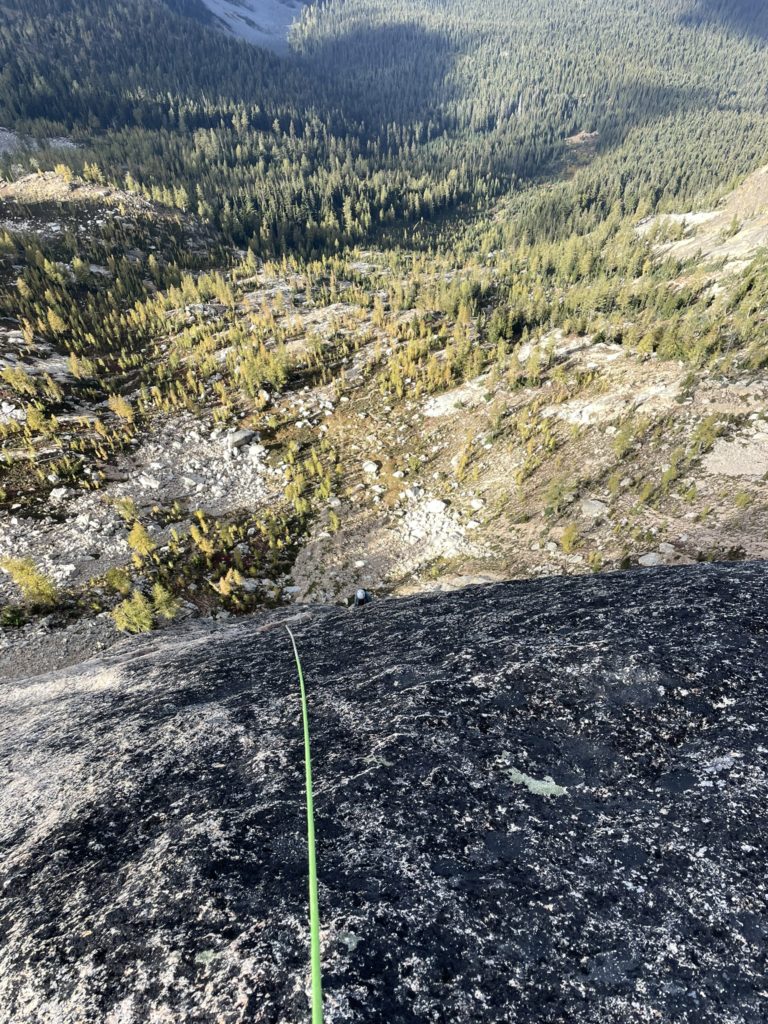
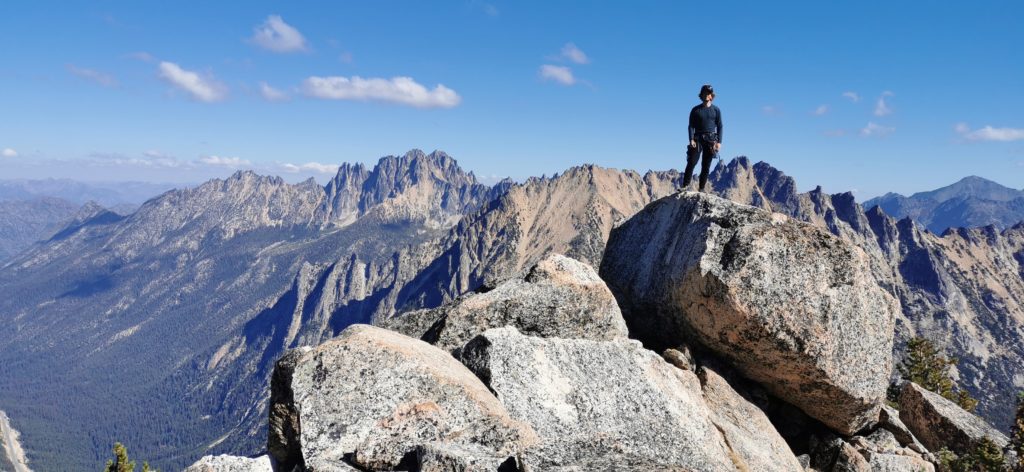
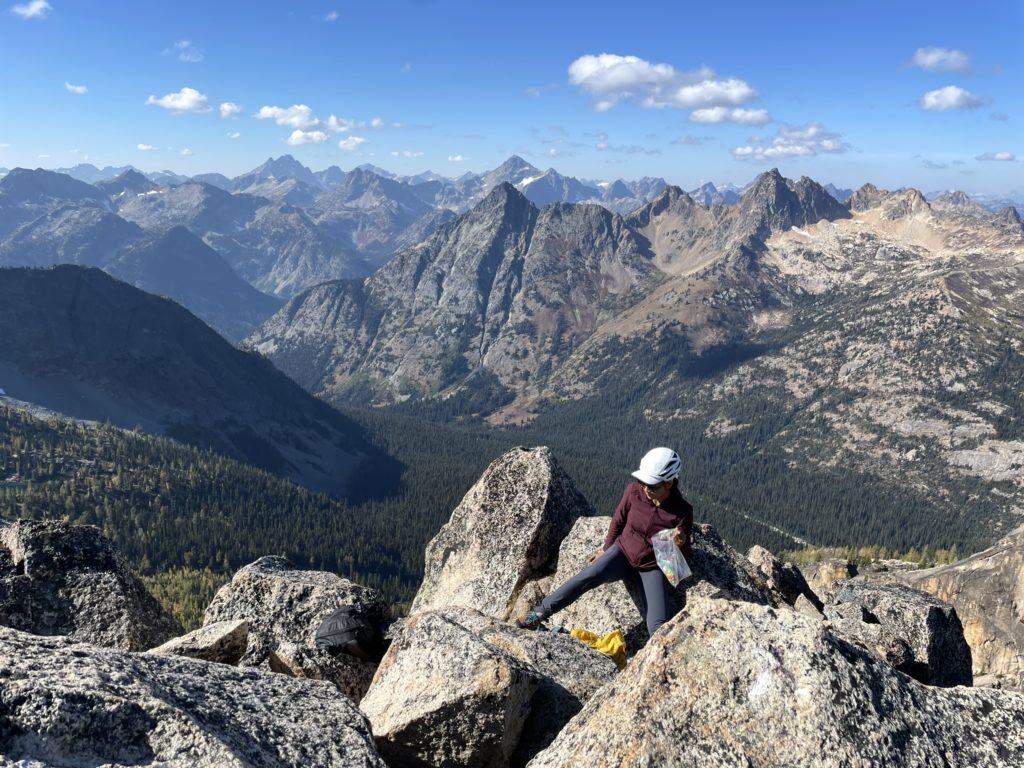
There wasn’t enough rope to reach the summit, so I built an anchor off the tree and belayed Winnie up. She then swung leads for the short 20-ish meter final pitch to the summit. I followed up the low 5th section on the north side and reached the summit alongside Winnie at last. A quick look around revealed there’s still one little boulder problem to reach the true high point, so I wasted no time getting over there. I climbed up with relative ease and then hopped off to find a nice summit spot to relax. We were both grateful to have perfect summer temps on the first day of October, with no snow in sight. I spent a fair bit of a time just snacking and warming up under the sun.

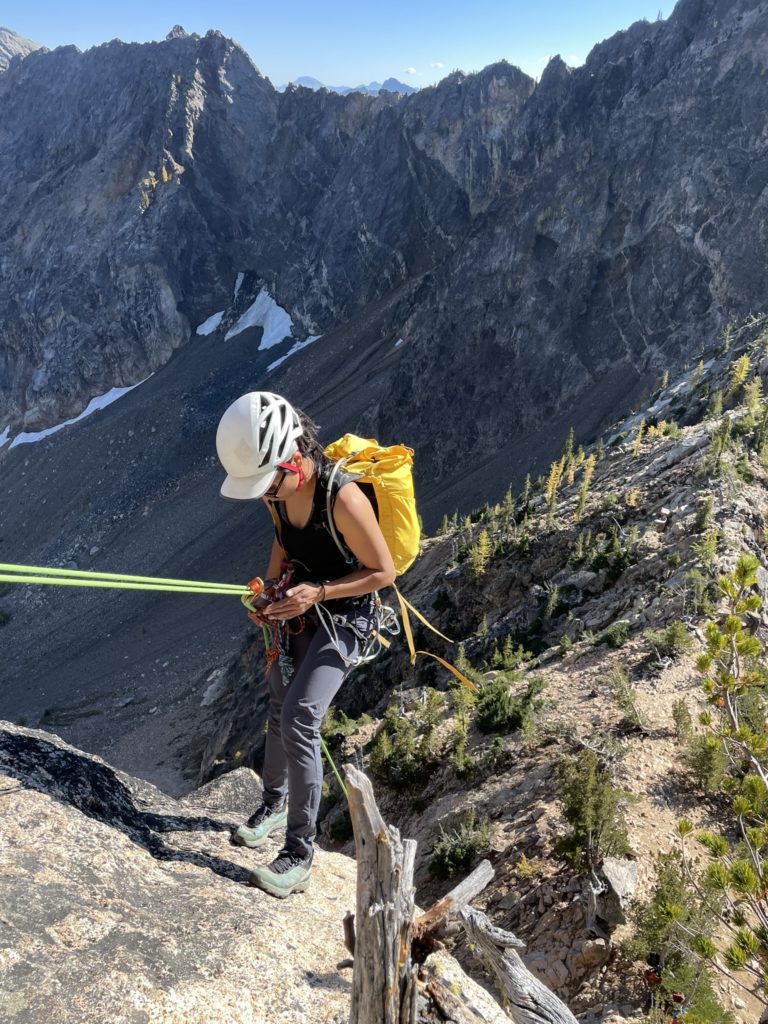
Before heading down, Winnie went for the true summit boulder as well and climbed up without issue. We then packed up started the descent route. To reach the base again, the descent involved down climbing about half of the 5.5 route on the south west ridge adjacent to the south west rib. We scrambled down a fair ways and then reached vertical chimney. I committed to down climbing it, but it was exceptionally awkward as the hand holds were down sloping or hard to reach. I couldn’t get much movement in any direction as the chimney was tight and I had to think the sequence through quite carefully. As I was doing this a group of climbers came up and ascended an apparently easier line at climber’s right. I suggested Winnie take this, as my route was a cruxy 5.5 down climb for sure. After a few tense moments, I reached the base and Winnie joined me from the other line. We down climbed one more chimney, albeit wider and then located the bolted rappel anchor at climber’s right.

From here we did two rappels directly down the chimney line and reached the col at last. After re-reading the descent description it appears we had missed a third rappel which would have bypassed the awkward down climb. Oh well… good practice I suppose. We had a quick regroup and decided to skip Concord Tower to be home at a reasonable time. So, we did a short hike down to our gear, had a quick break and then pushed all the way back to the car. The descent was easy thanks to the well-trodden path and we reached the car by 4PM or so.
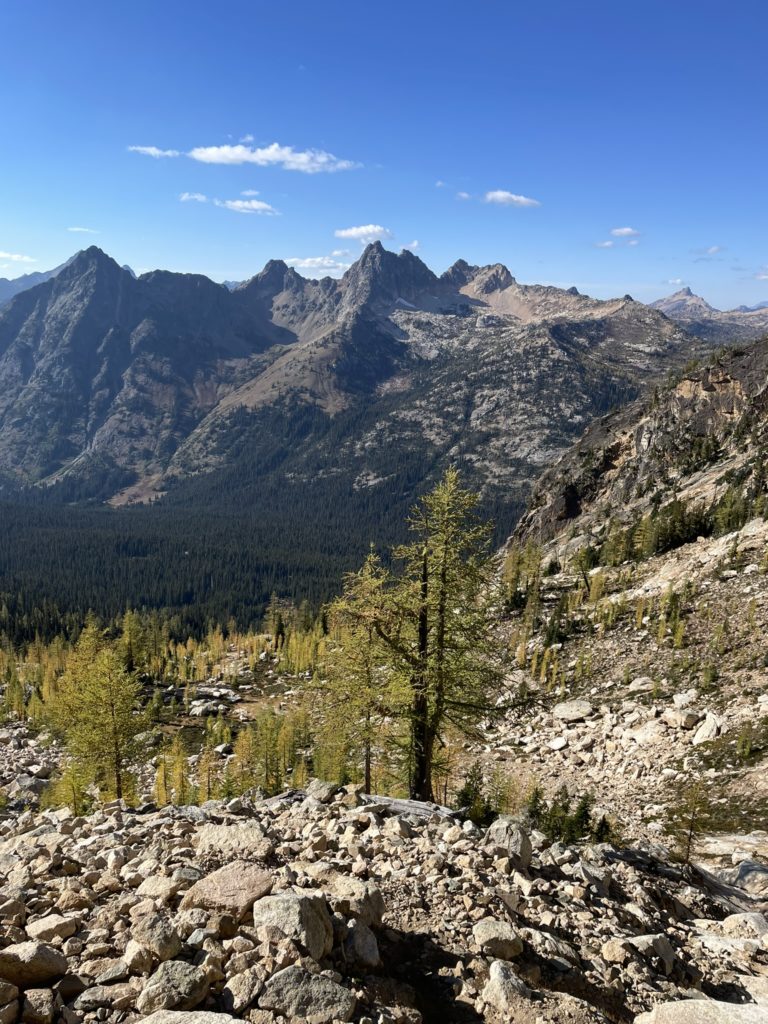
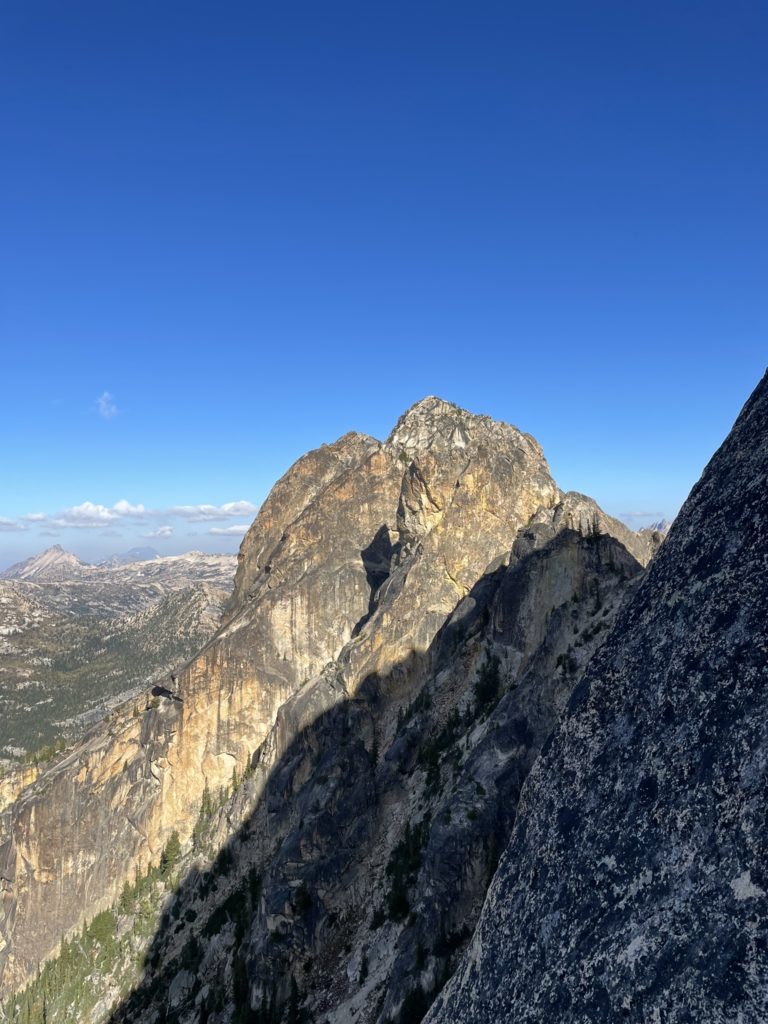
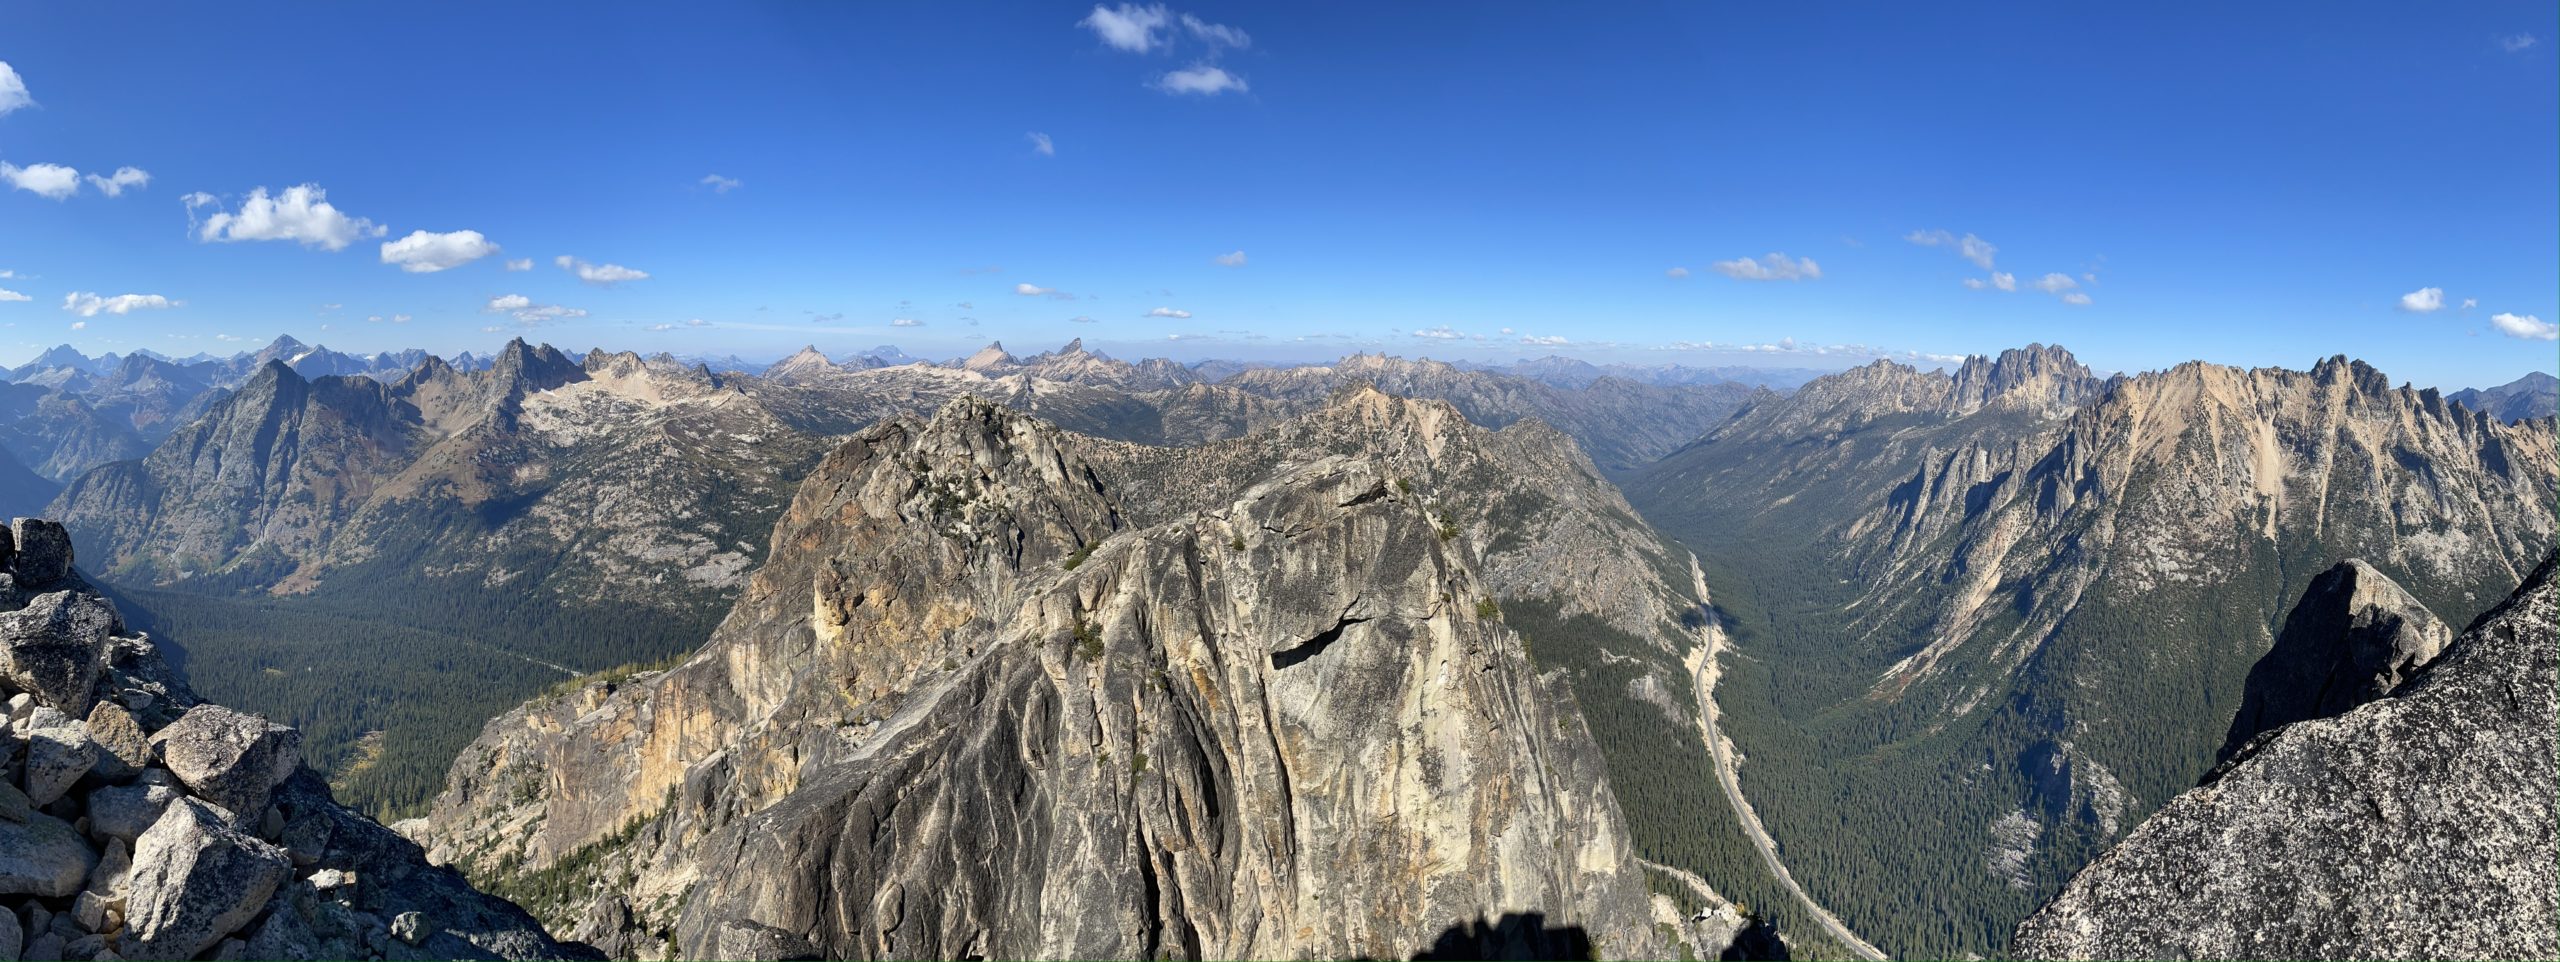
I drove us back to the border and reached home by 9PM. It was really nice to skip a long night time drive for once. This climb definitely goes in my “select” list as the approach is dead simple, climbing is engaging and varied and the Washington Pass is… well… exceptionally striking from all perspectives.
Gear Notes:
- Singles of #0.2, #3, #4 and #5
- Doubles of #0.3, #0.75 to #2
- Triples of #0.4 and #0.5
- DMM Wallnuts #1-7
- Single 60m rope
We brought the #5 to protect the bear hug and it was worthwhile for the security. We also found placements for it on pitch one and two, but not strictly necessary. The triples were a happy accident, but quite useful for the 5.10b variation to zip it up. Wallnuts were useful for the gear anchor and pitch six, but not much else. #0.2 and #0.3 were not used really.