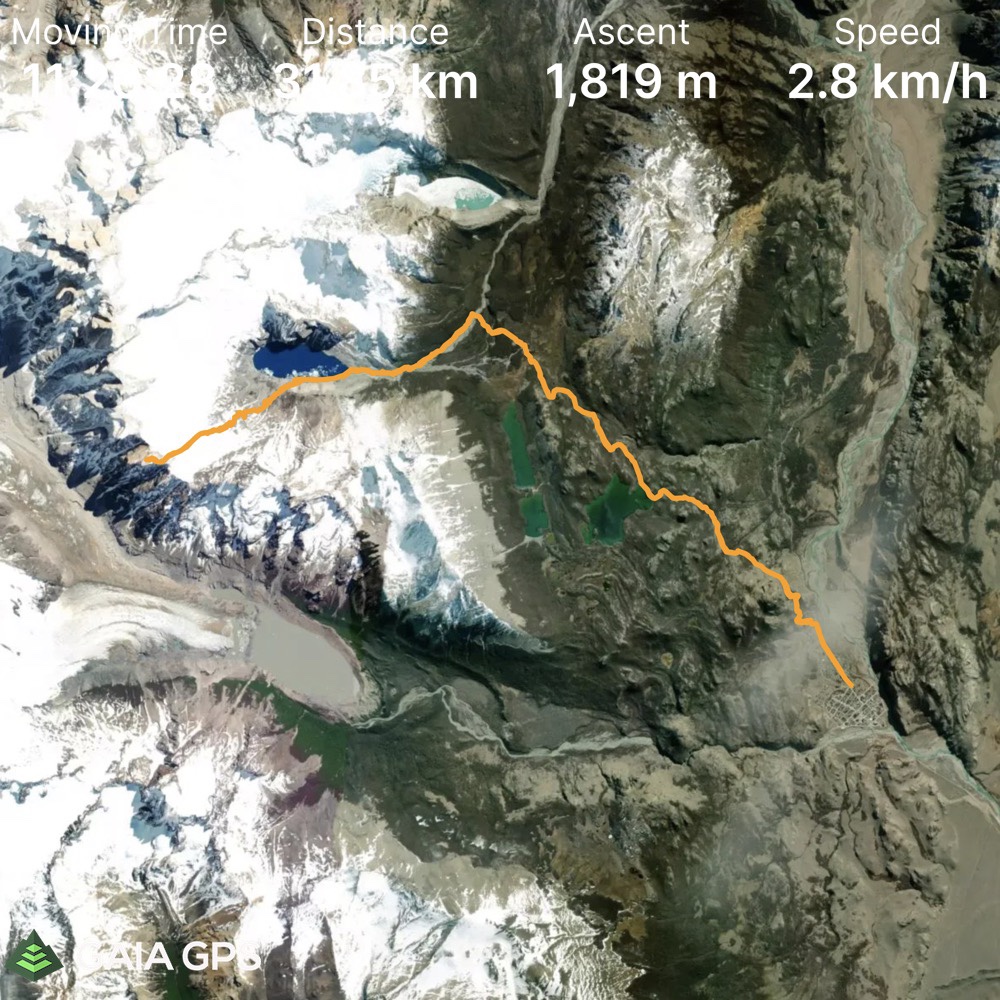
Elevation Gain: 1819m
Distance: 31.85km
Total Time: 17 hours 21 minutes
Date: January 26th, 2022
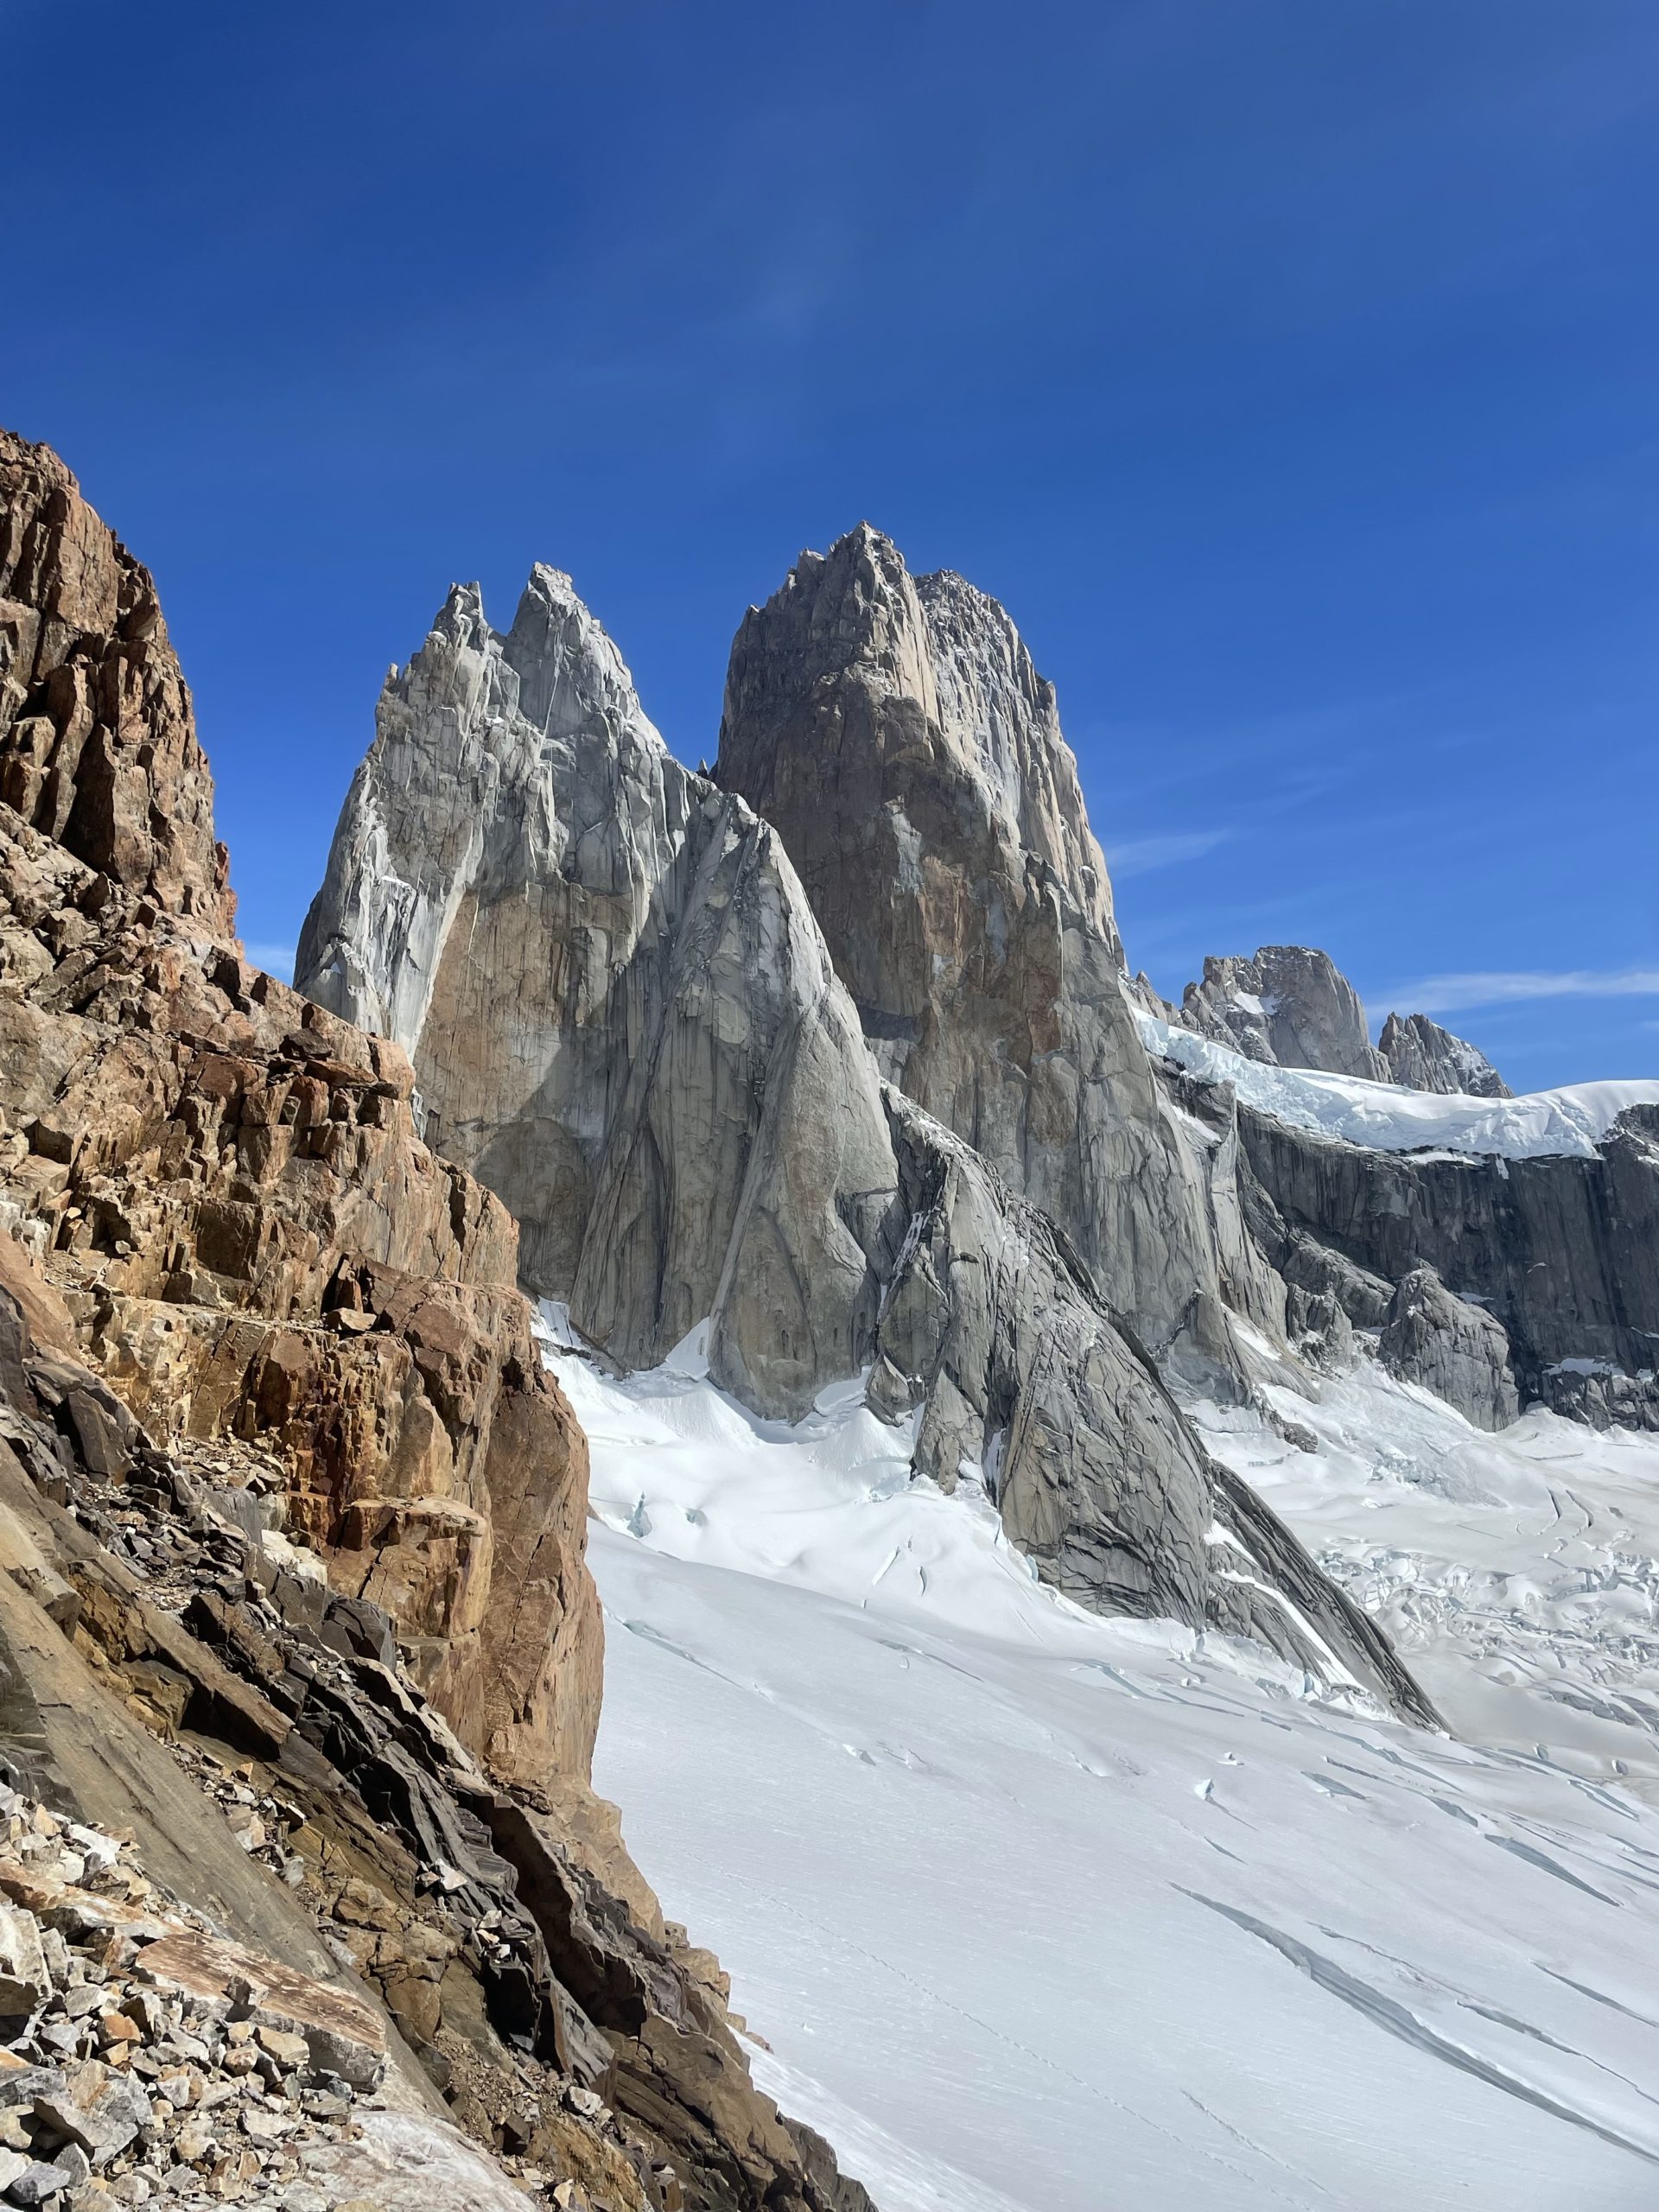
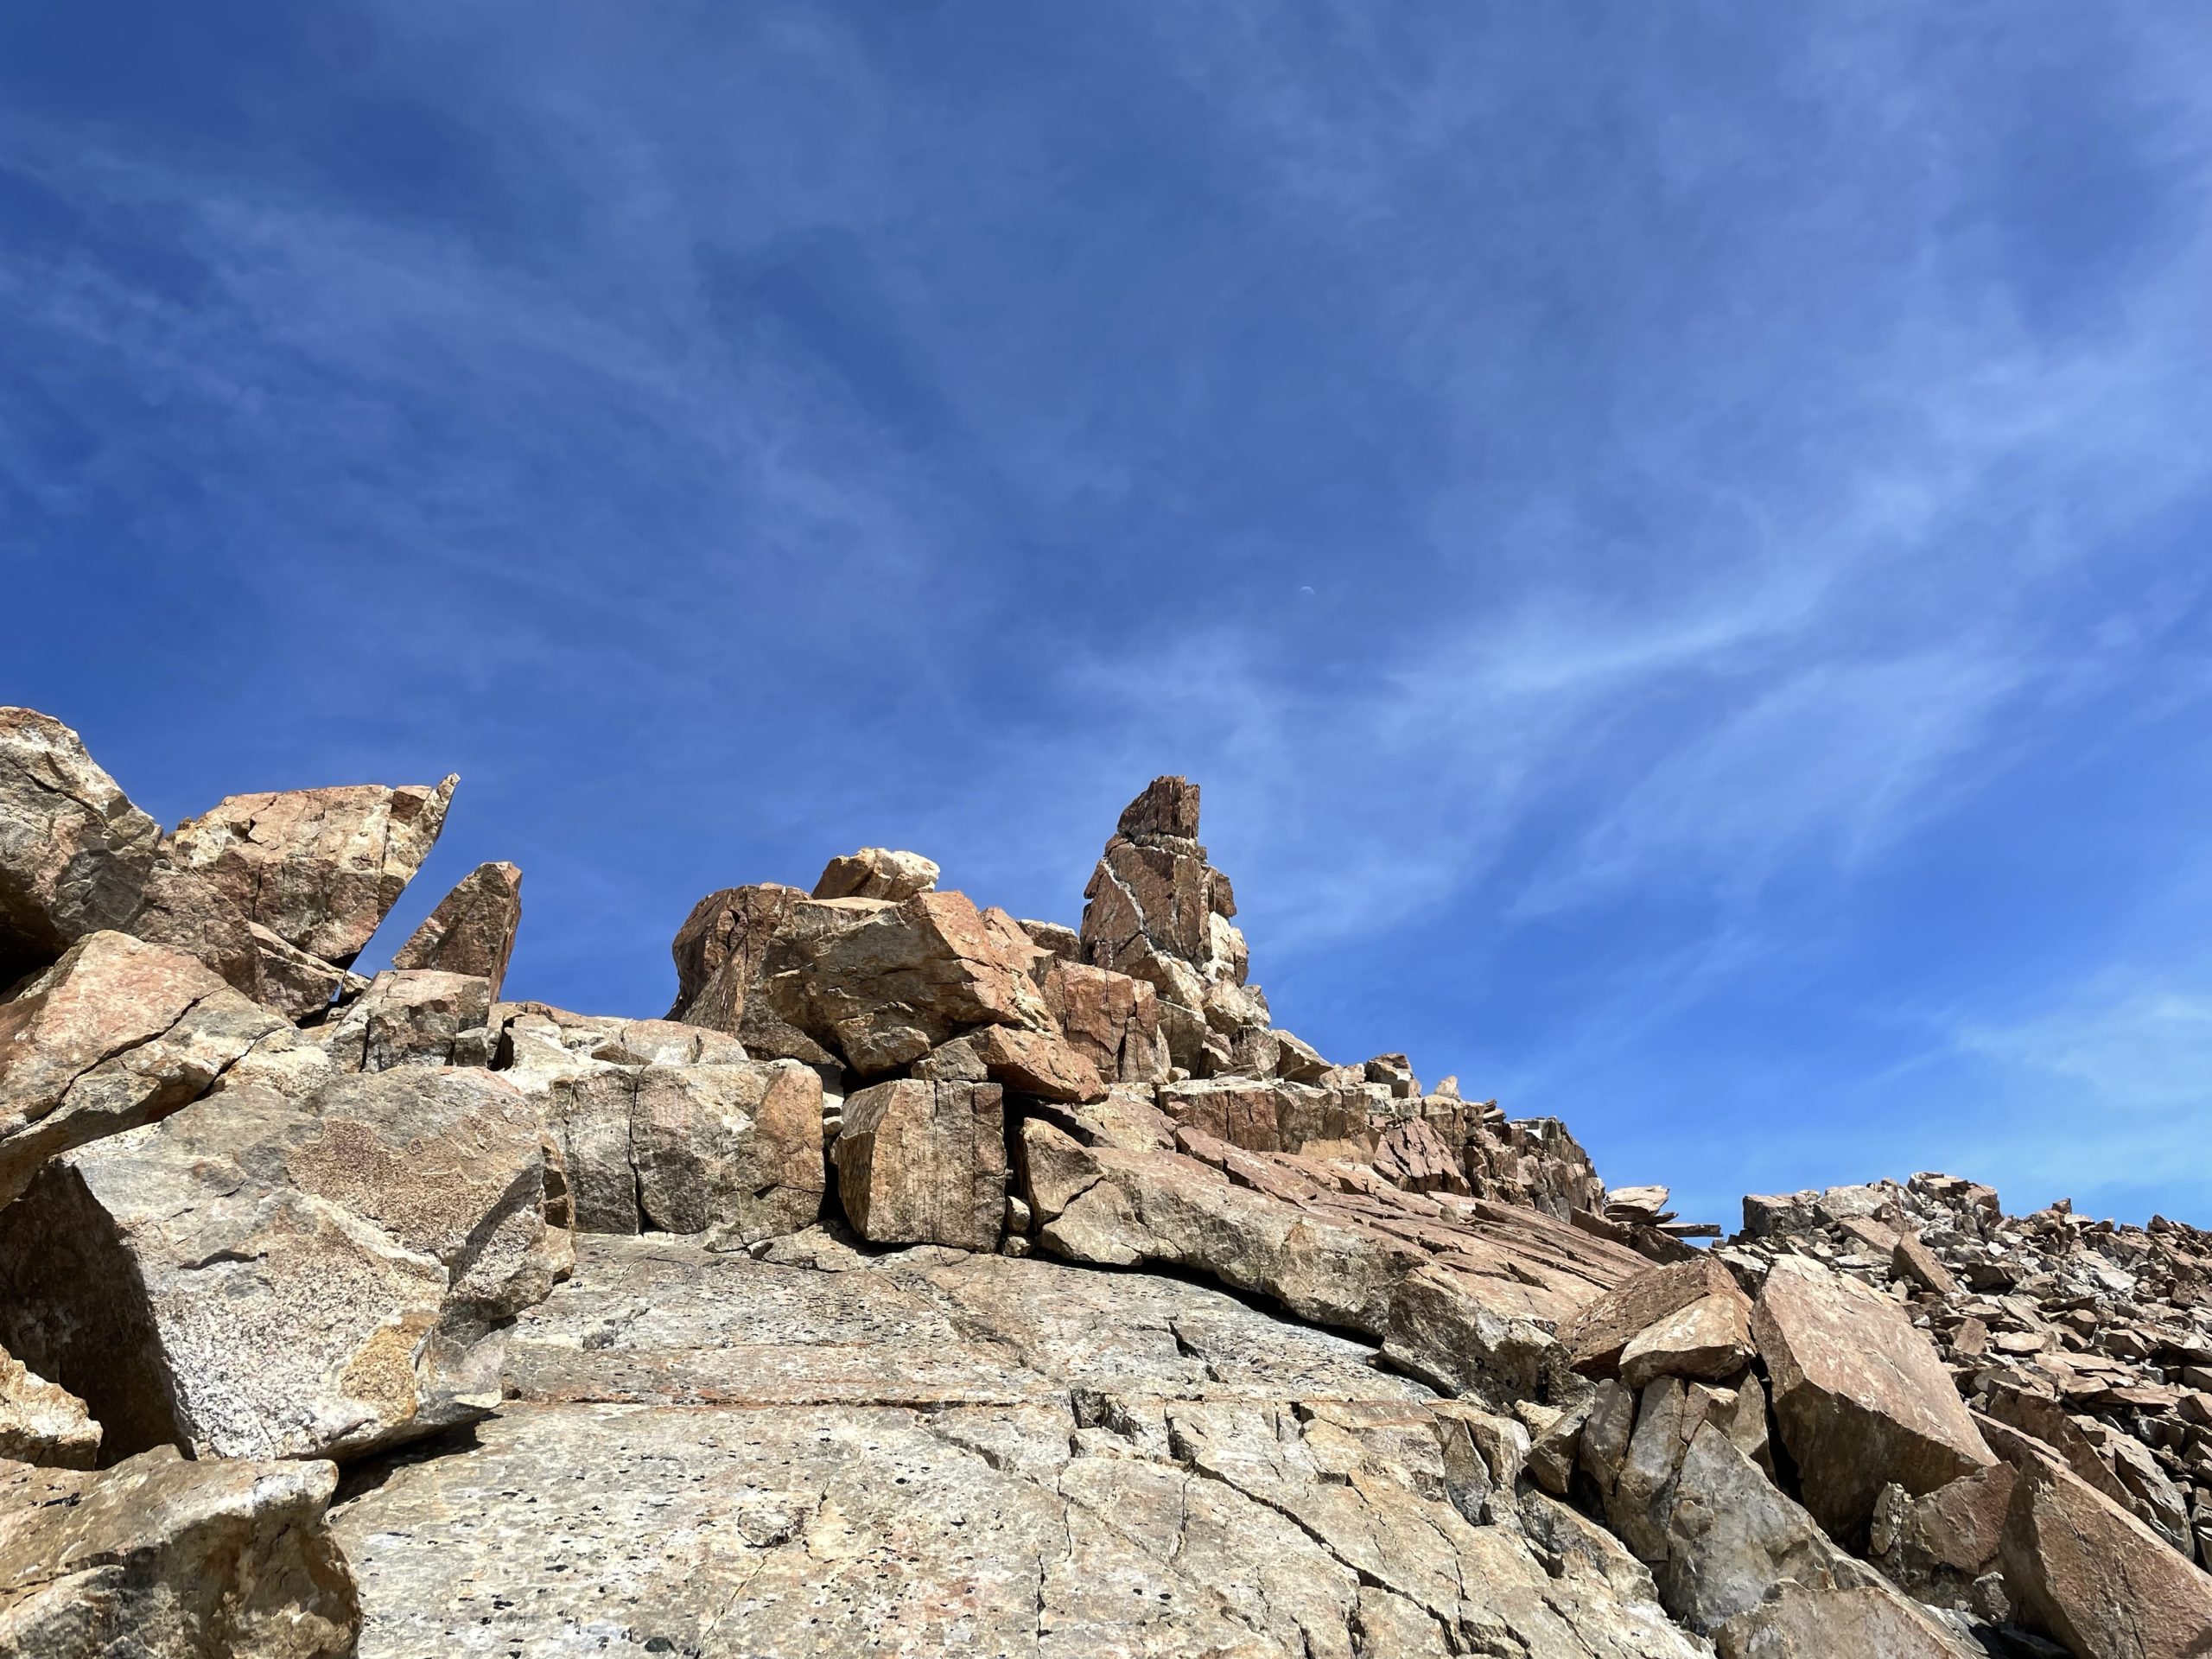
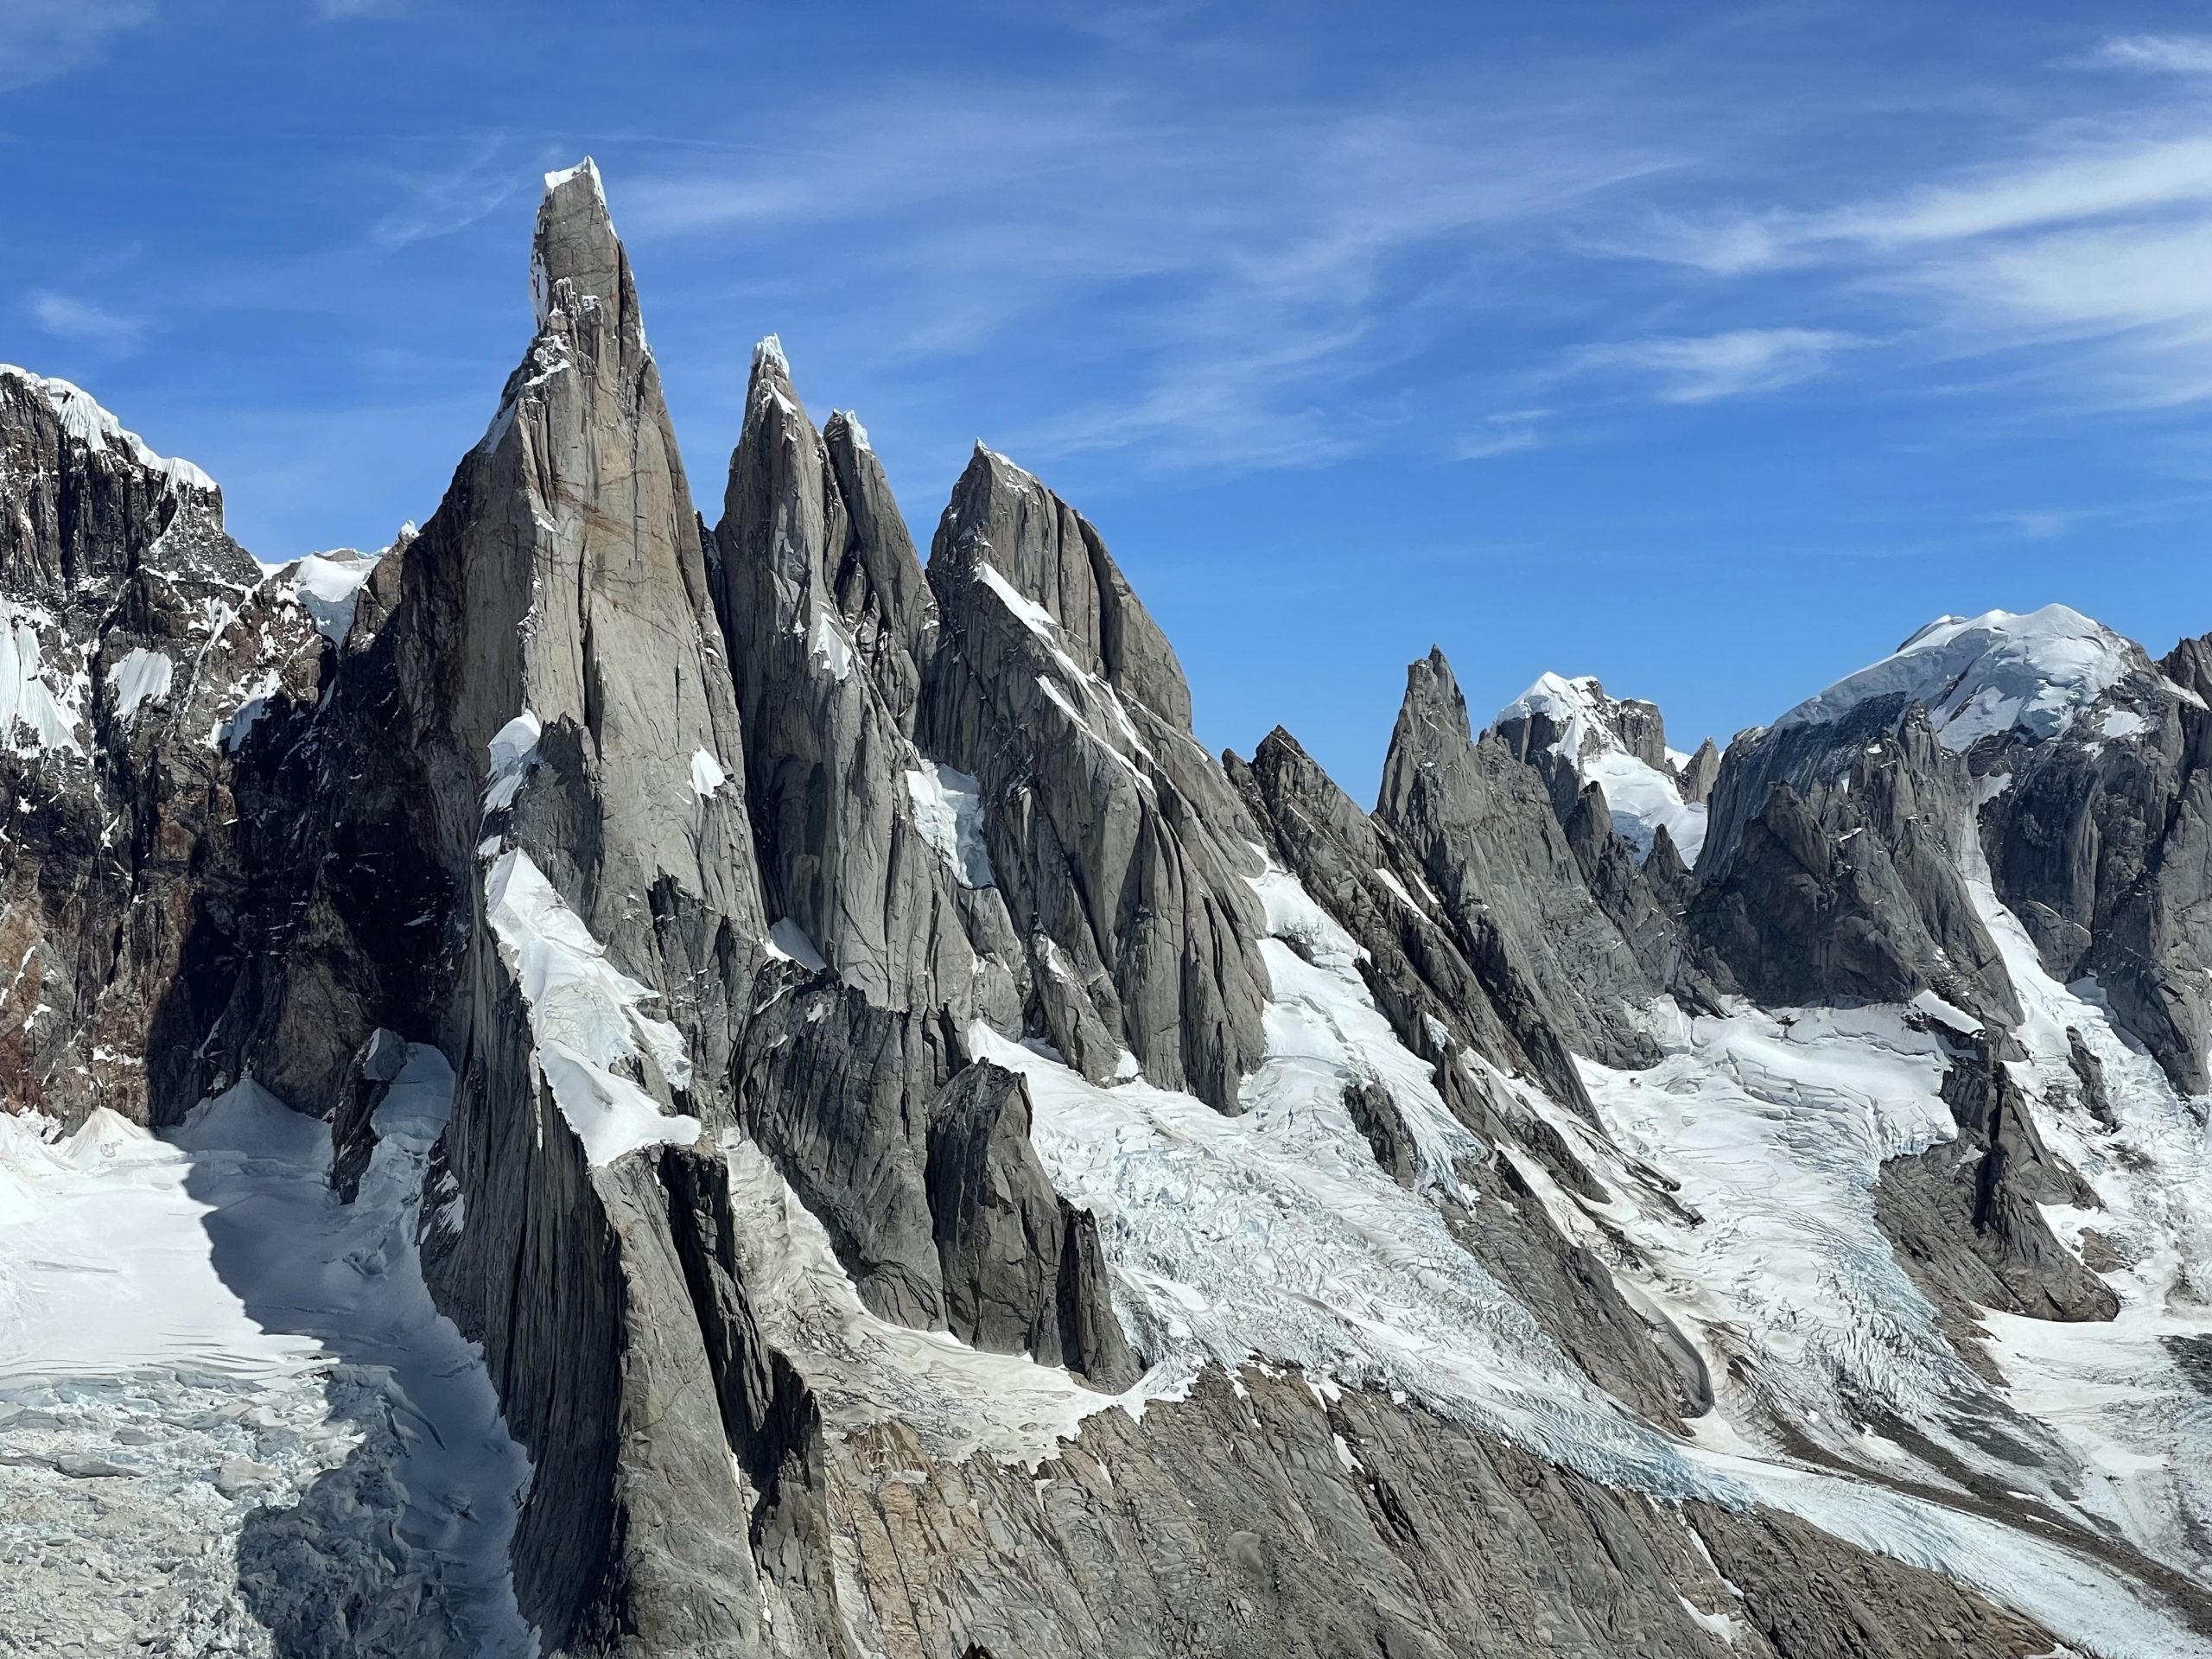
Mojon Rojo is another one of those minor summits around the Fitz Roy massif that presents a fun mountaineering challenge without the big wall climbing prevalent in the area. It gets its name from the red/rusty colour that separates itself from the surrounding Agujas. Like a lot of the smaller mountains in the area, the beta is extremely limited. I found some online information that indicated sections of 5th class and a summit tower that went up to 5.7: report 1, report 2 and report 3. But there wasn’t enough photos to piece together the whole picture.
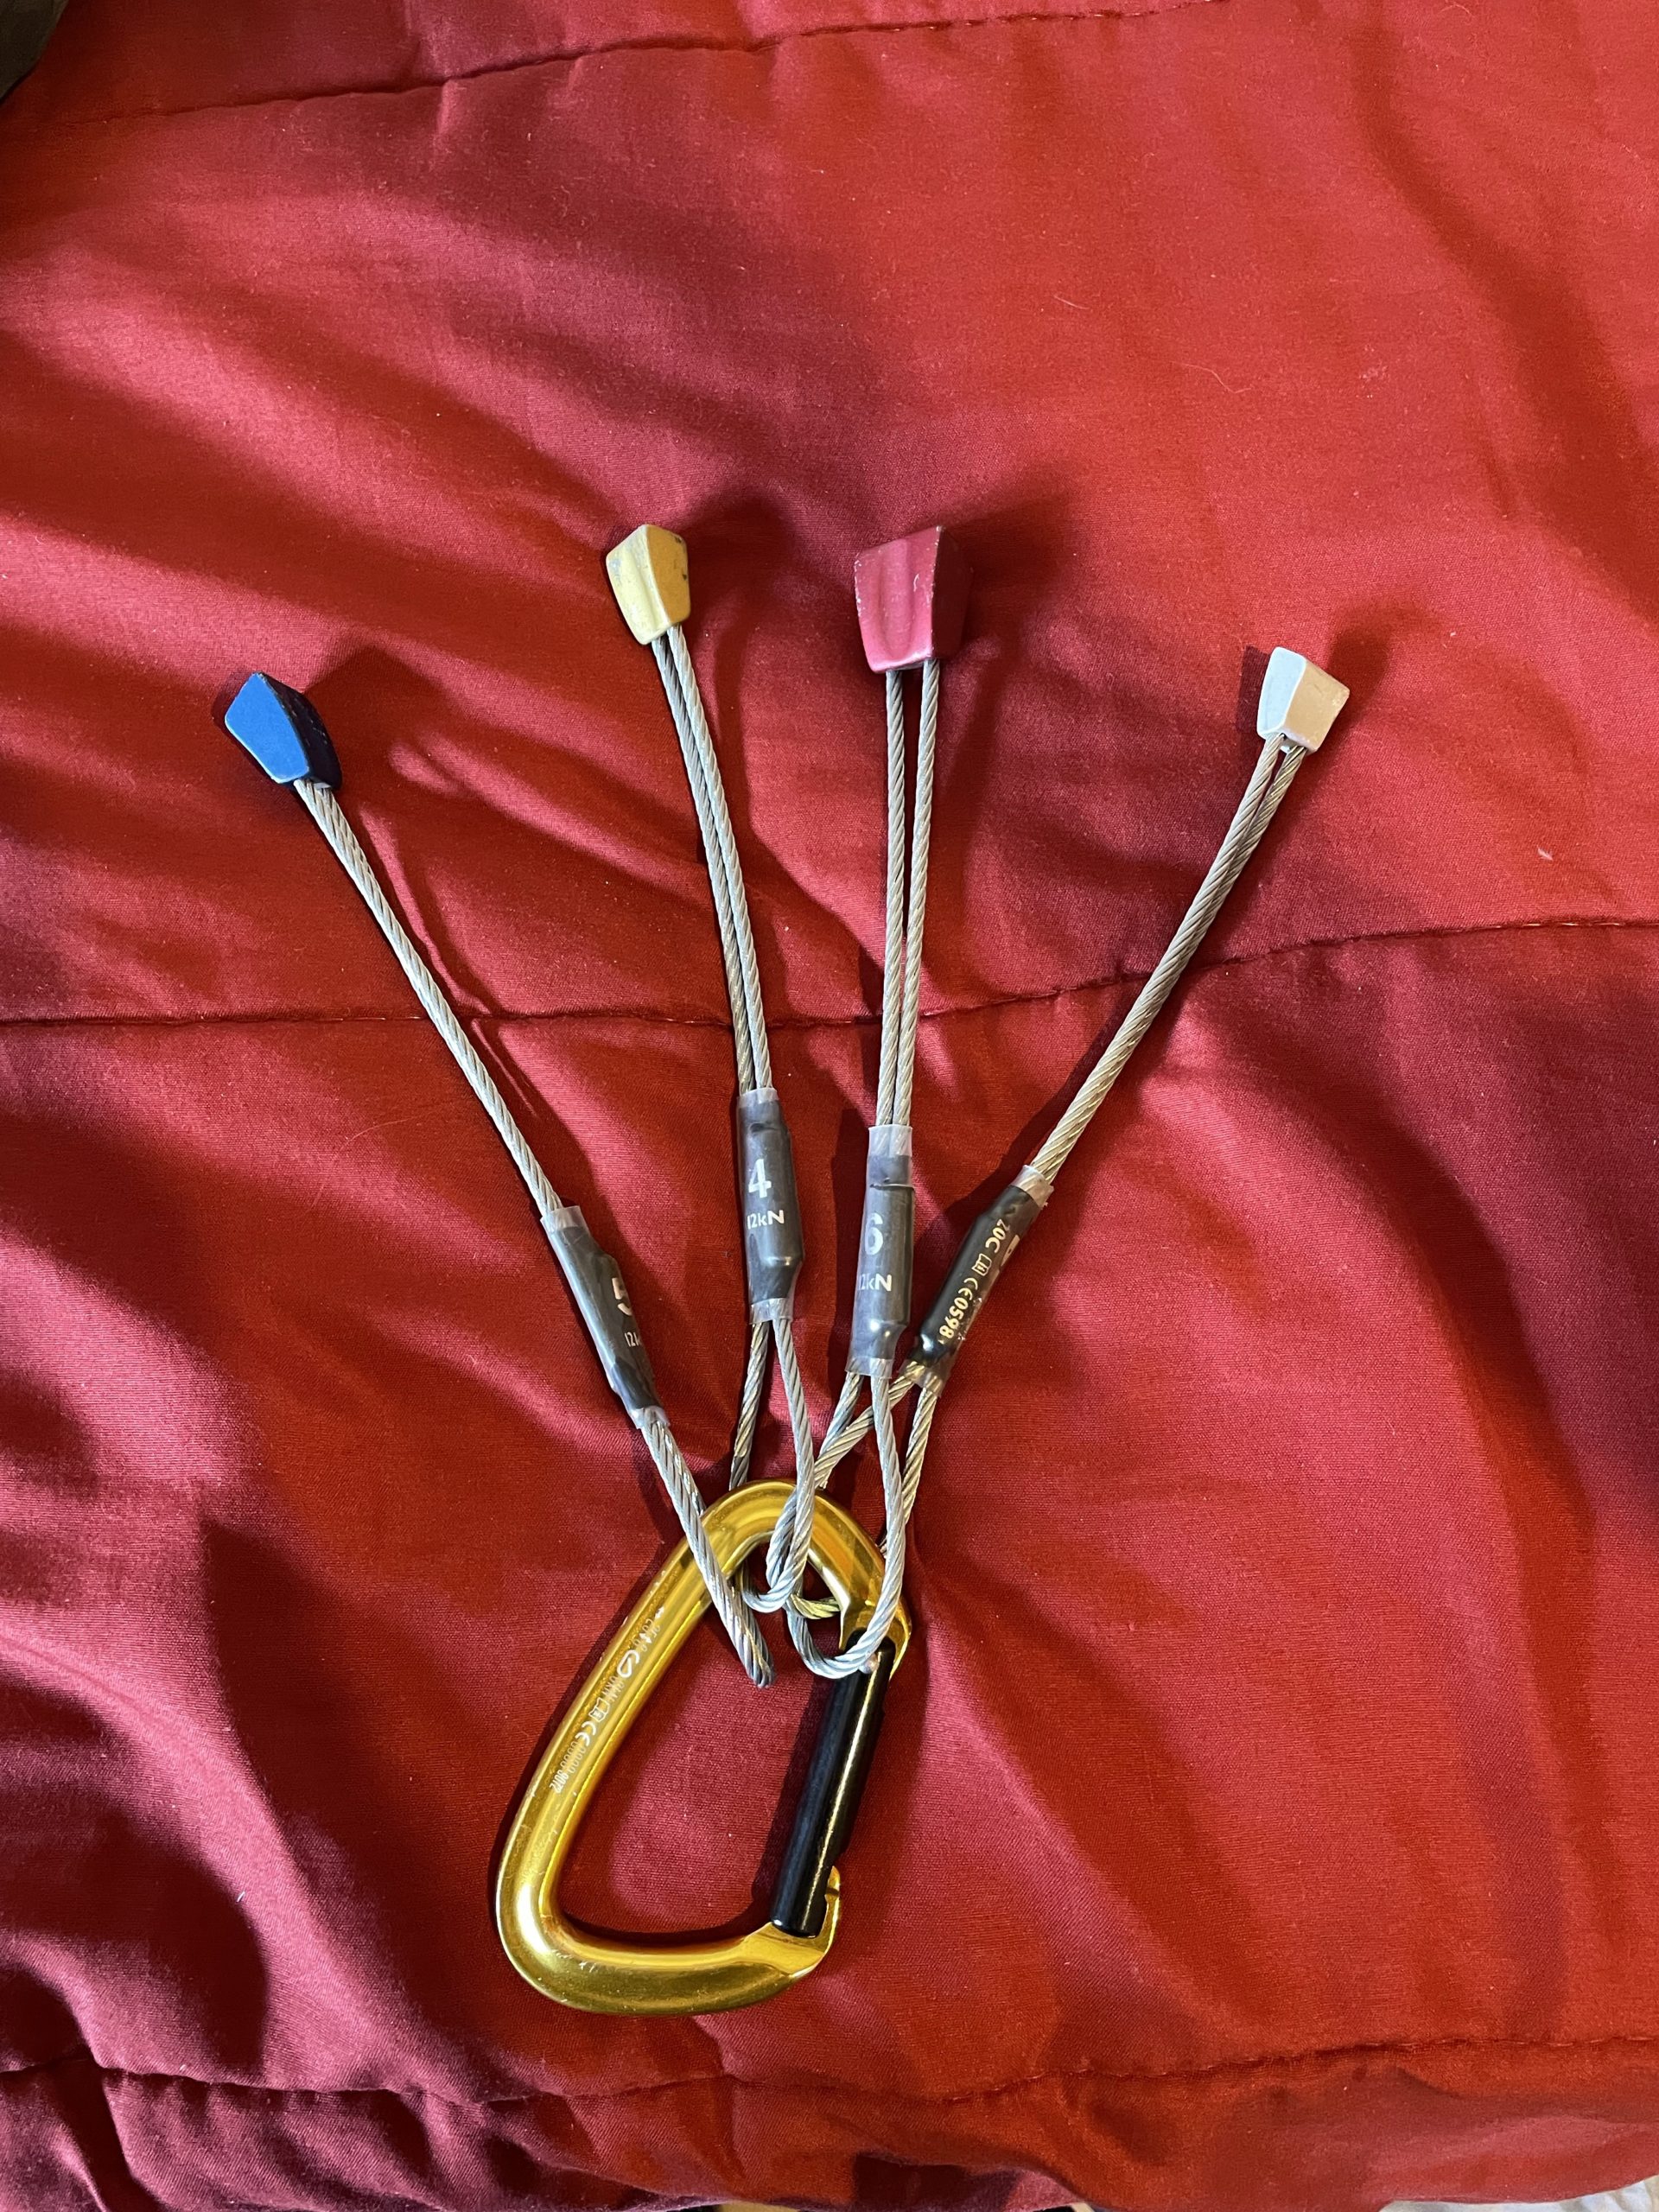
After a successful summit on Cerro Madsen, Jacob and I were ready to send something a step up and decided on Mojon Rojo. From what I found, most people do this summit over two days with a bivy below the glacier. We weren’t really interested in renting the tent gear and so decided to try going hostel to hostel in one push. As a result of my online research, we decided to bring my 60m x 8mm rope and a small rack of: #0.4 – #2 BD Cams, #2 – #6 DMM Wallnuts and 5 Alpine QuickDraws. We have a glacier crossing and up to two sections of 5th class climbing so this felt like a reasonable compromise.
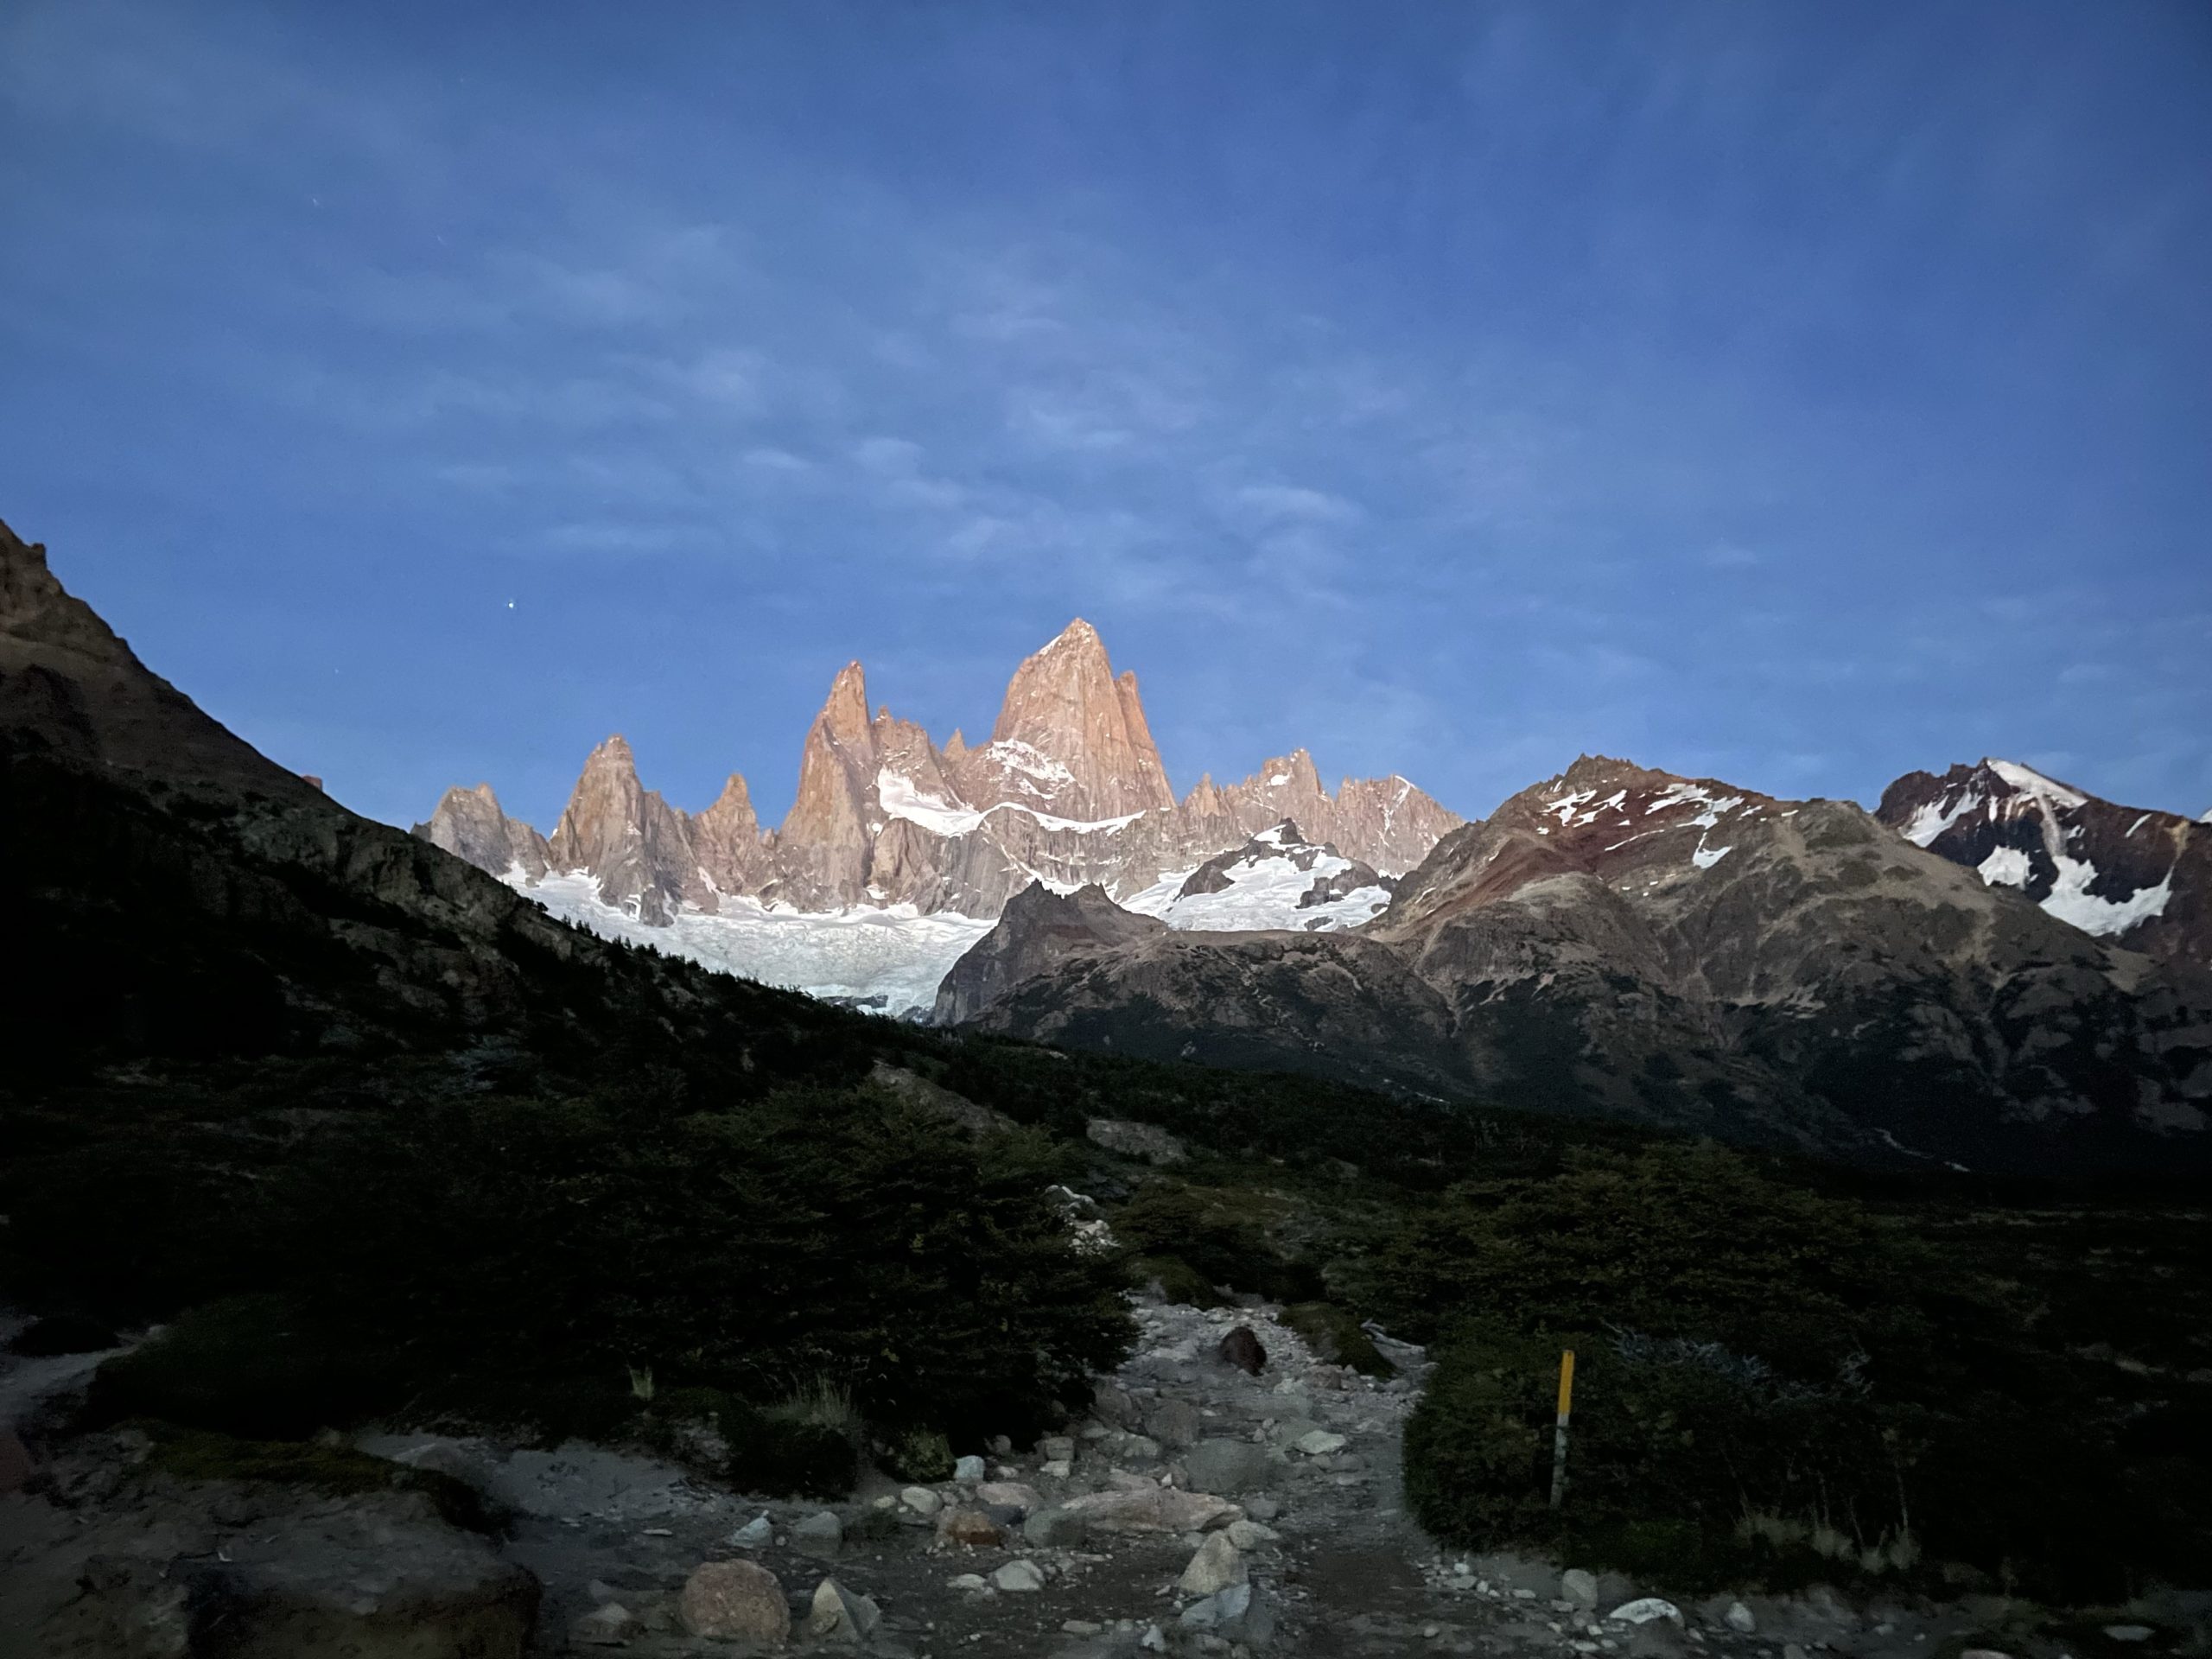
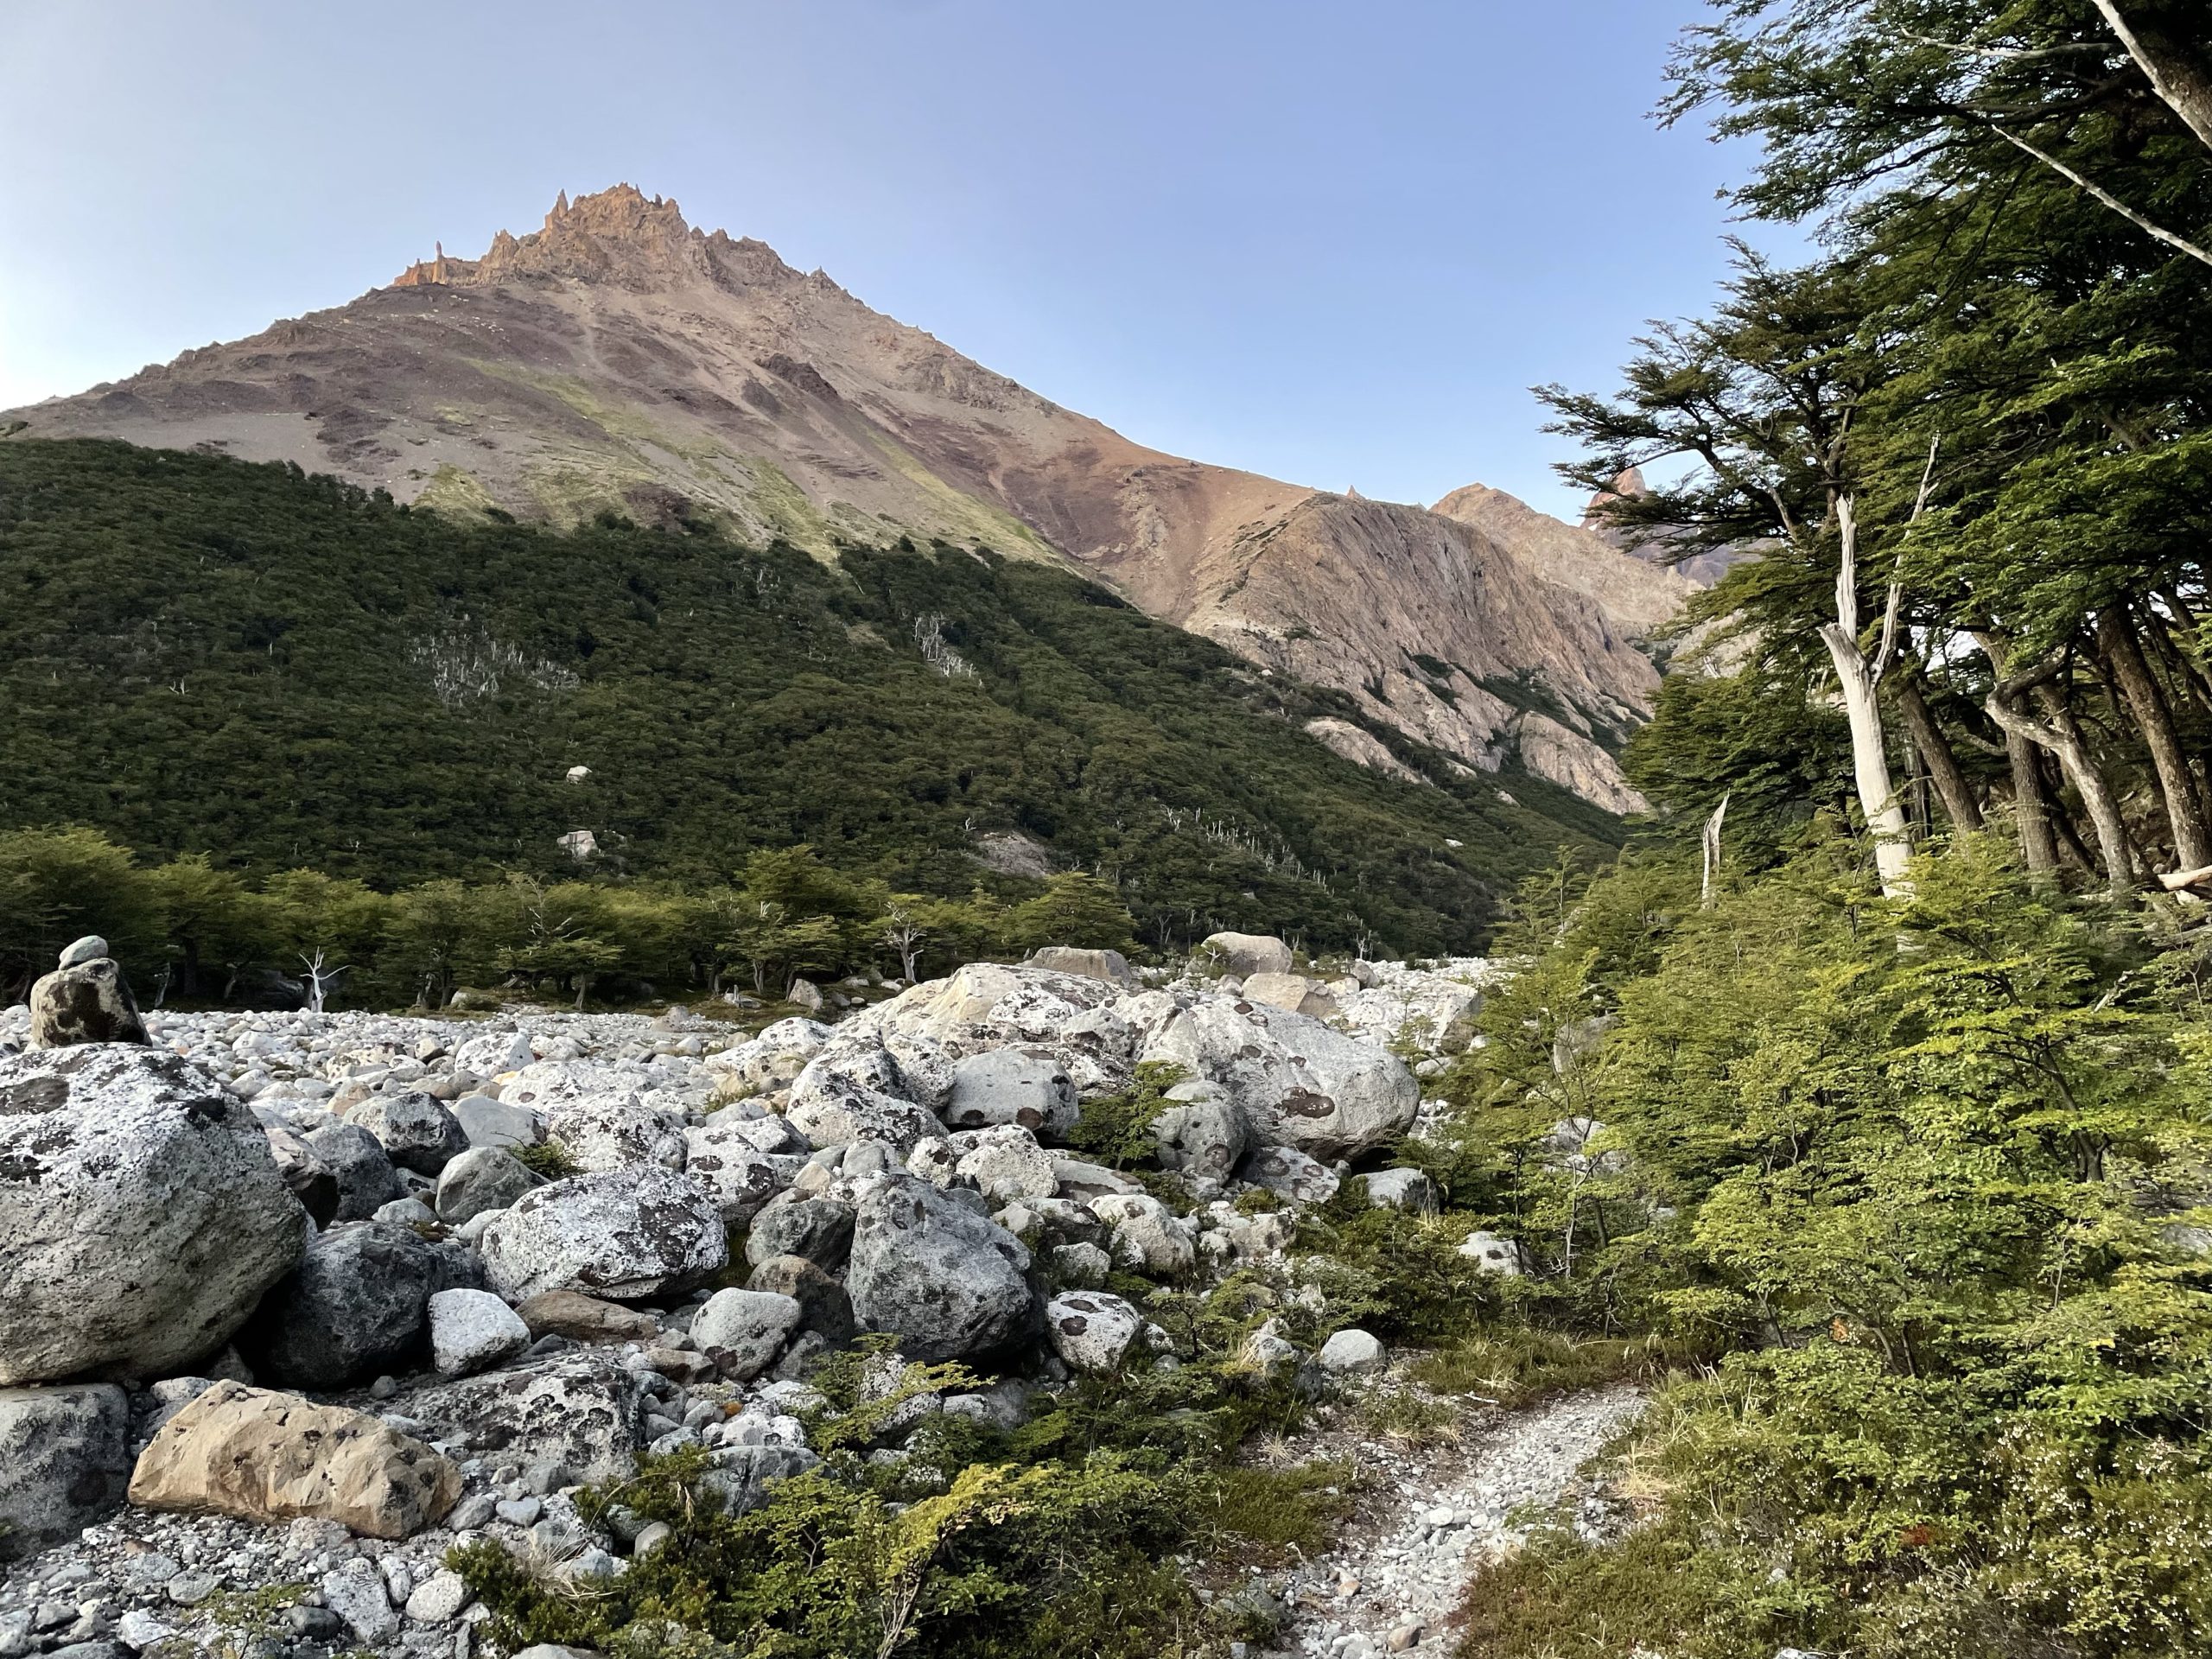
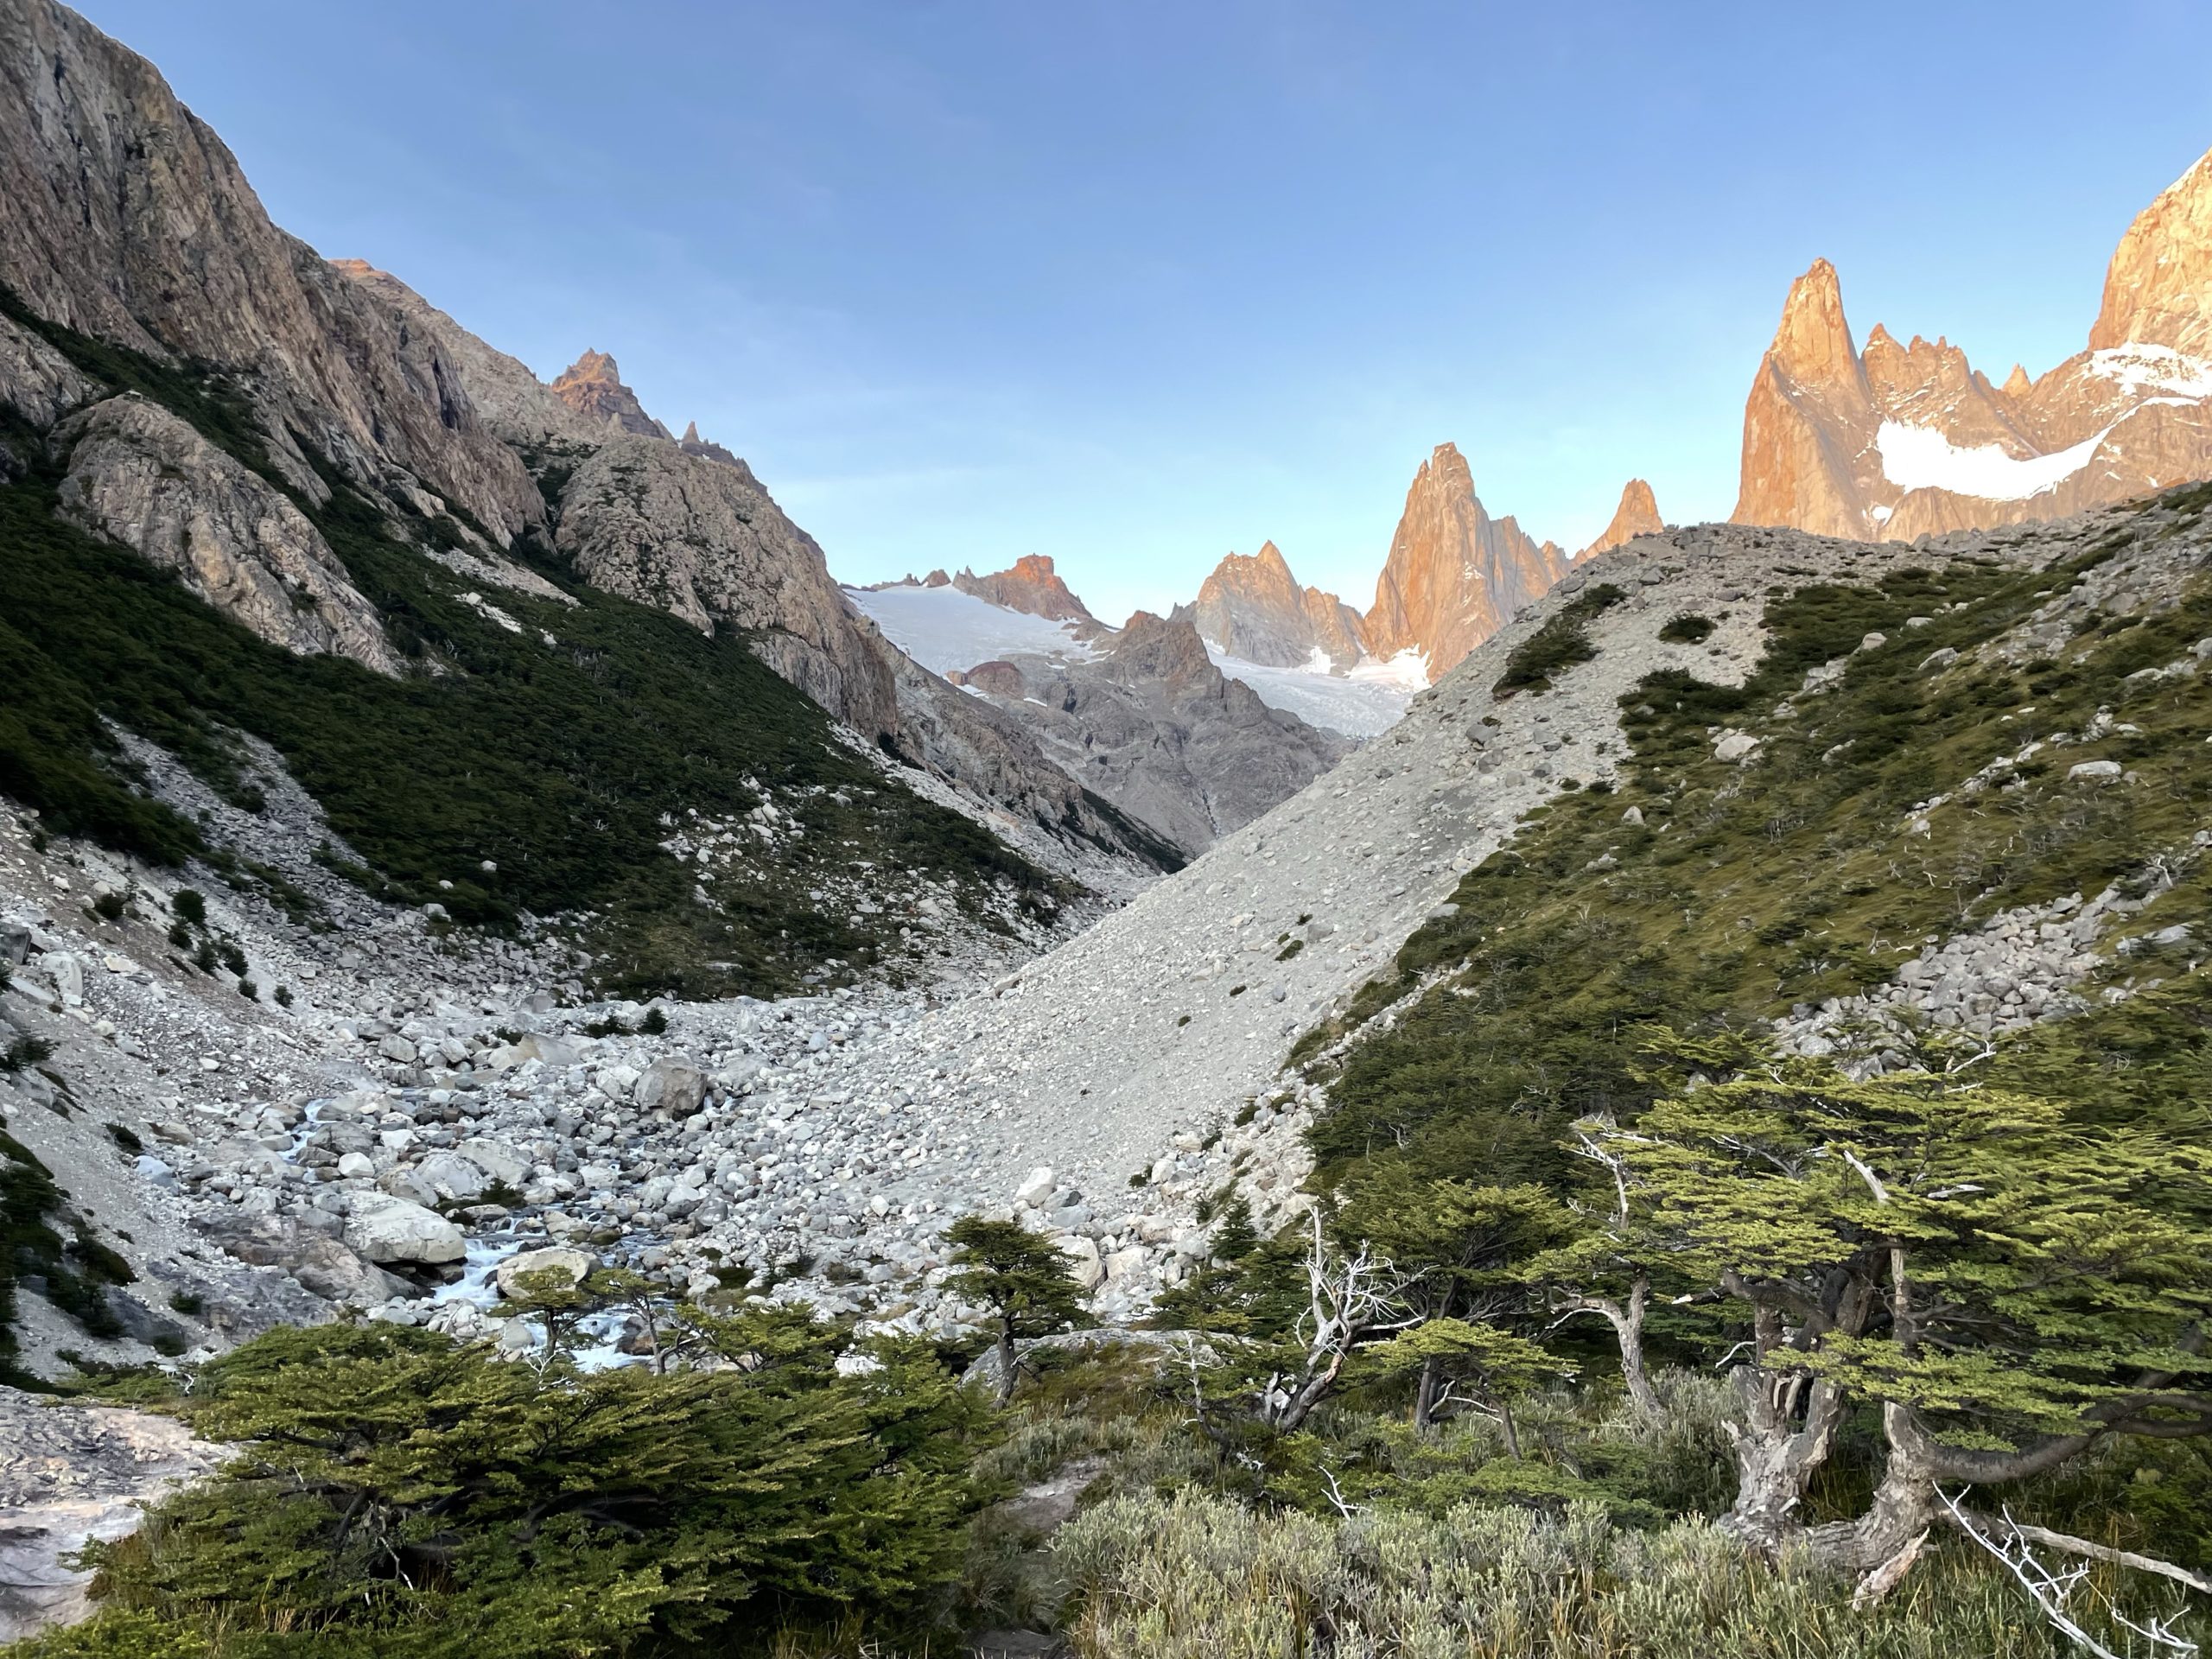
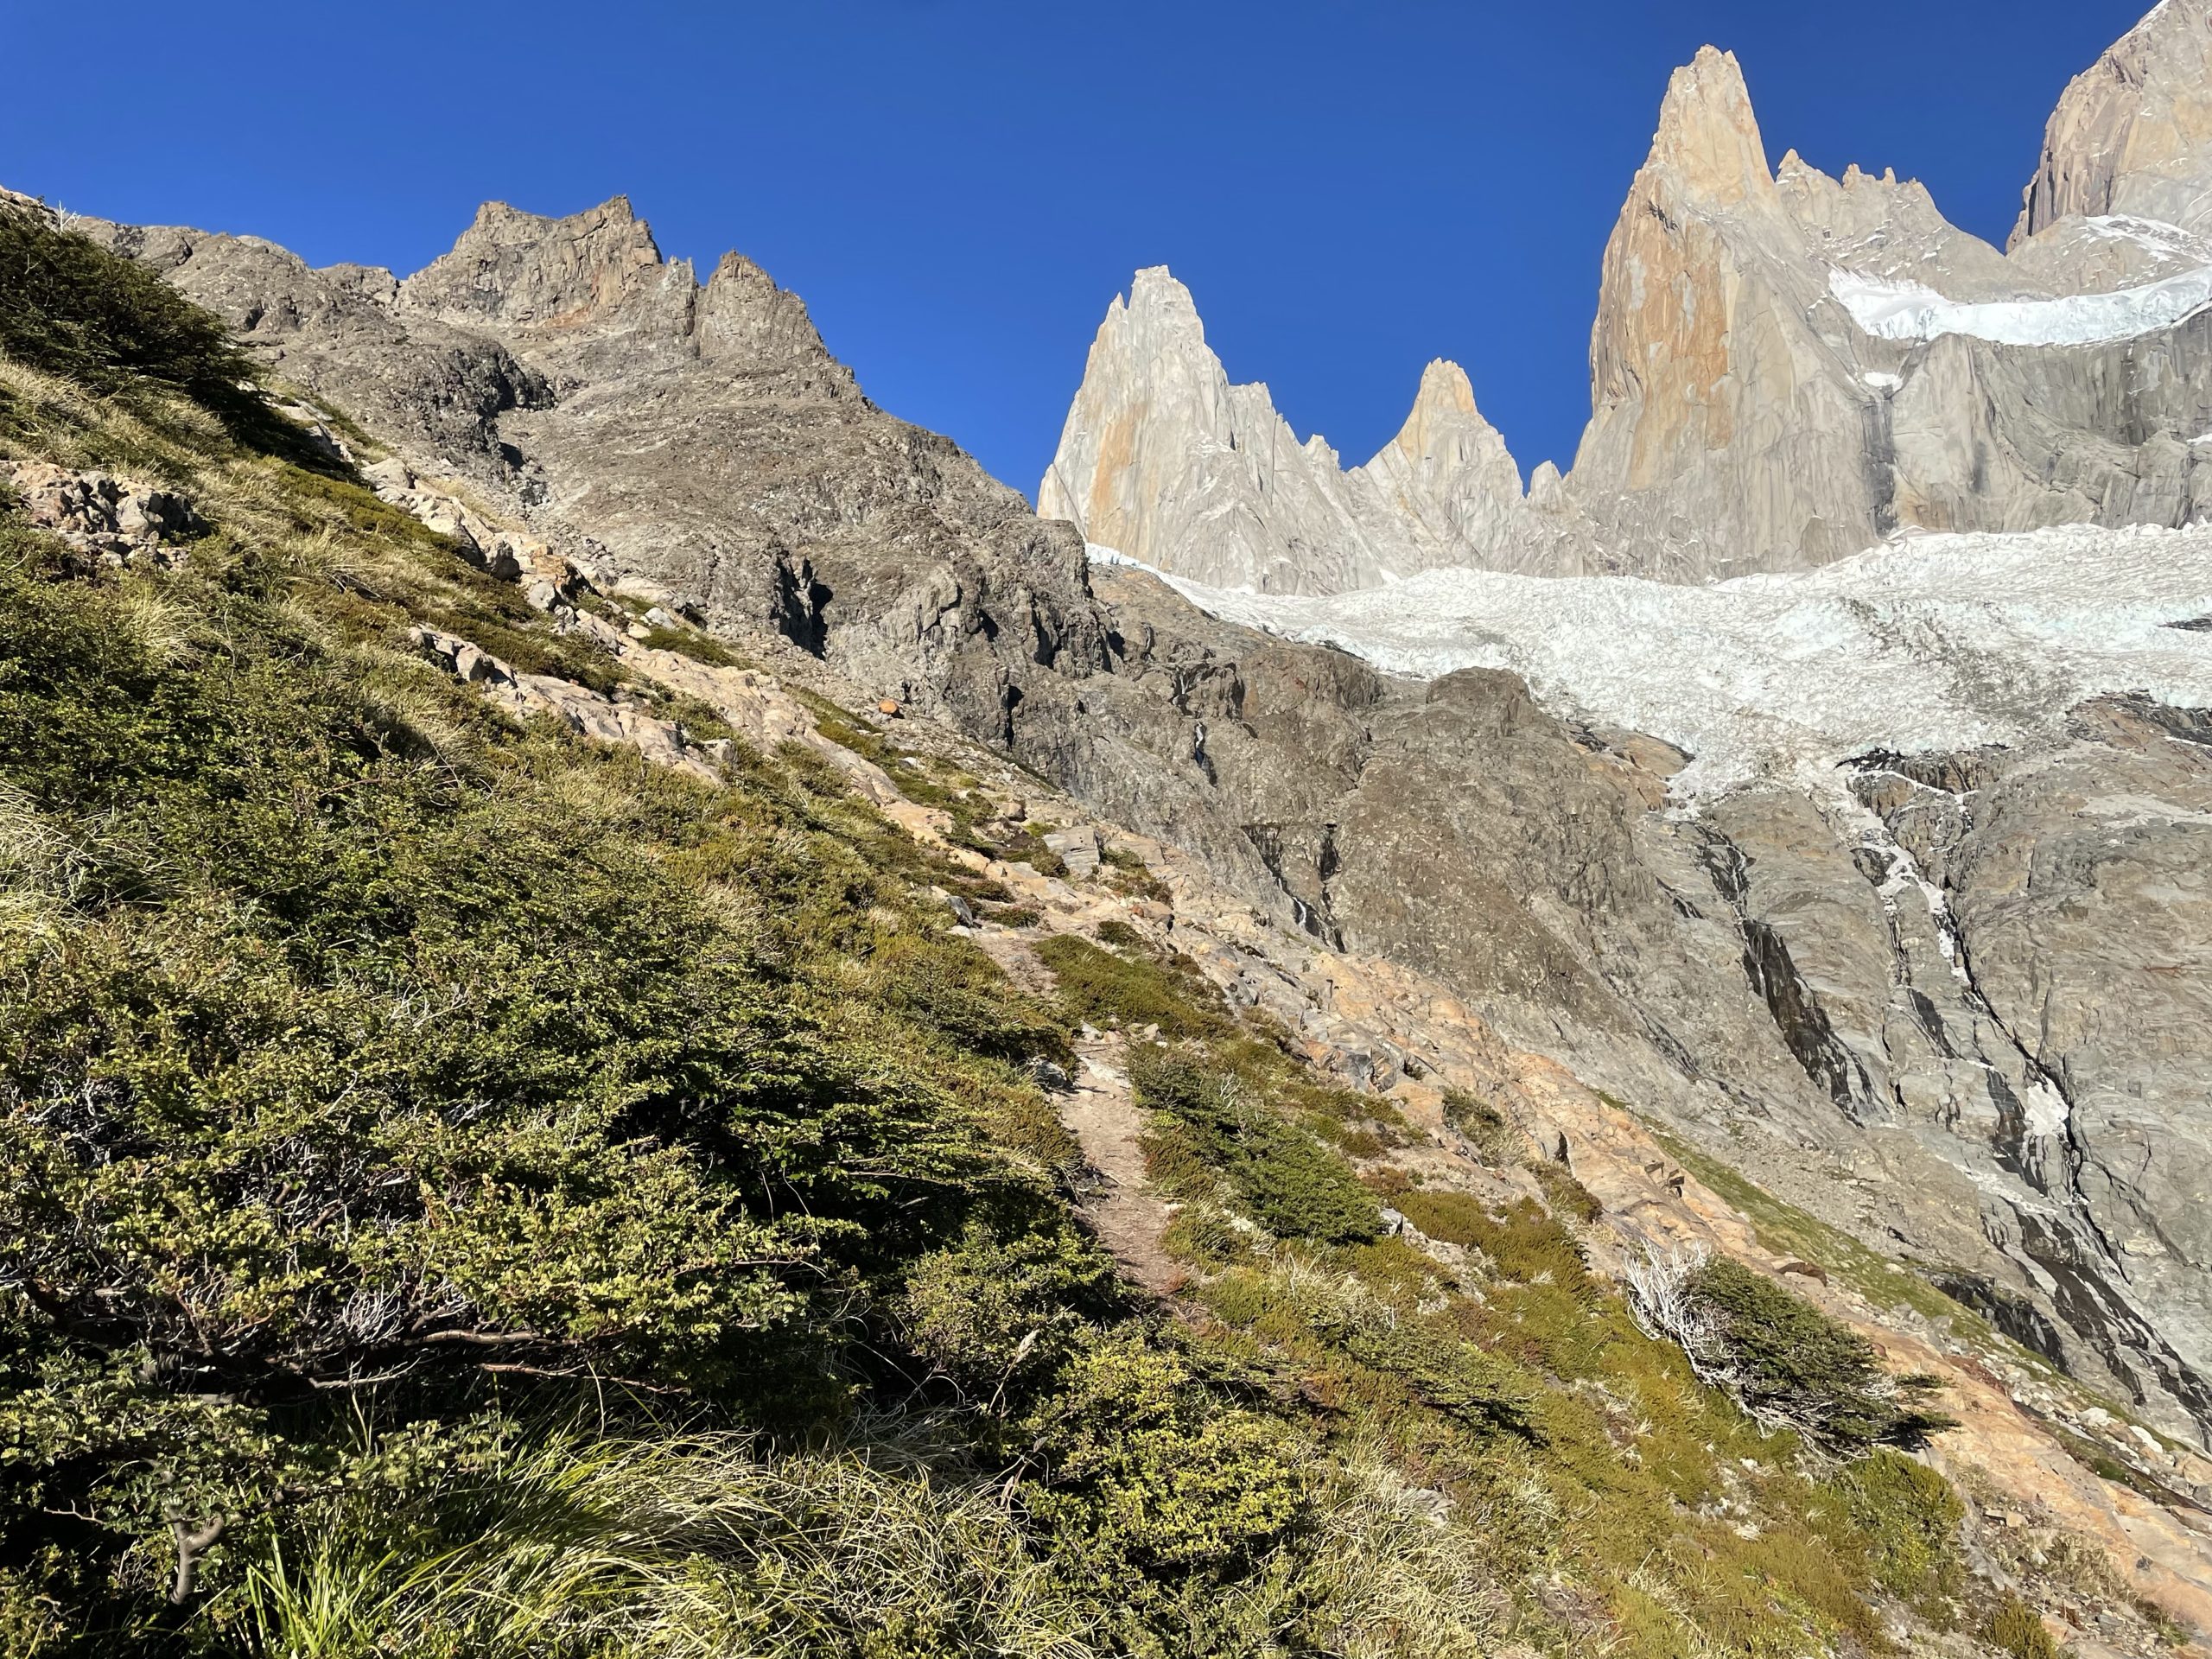
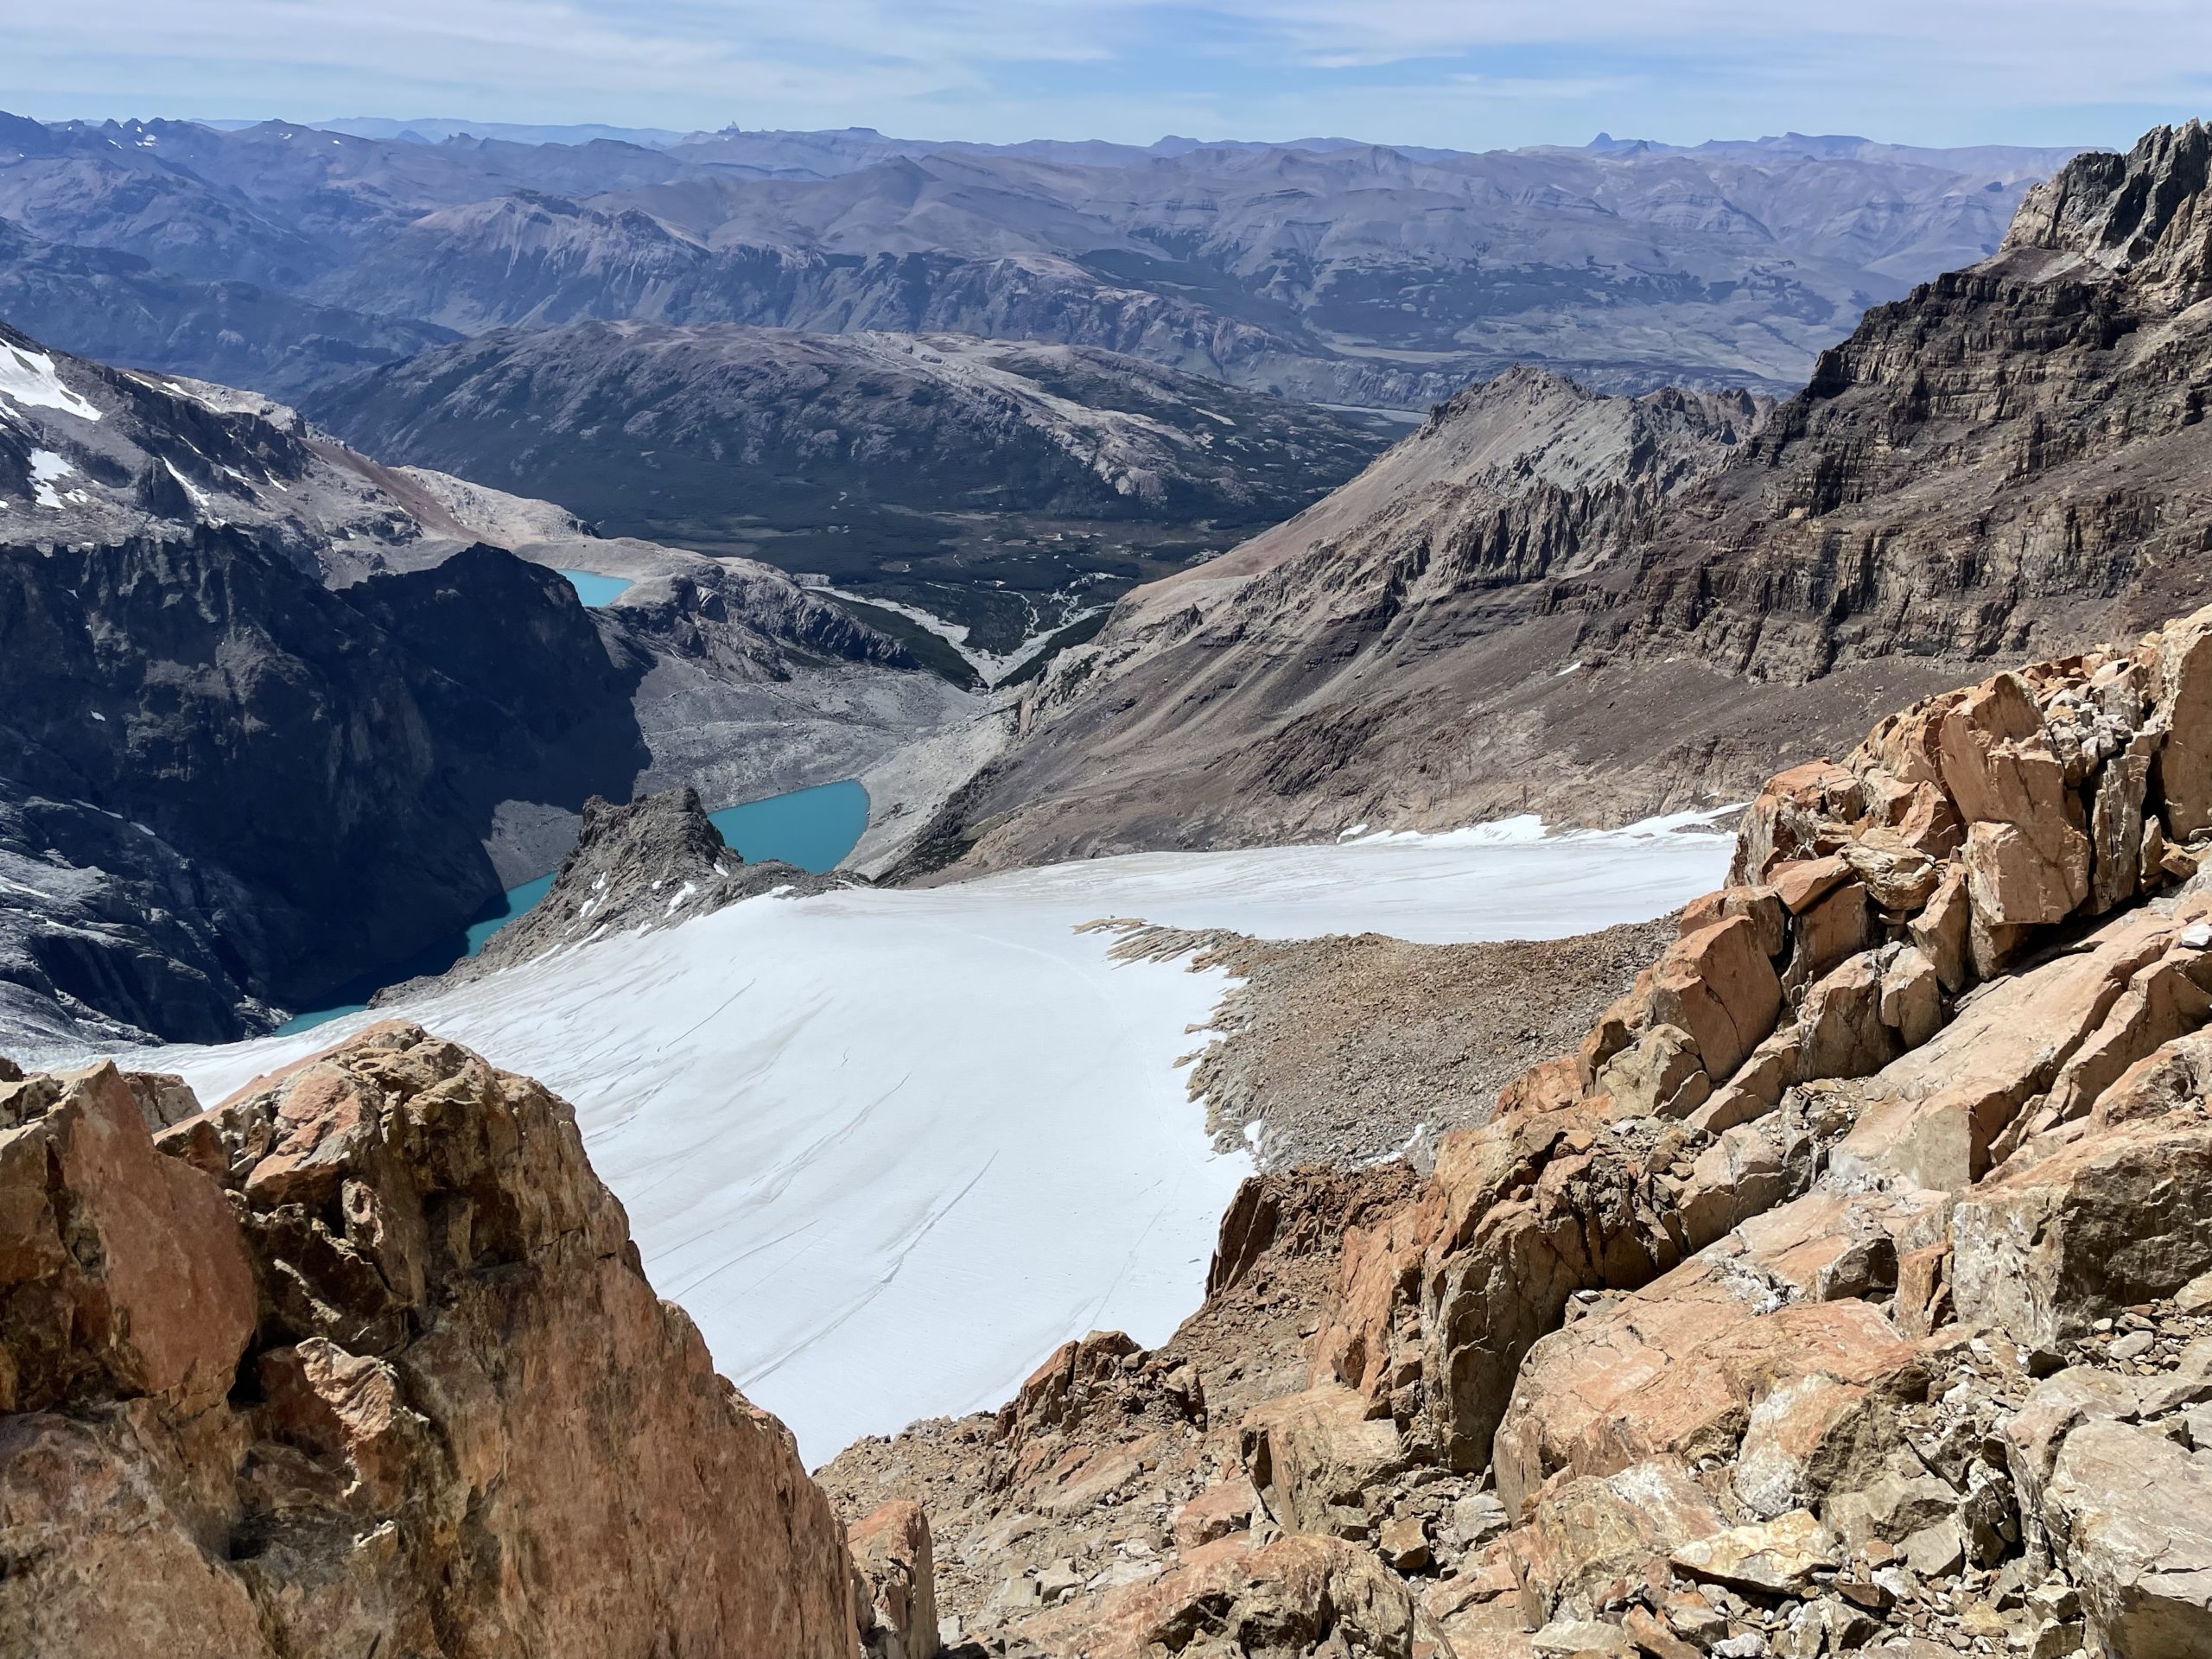
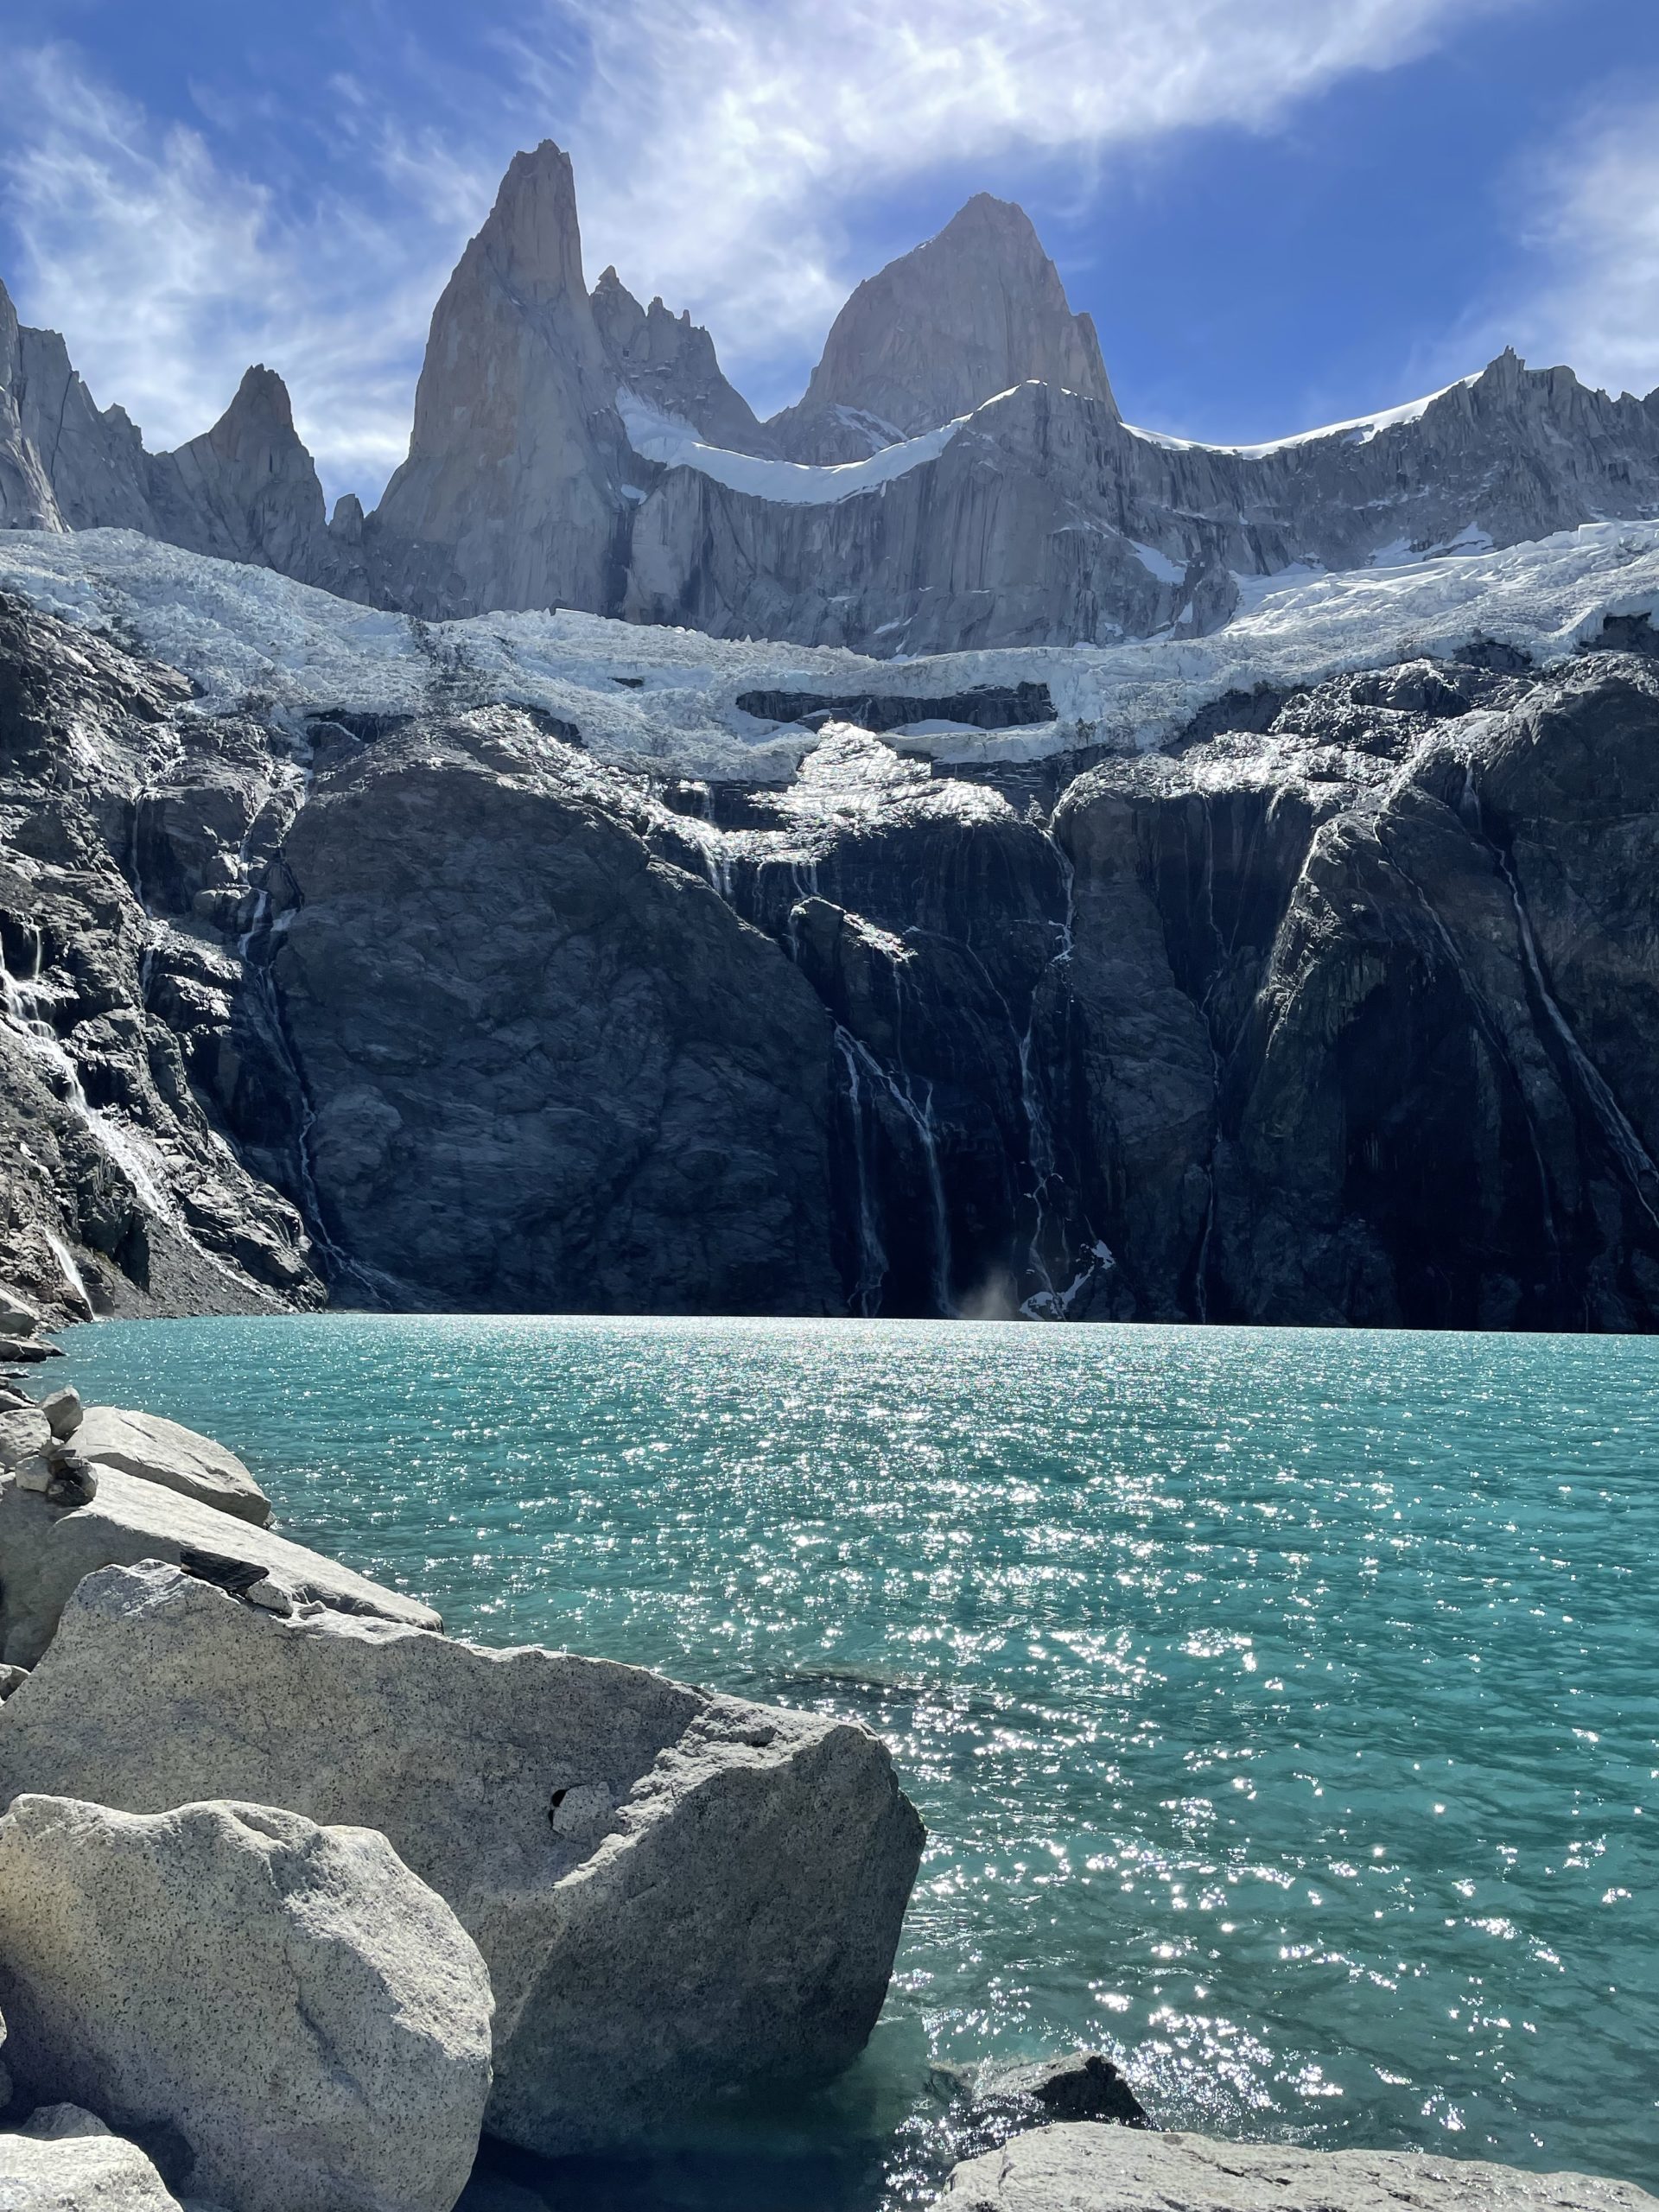
The normal route follows the Lago de los Tres trail up until Rio Blanco and then veers left down a valley. From the valley you reach a large but hidden lake called Laguna Sucia. We would then continue along the western shores and then scramble up the steep slopes to a glacier before continuing on to the summit.
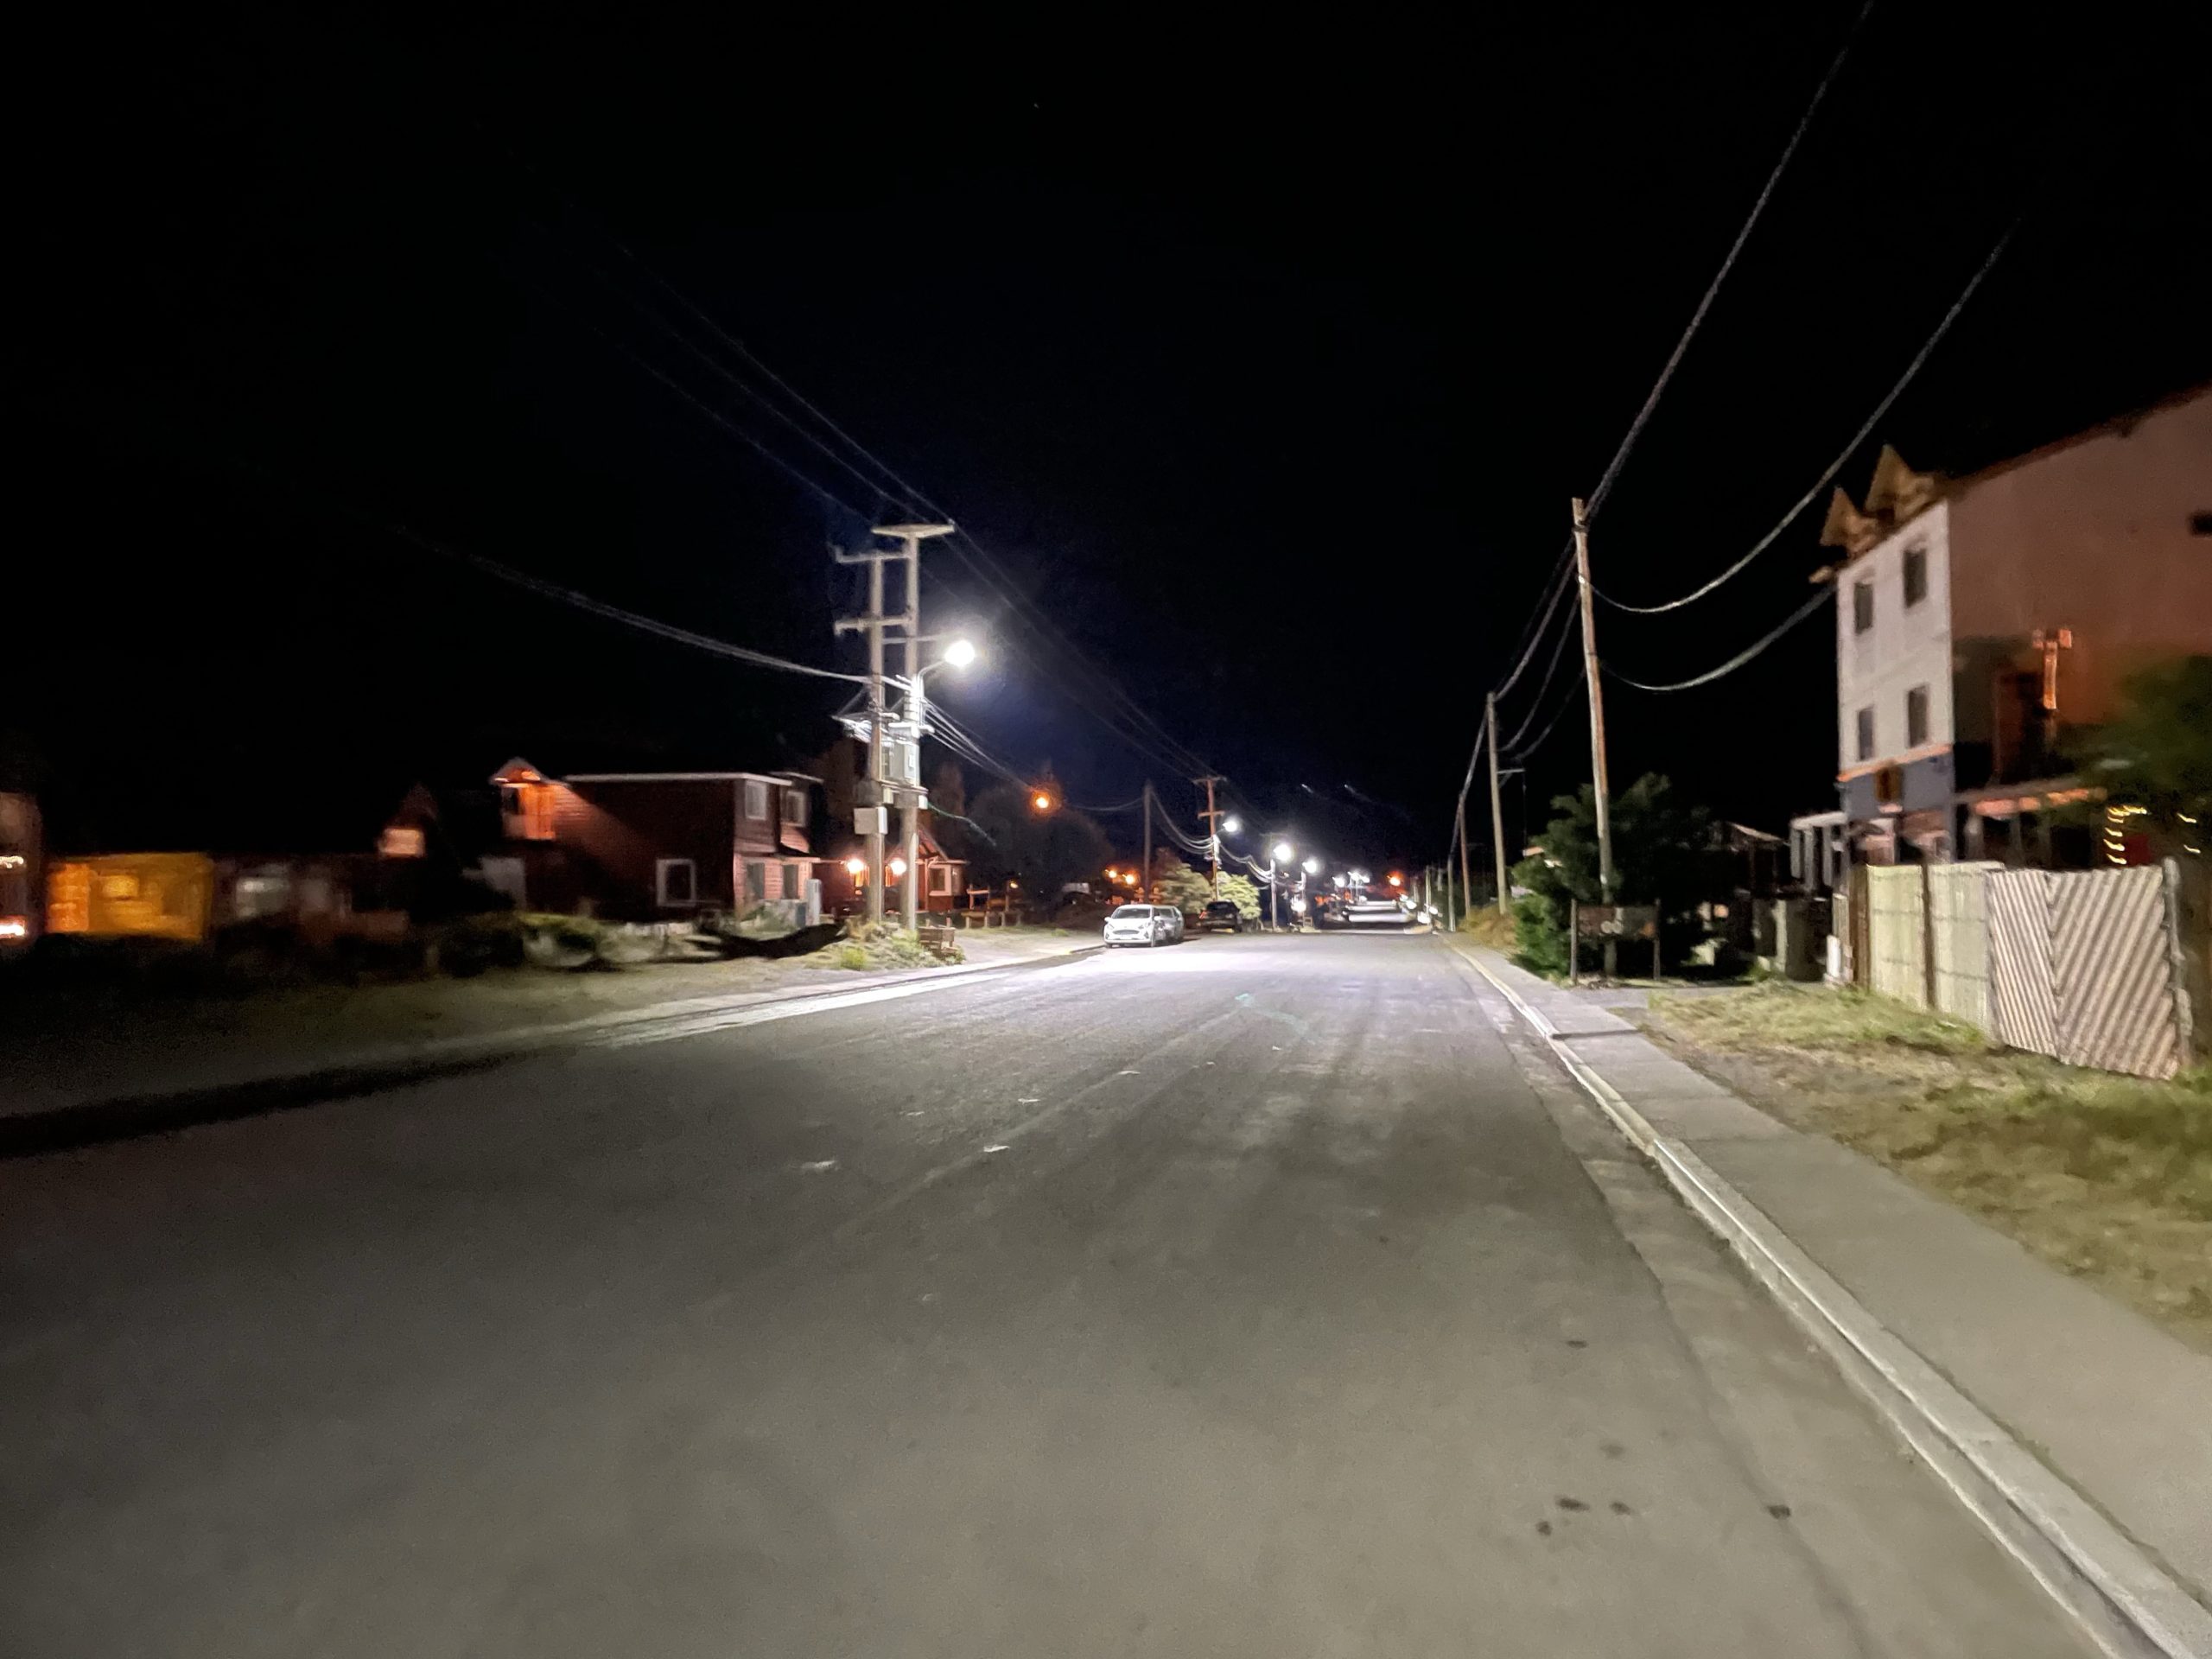
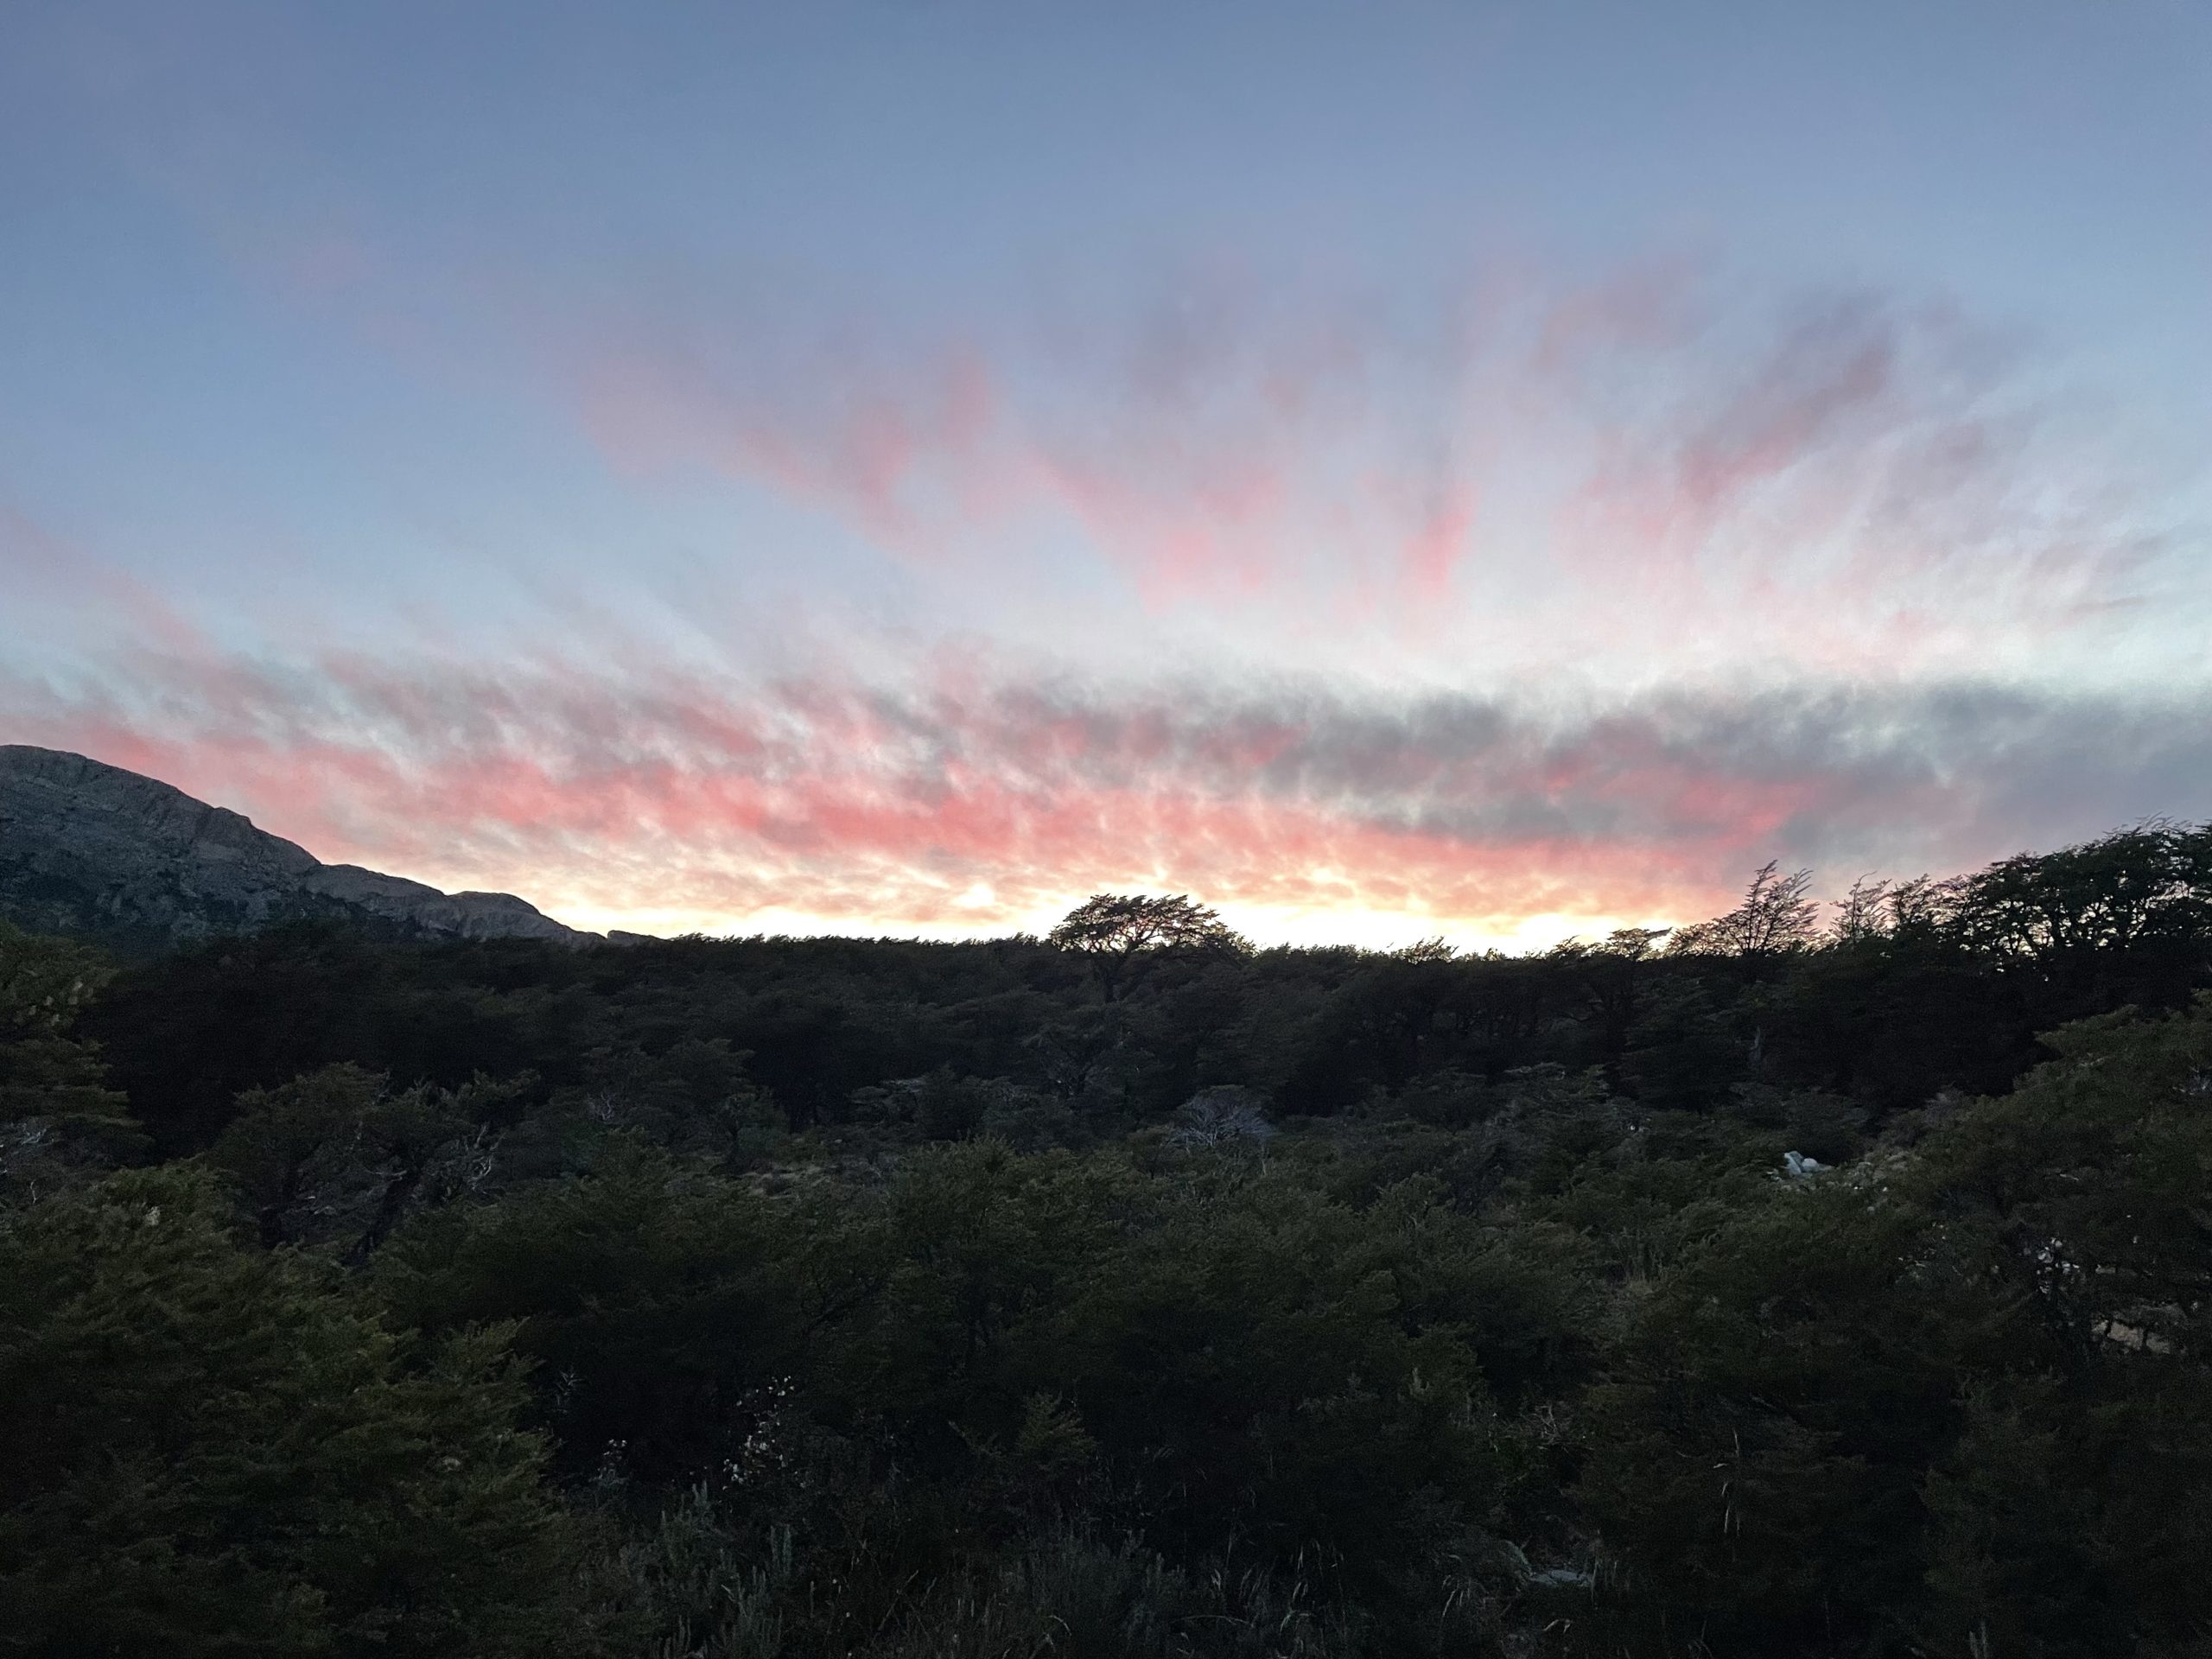
To ensure we had enough time to complete our trip, we decided on a 3am start. That would mean we’d reach Laguna Sucia in time for sun rise and have an easier time negotiating the steep slopes below the glacier. On the 26th we both woke up for 3am and got out of bed sleep deprived. Our hostel roommates had made noise all the way up to 12am, so it was a tough start. We pulled out our pre-packed bags and had a light snack before leaving the hostel.
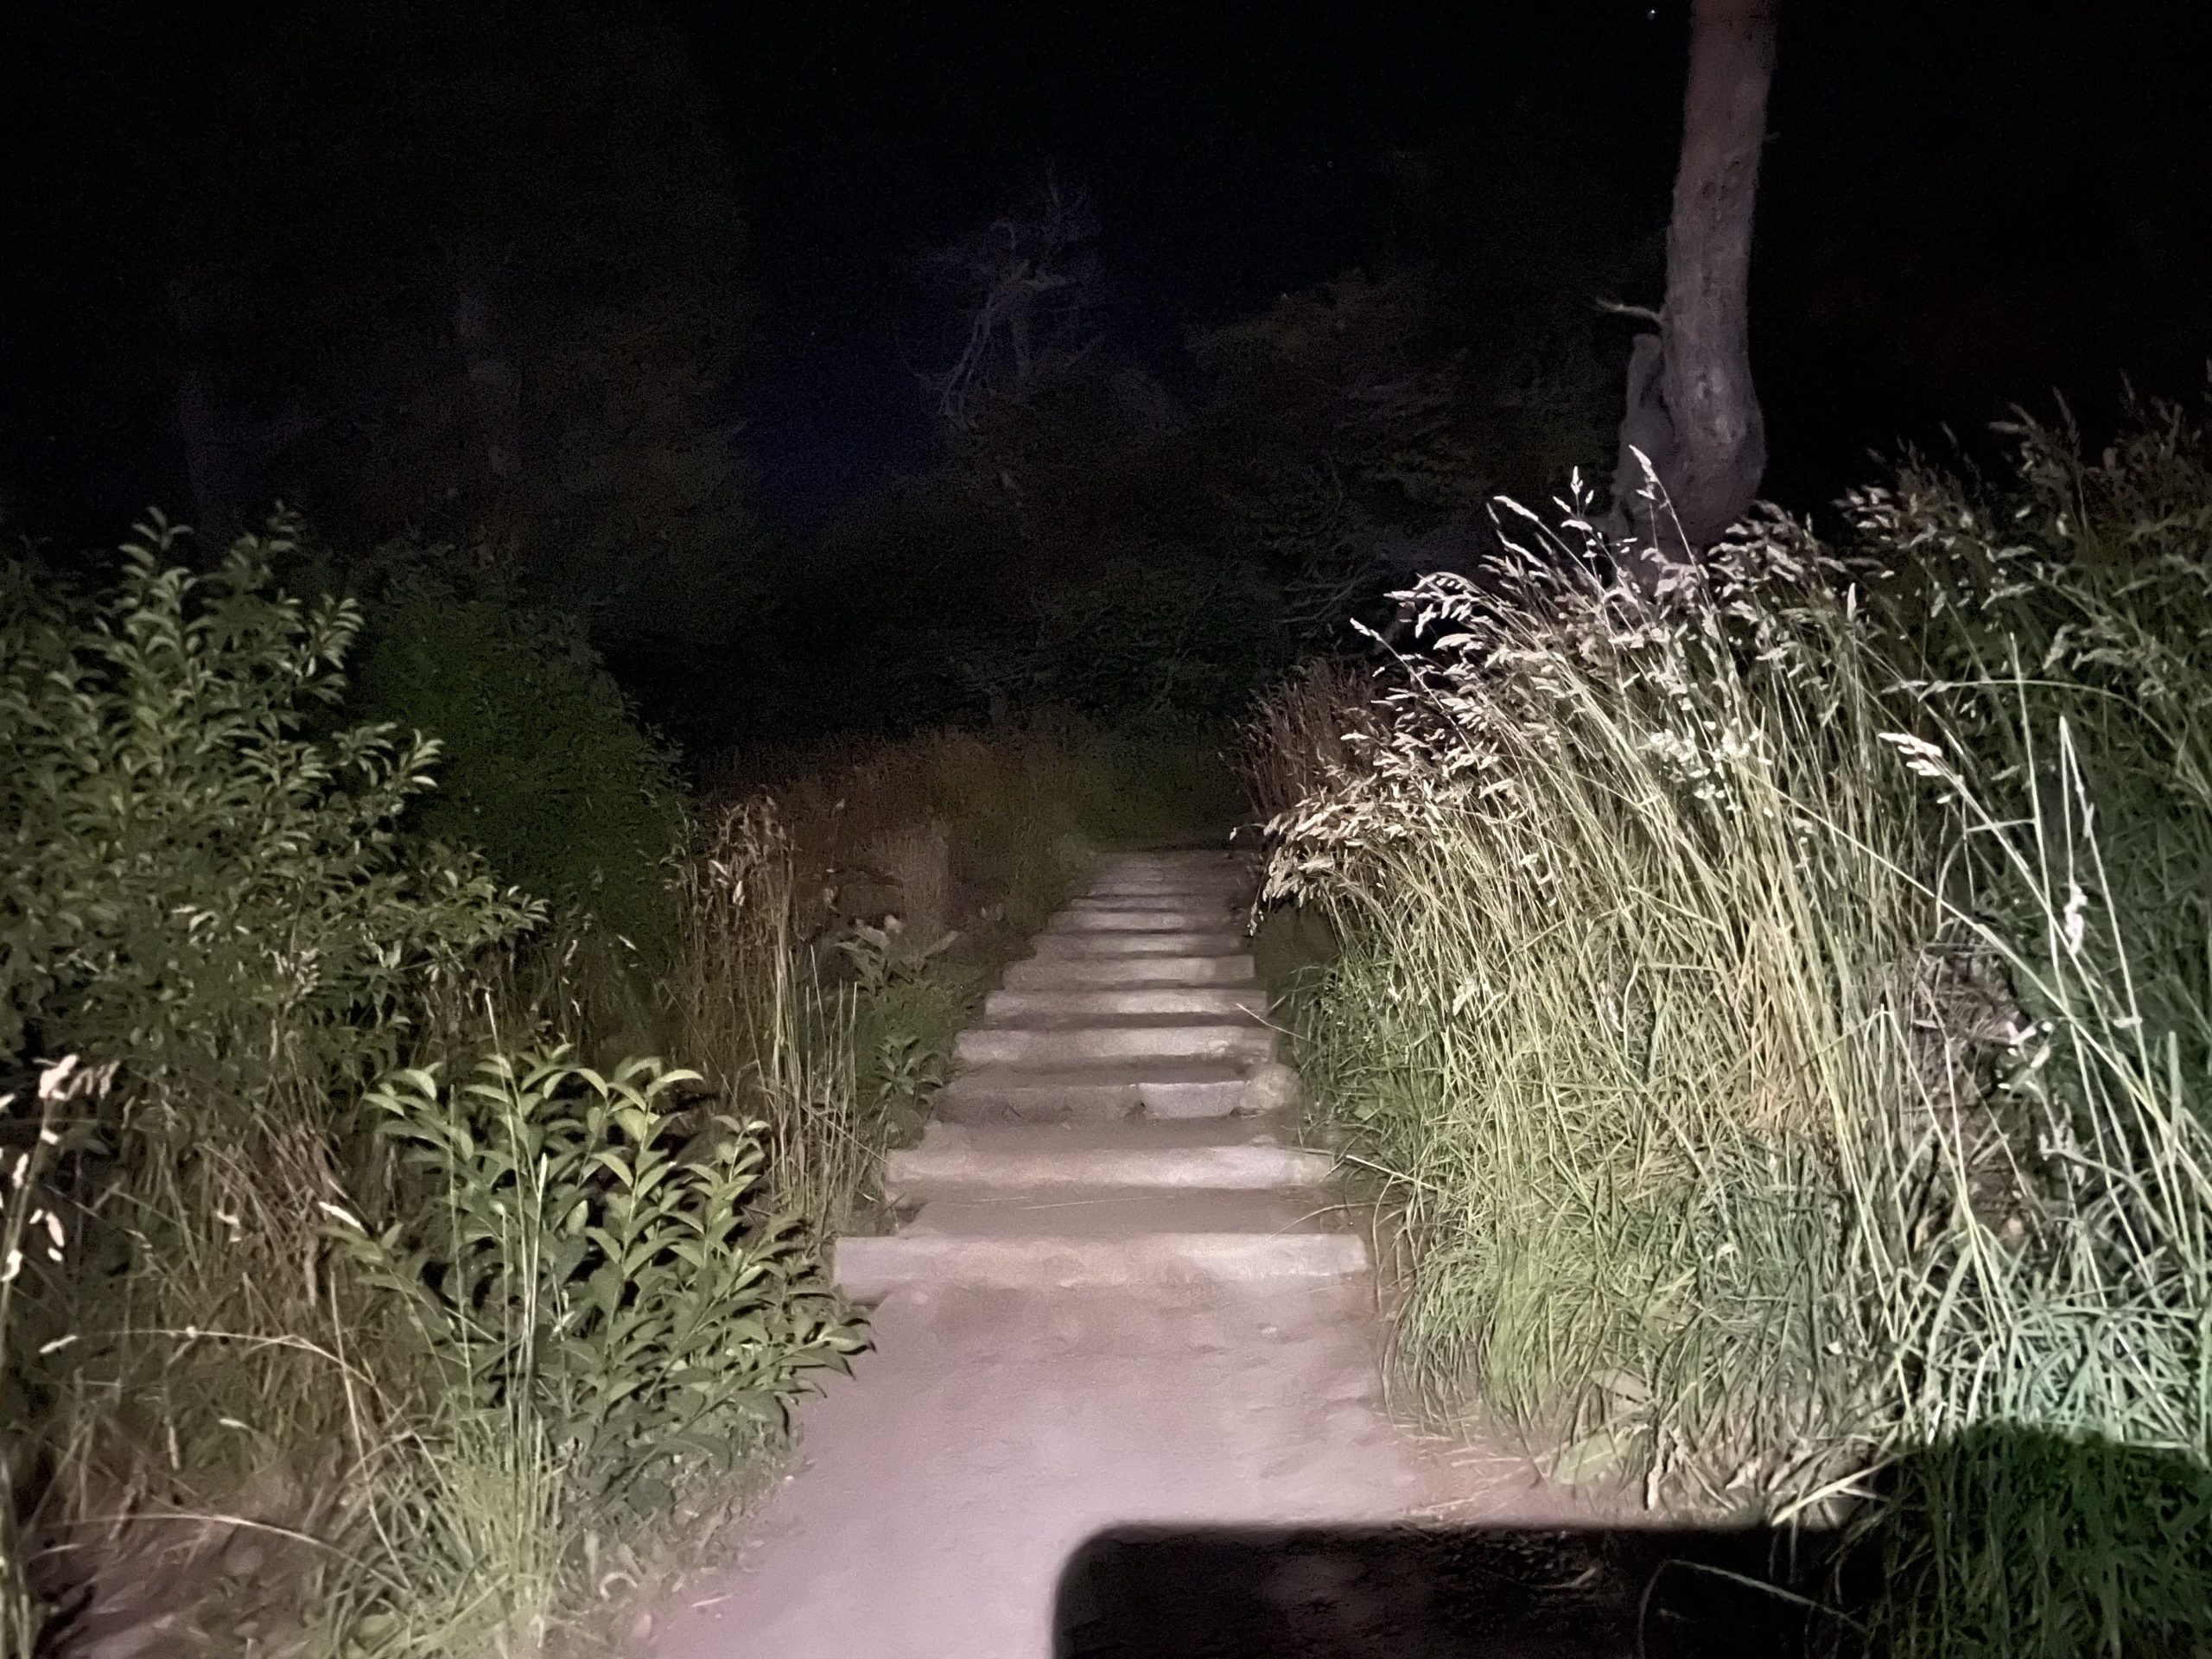
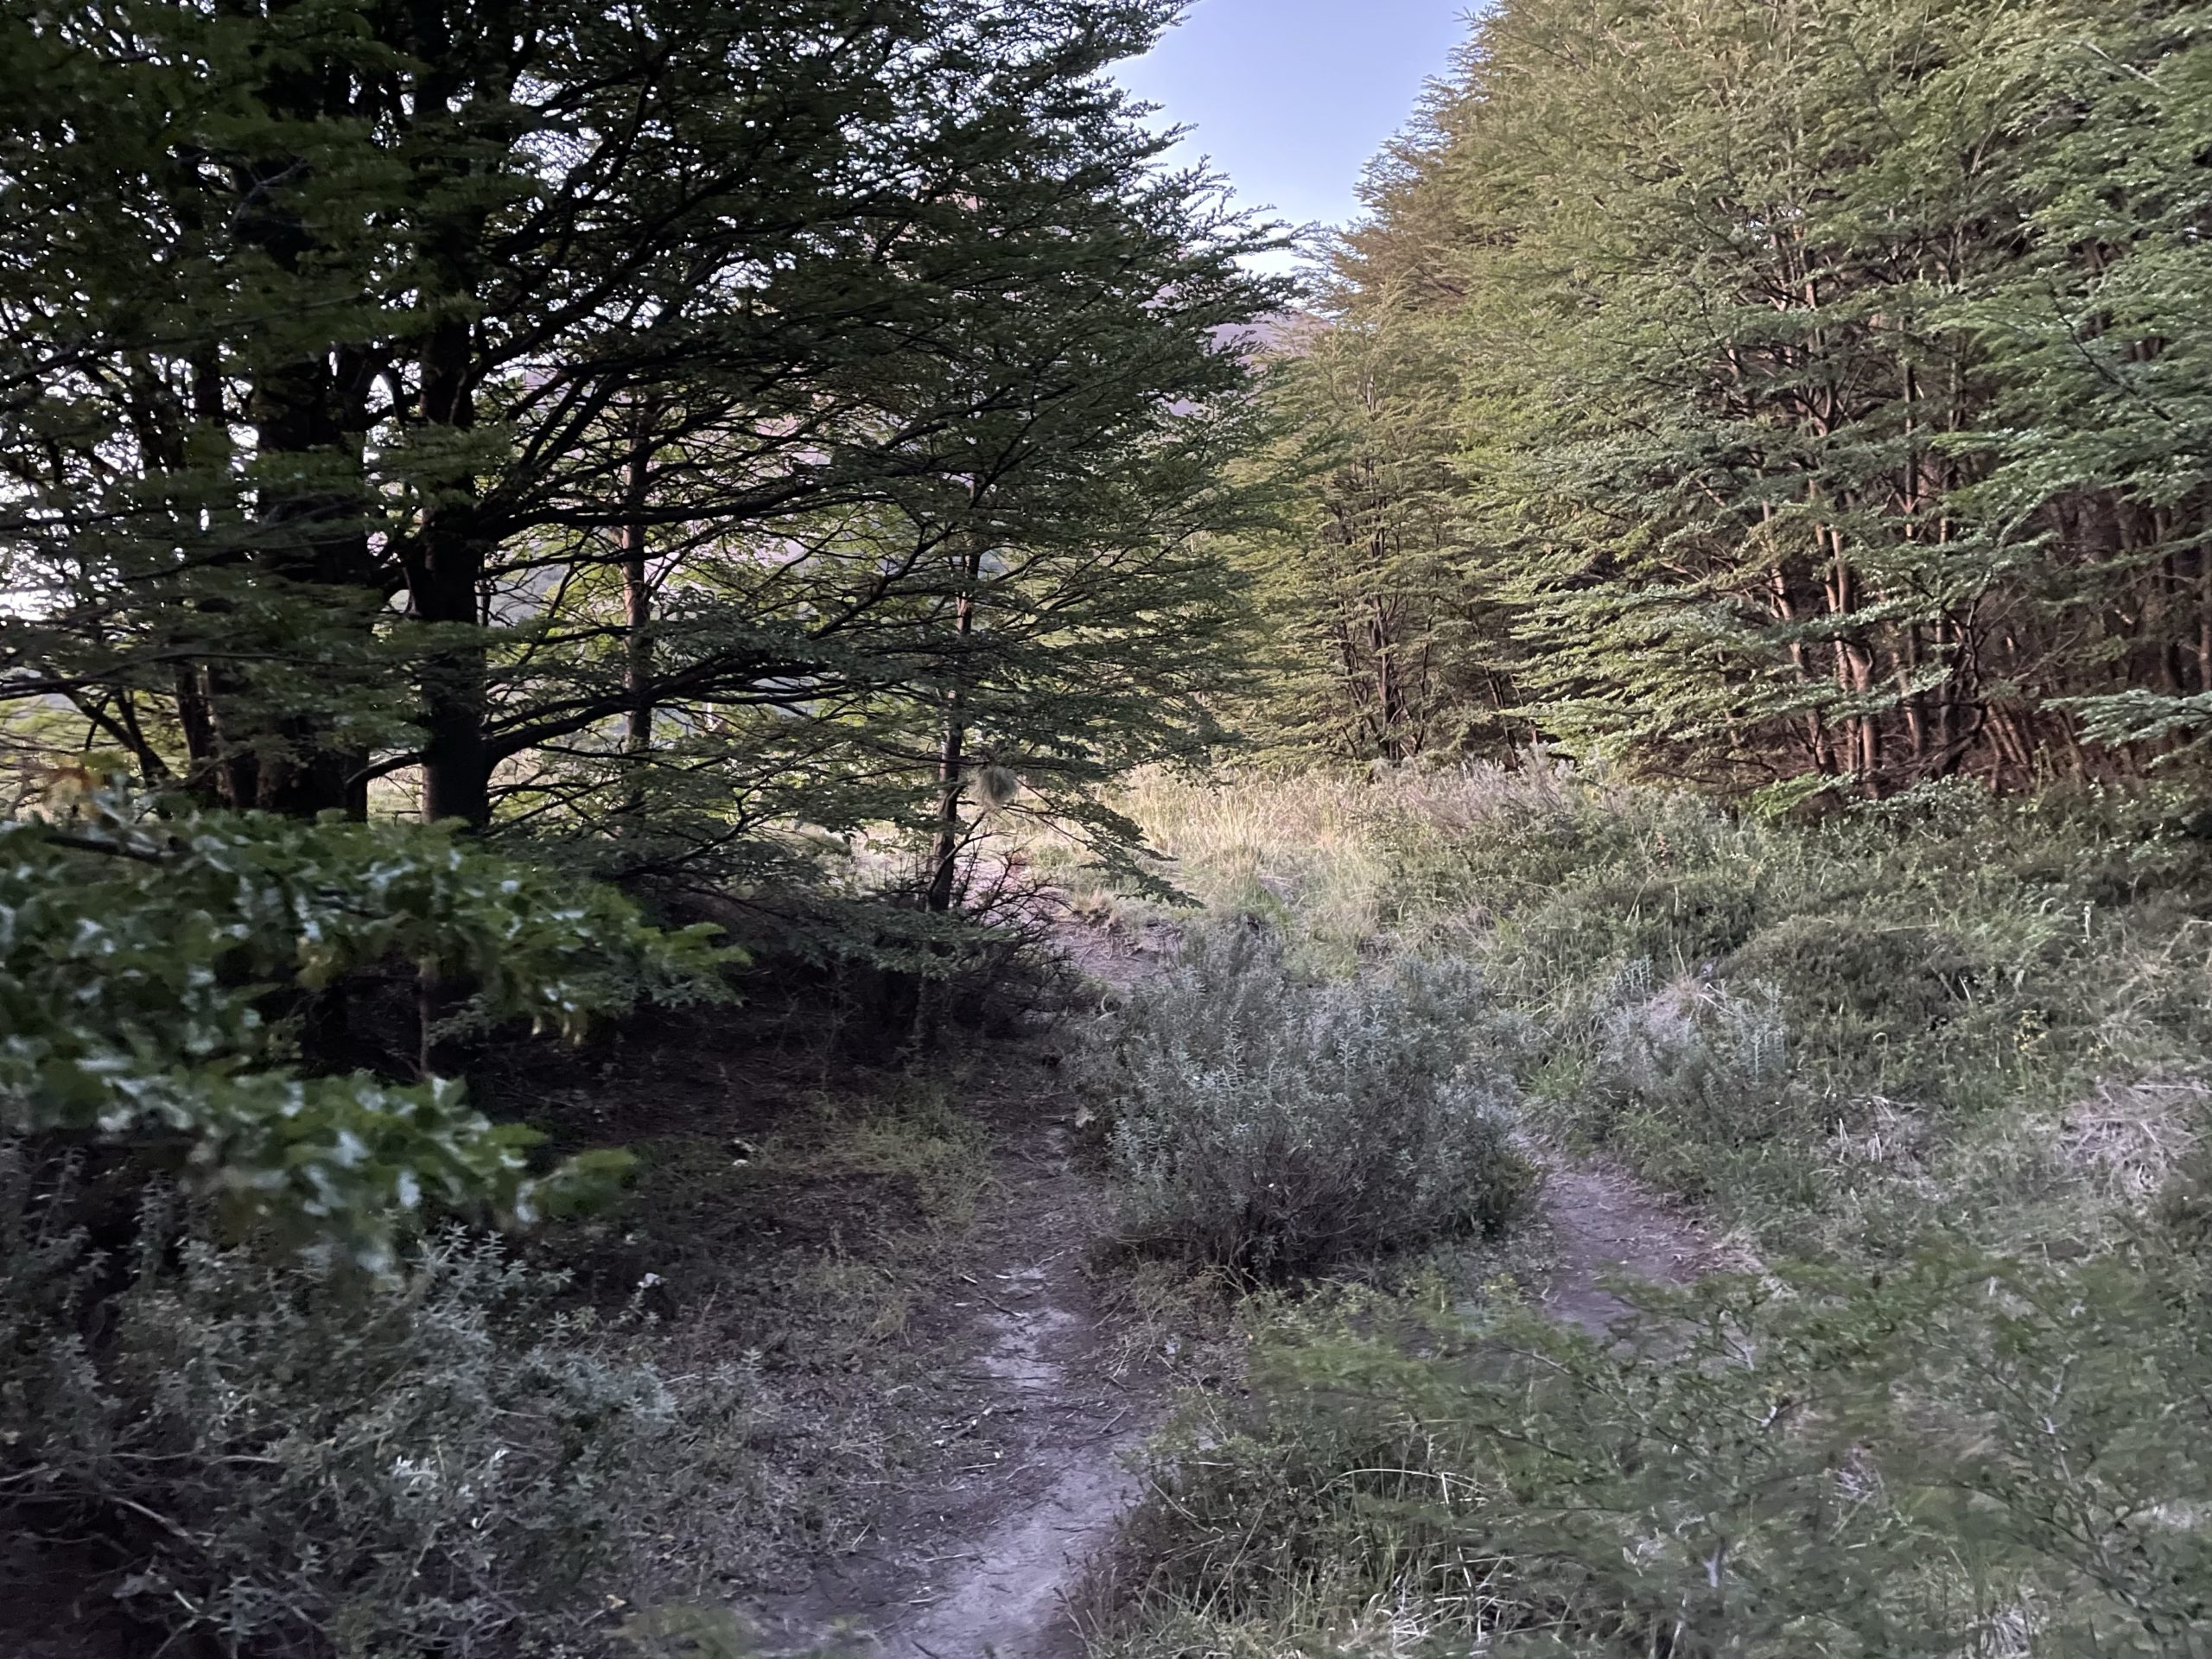
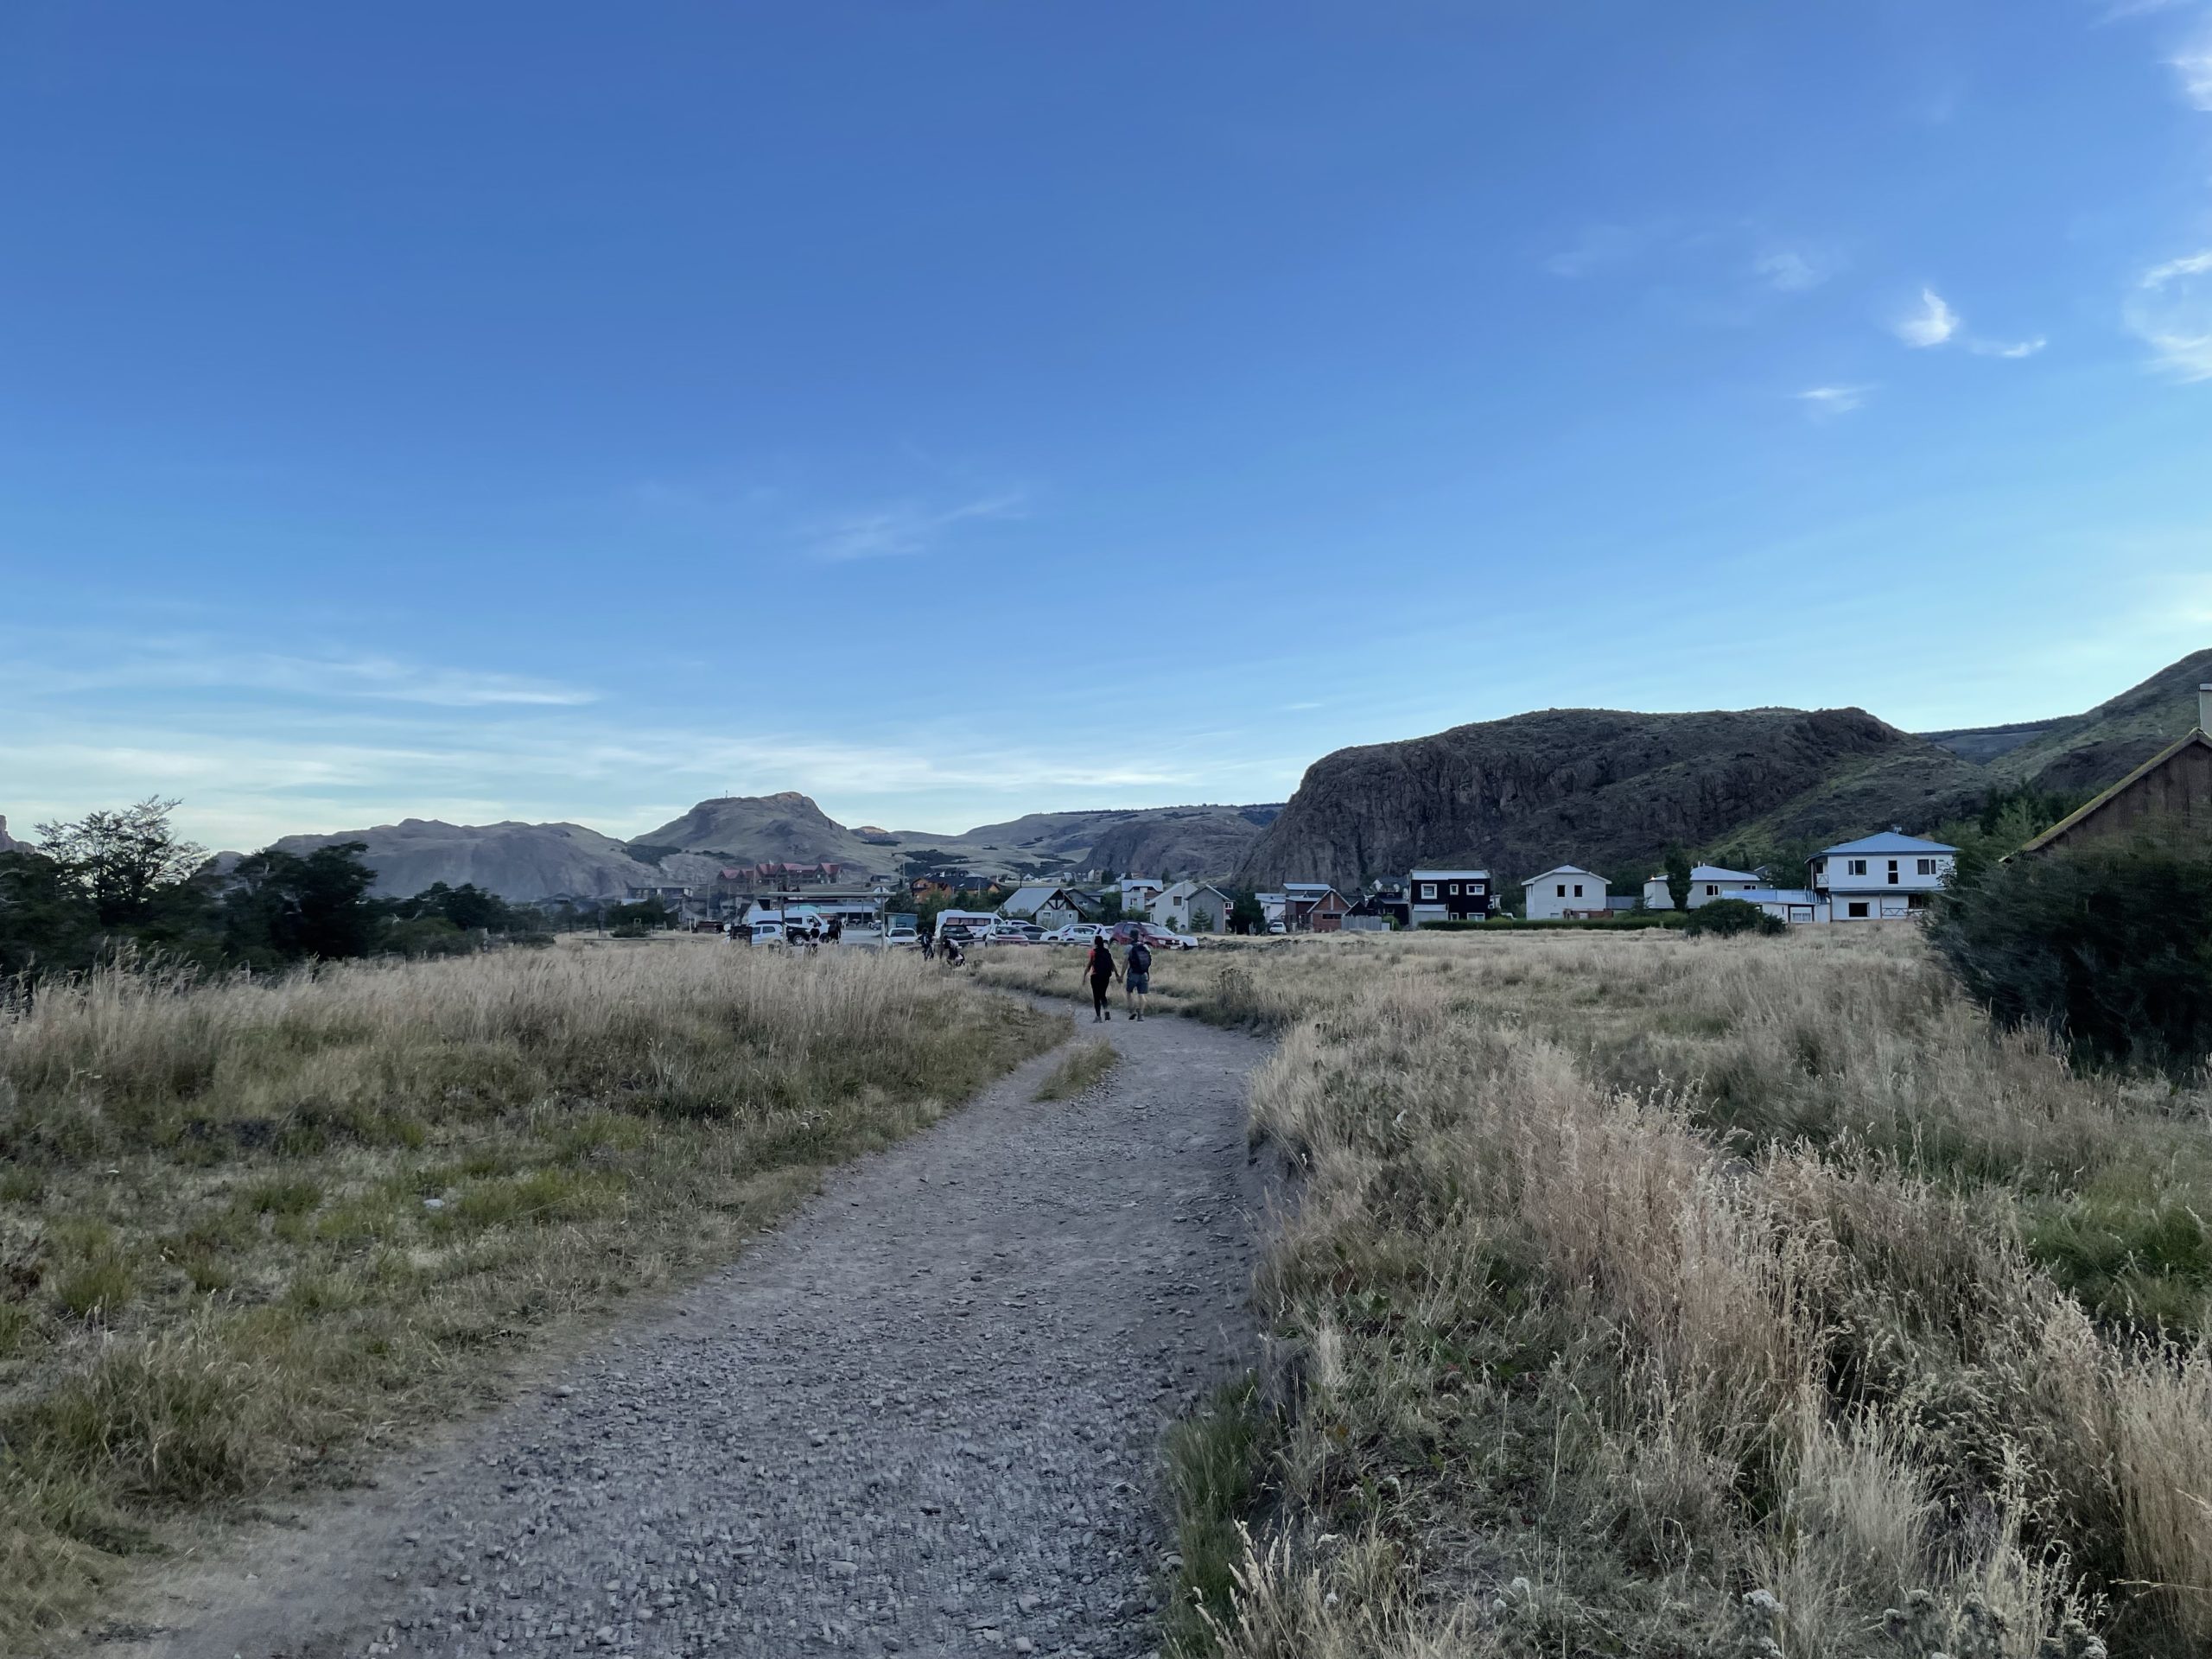
On the road to the trail head we sipped slowly on our 3am “coffee” which was really just a red bull. A poor substitute, but it had to do. Despite the good weather forecast, it was freezing in the morning. I had to put the majority of my layers on to keep warm before the trail head. Once we arrived at the trail head the long plod to Rio Blanco began. Thankfully the trail is straightforward and I could just turn my brain off all the way.
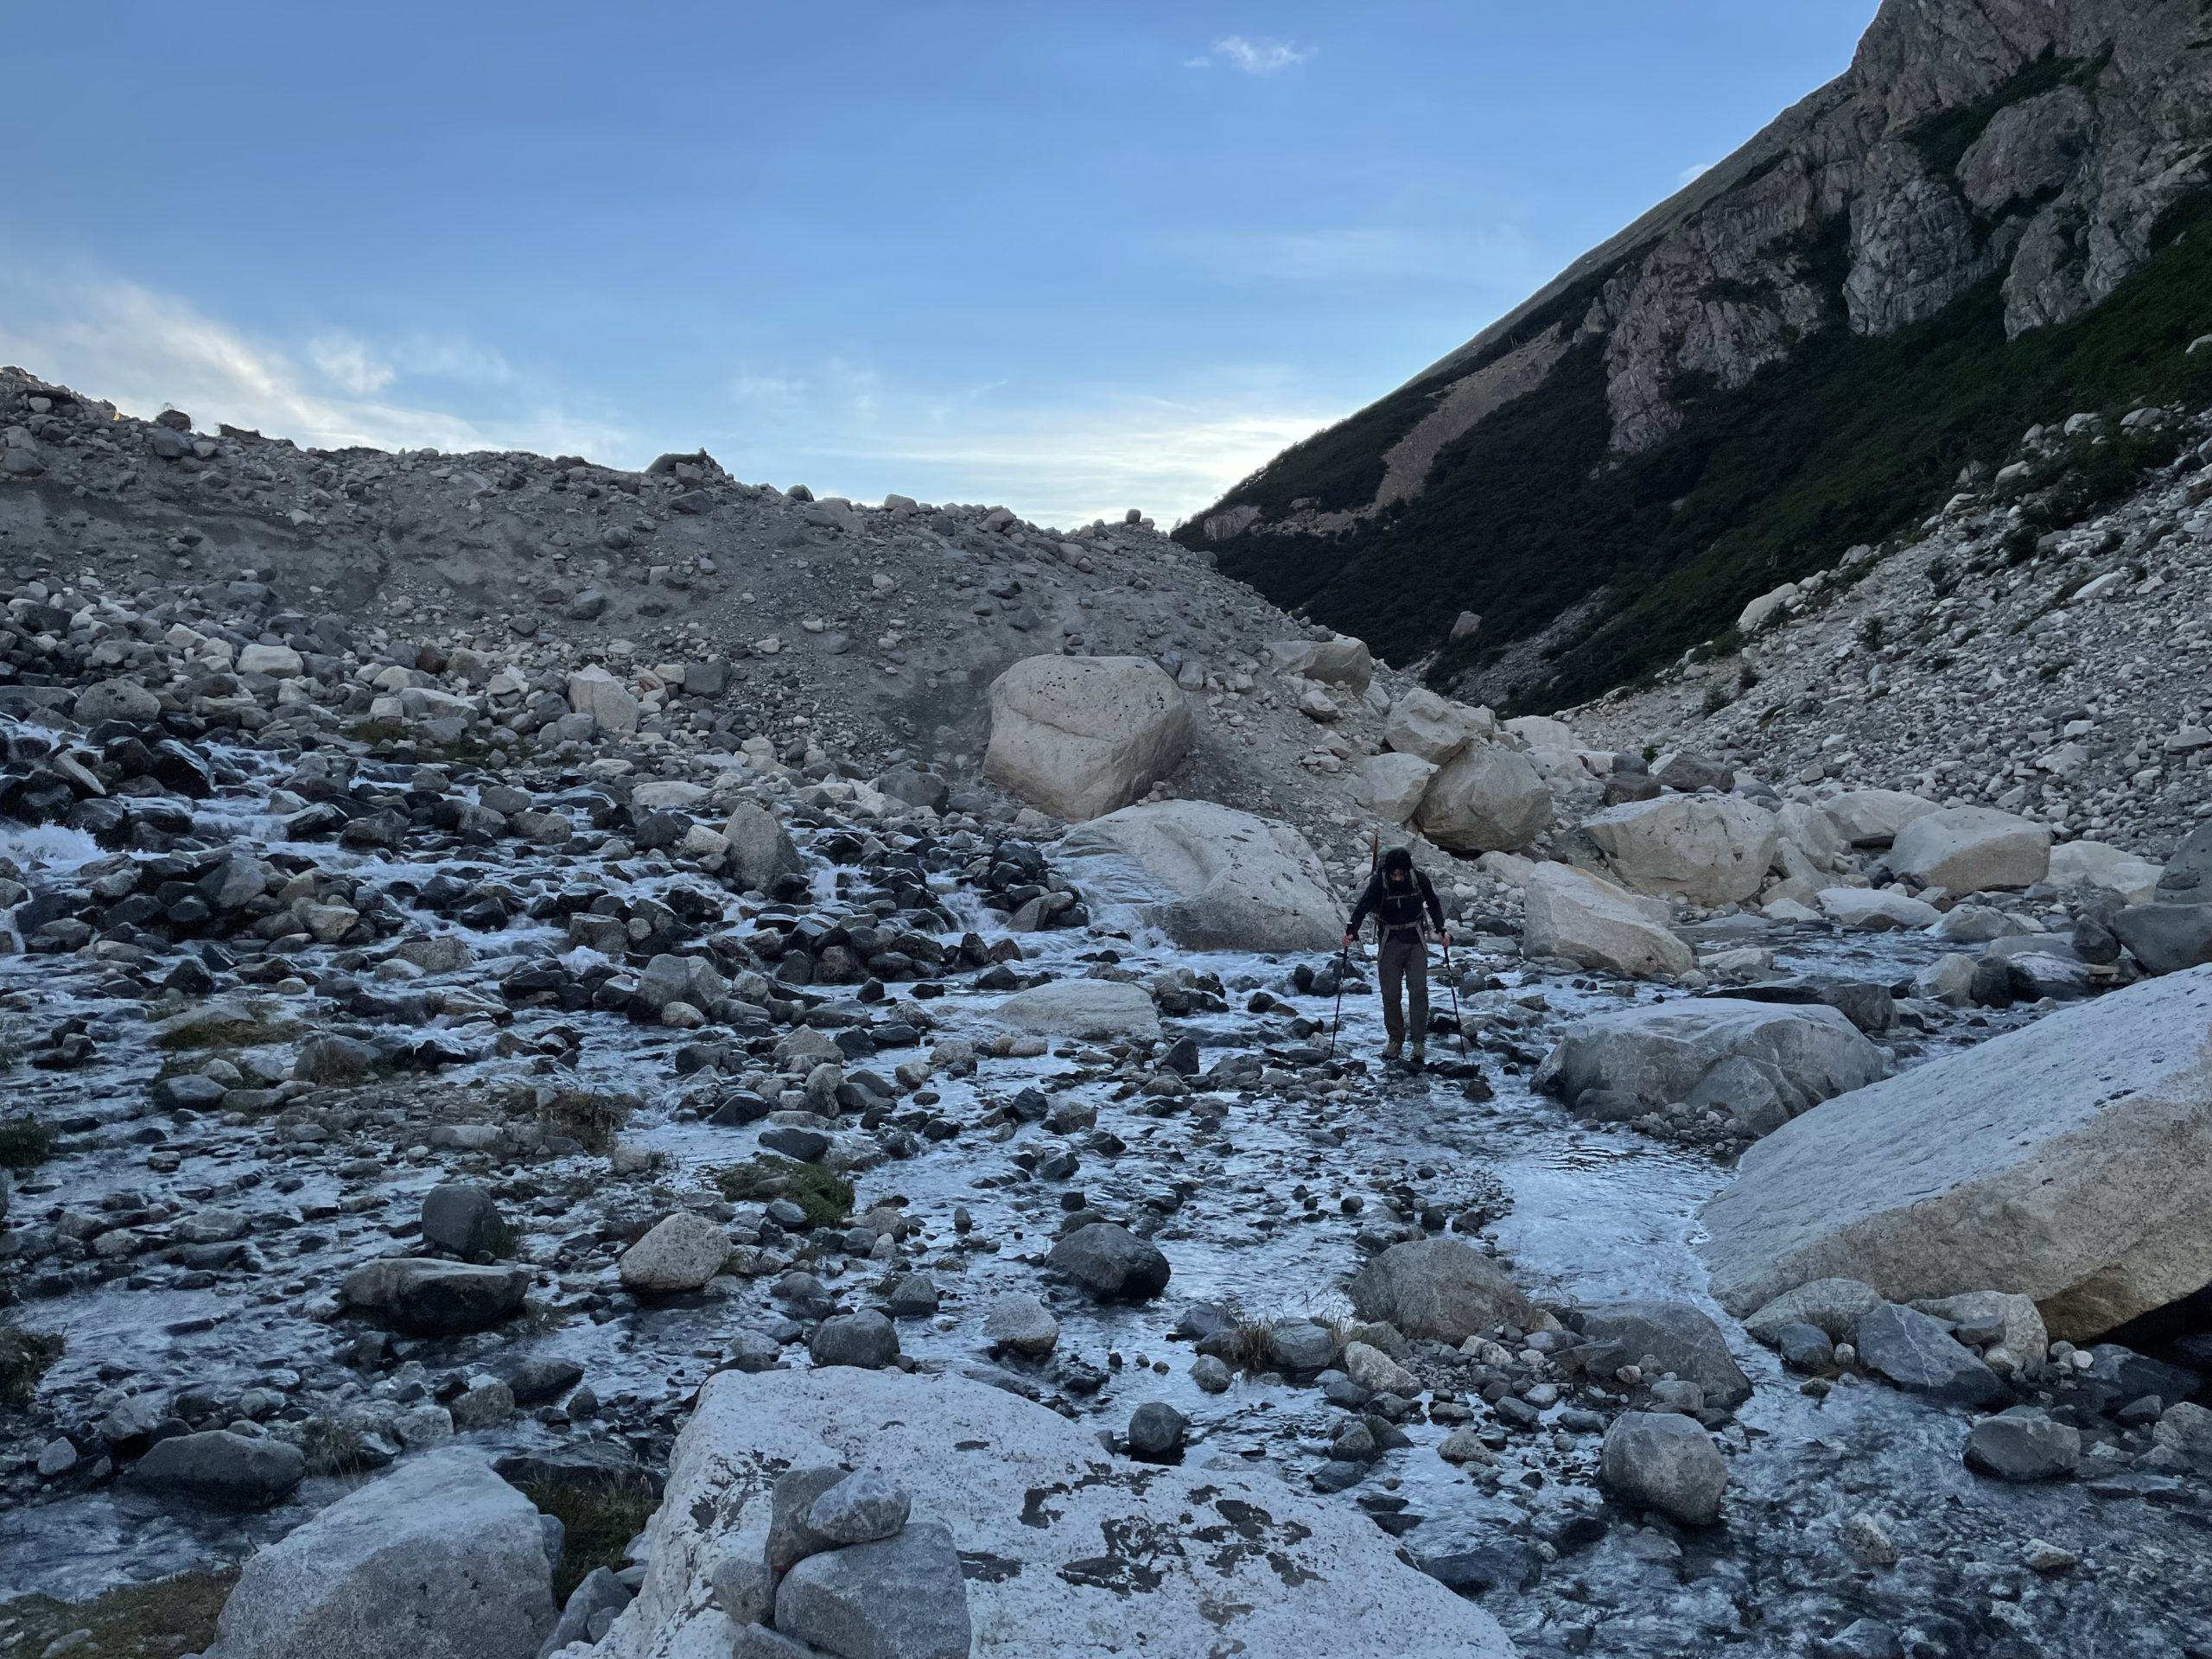
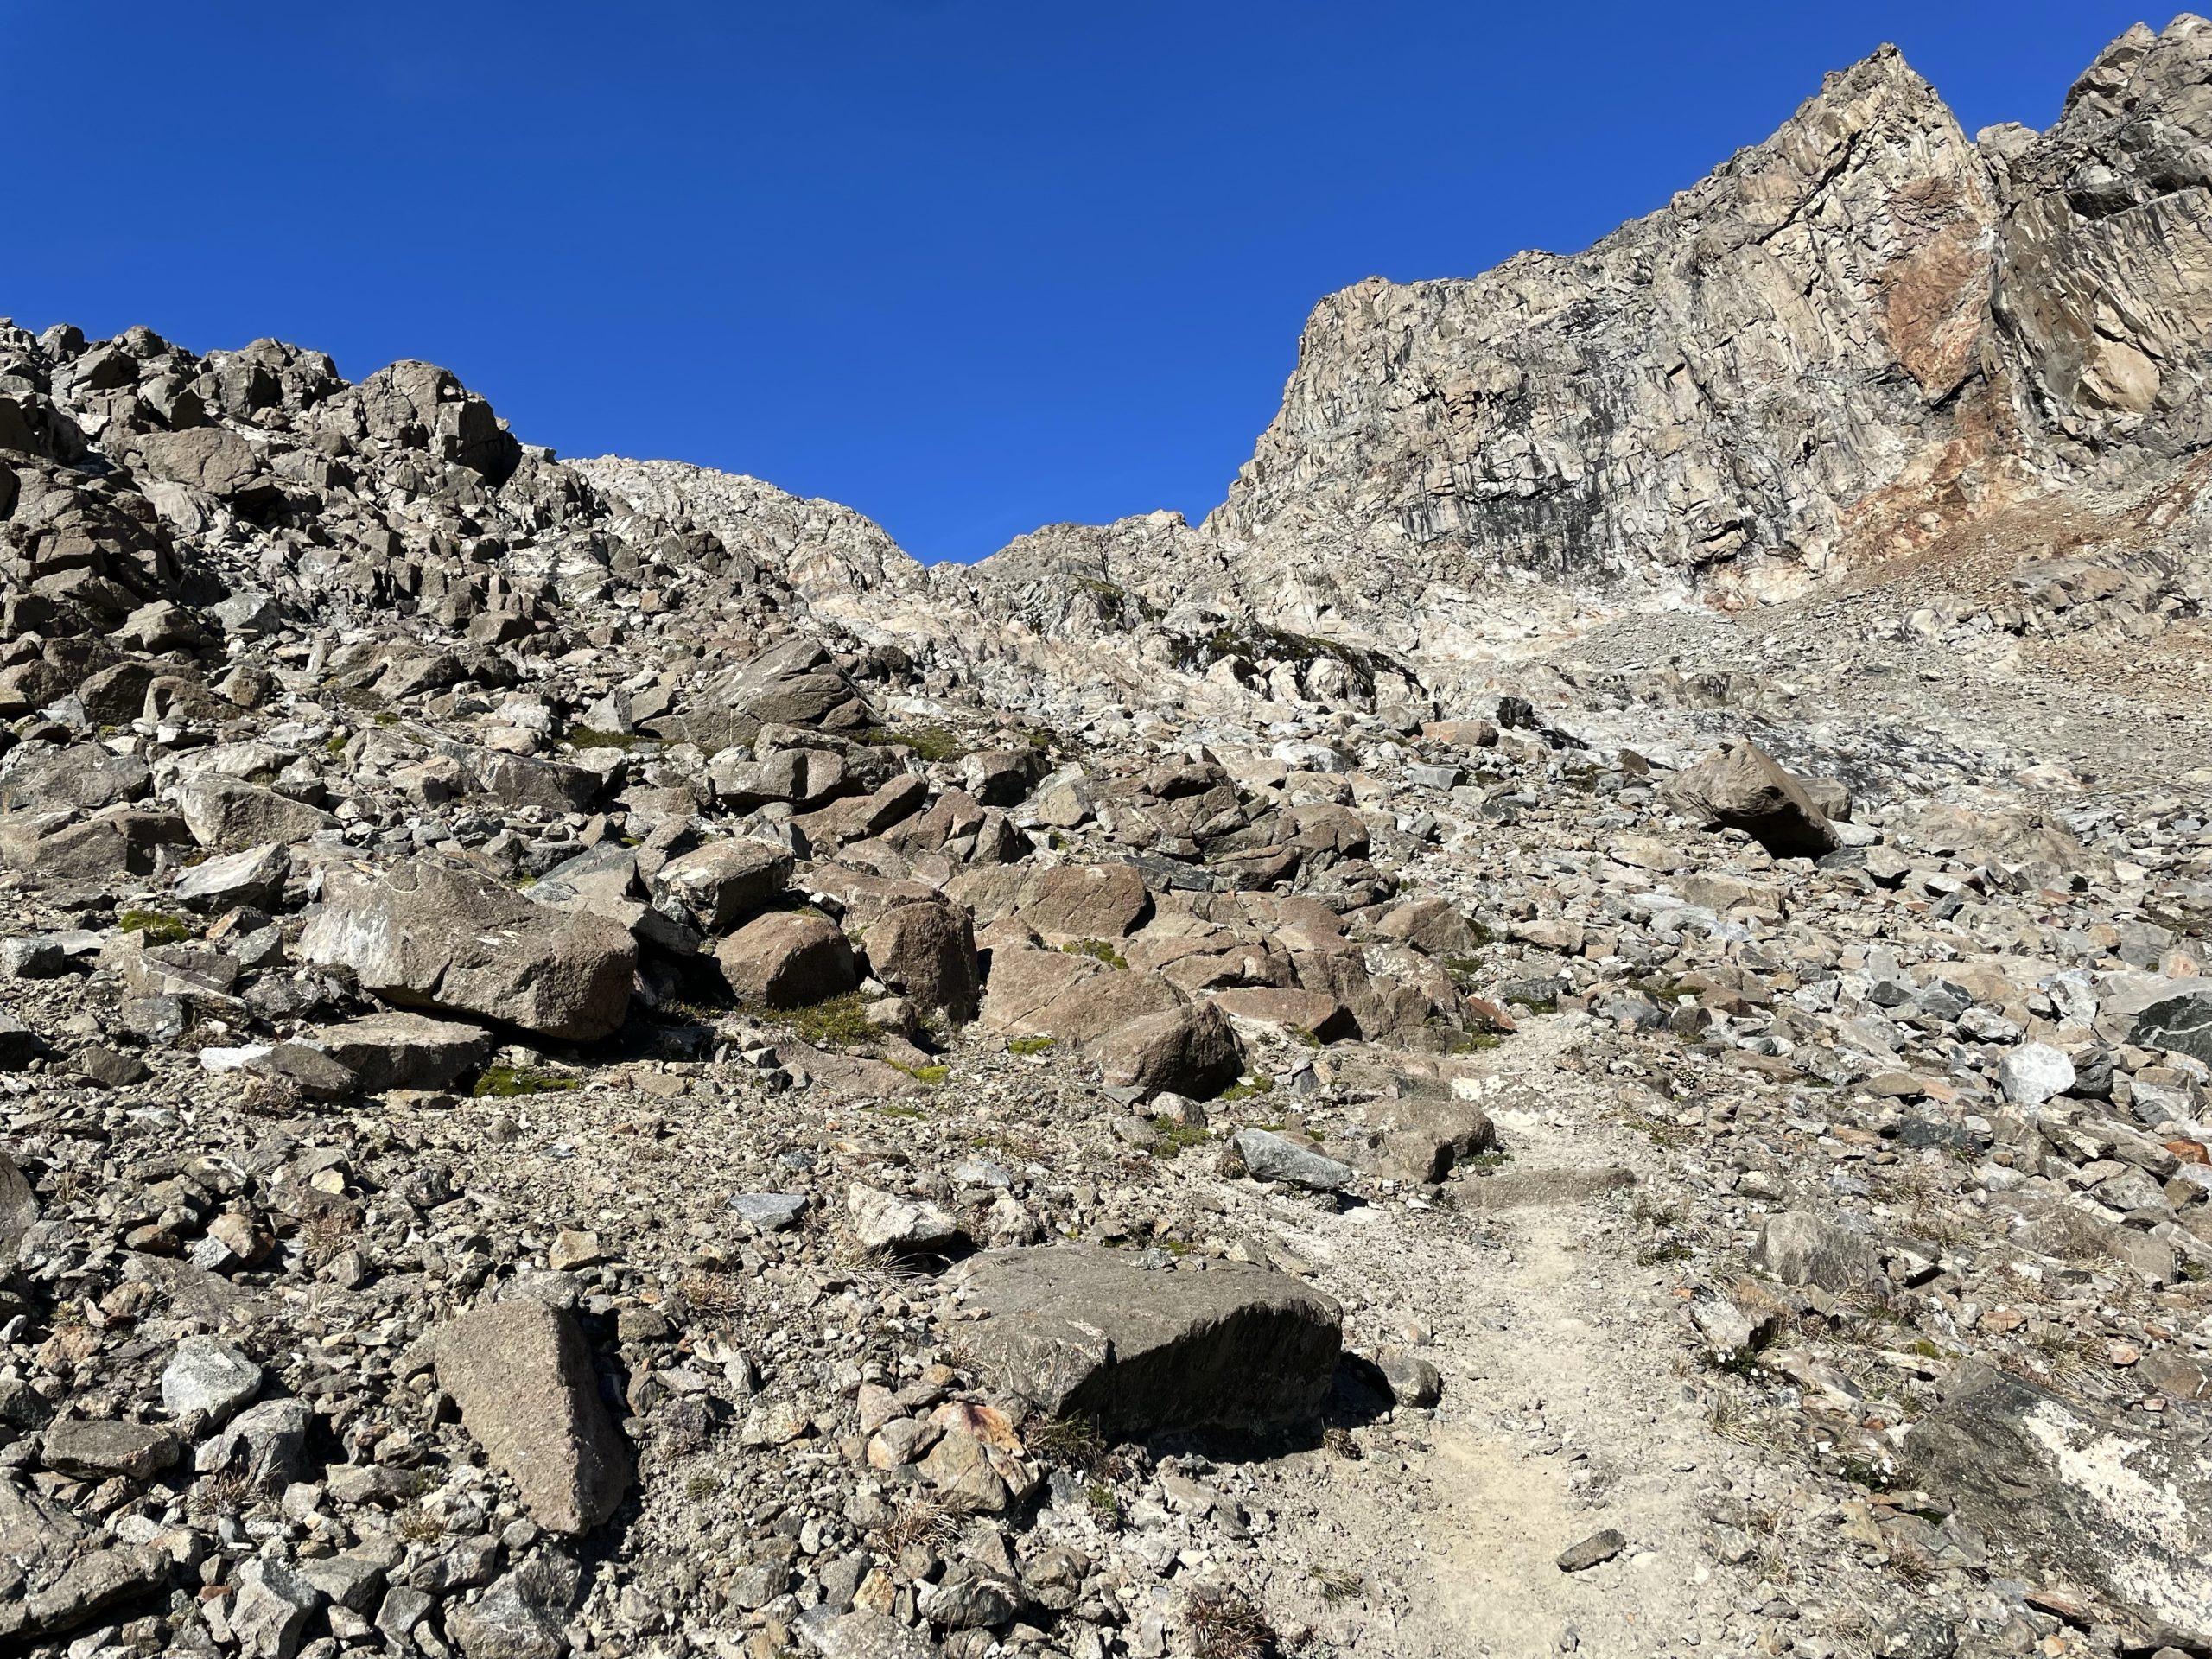
By the time we reached Rio Blanco the sky was light out and we didn’t need head lamps anymore. We found a small foot path off the main trail and started our way along the river. The trail was pleasant for the first while, but it eventually kicked us out on to the dried out river bed. Now the path turned to a mix of rock hopping and small patches of dirt that was a bit tedious to navigate through.
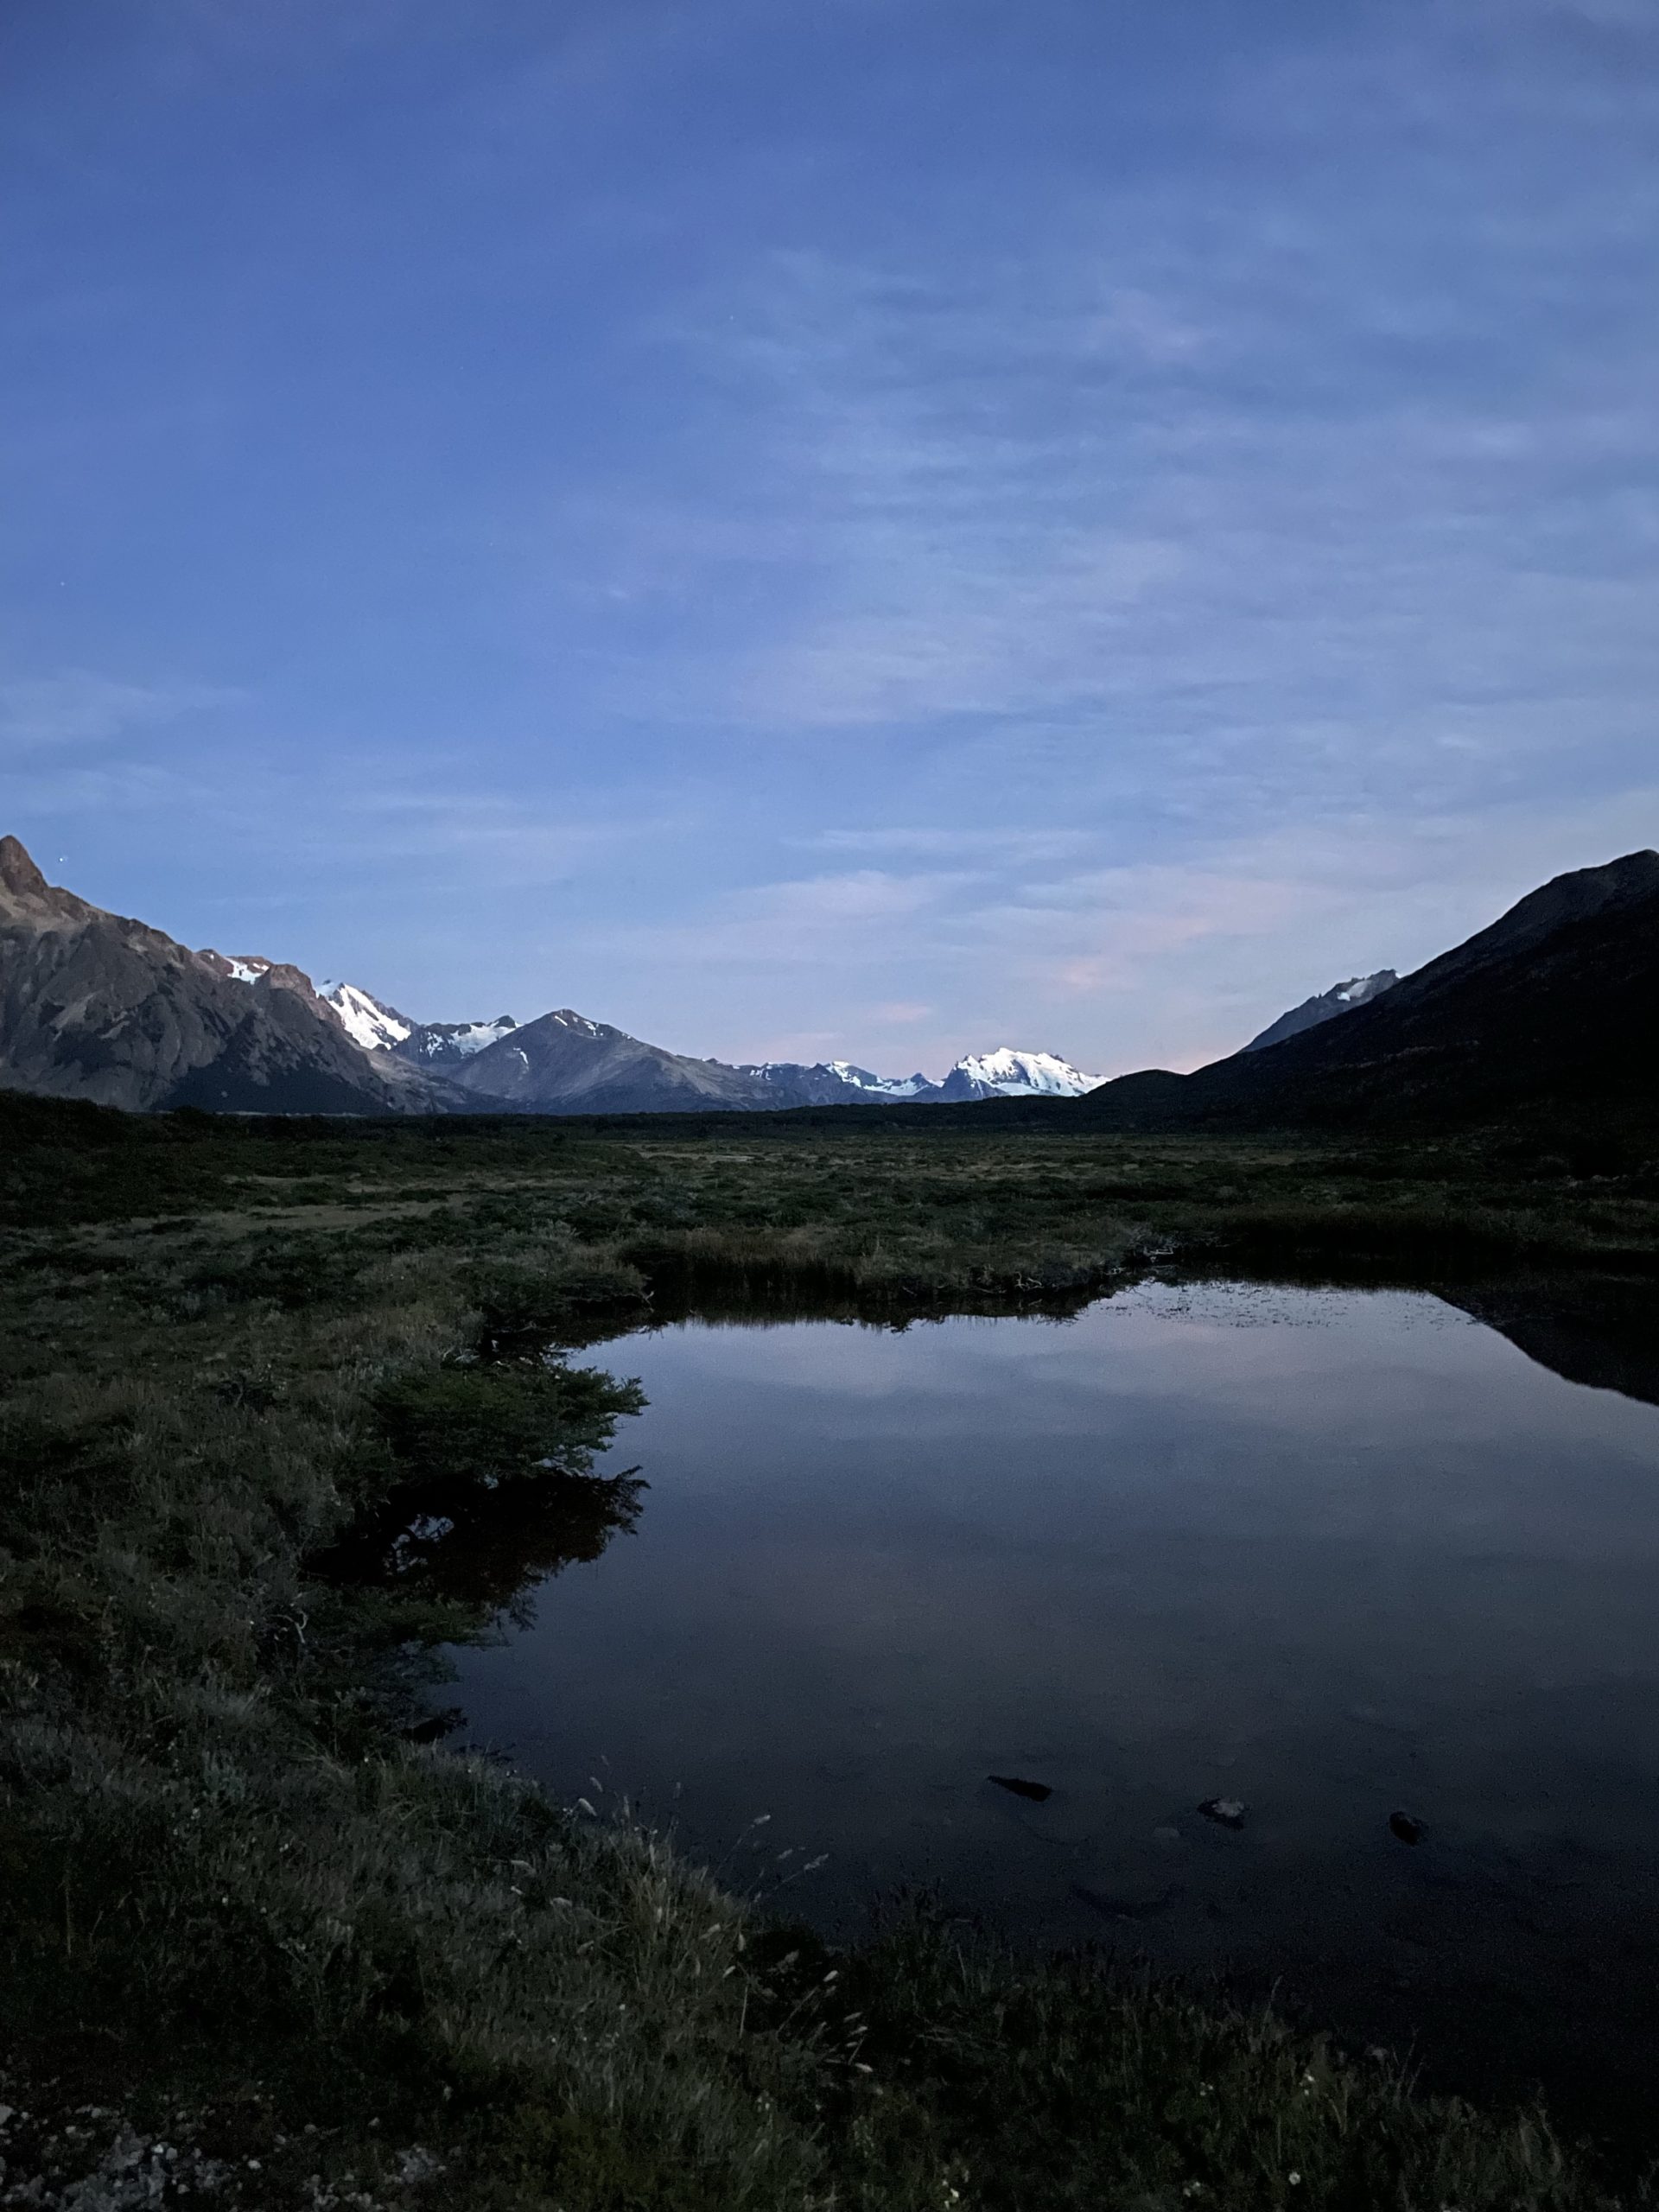
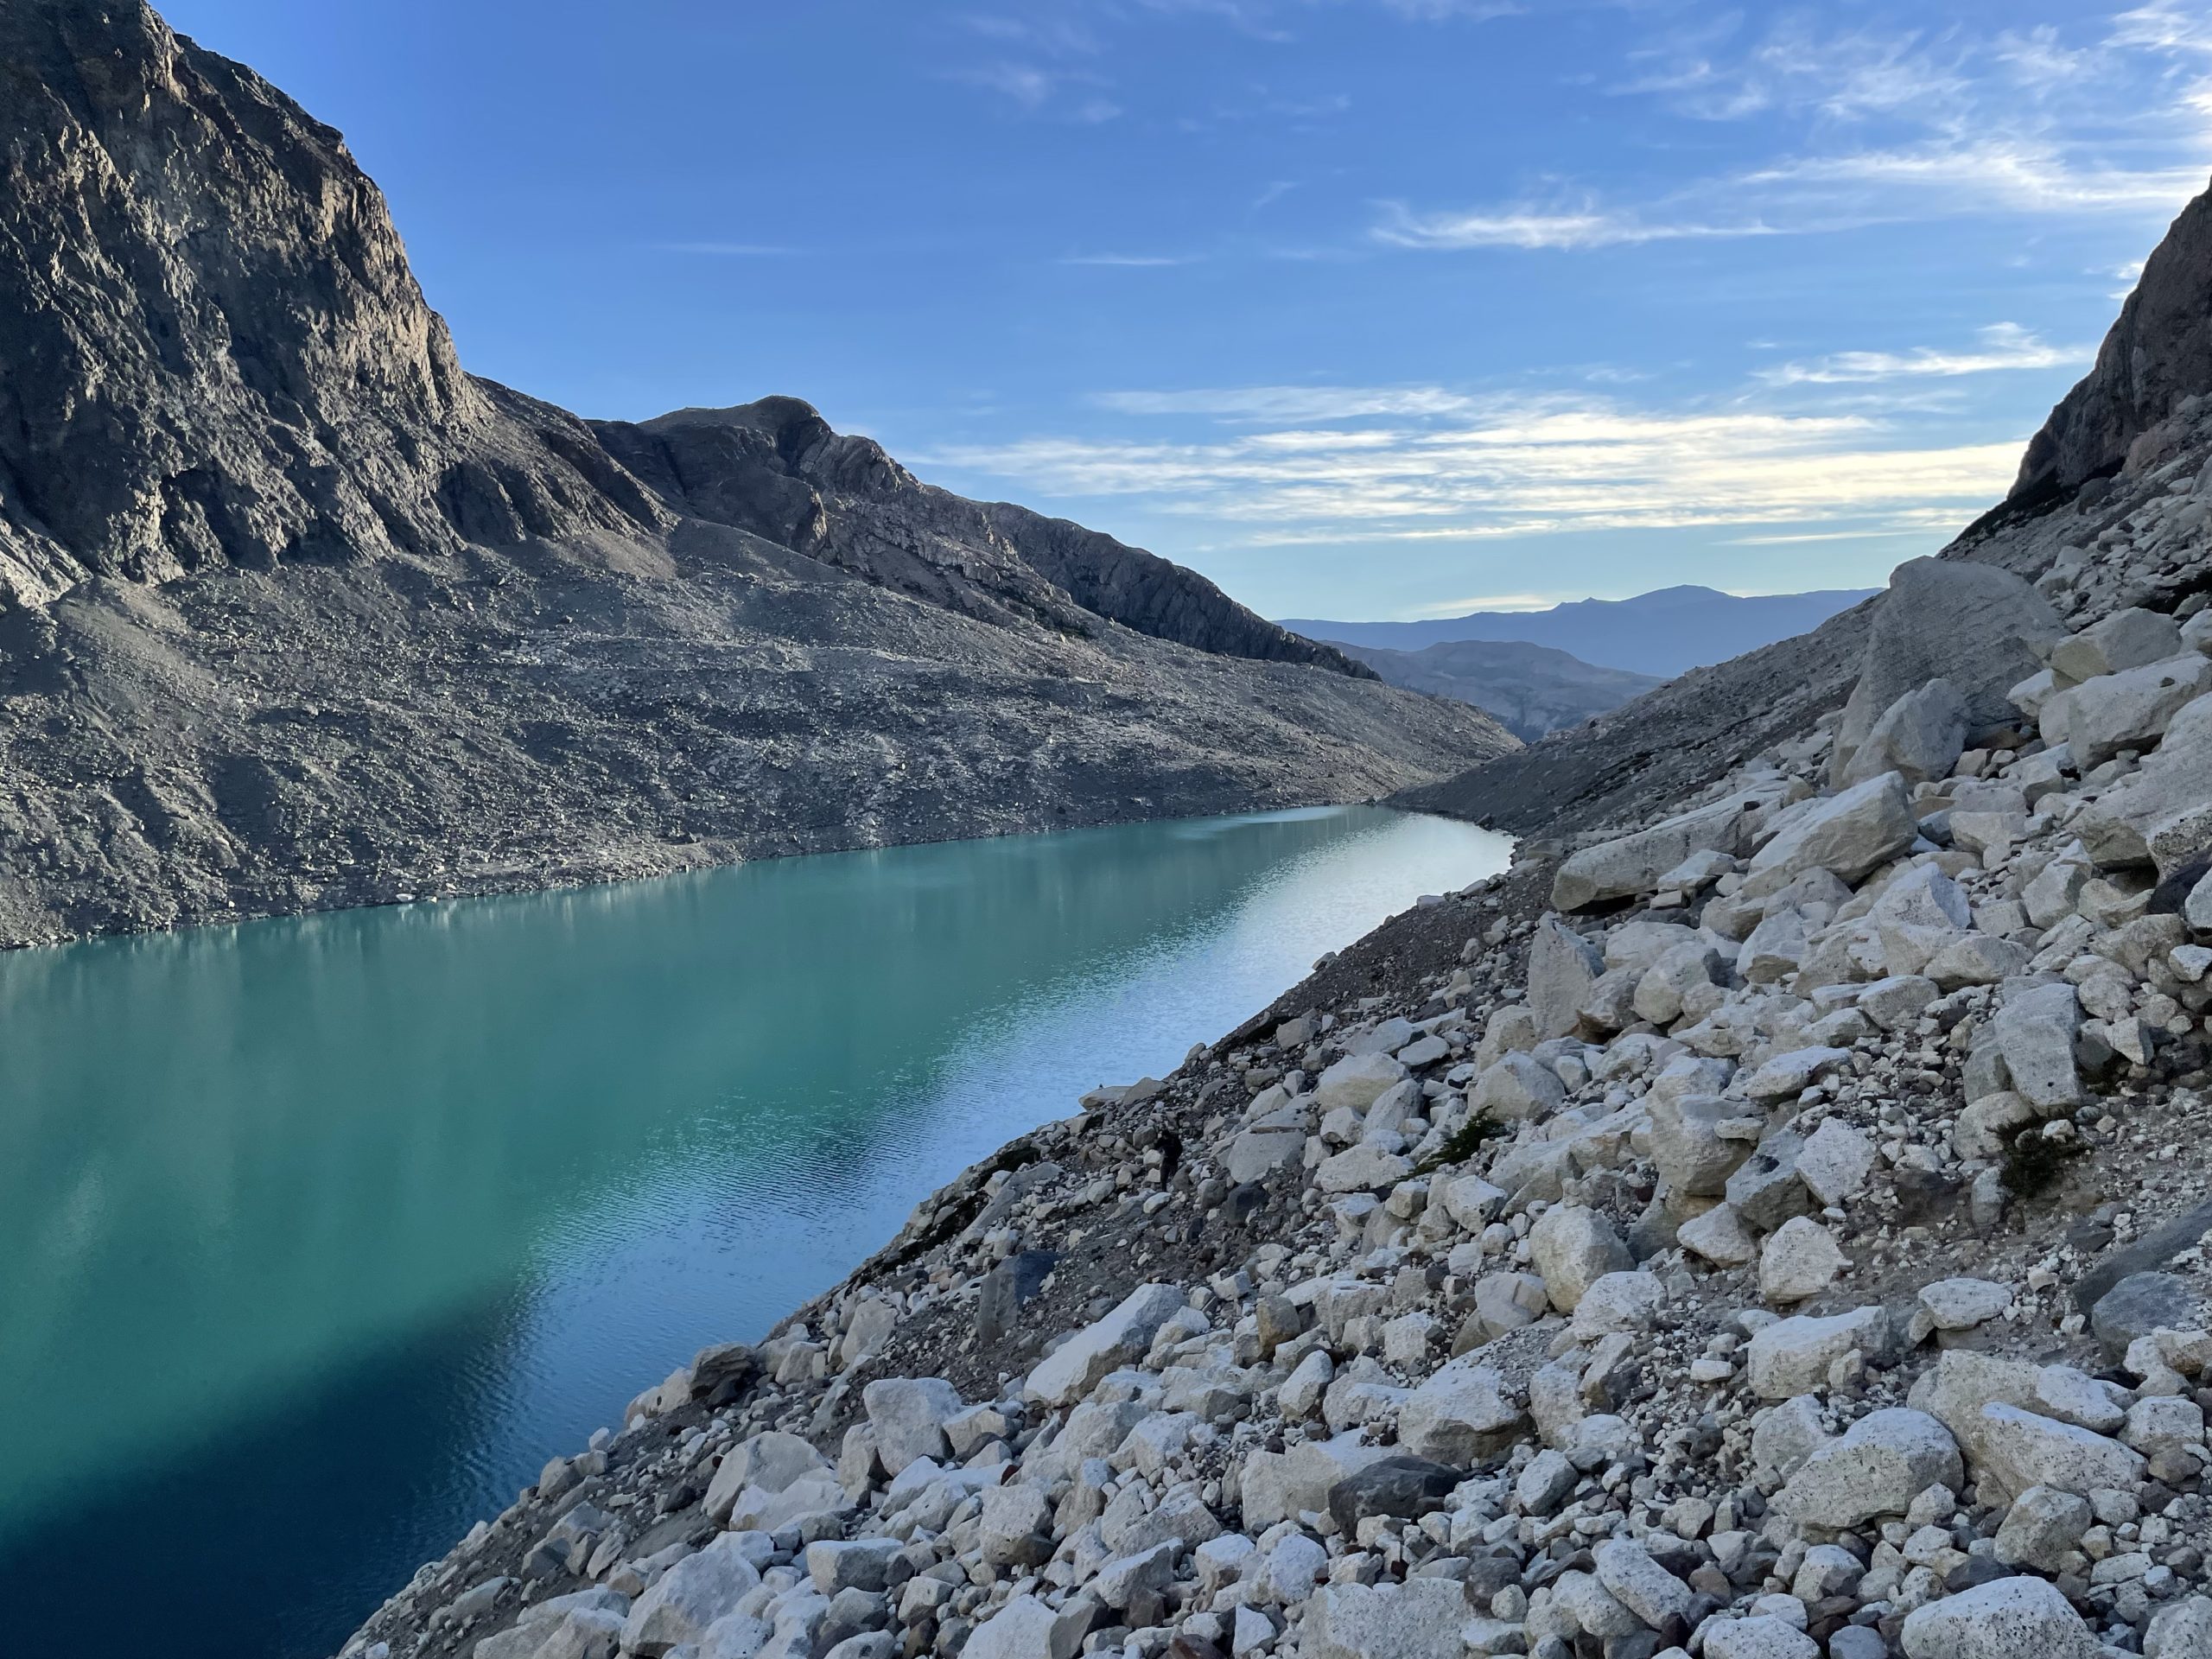
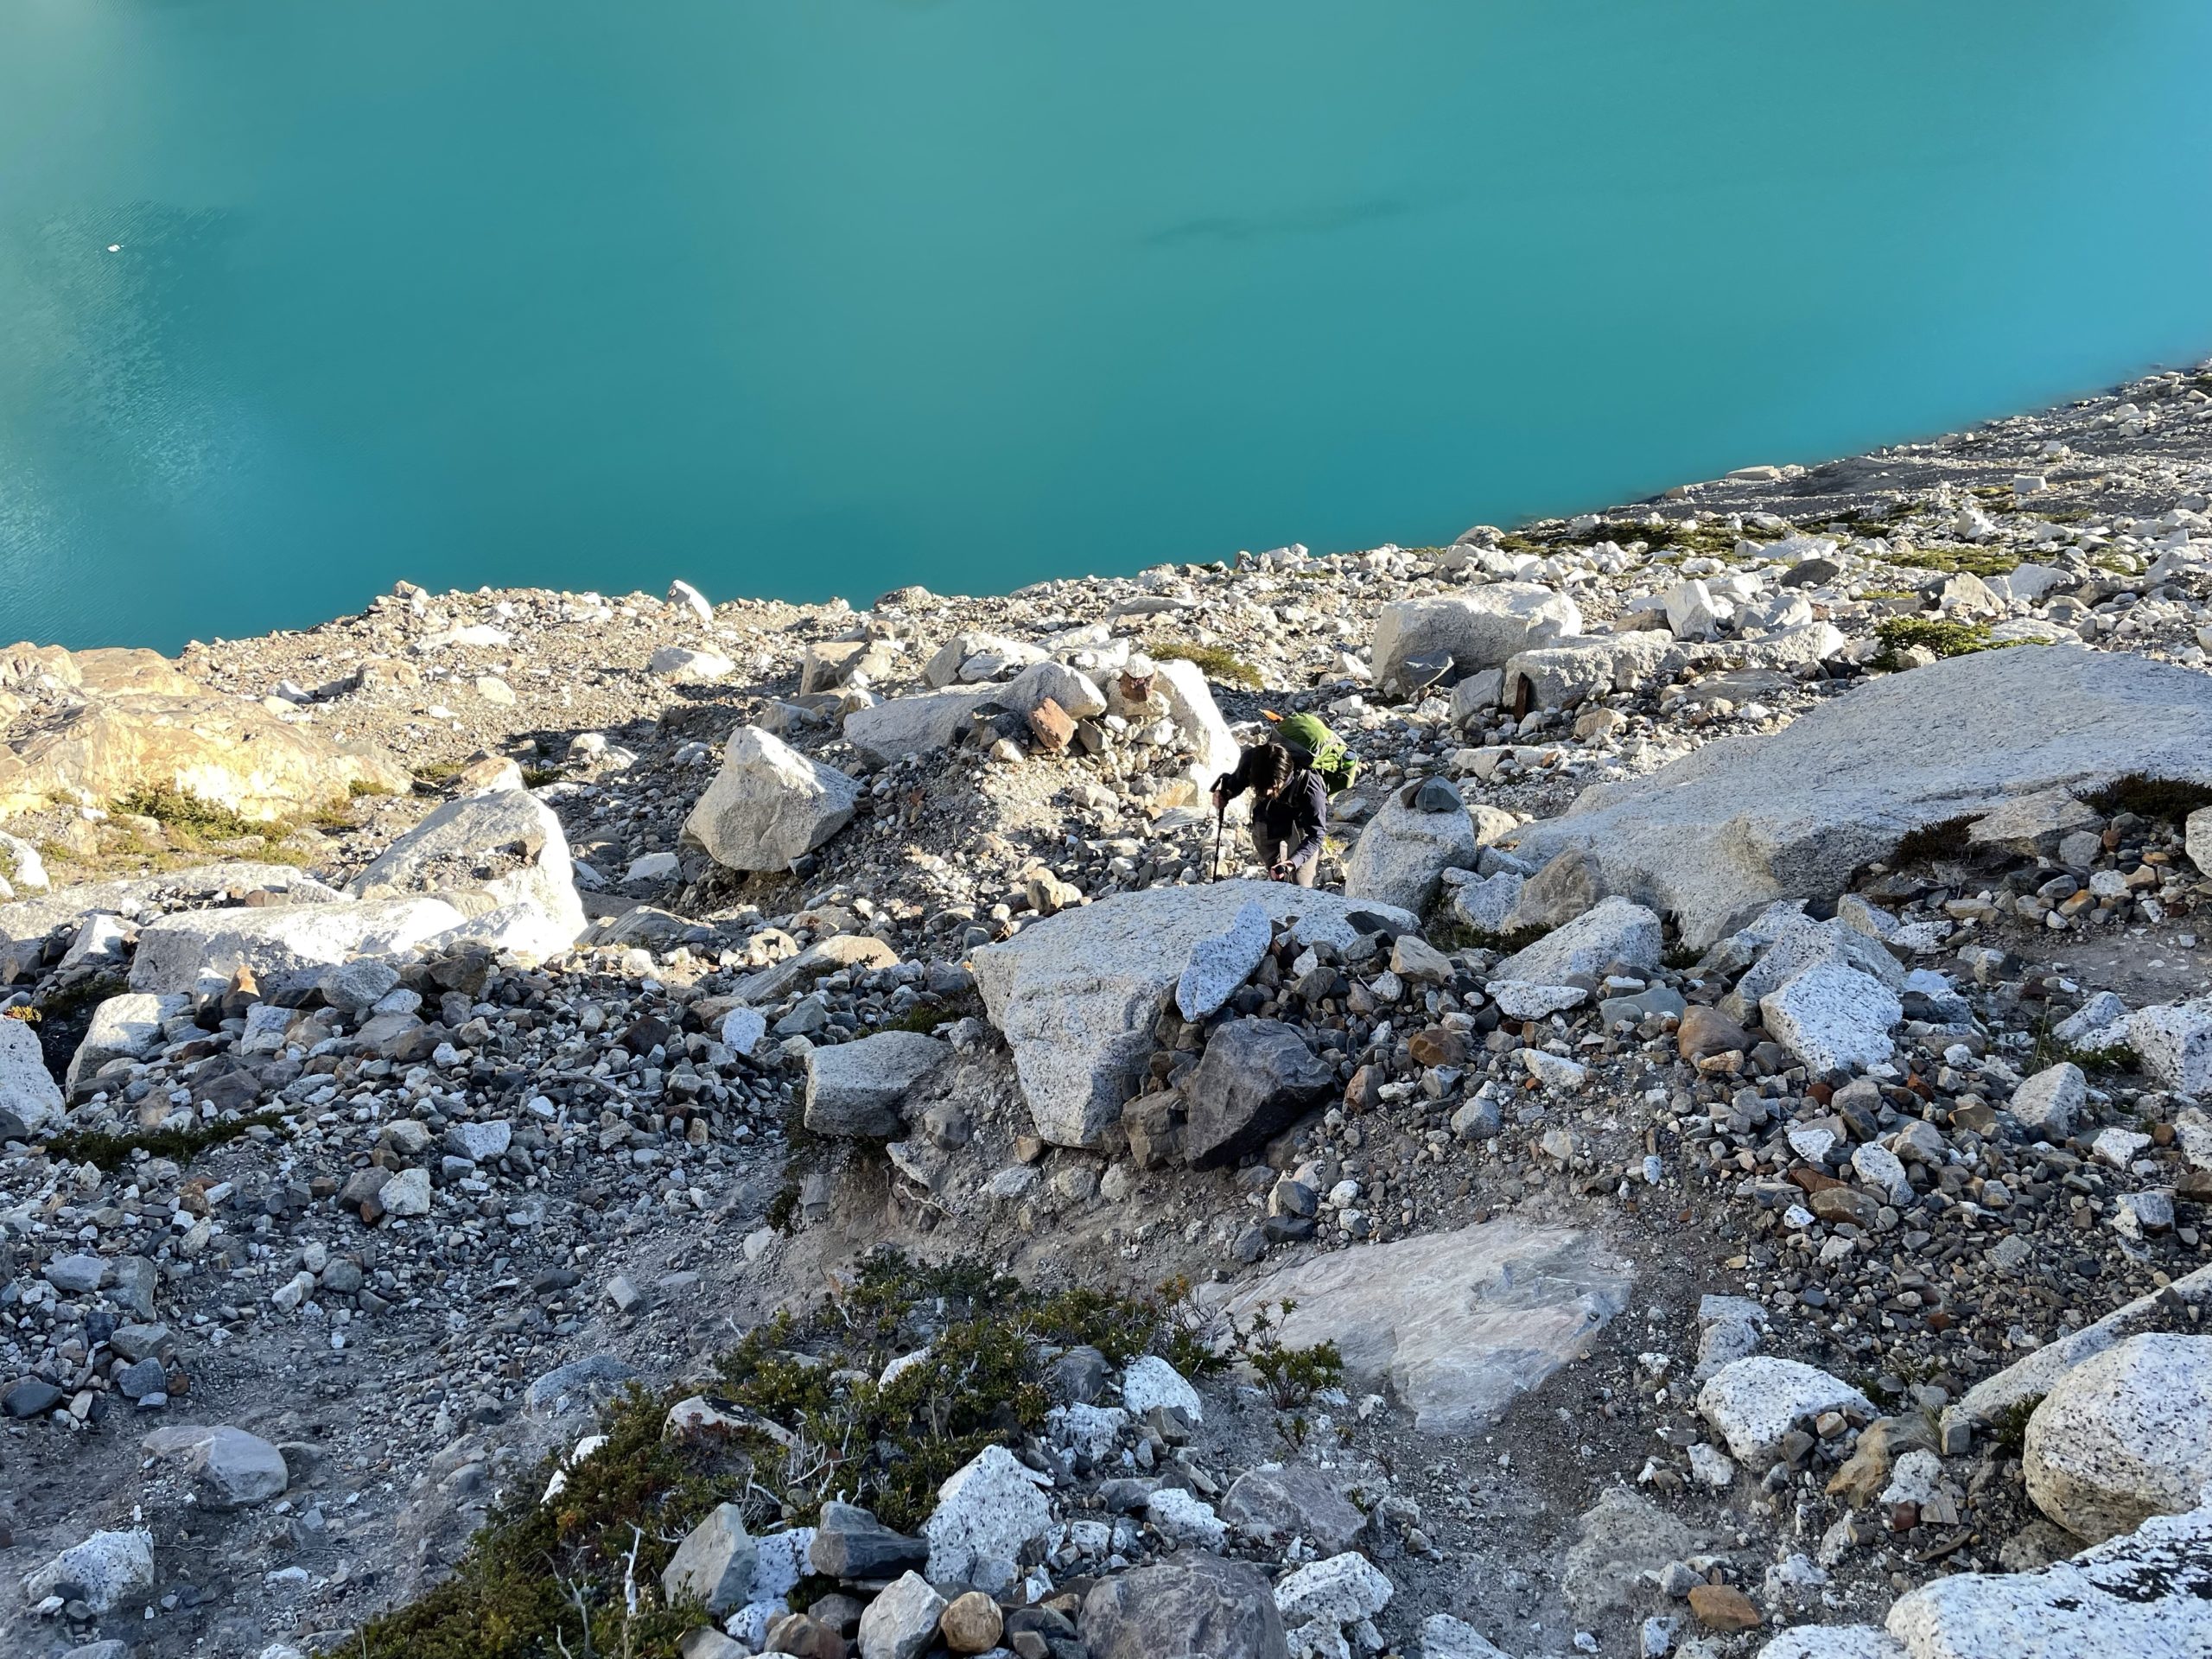
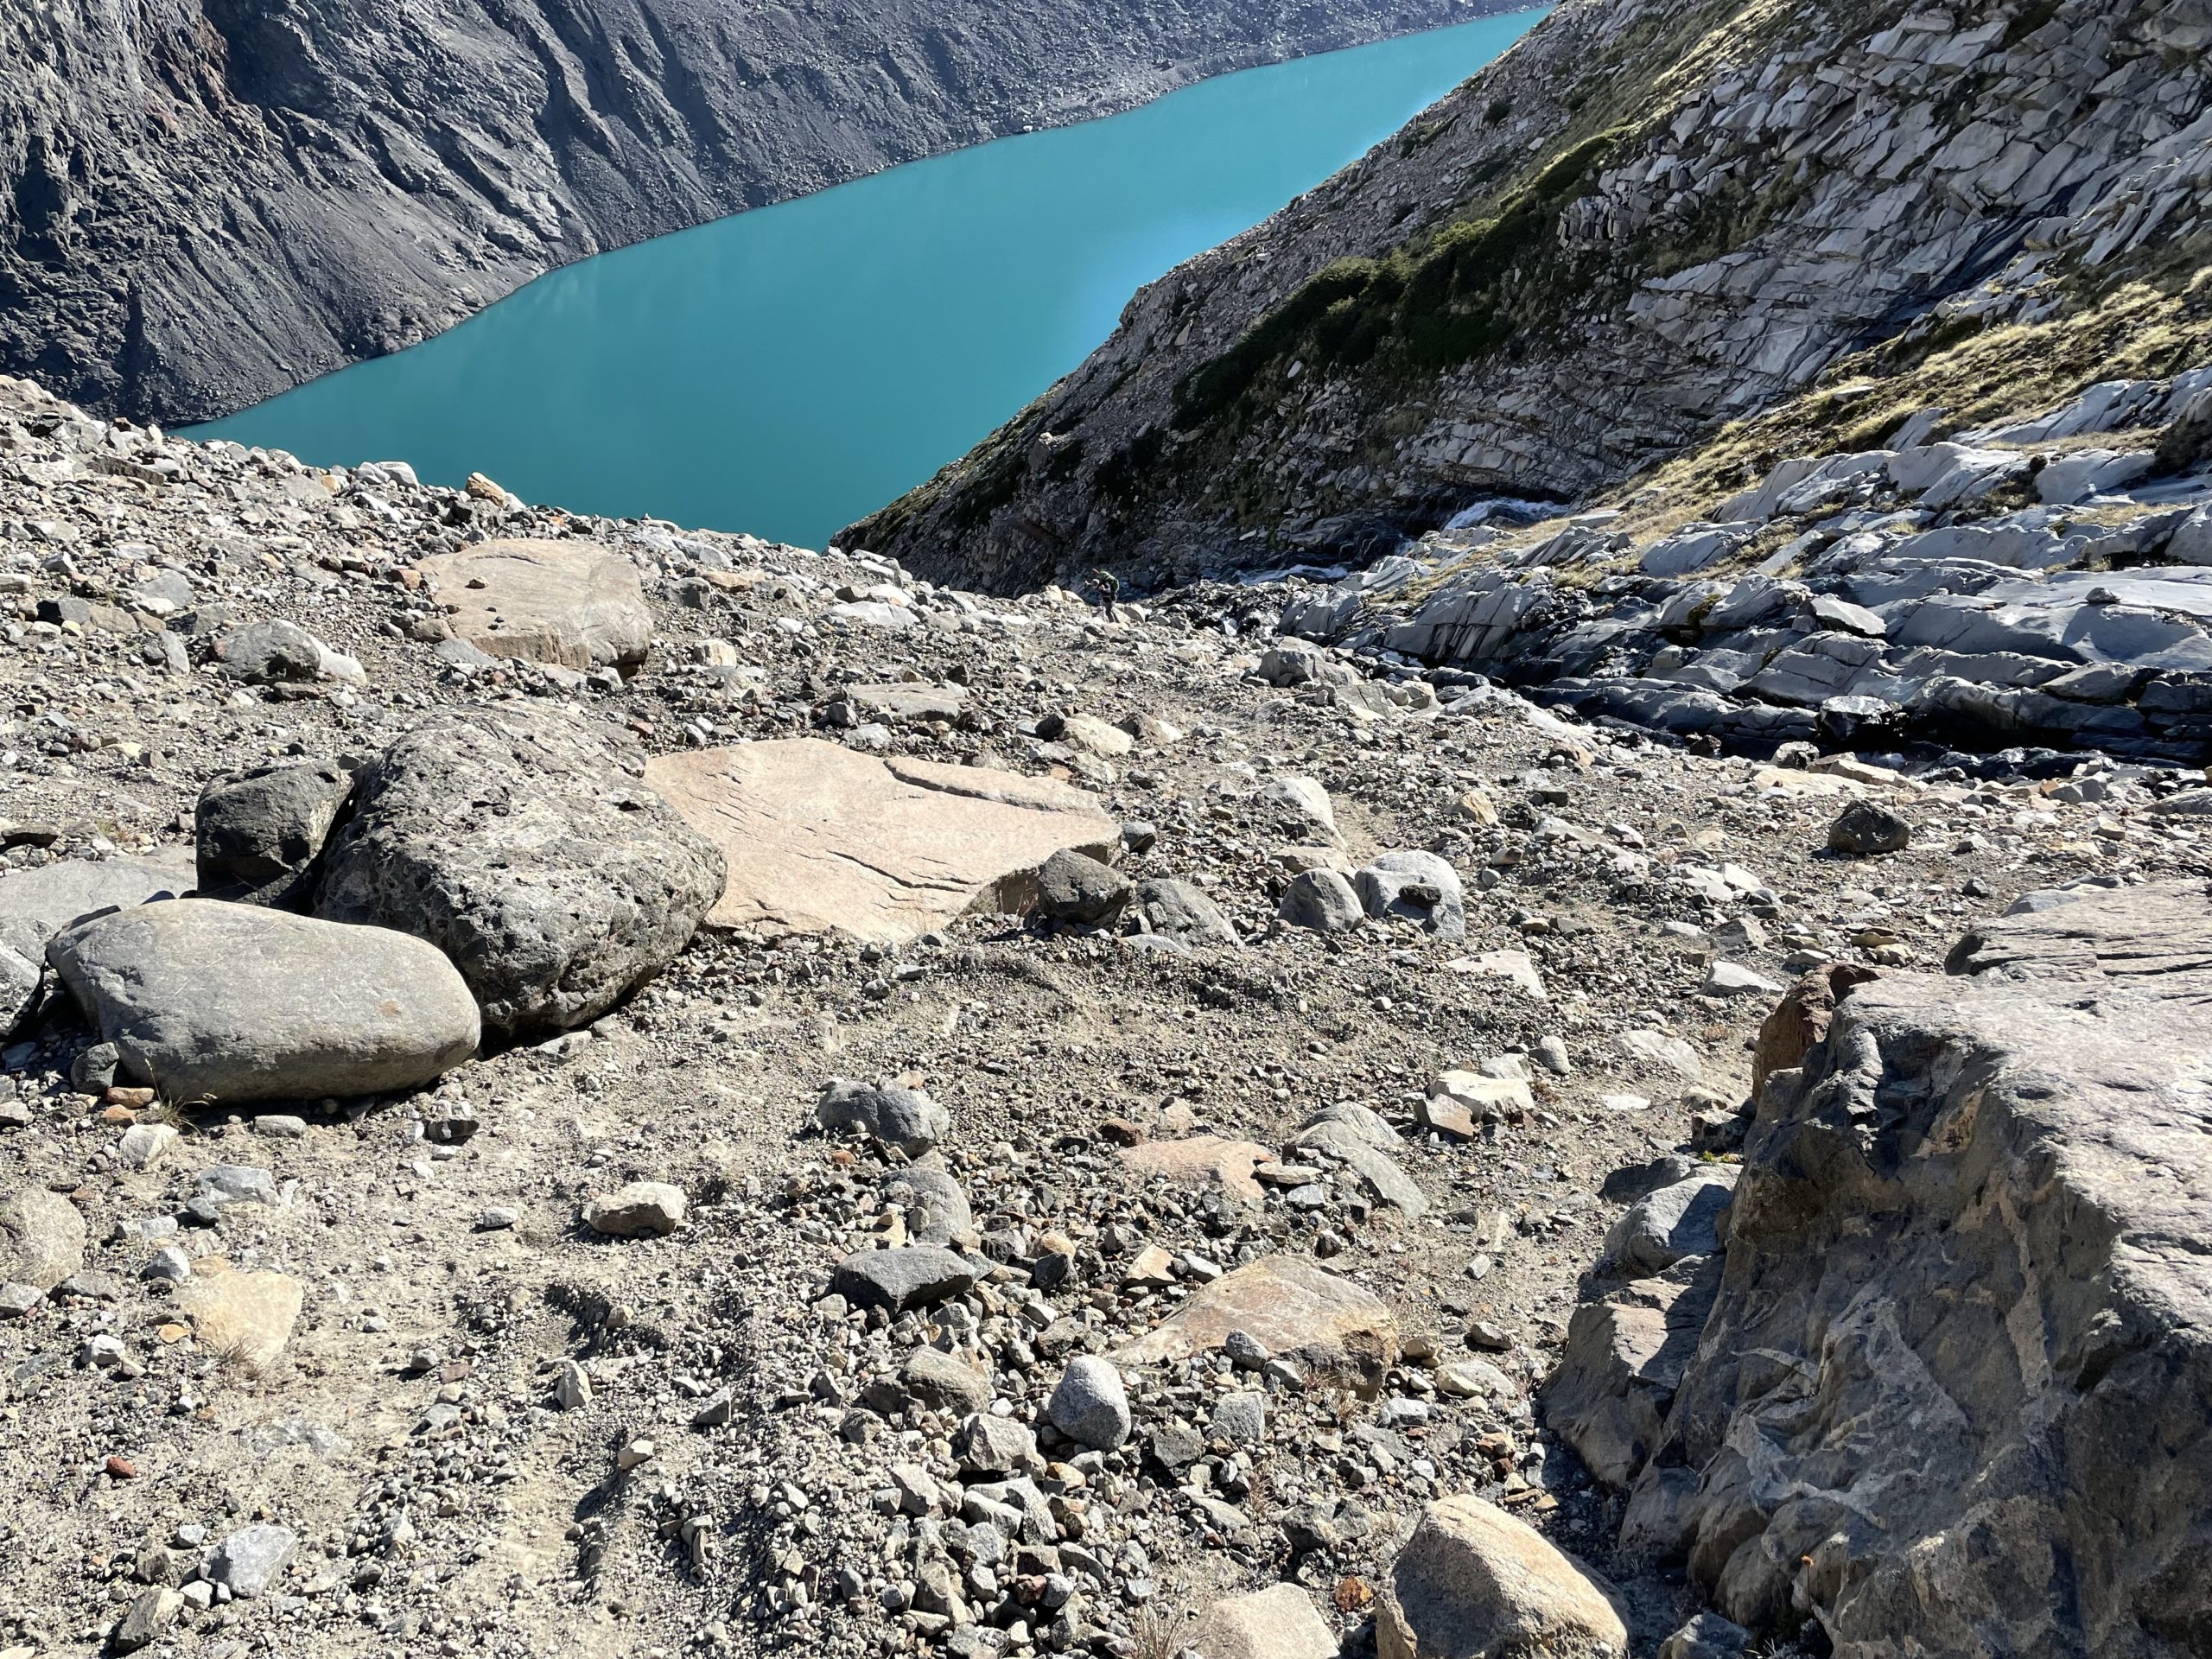
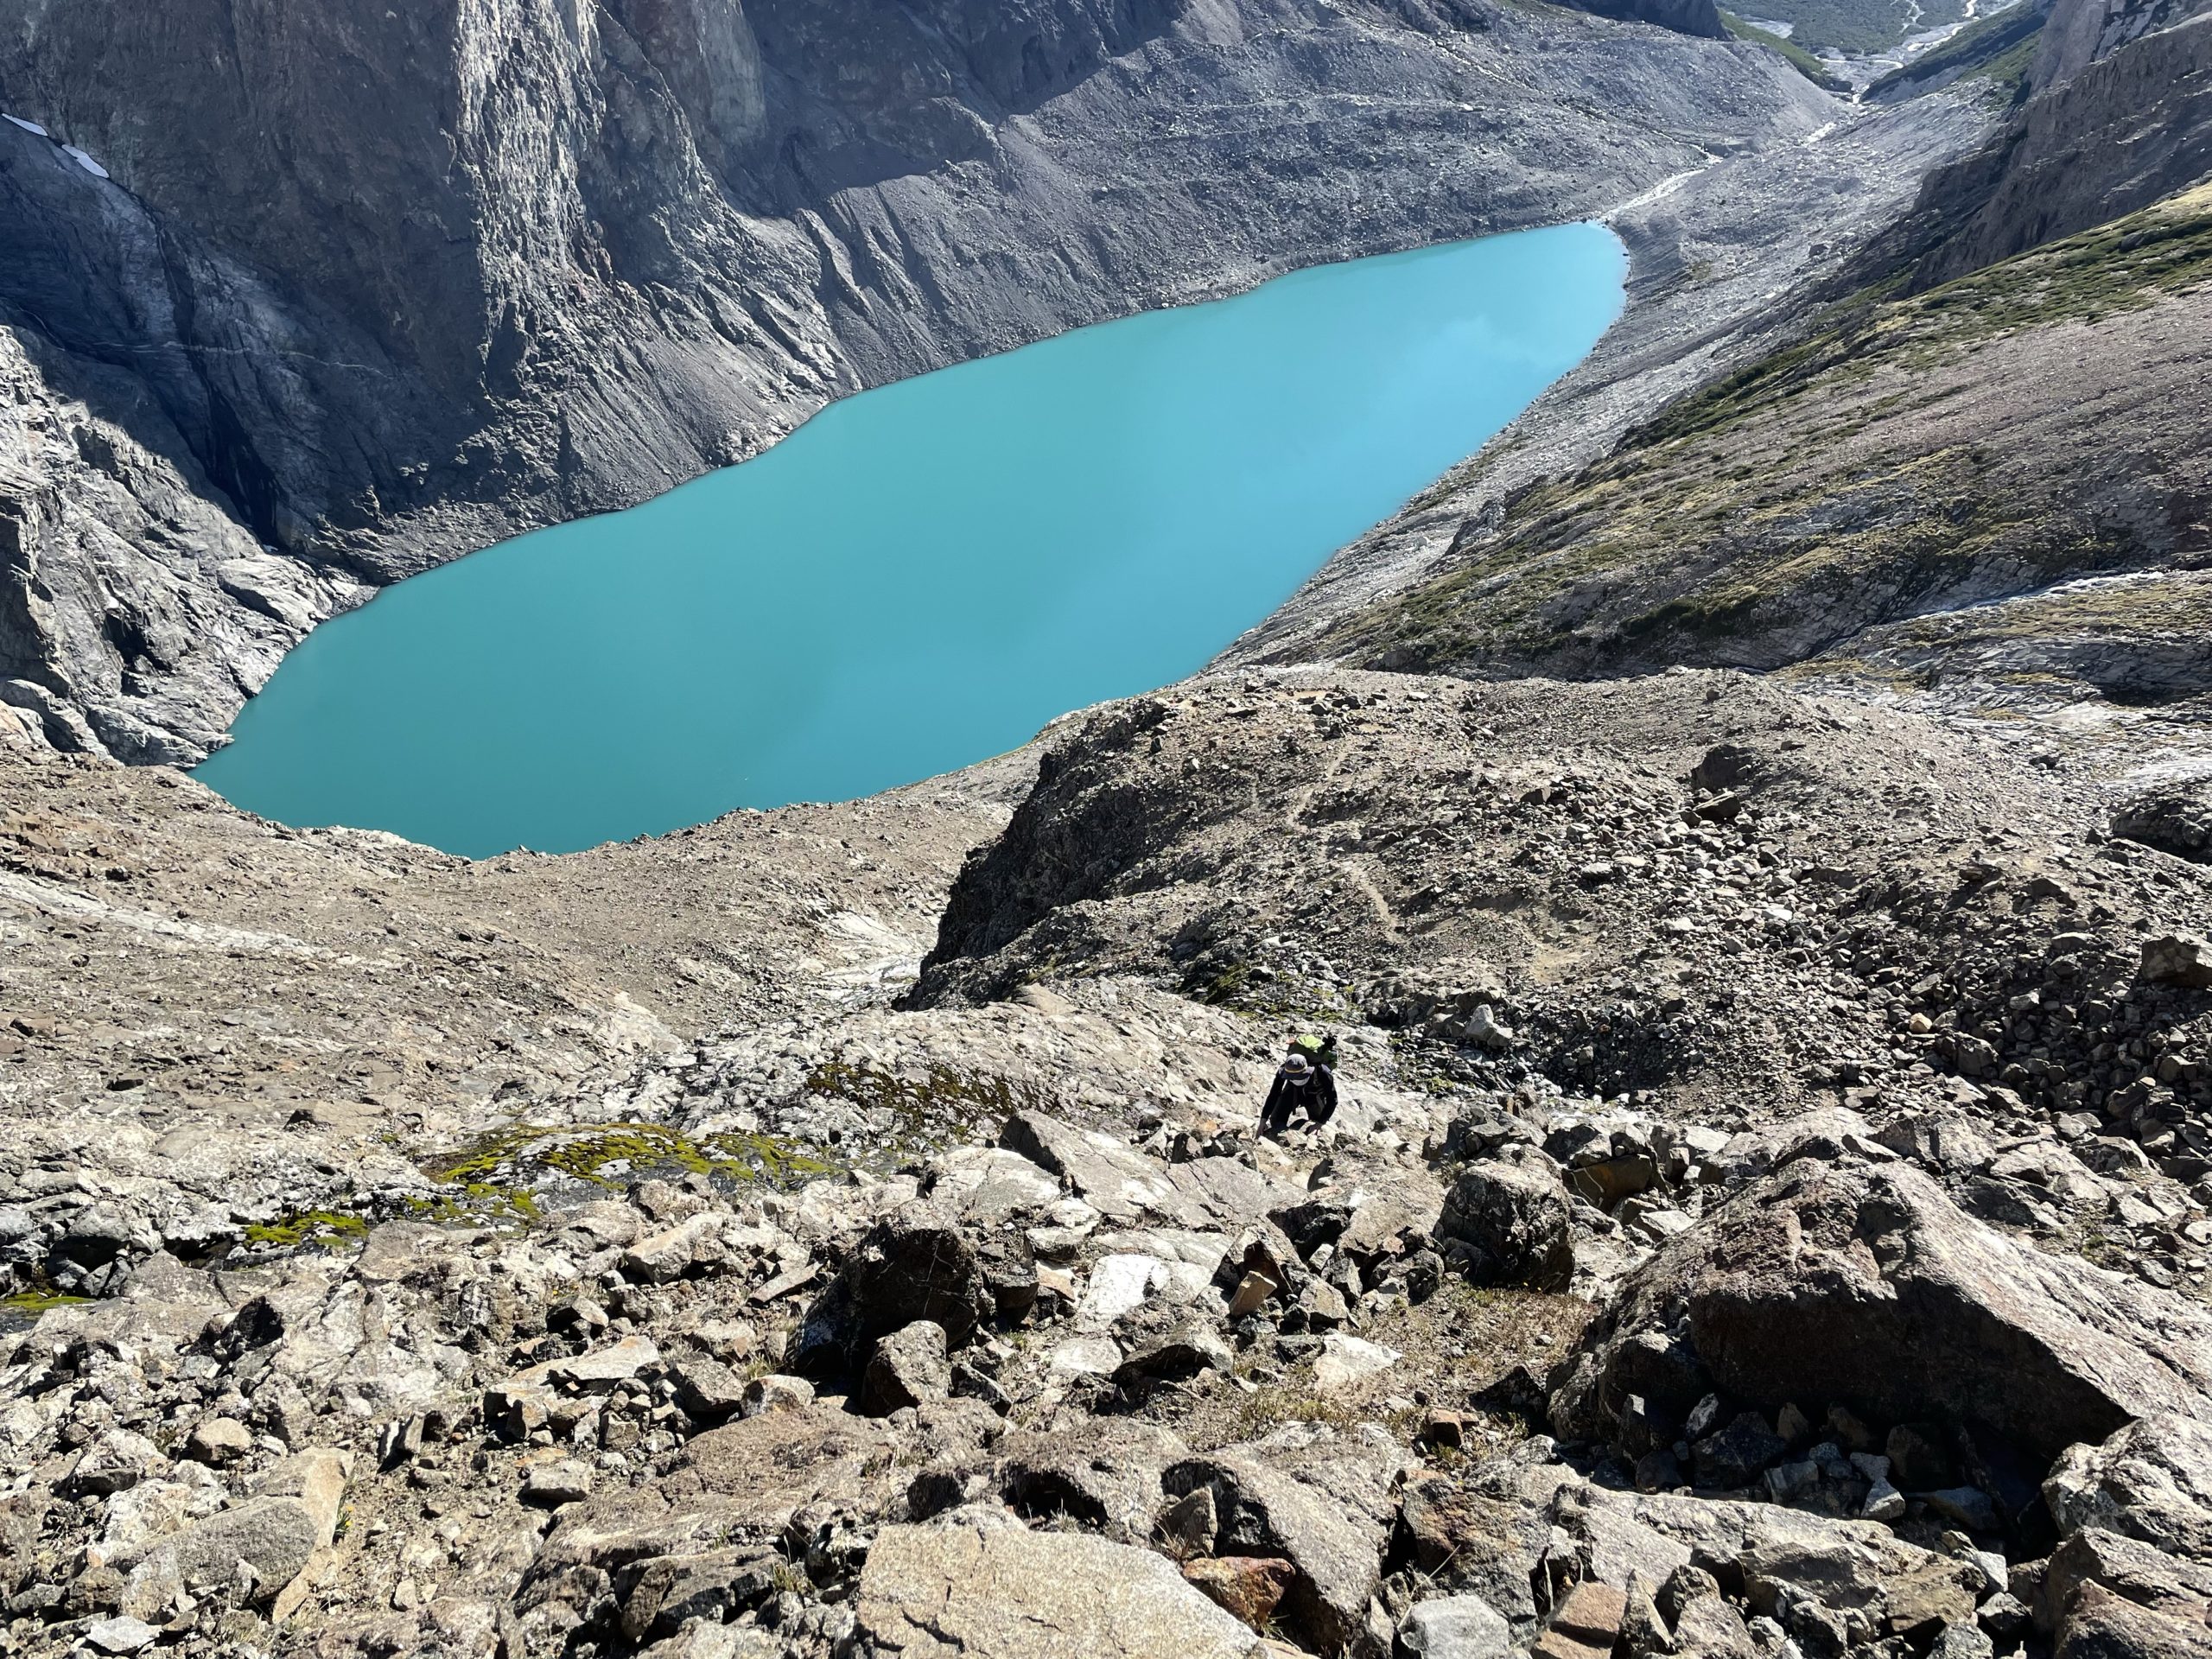
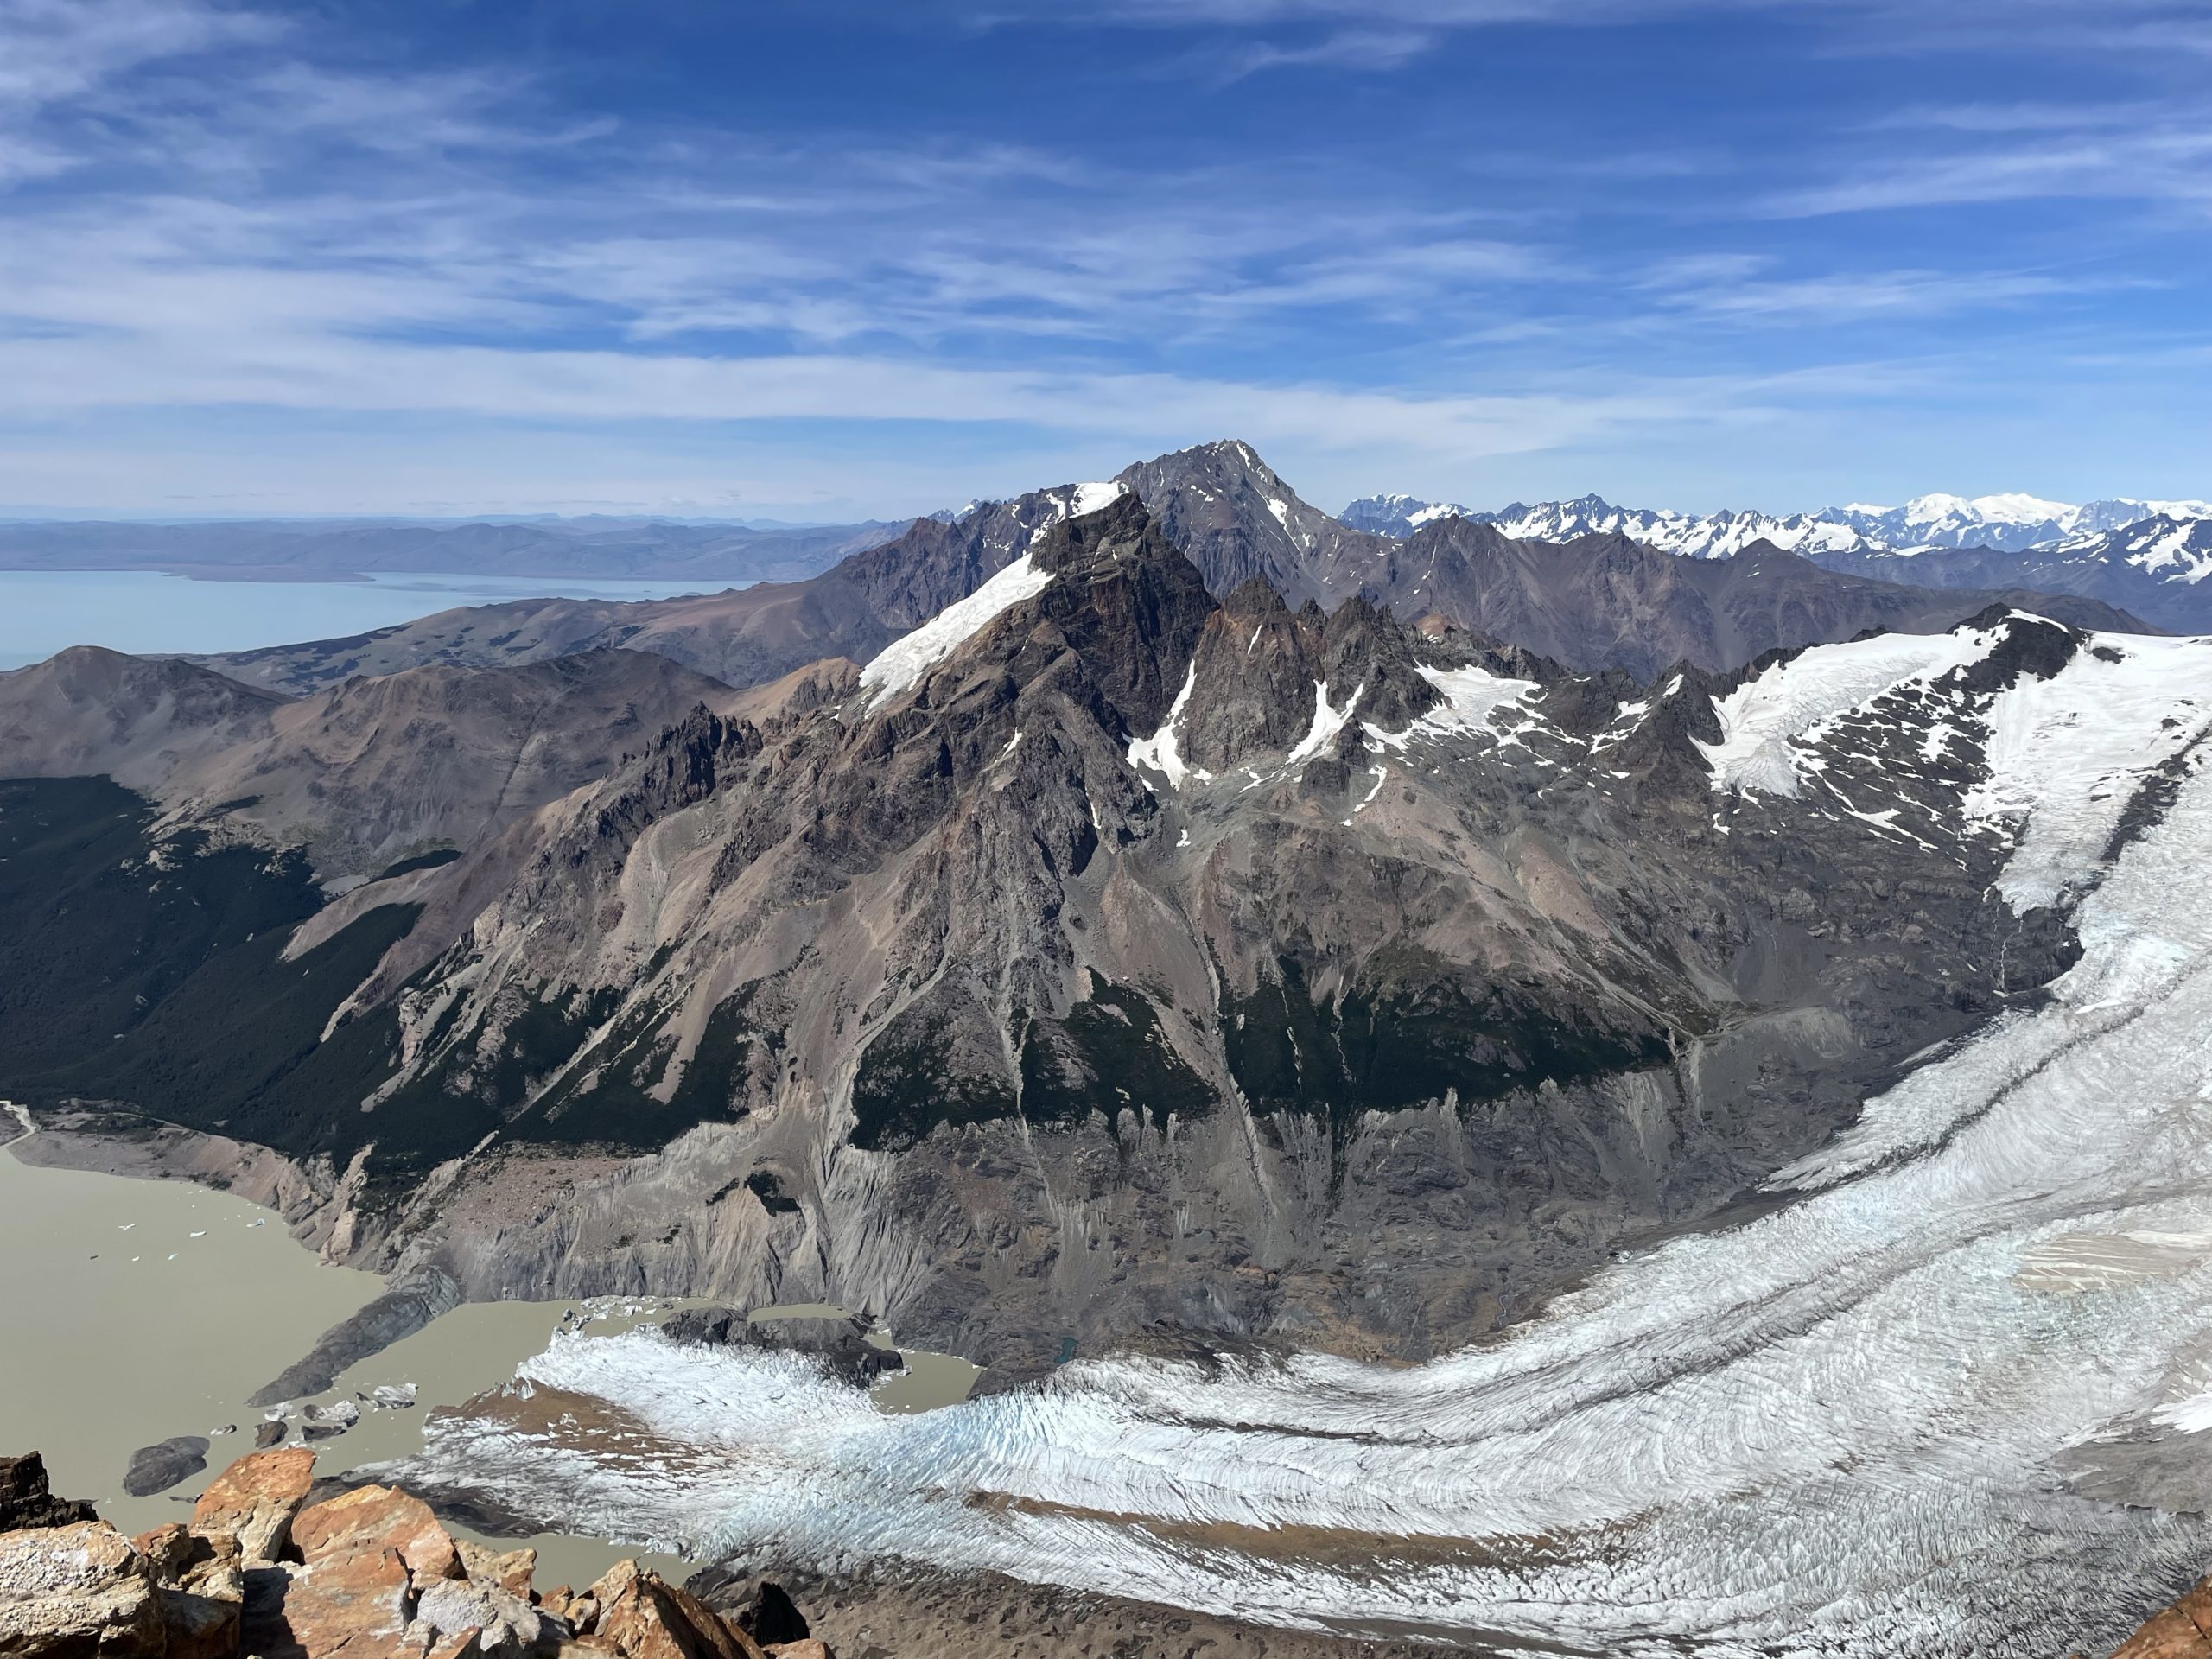
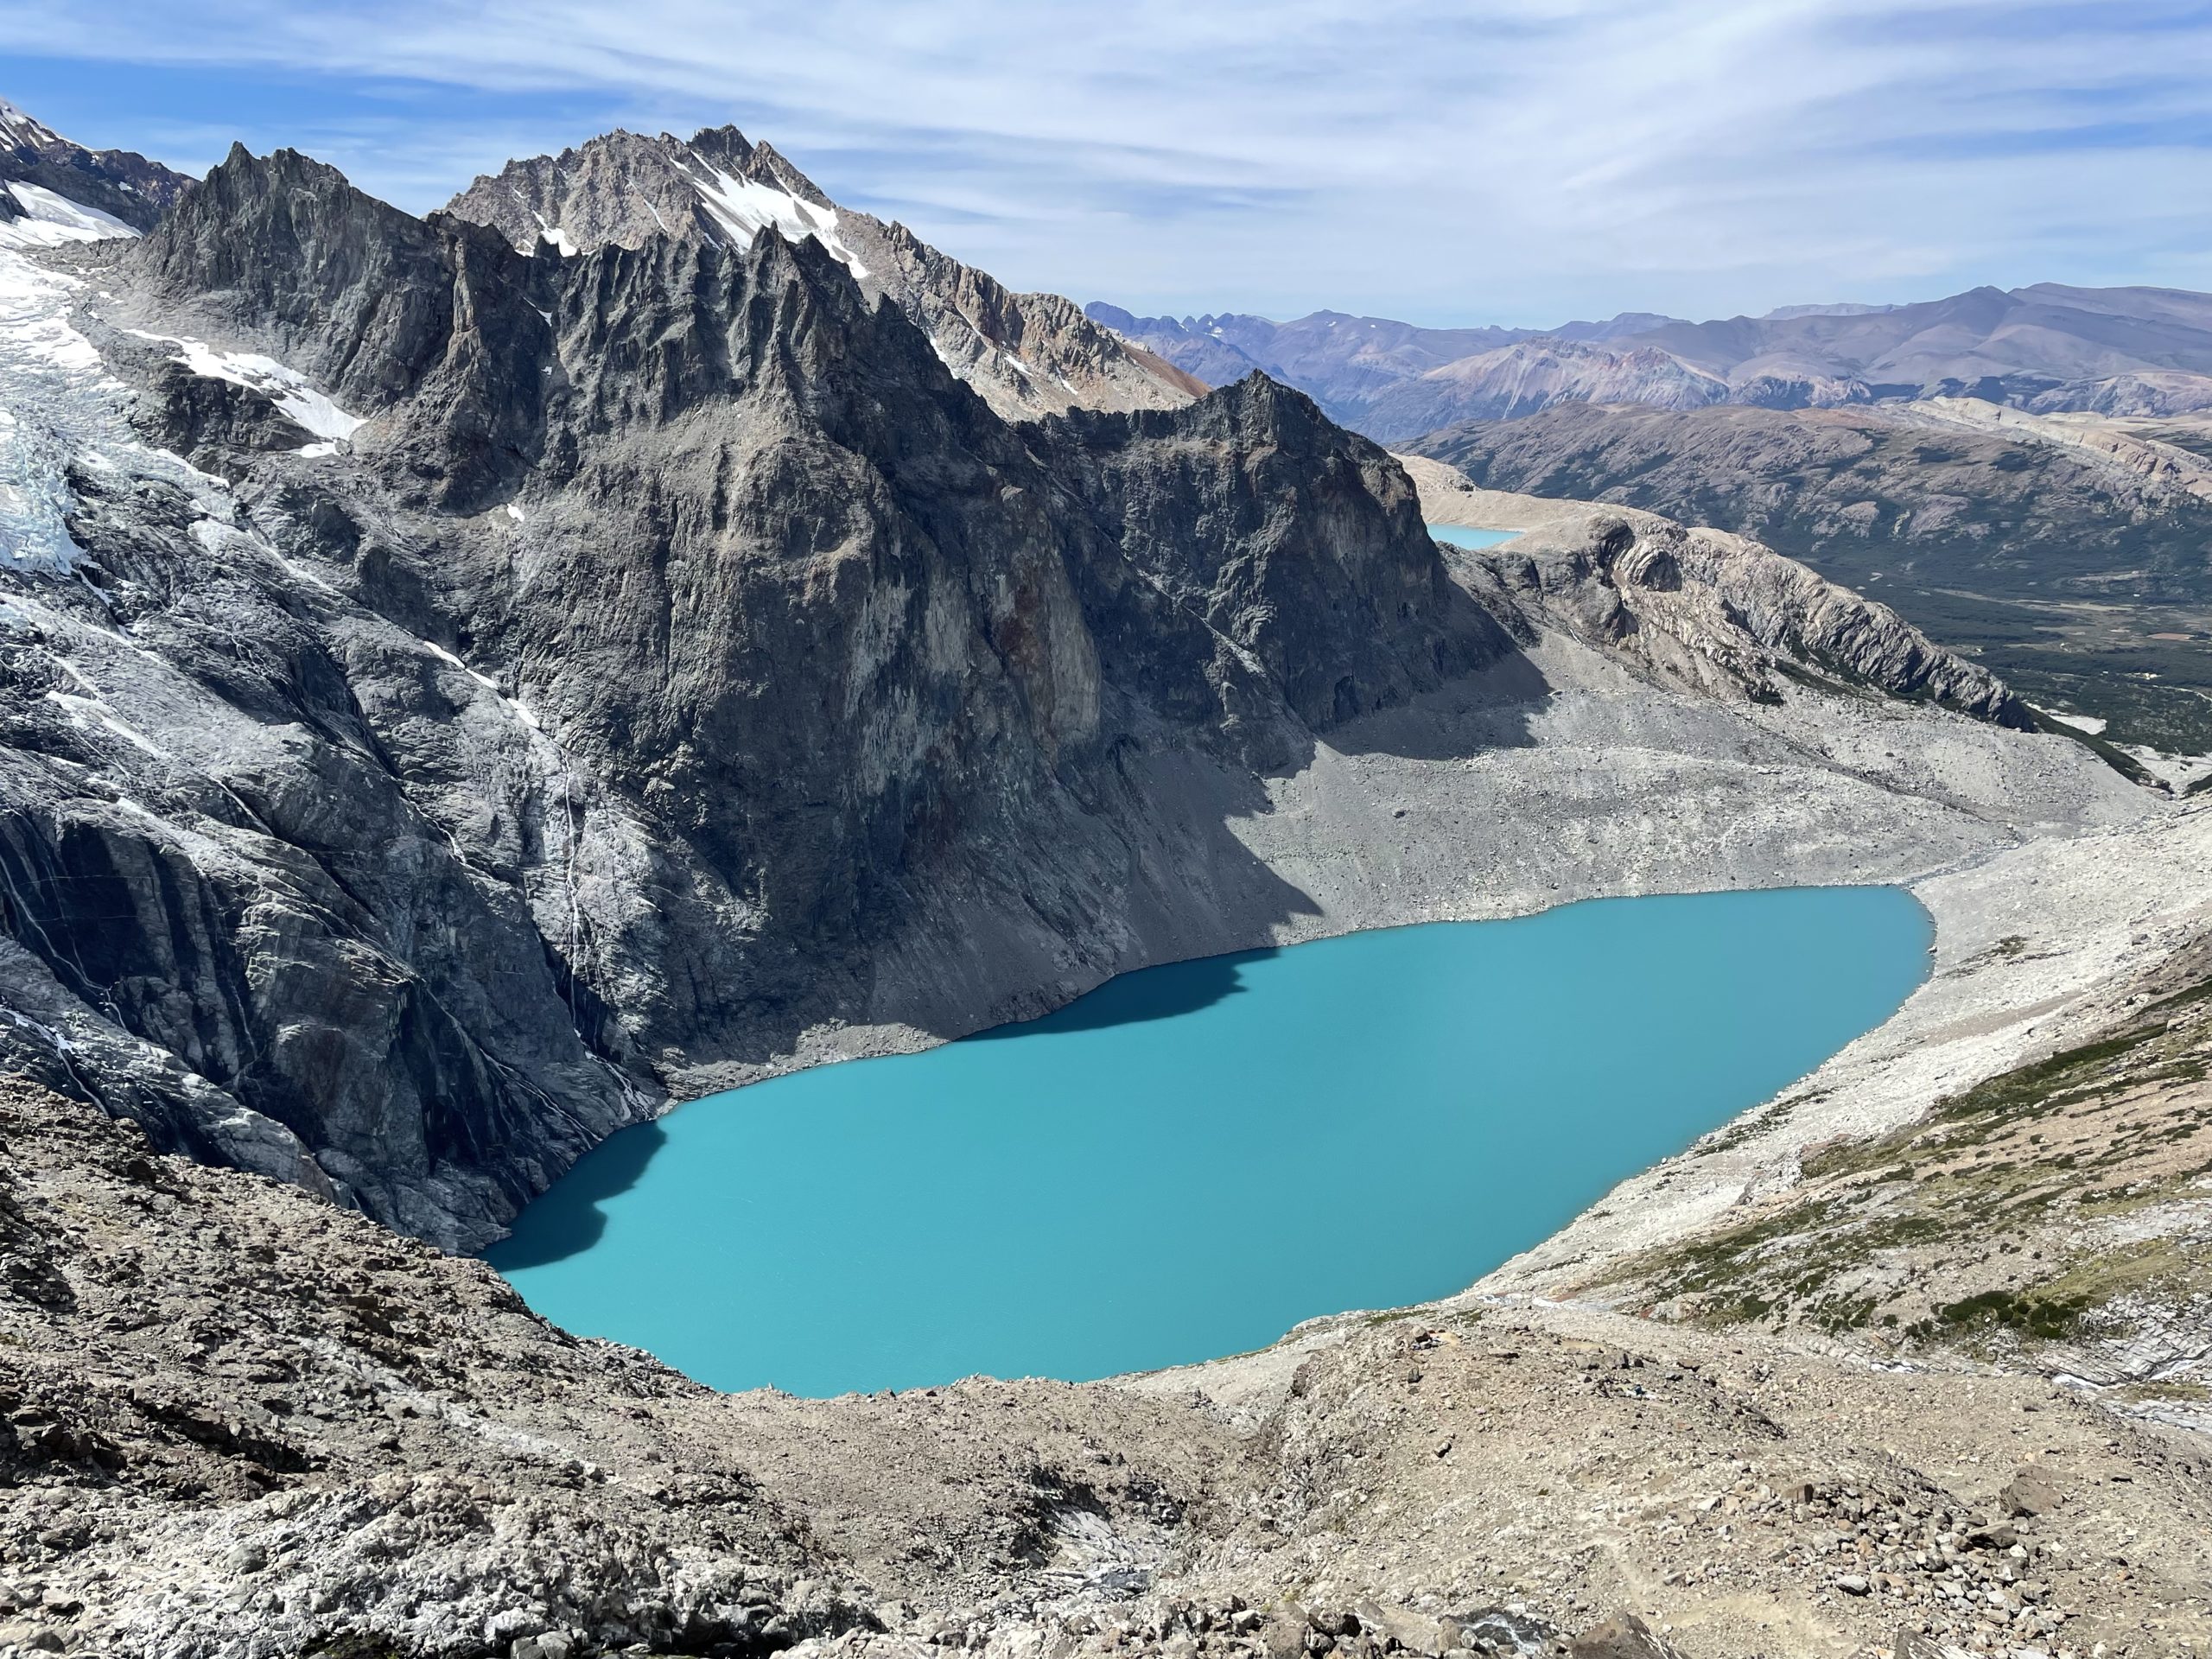
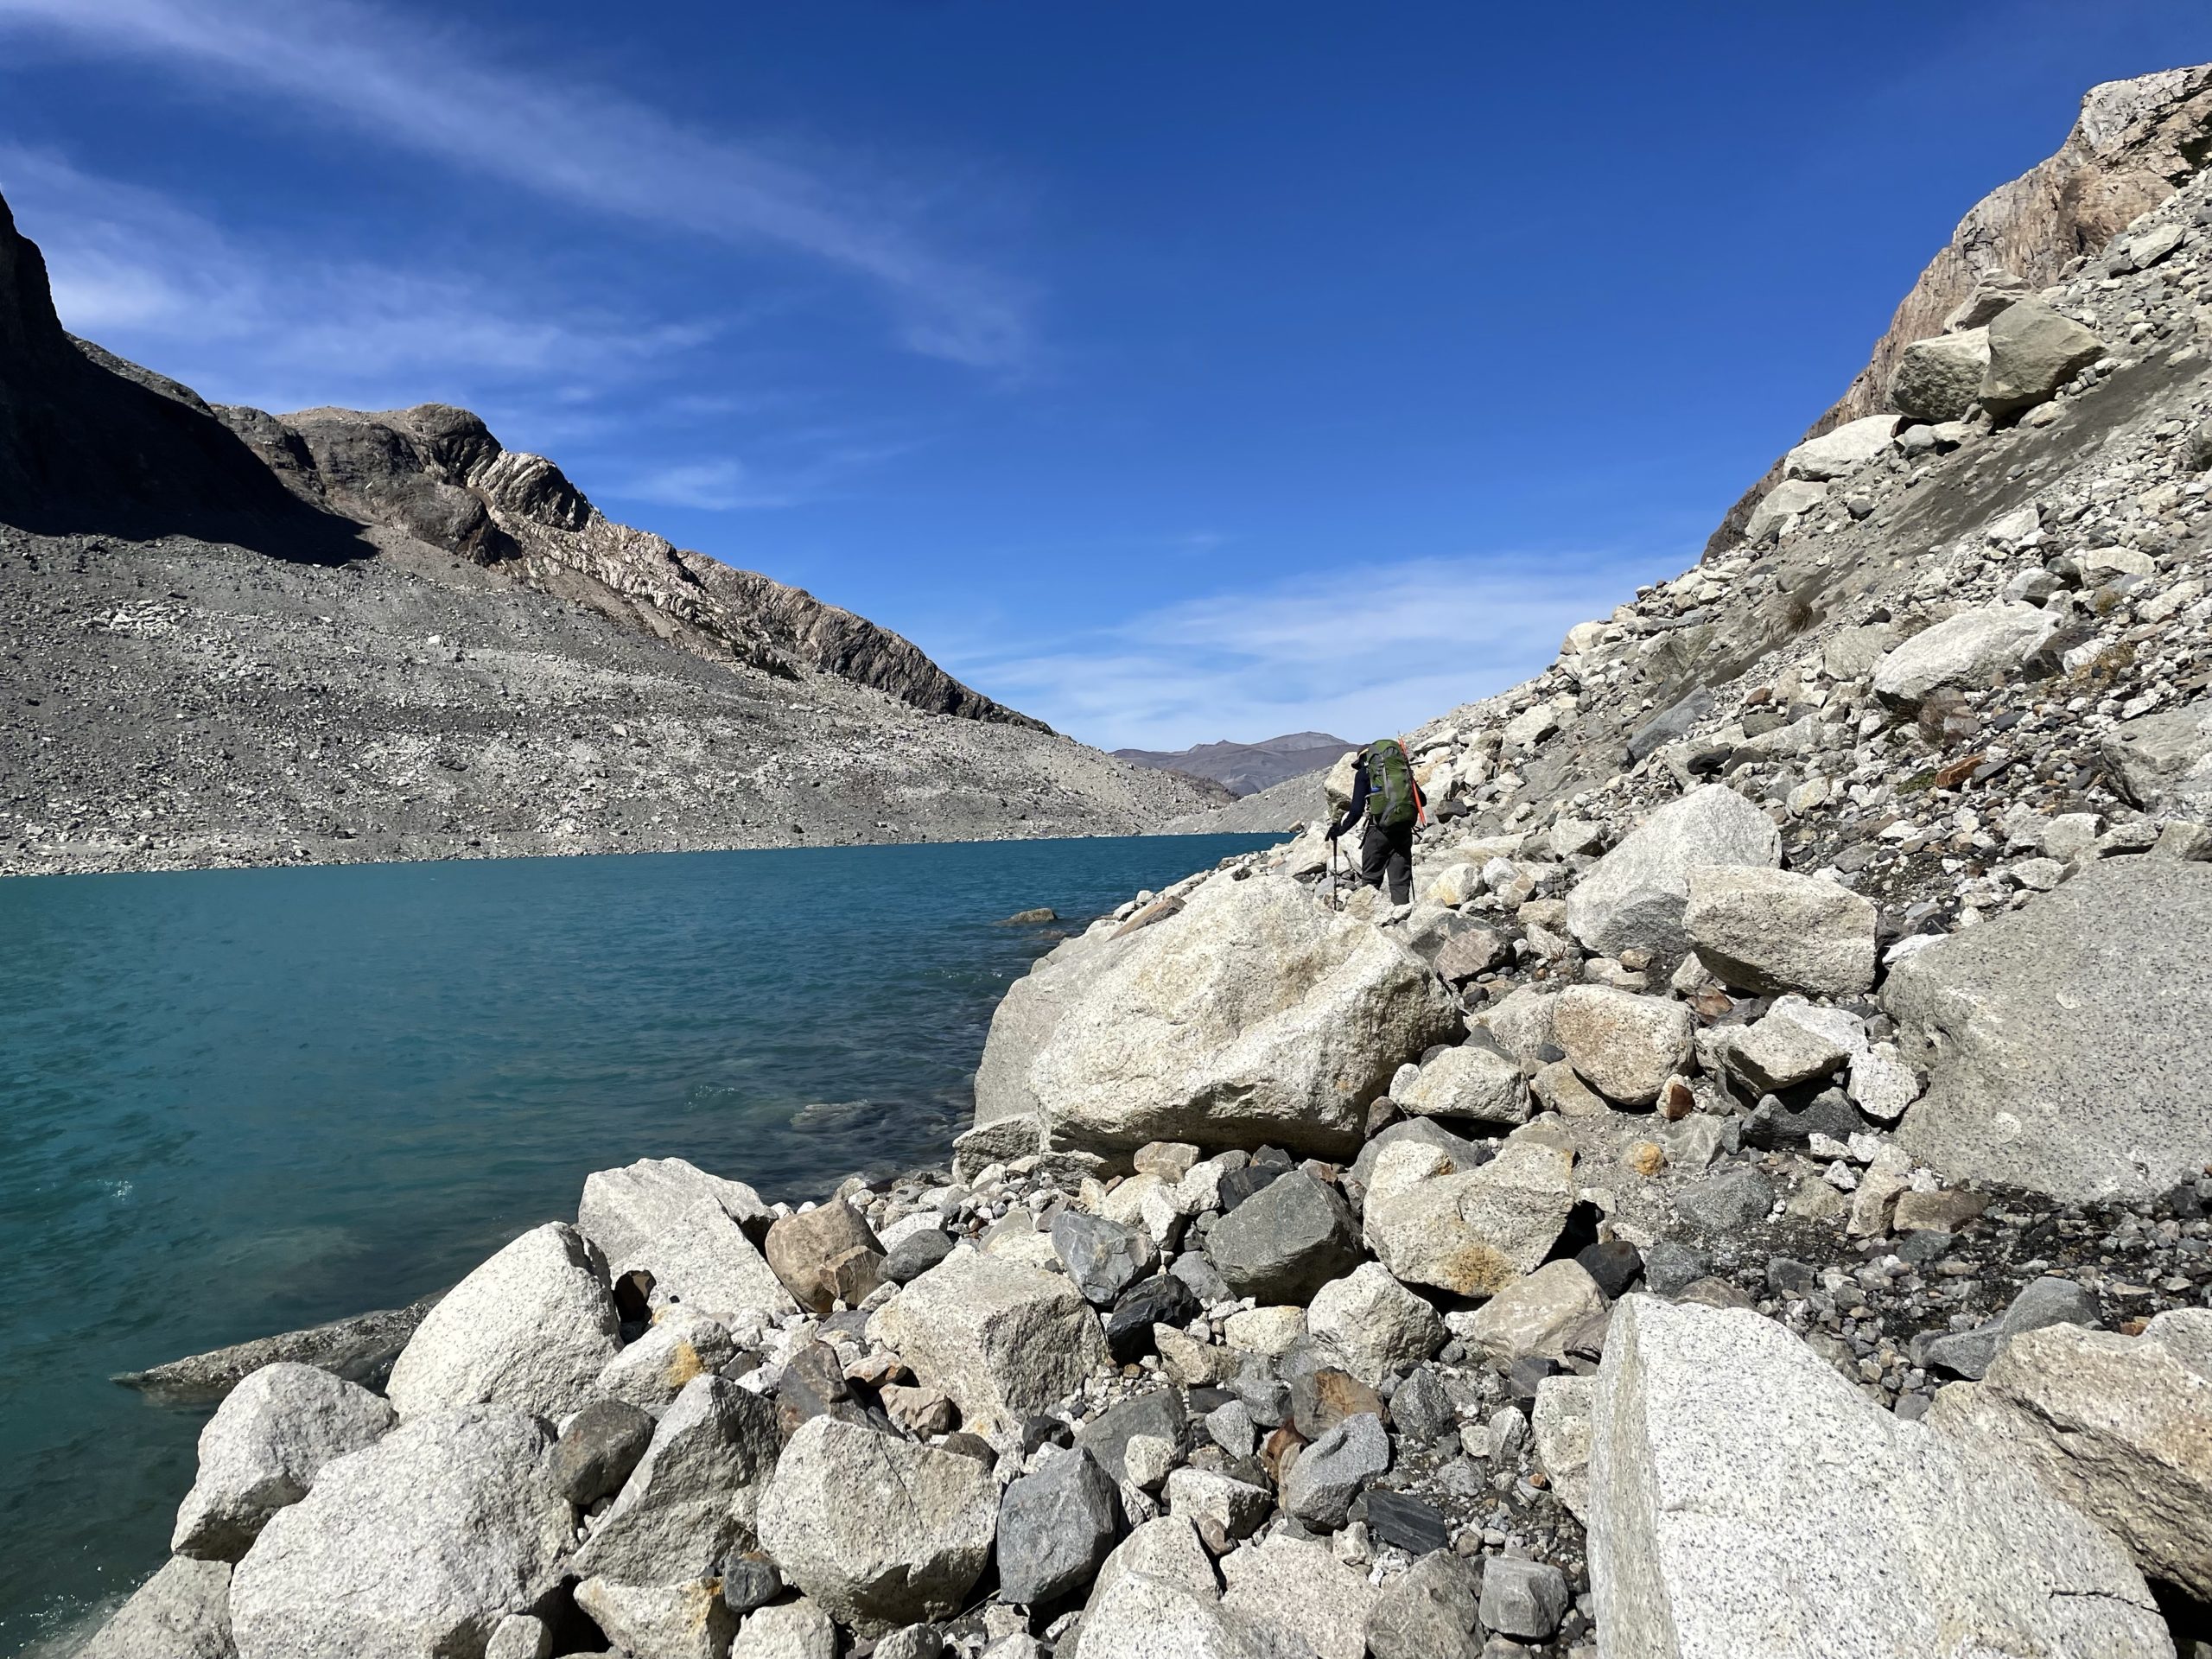
500m of this terrain passed and then we reached a narrowing in the river that cliffed out on both sides. To our right we spotted a scramblers path and ascended up that and around the cliffs. Then we had to side hill across a large boulder slope until the terrain flattened out along the river again. Perhaps a few hundred meters more and we reached the base of Laguna Sucia. It’s quite surprising there’s no official trail to this lake because the views quite honestly rival those of Lago de los Tres. We decided to stop here for another break after boulder hopping across the river to the west side.
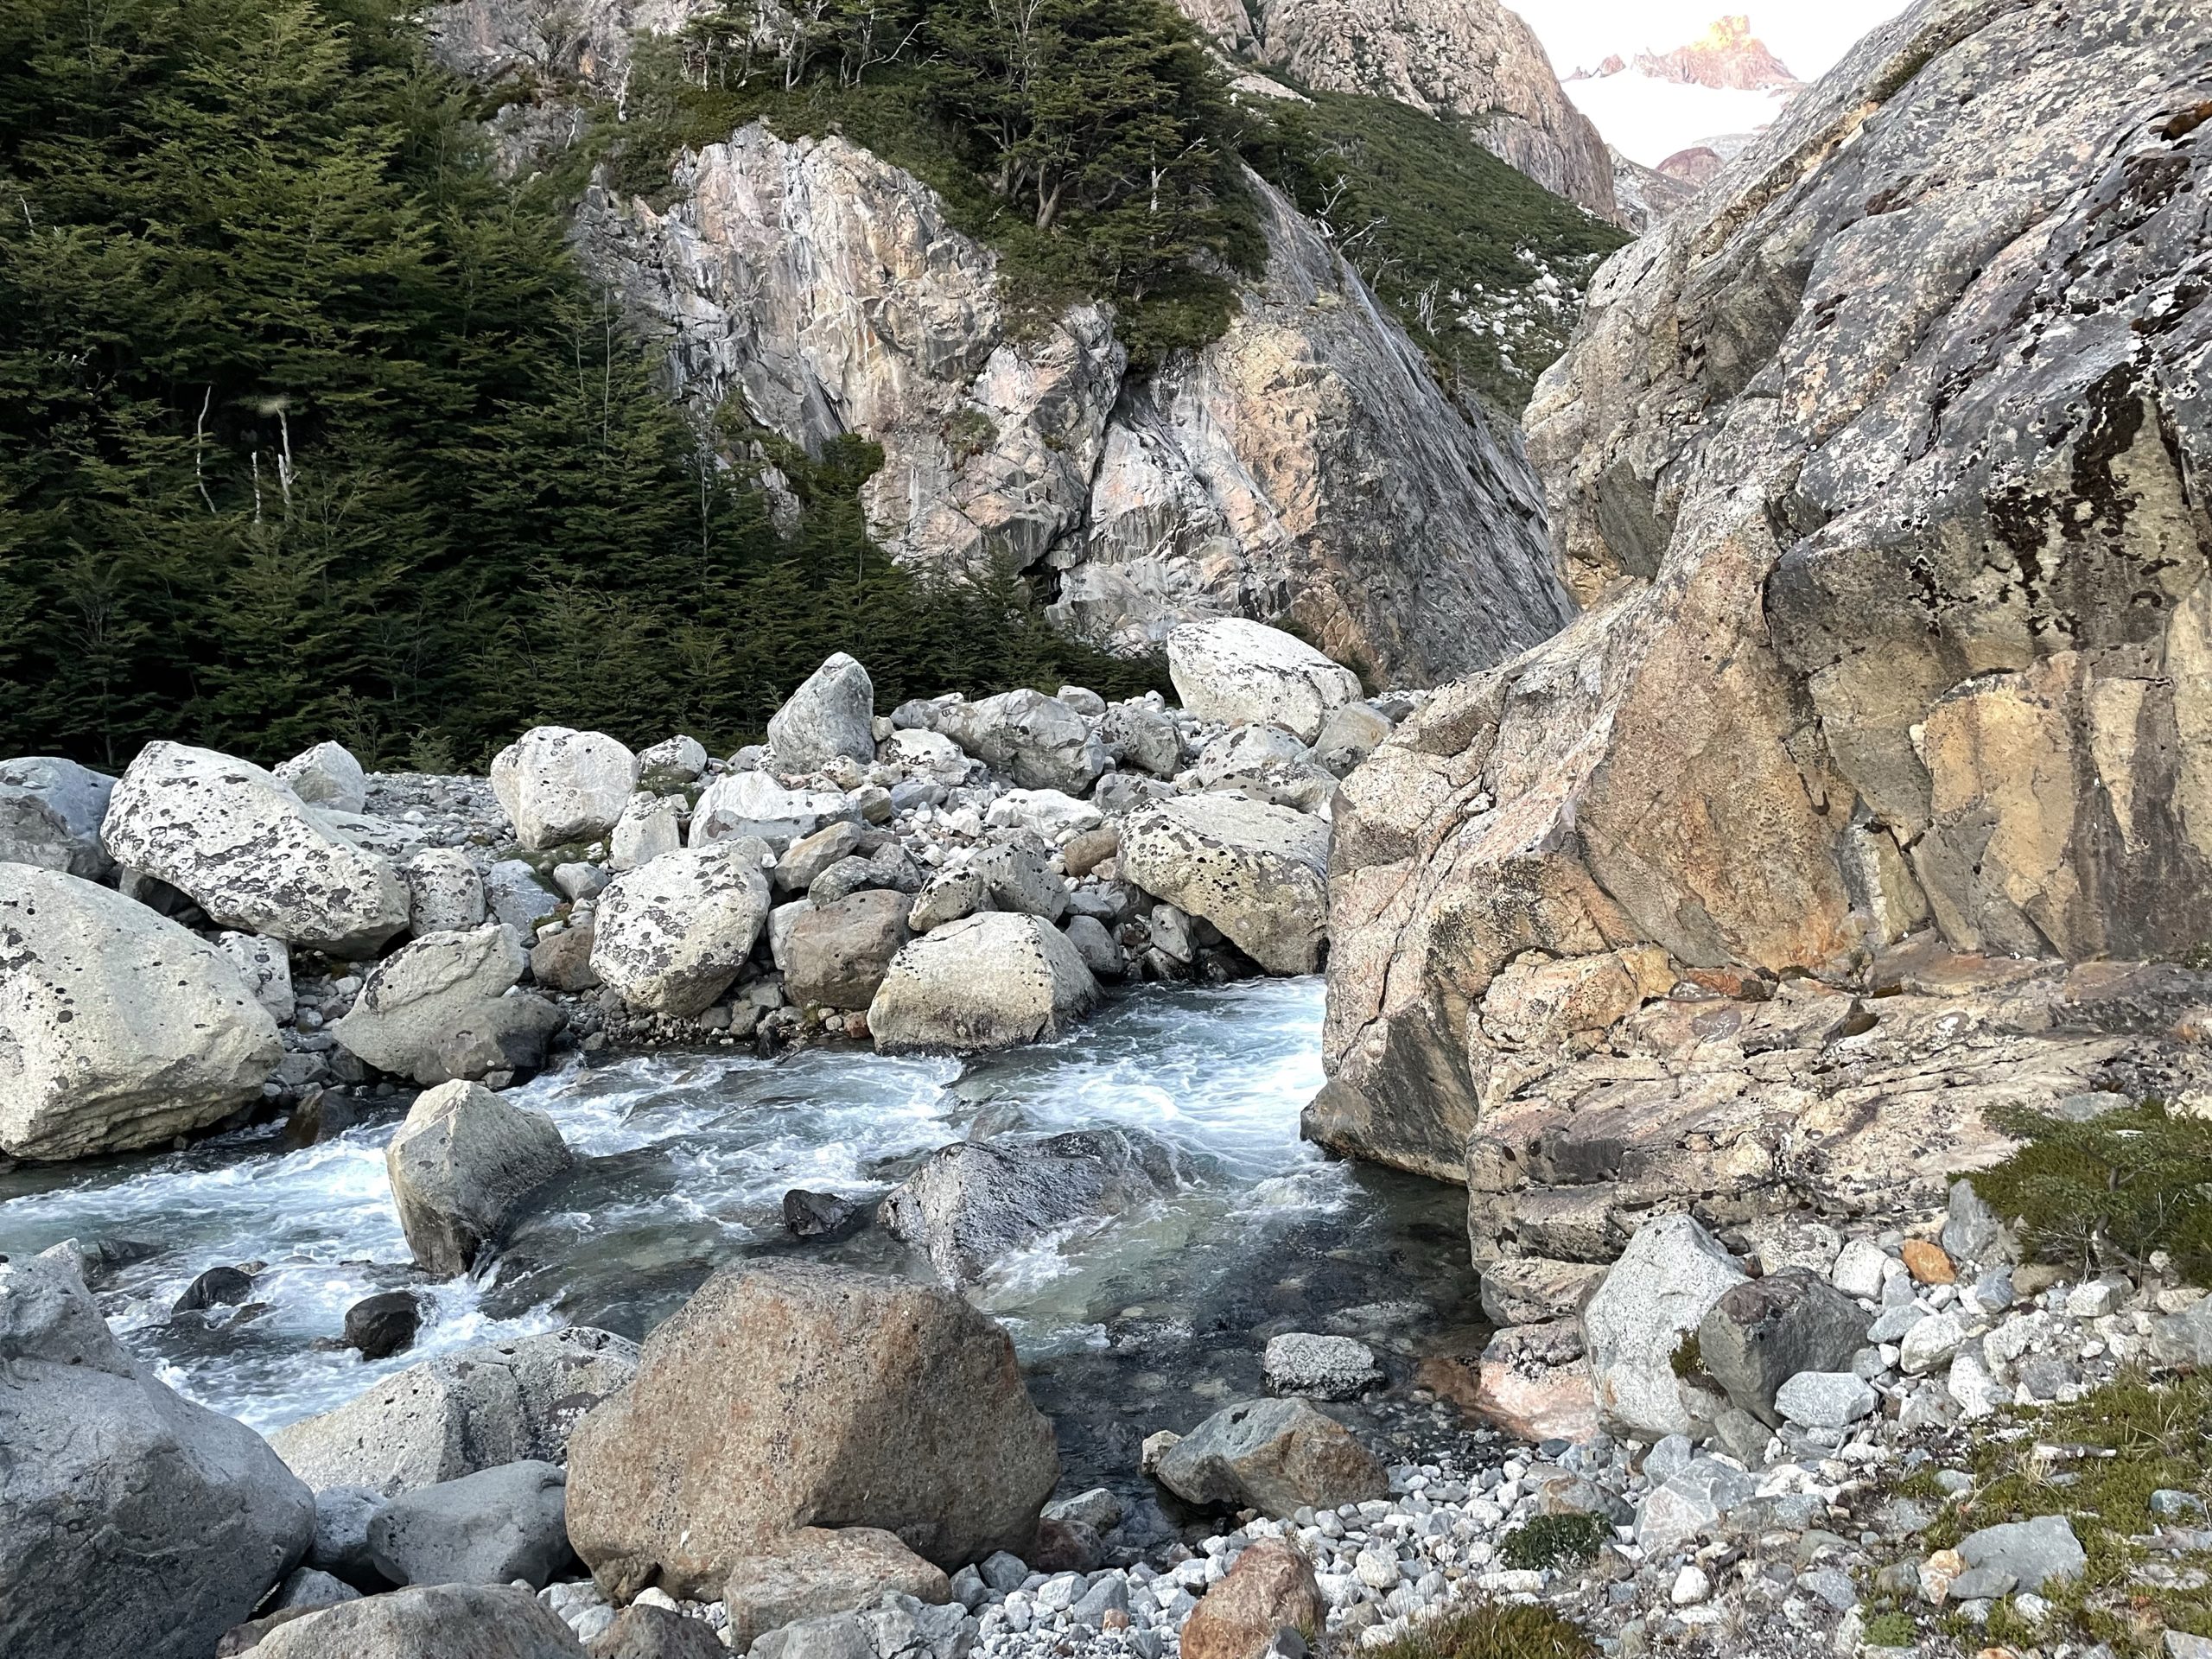
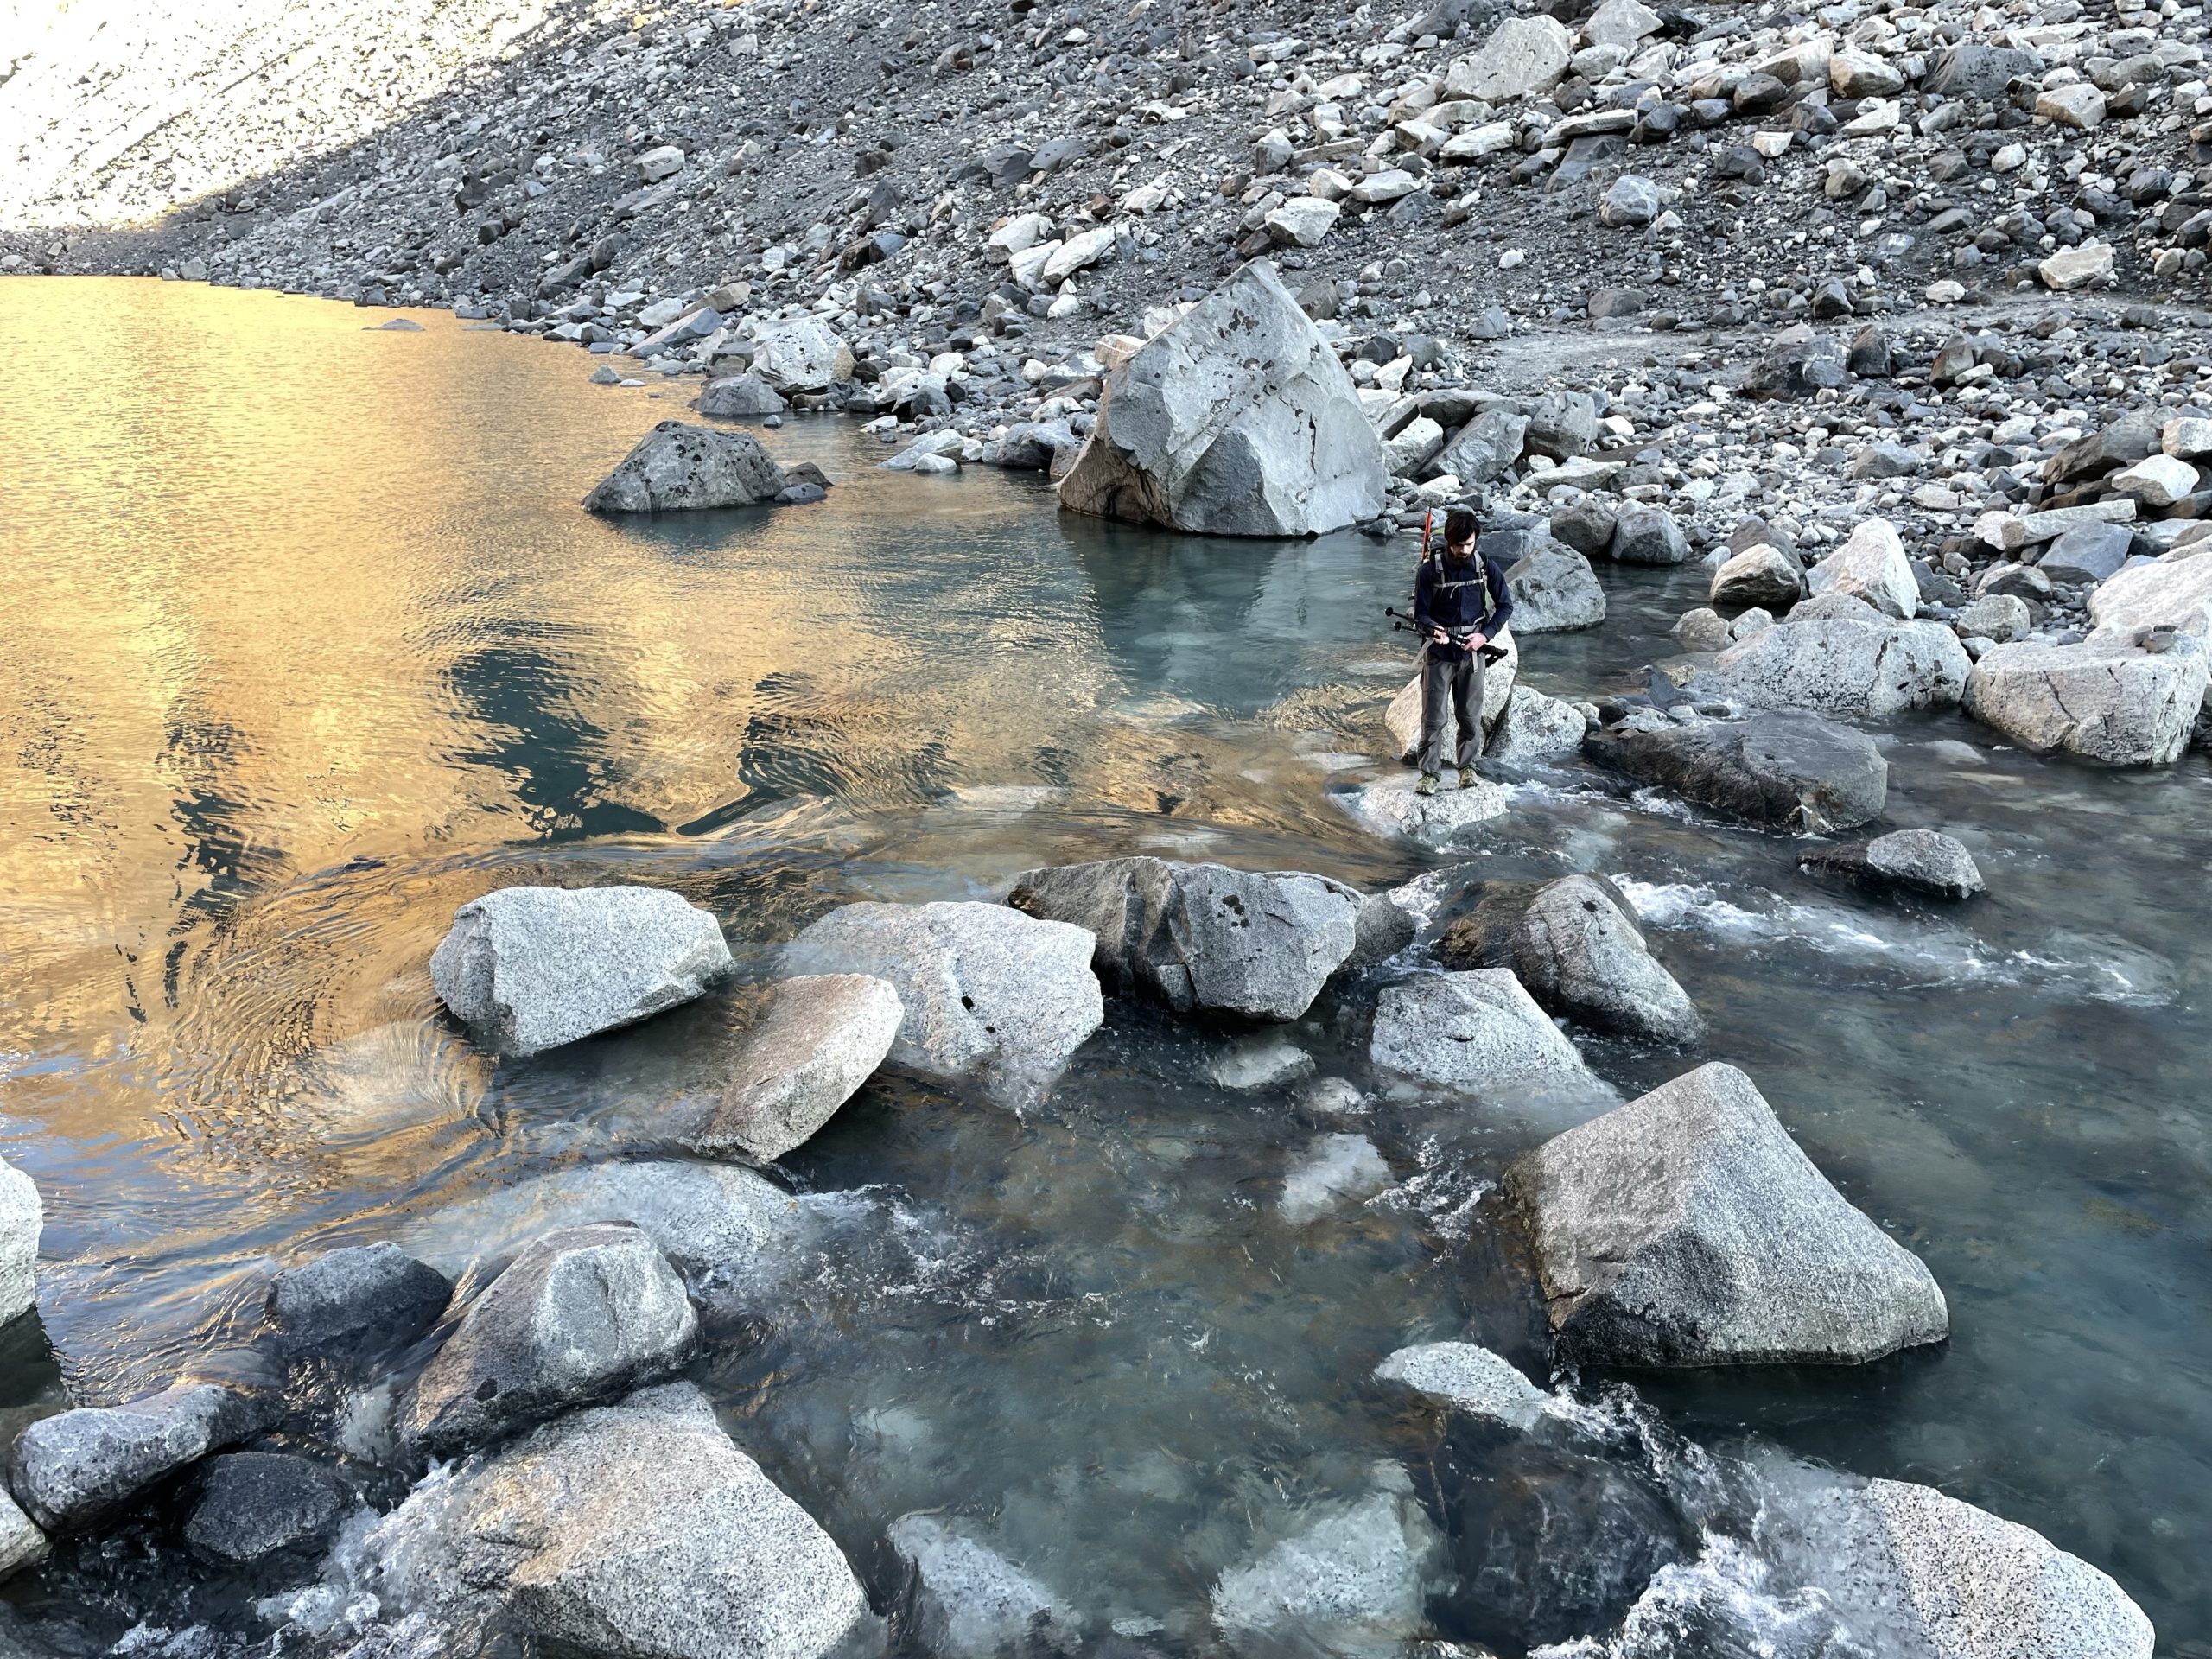
By now the sun had risen but we did not have direct light on us just yet. We started along the shores of Laguna Sucia and a number of cairns helped guide the way. About 2/3rds around the lake the route veered up and alongside a water fall. We found a crossing point at around 1150m and made our way to the other side. I had a very good feeling that by mid afternoon this waterfall was going to be much harder to cross, but we’d deal with that later.

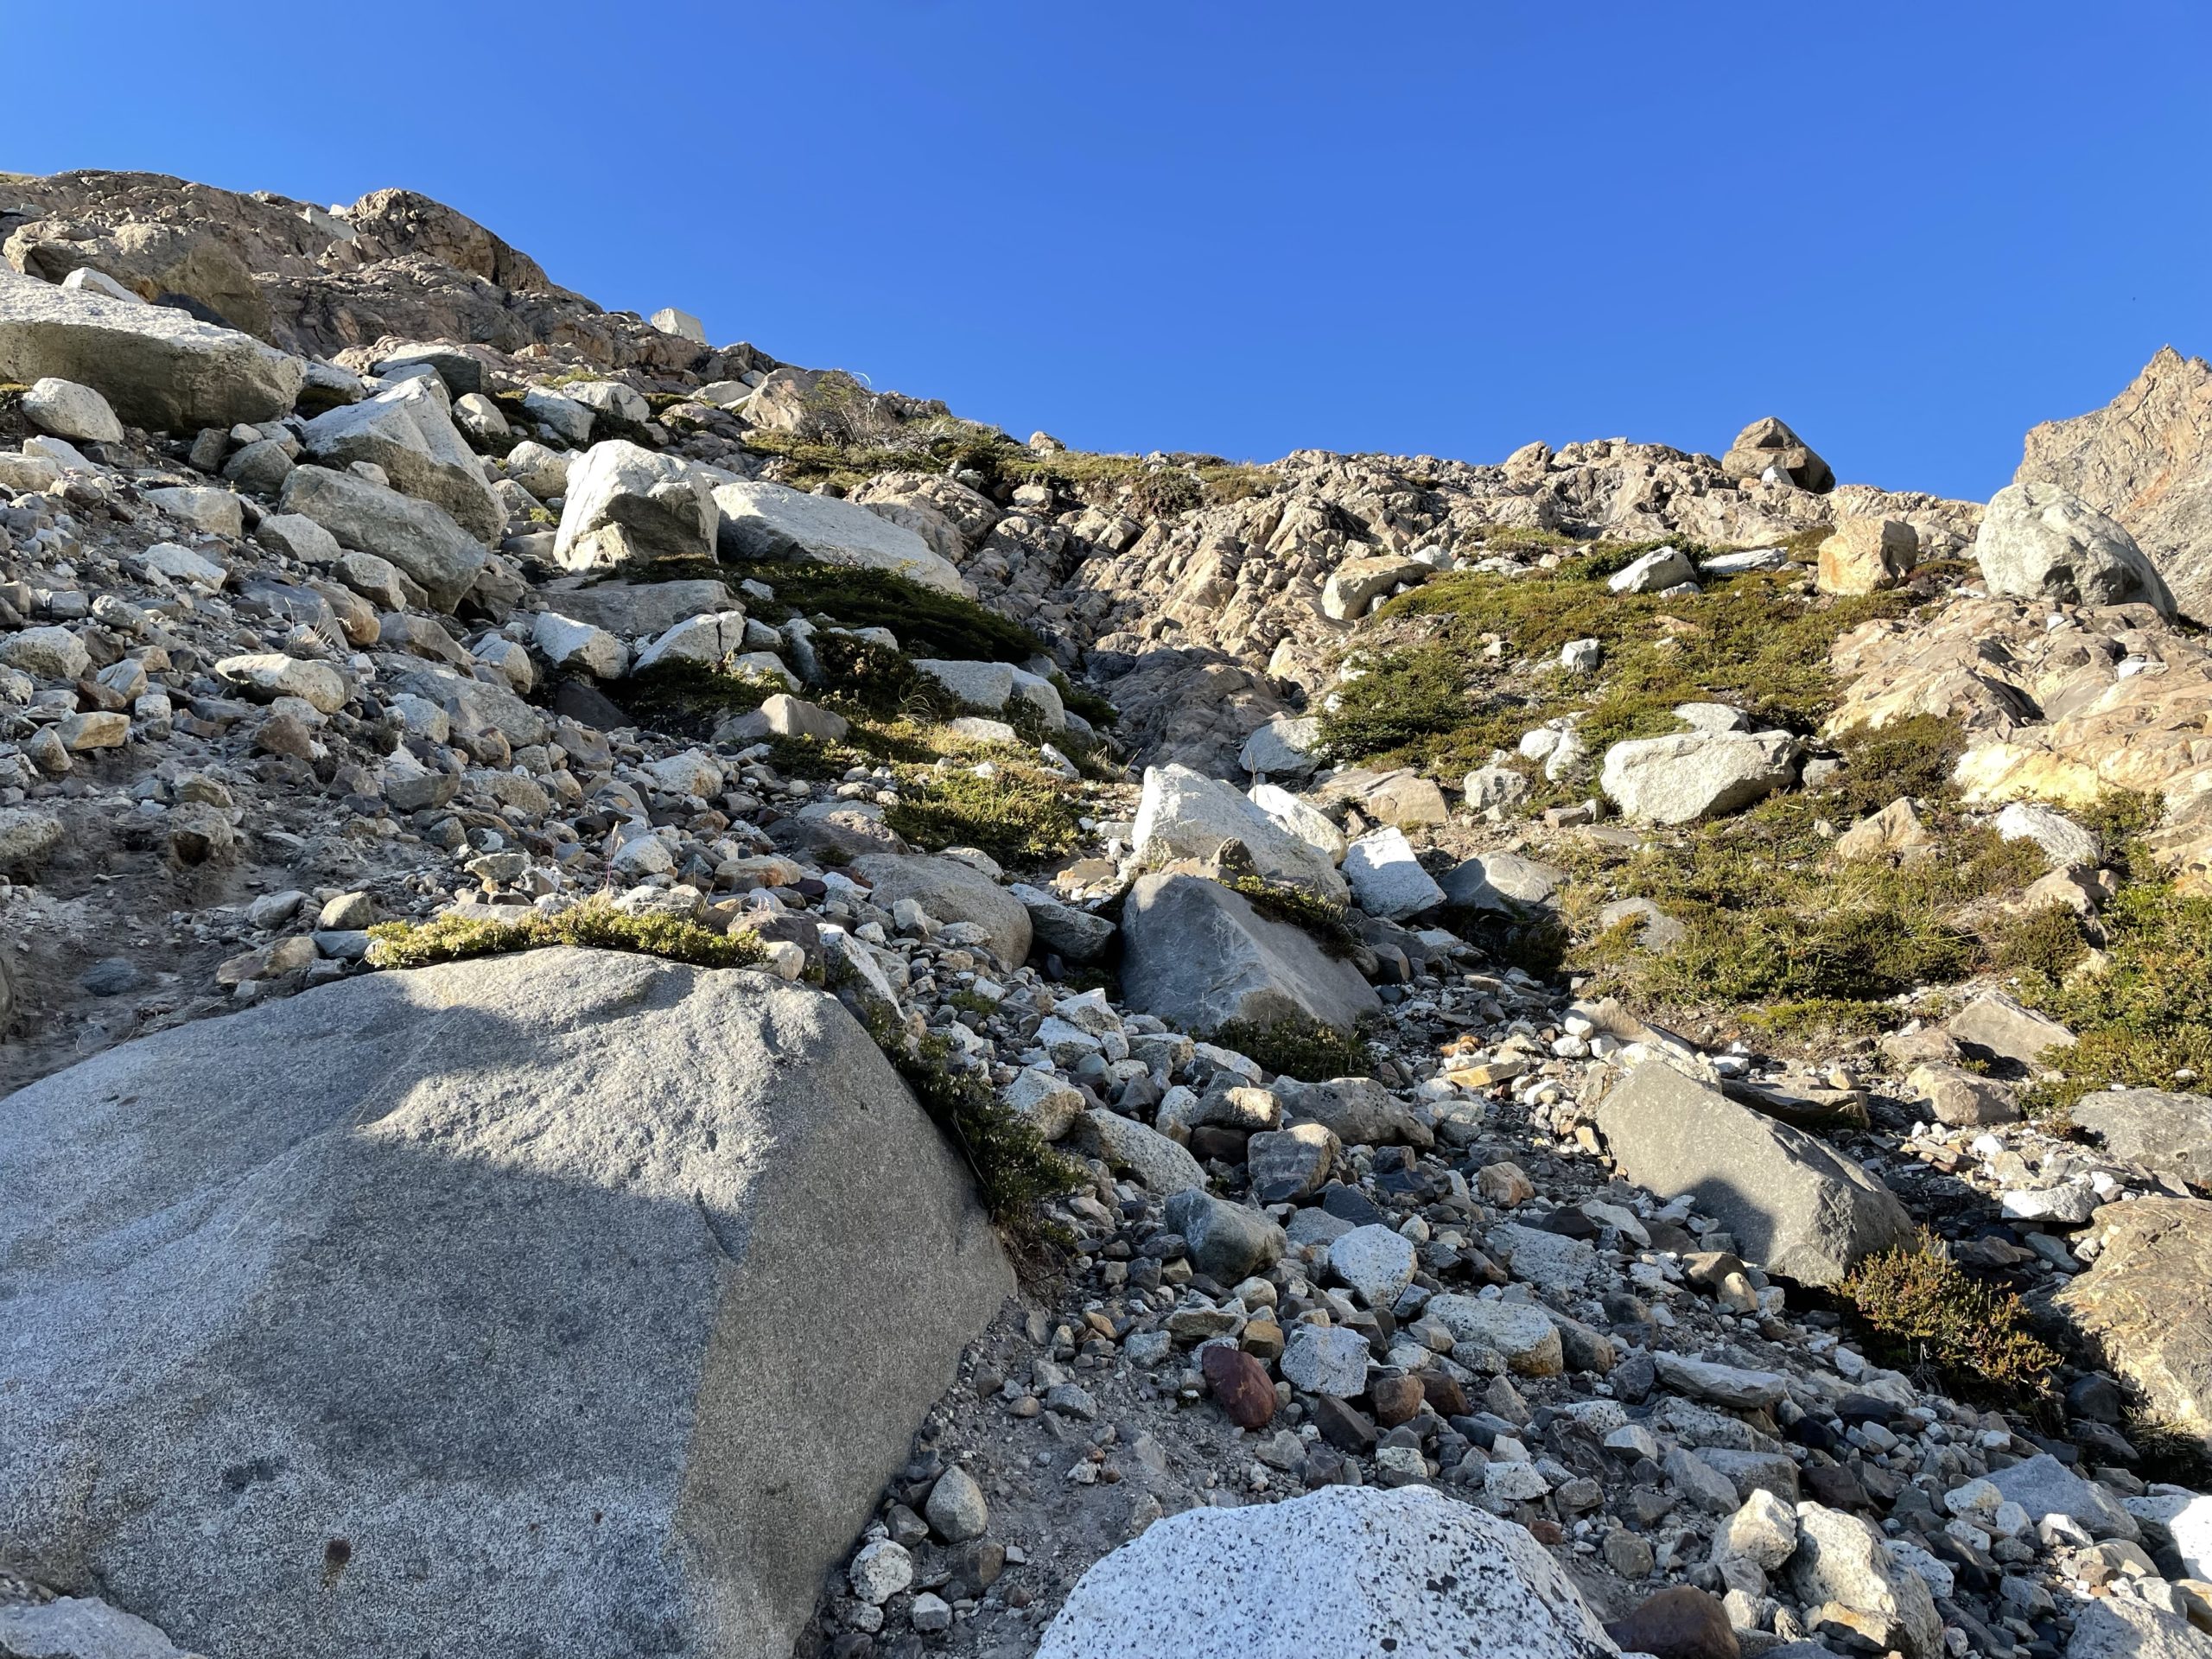
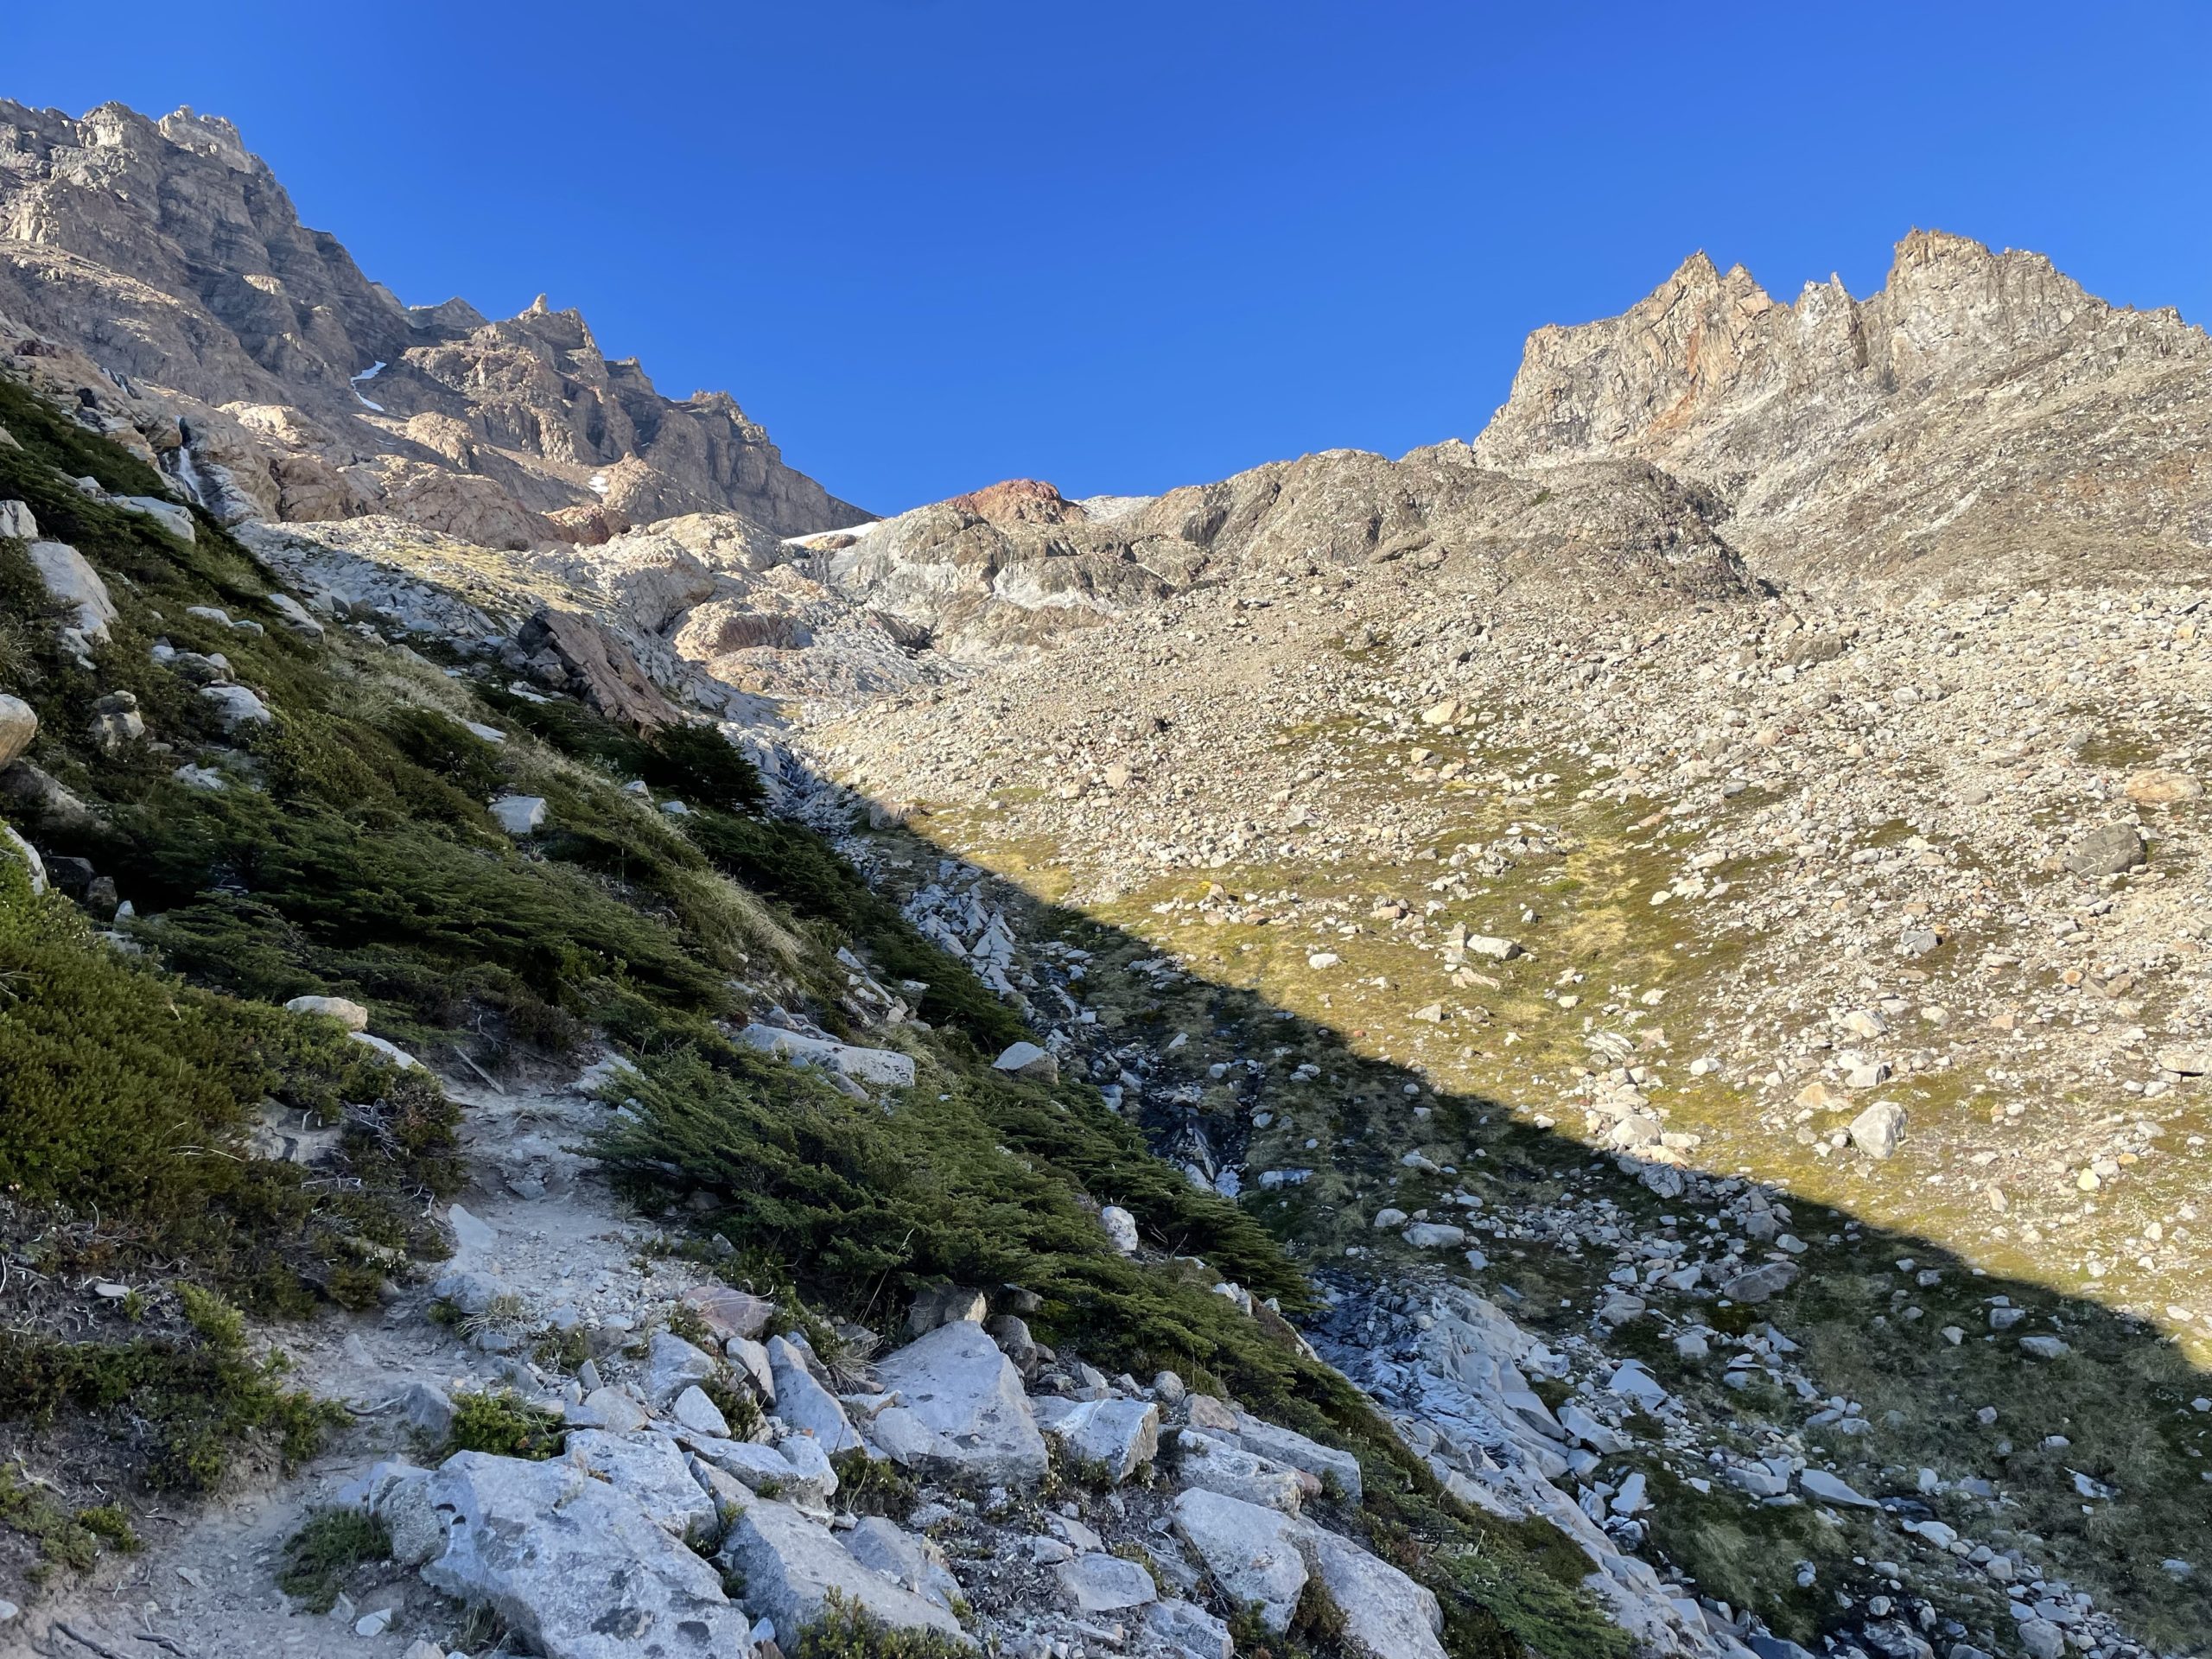


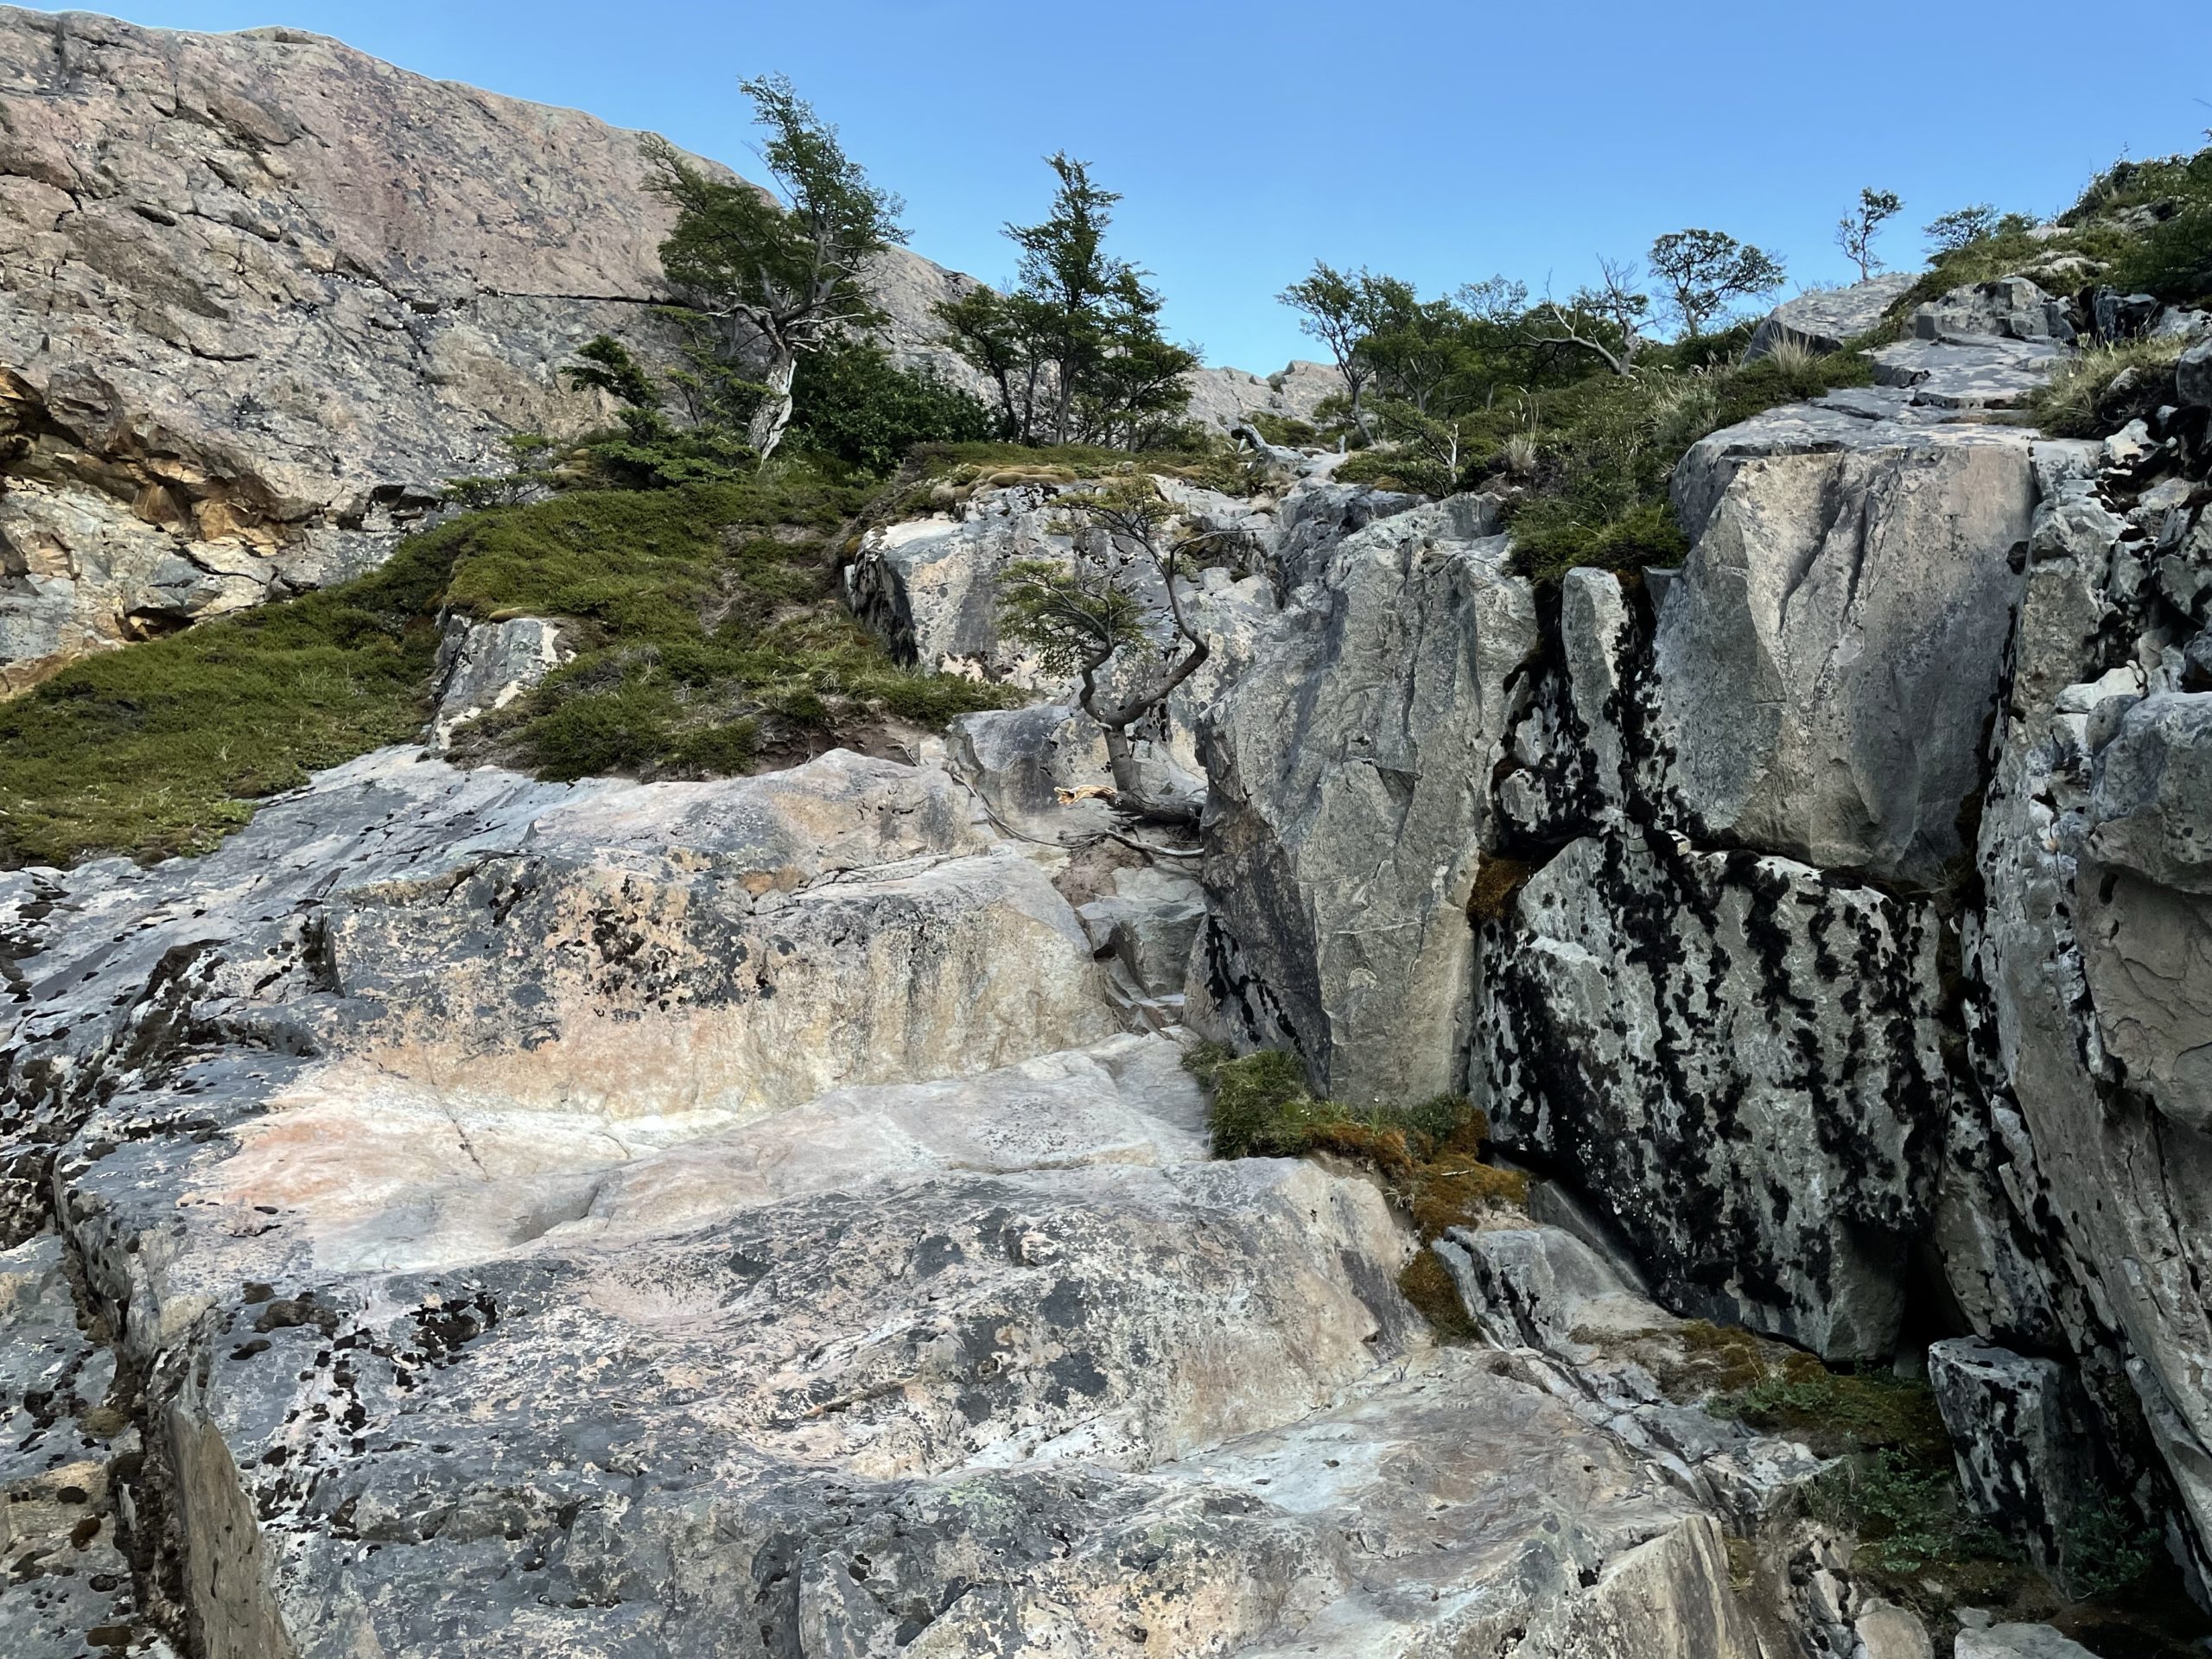
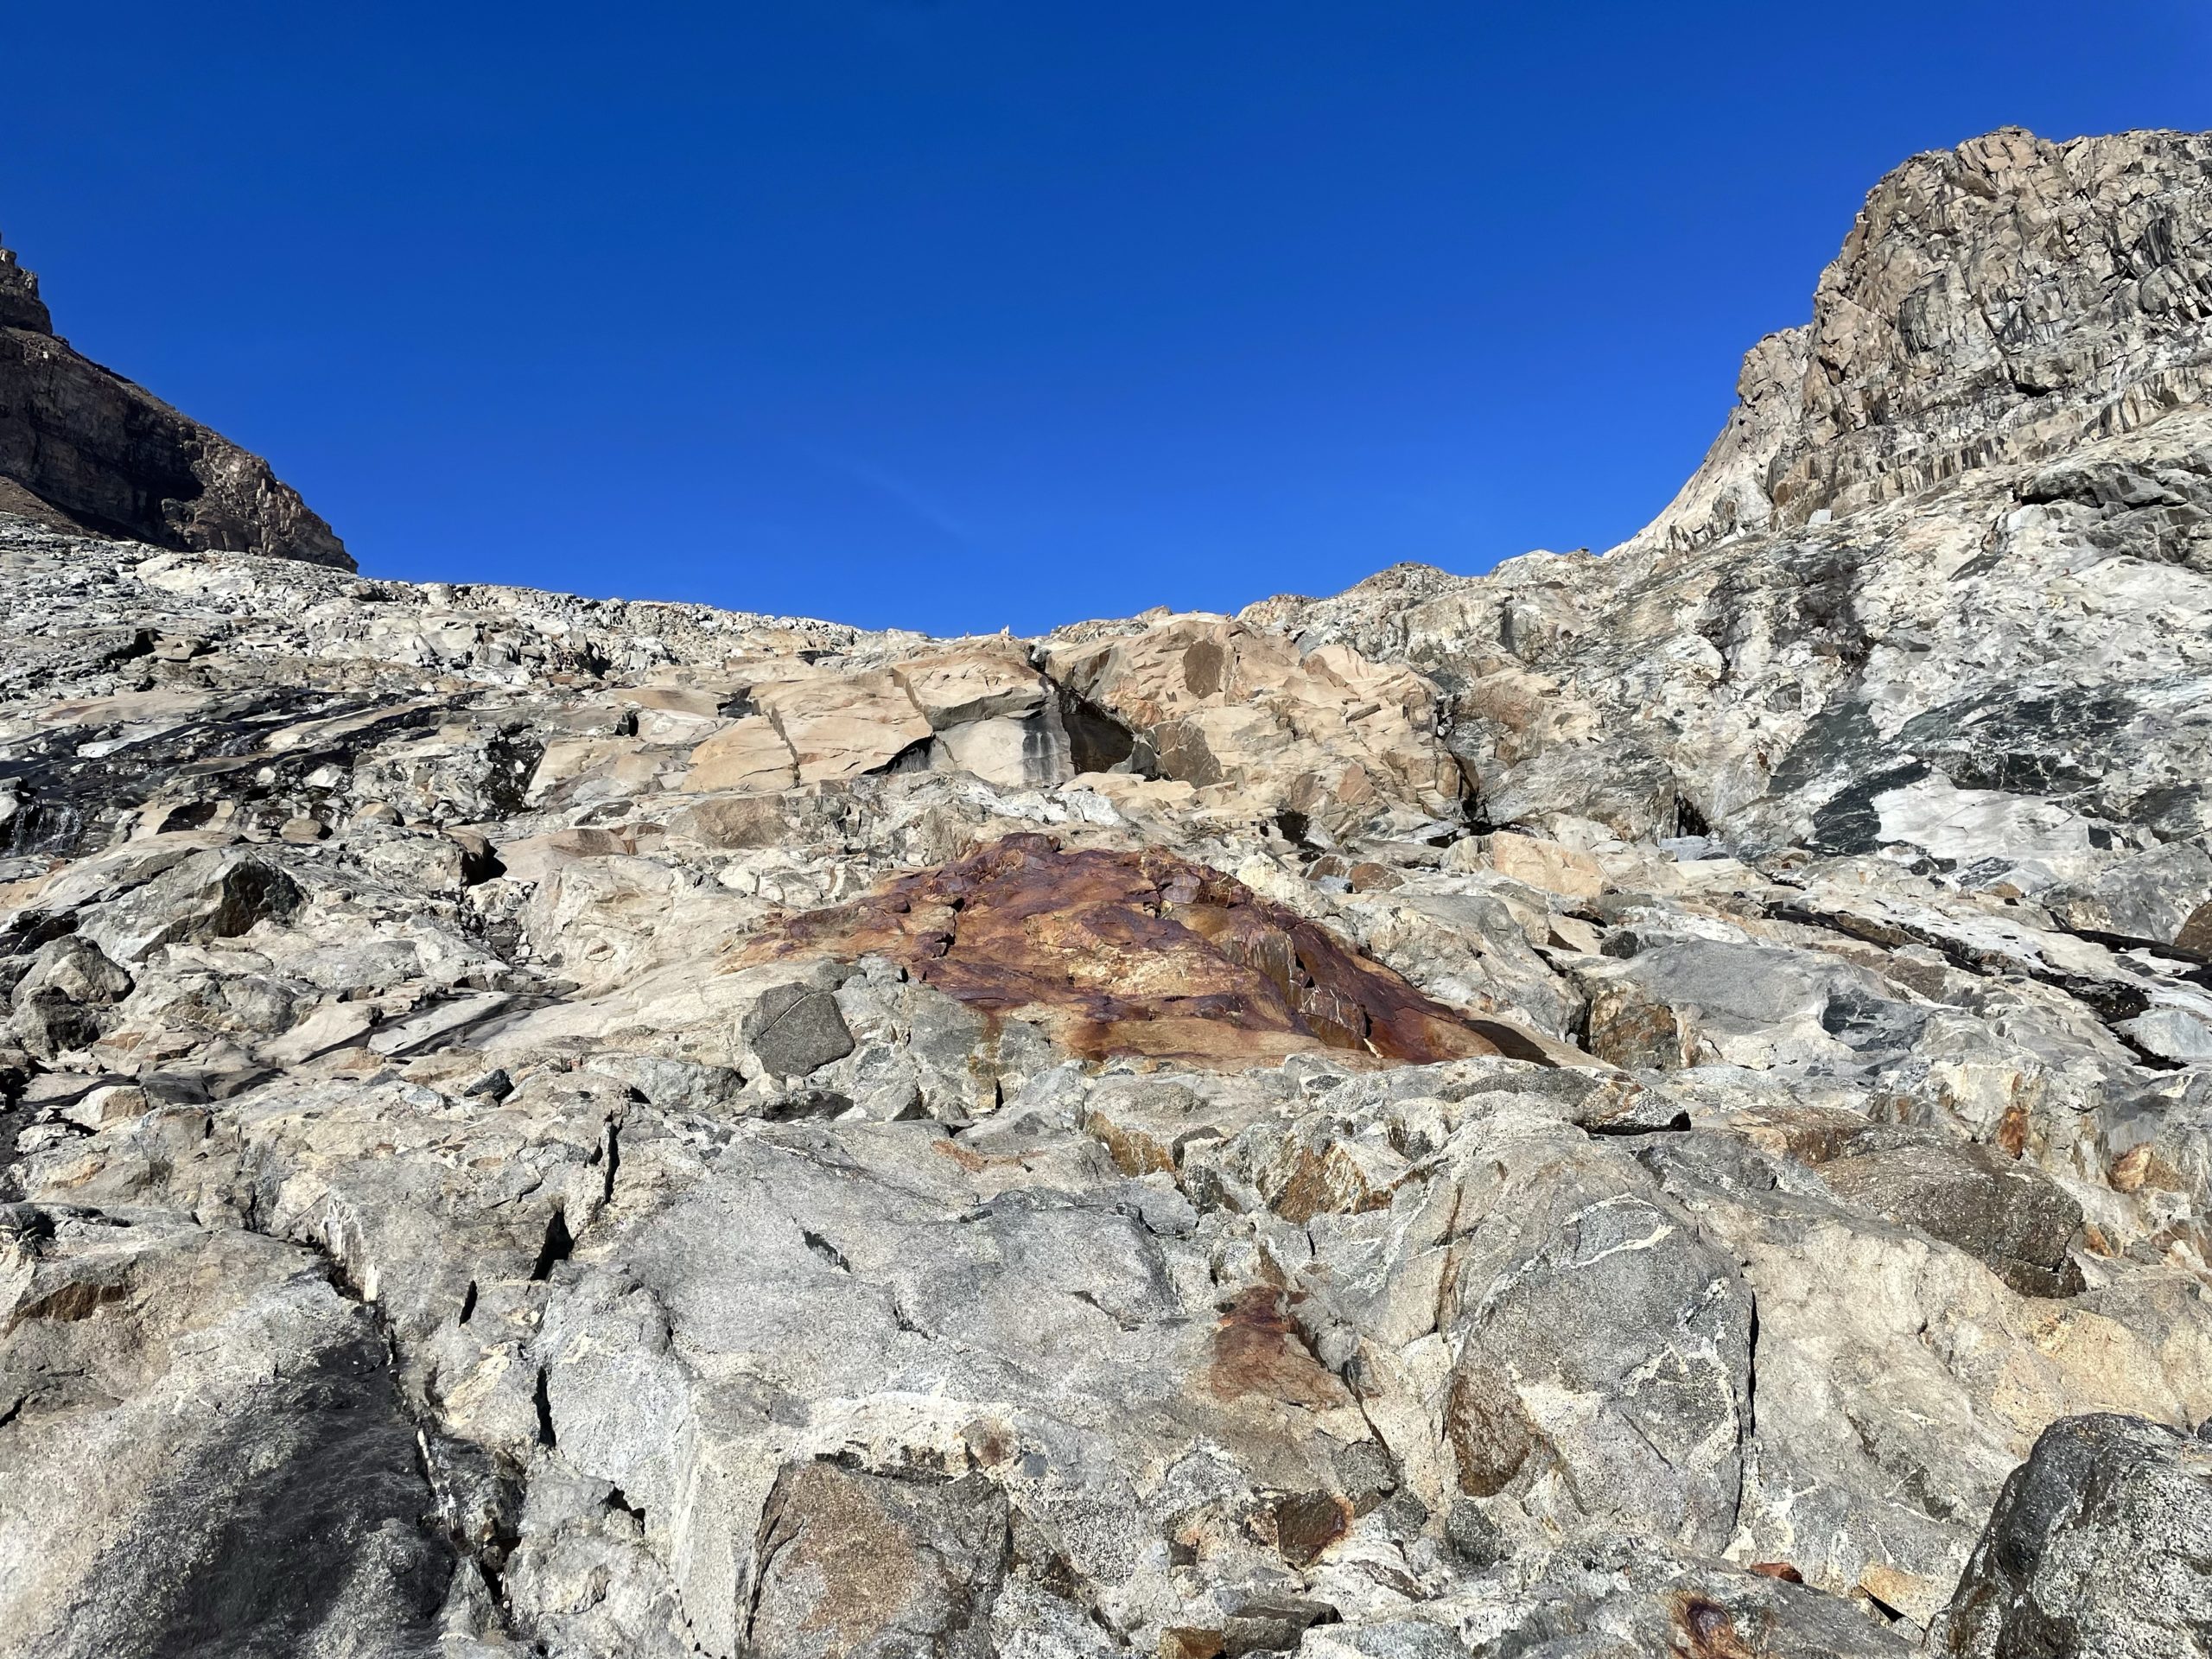
After crossing we briefly lost the cairns and just pushed up the slopes by our own route. However I spotted a cairn not long after and opted to rejoin with the path. At this point I also spotted two other climbers high up on the ridge. Turning around I now noticed we had just reached the area of the “Swiss bivy” (a common spot to stay) and realized they must have just left camp. The slopes steepened a bit here and turned into a scree treadmill that was a pain in the ass to ascend. Thankfully the treadmill section was short lived and gave way to firm bedrock.
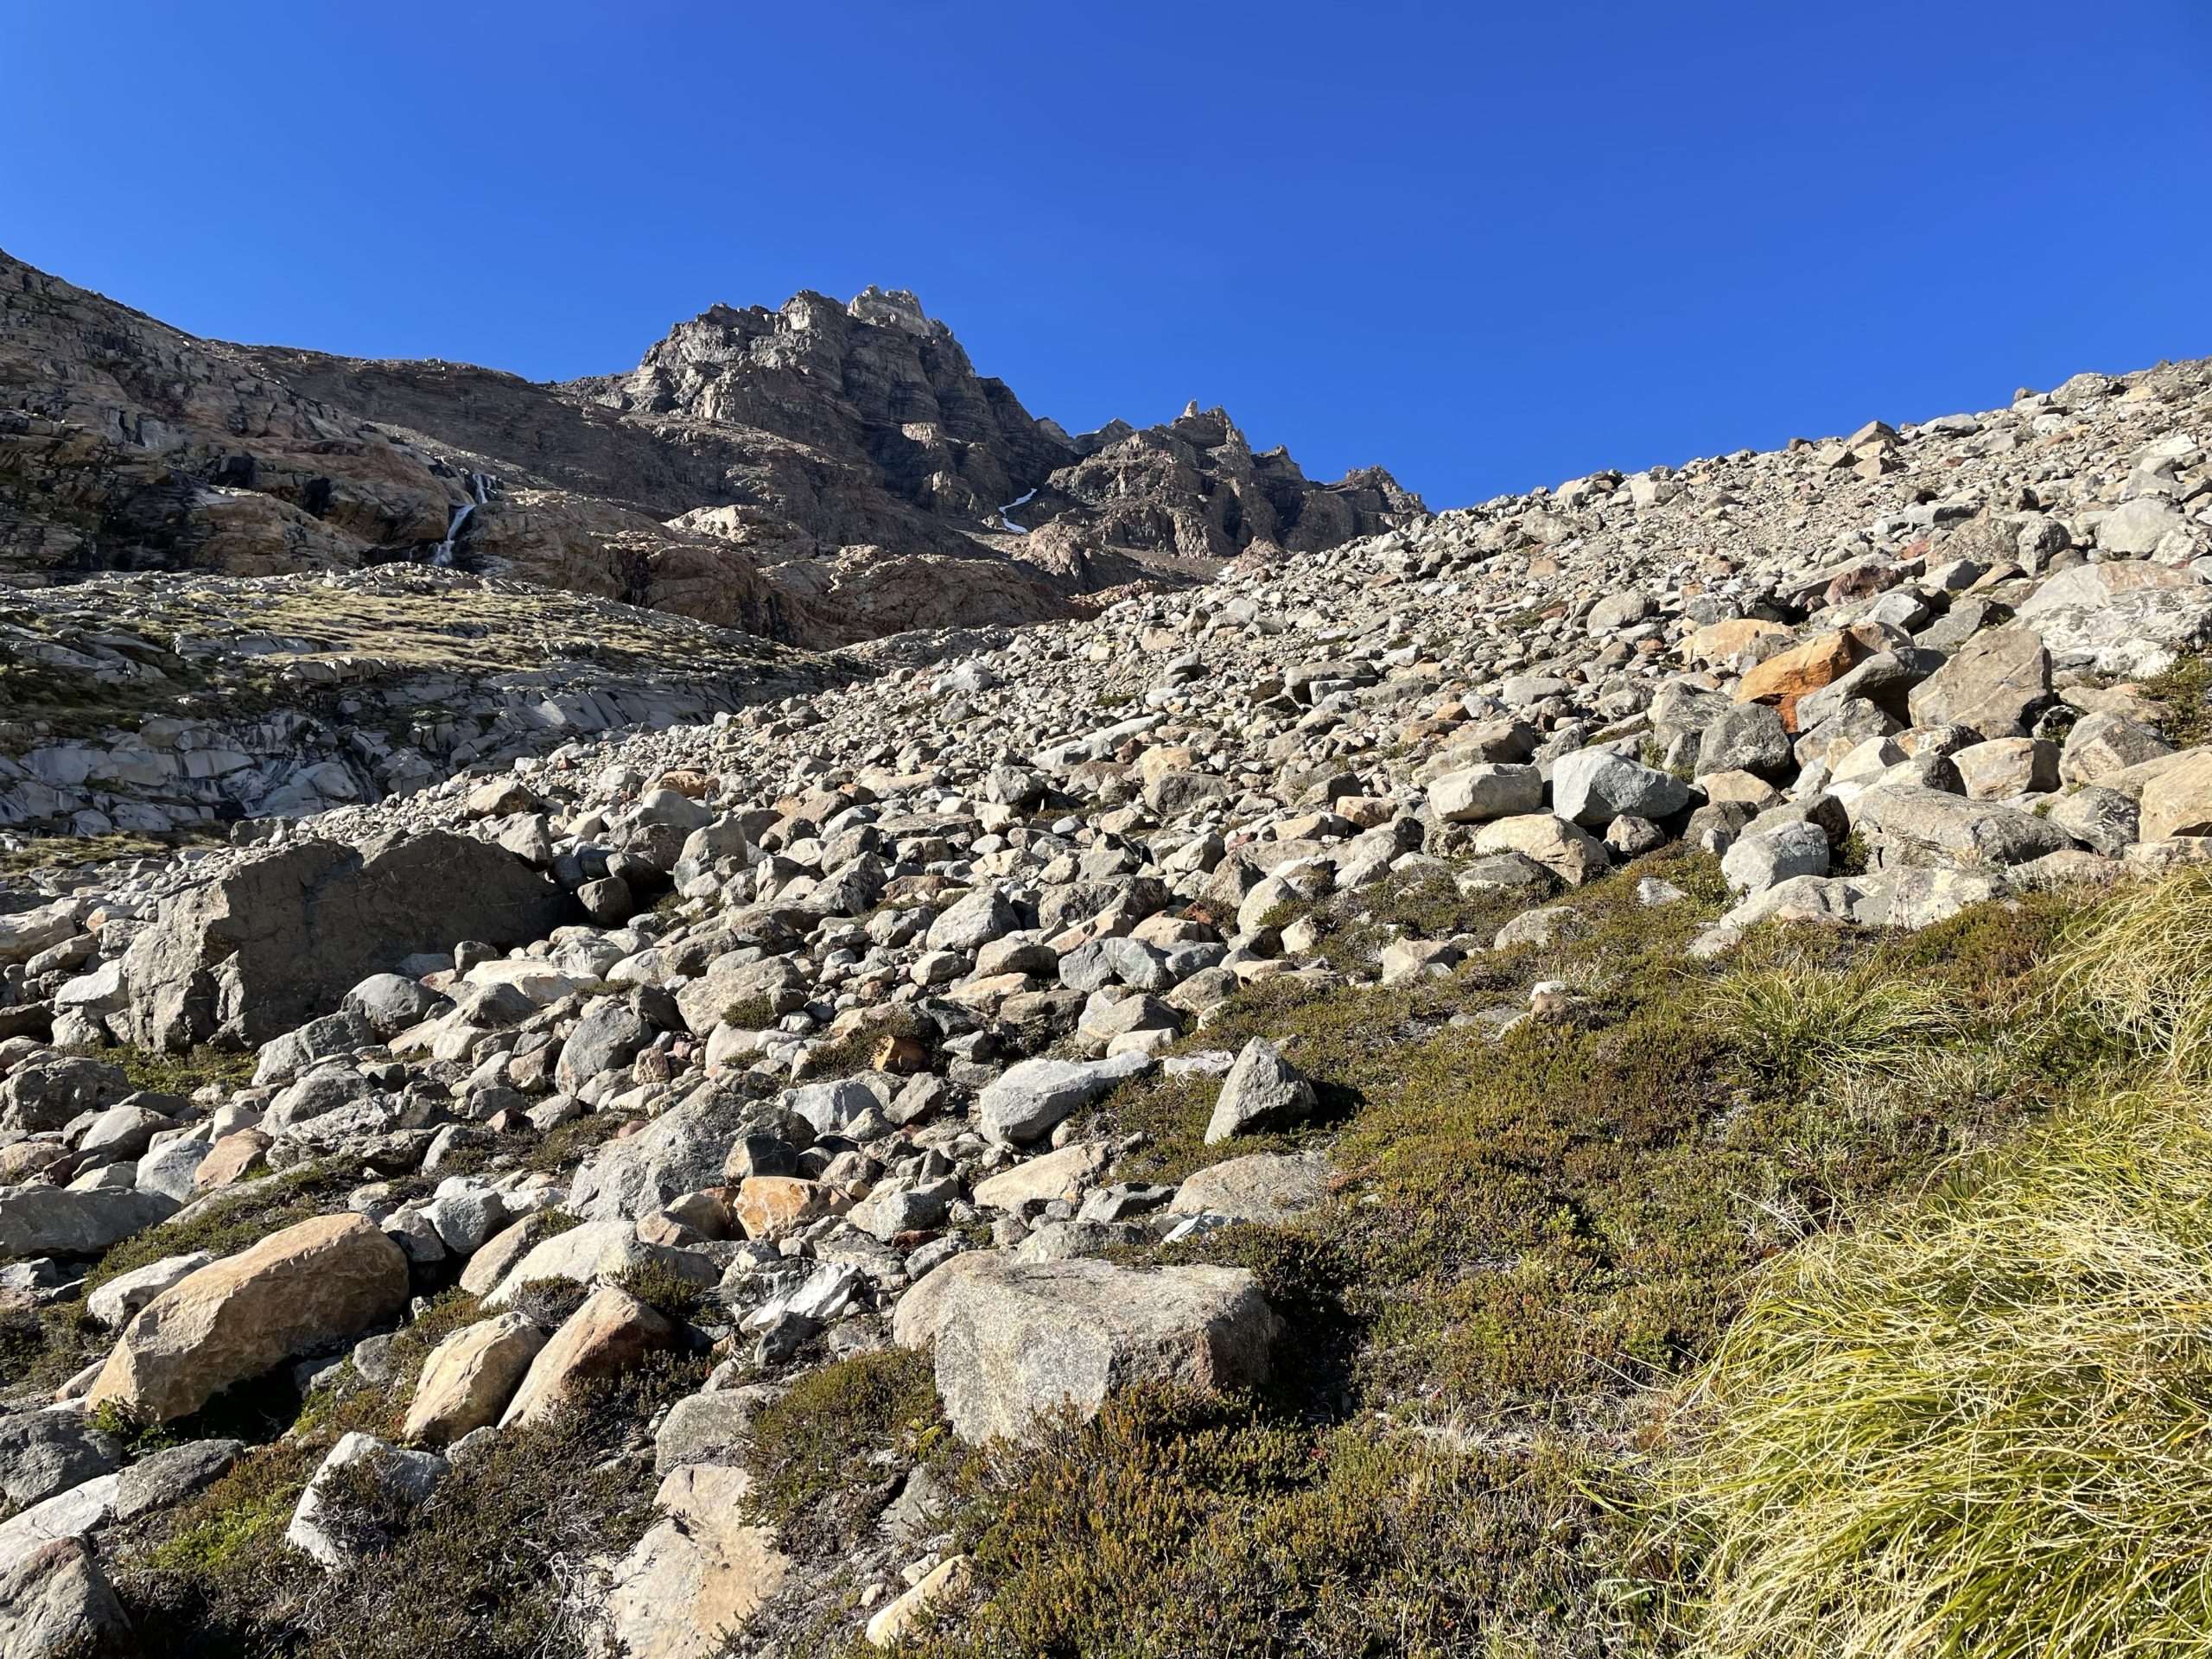
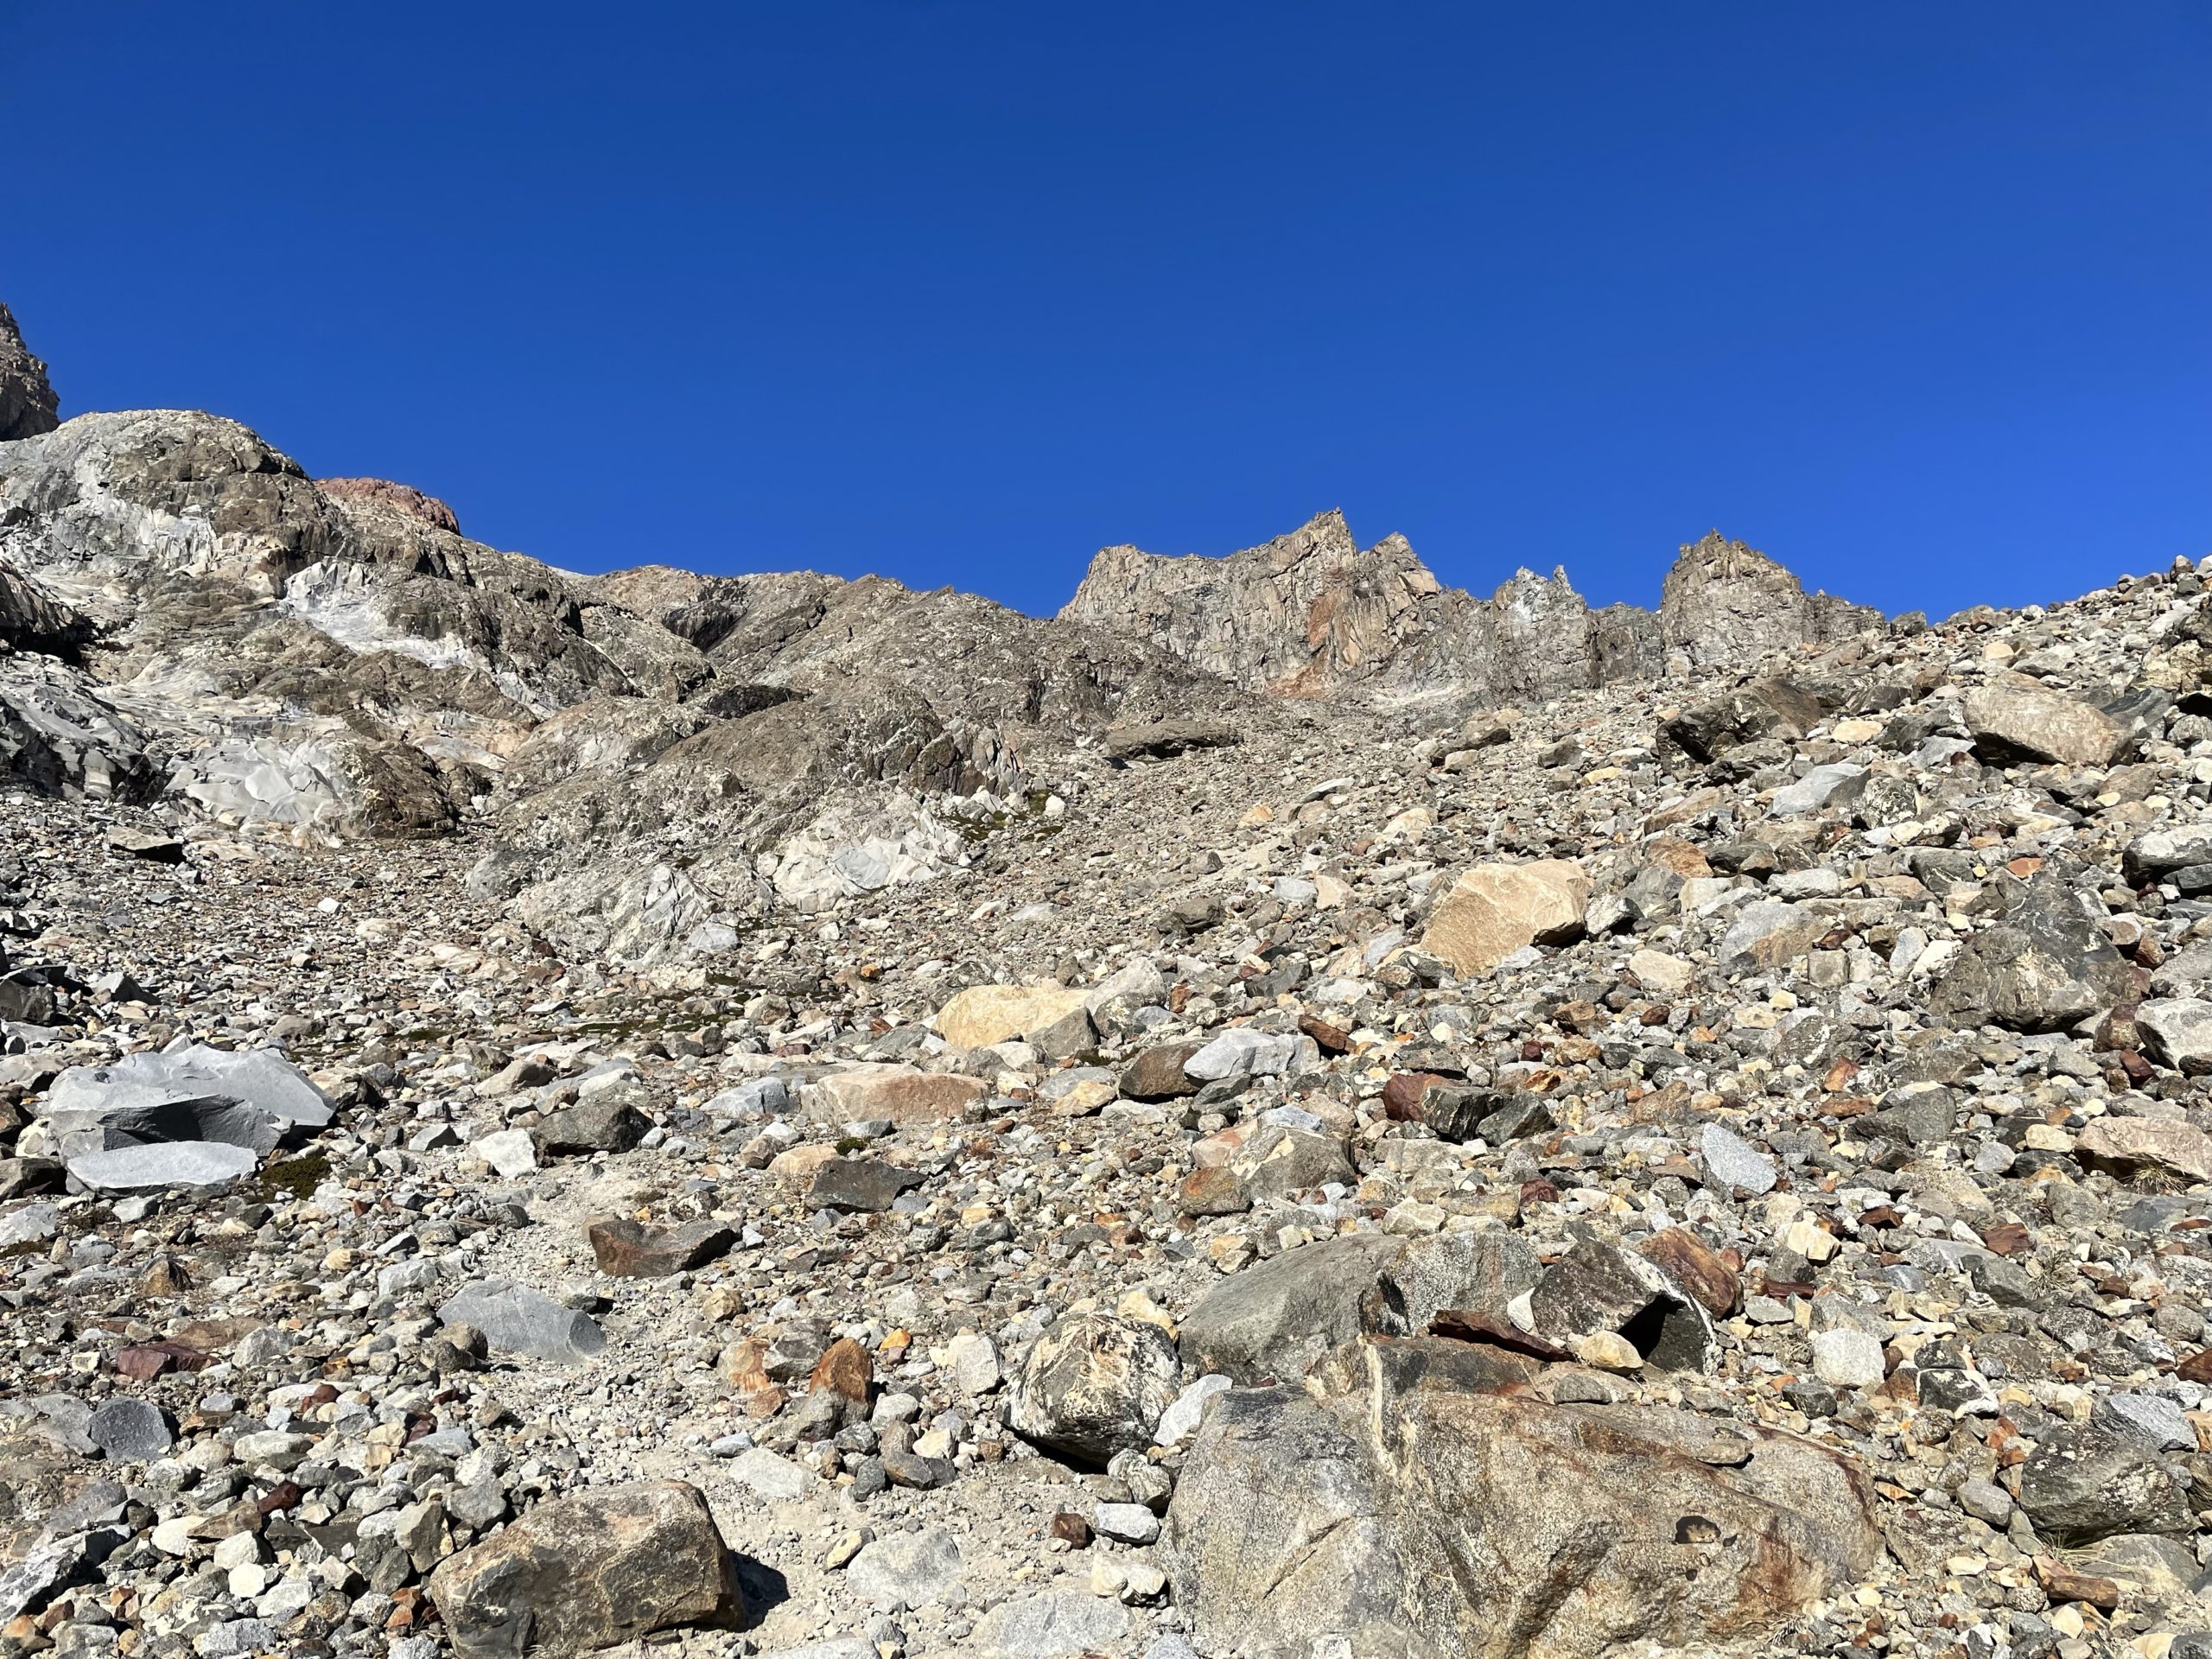
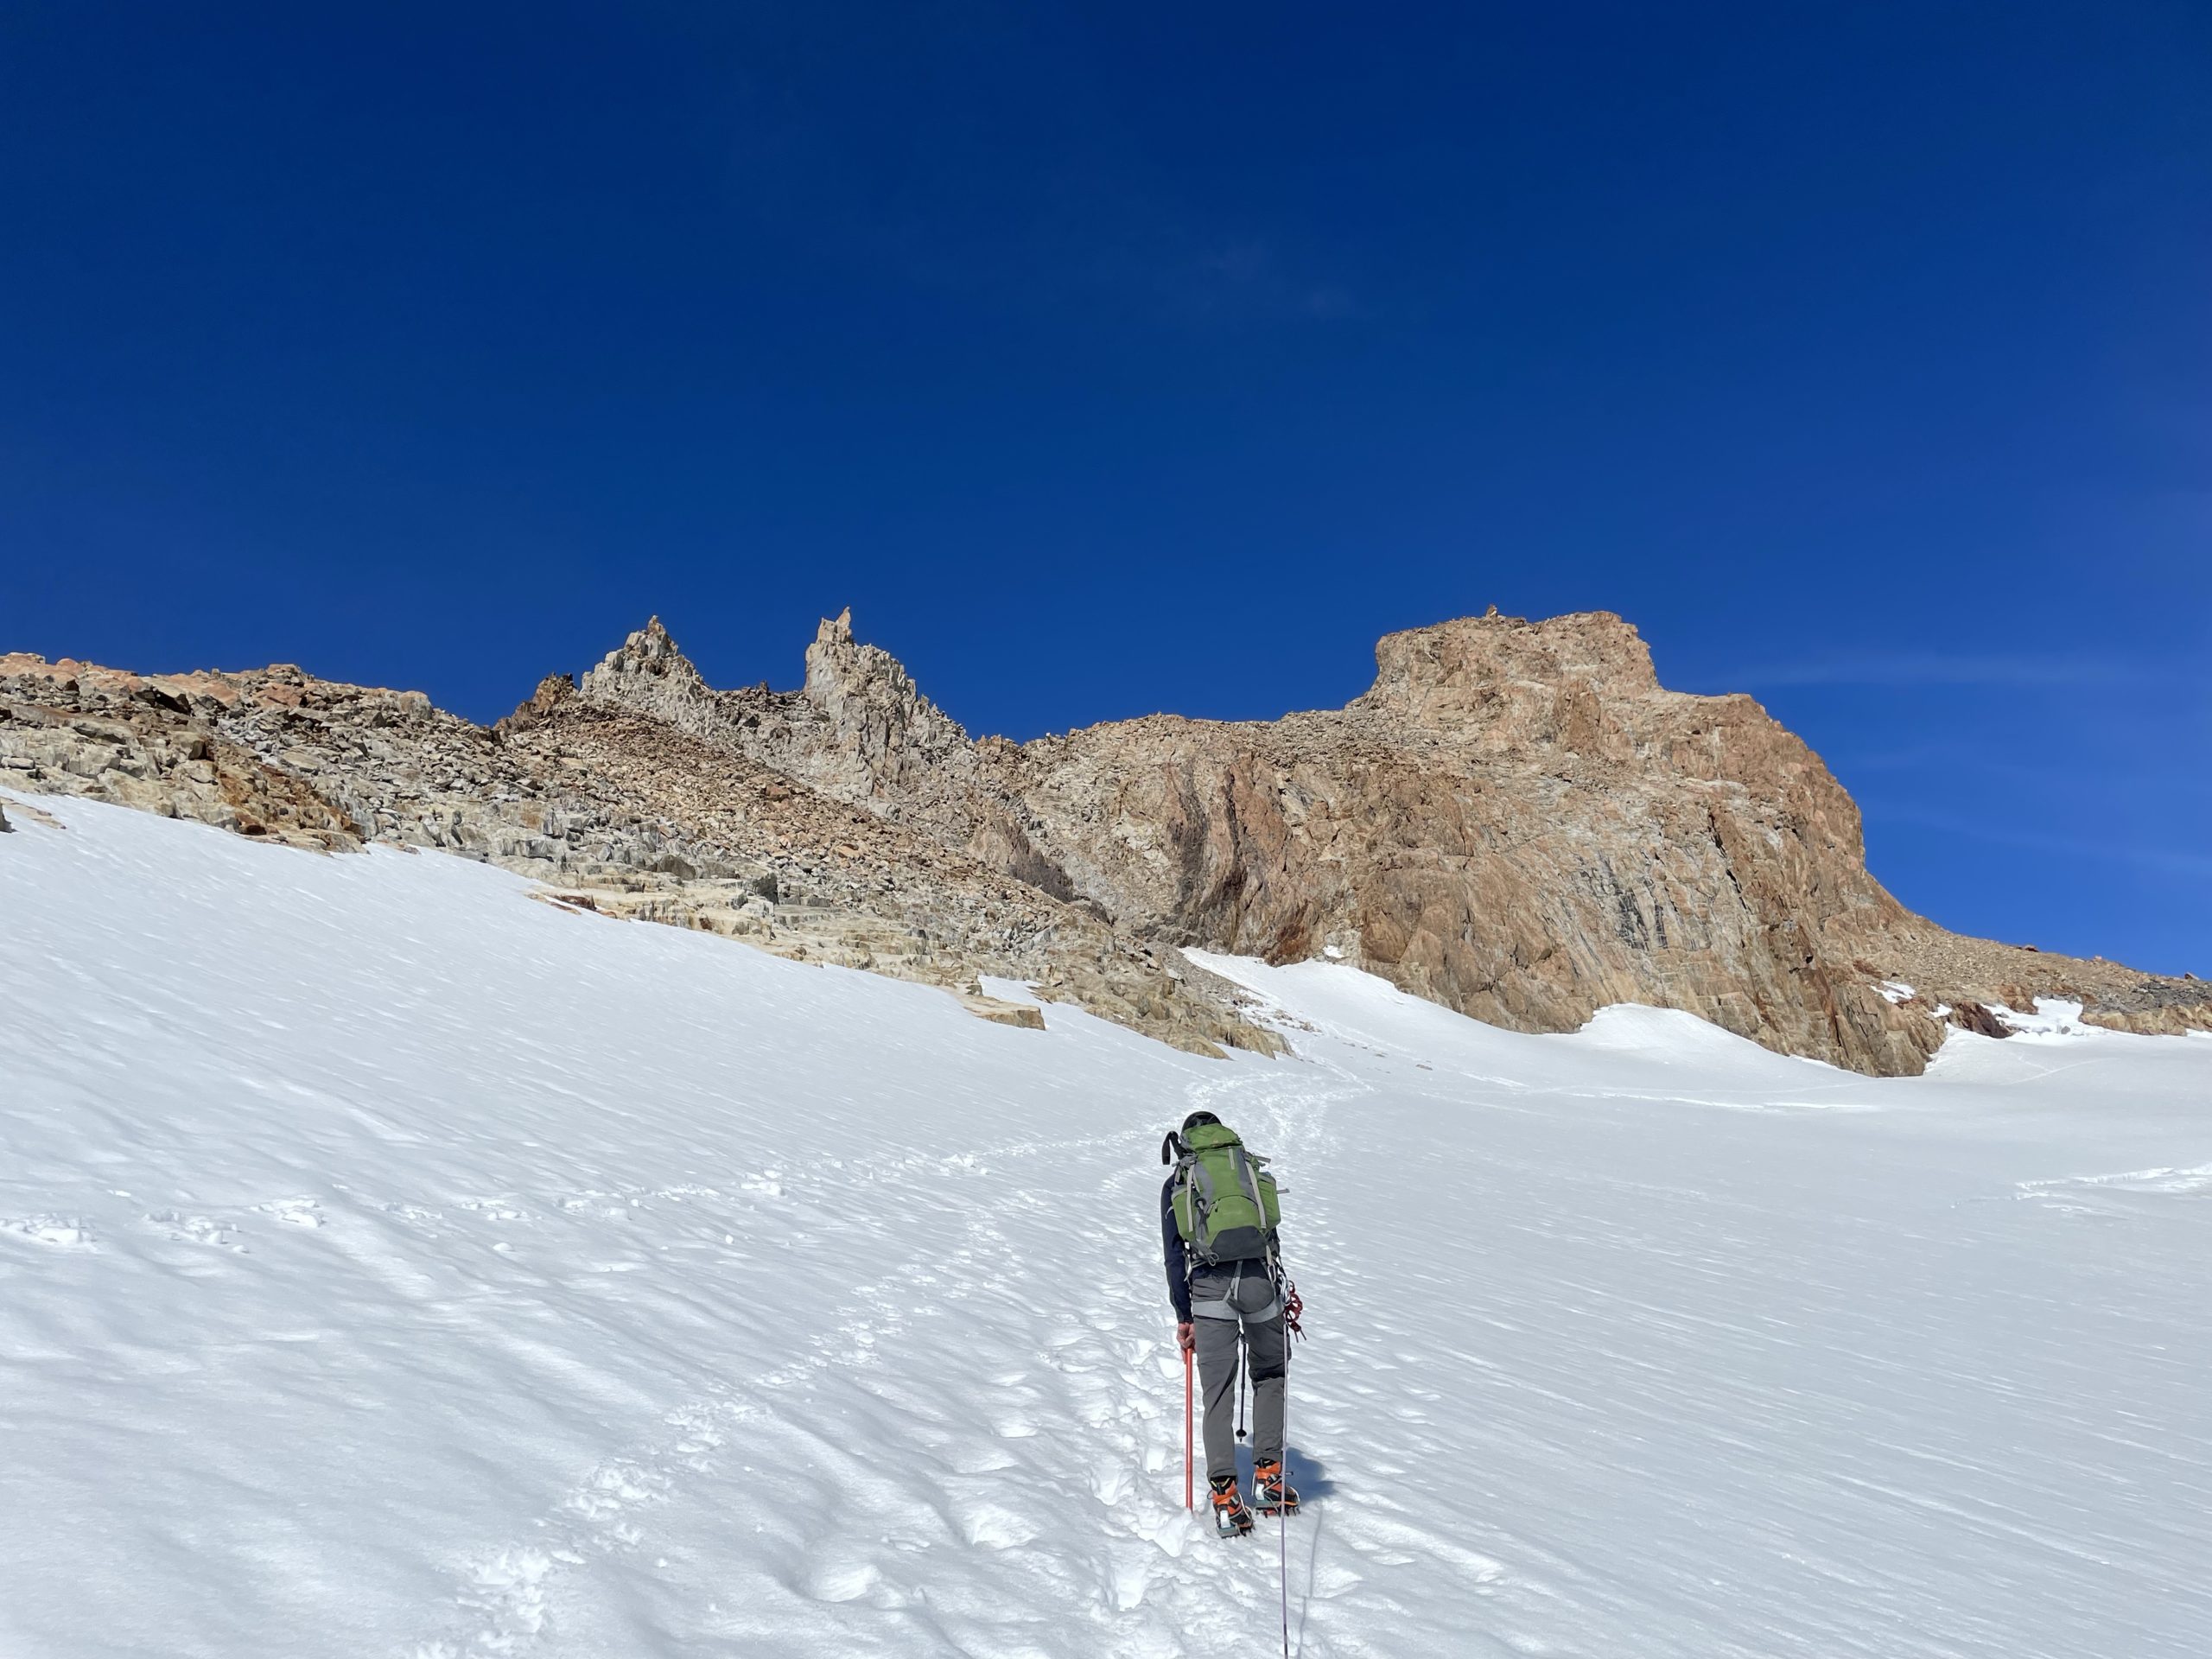
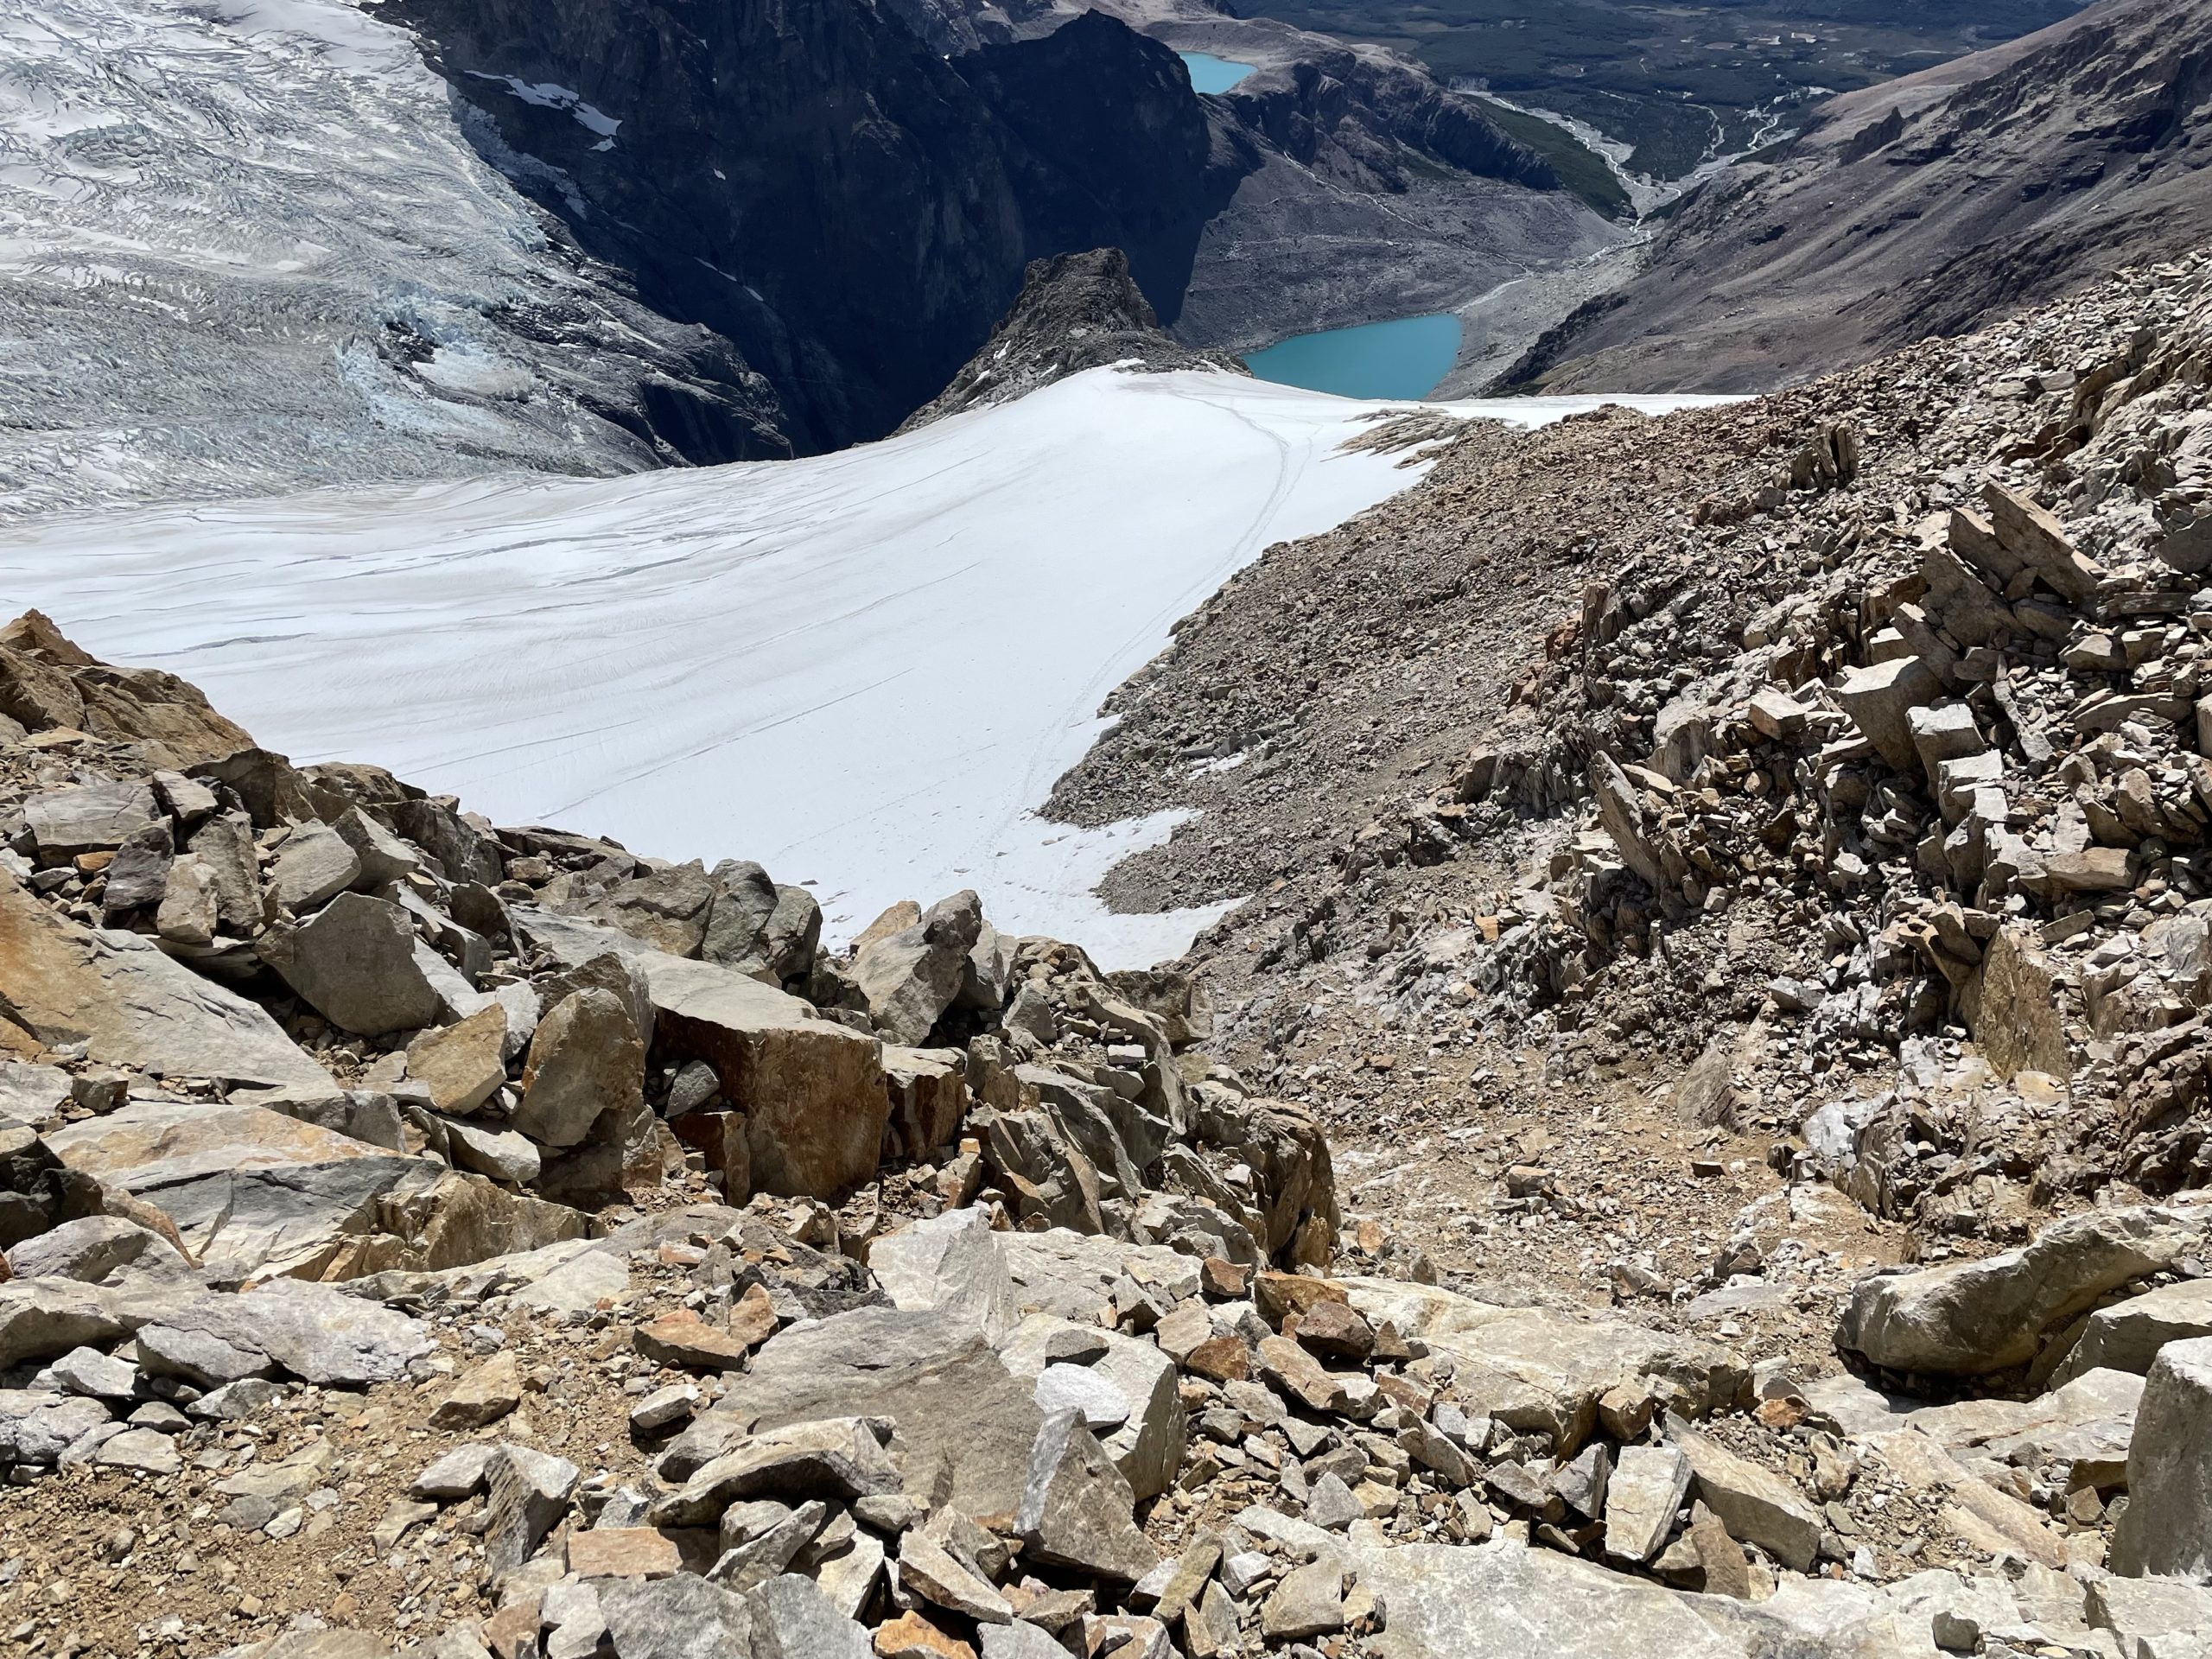
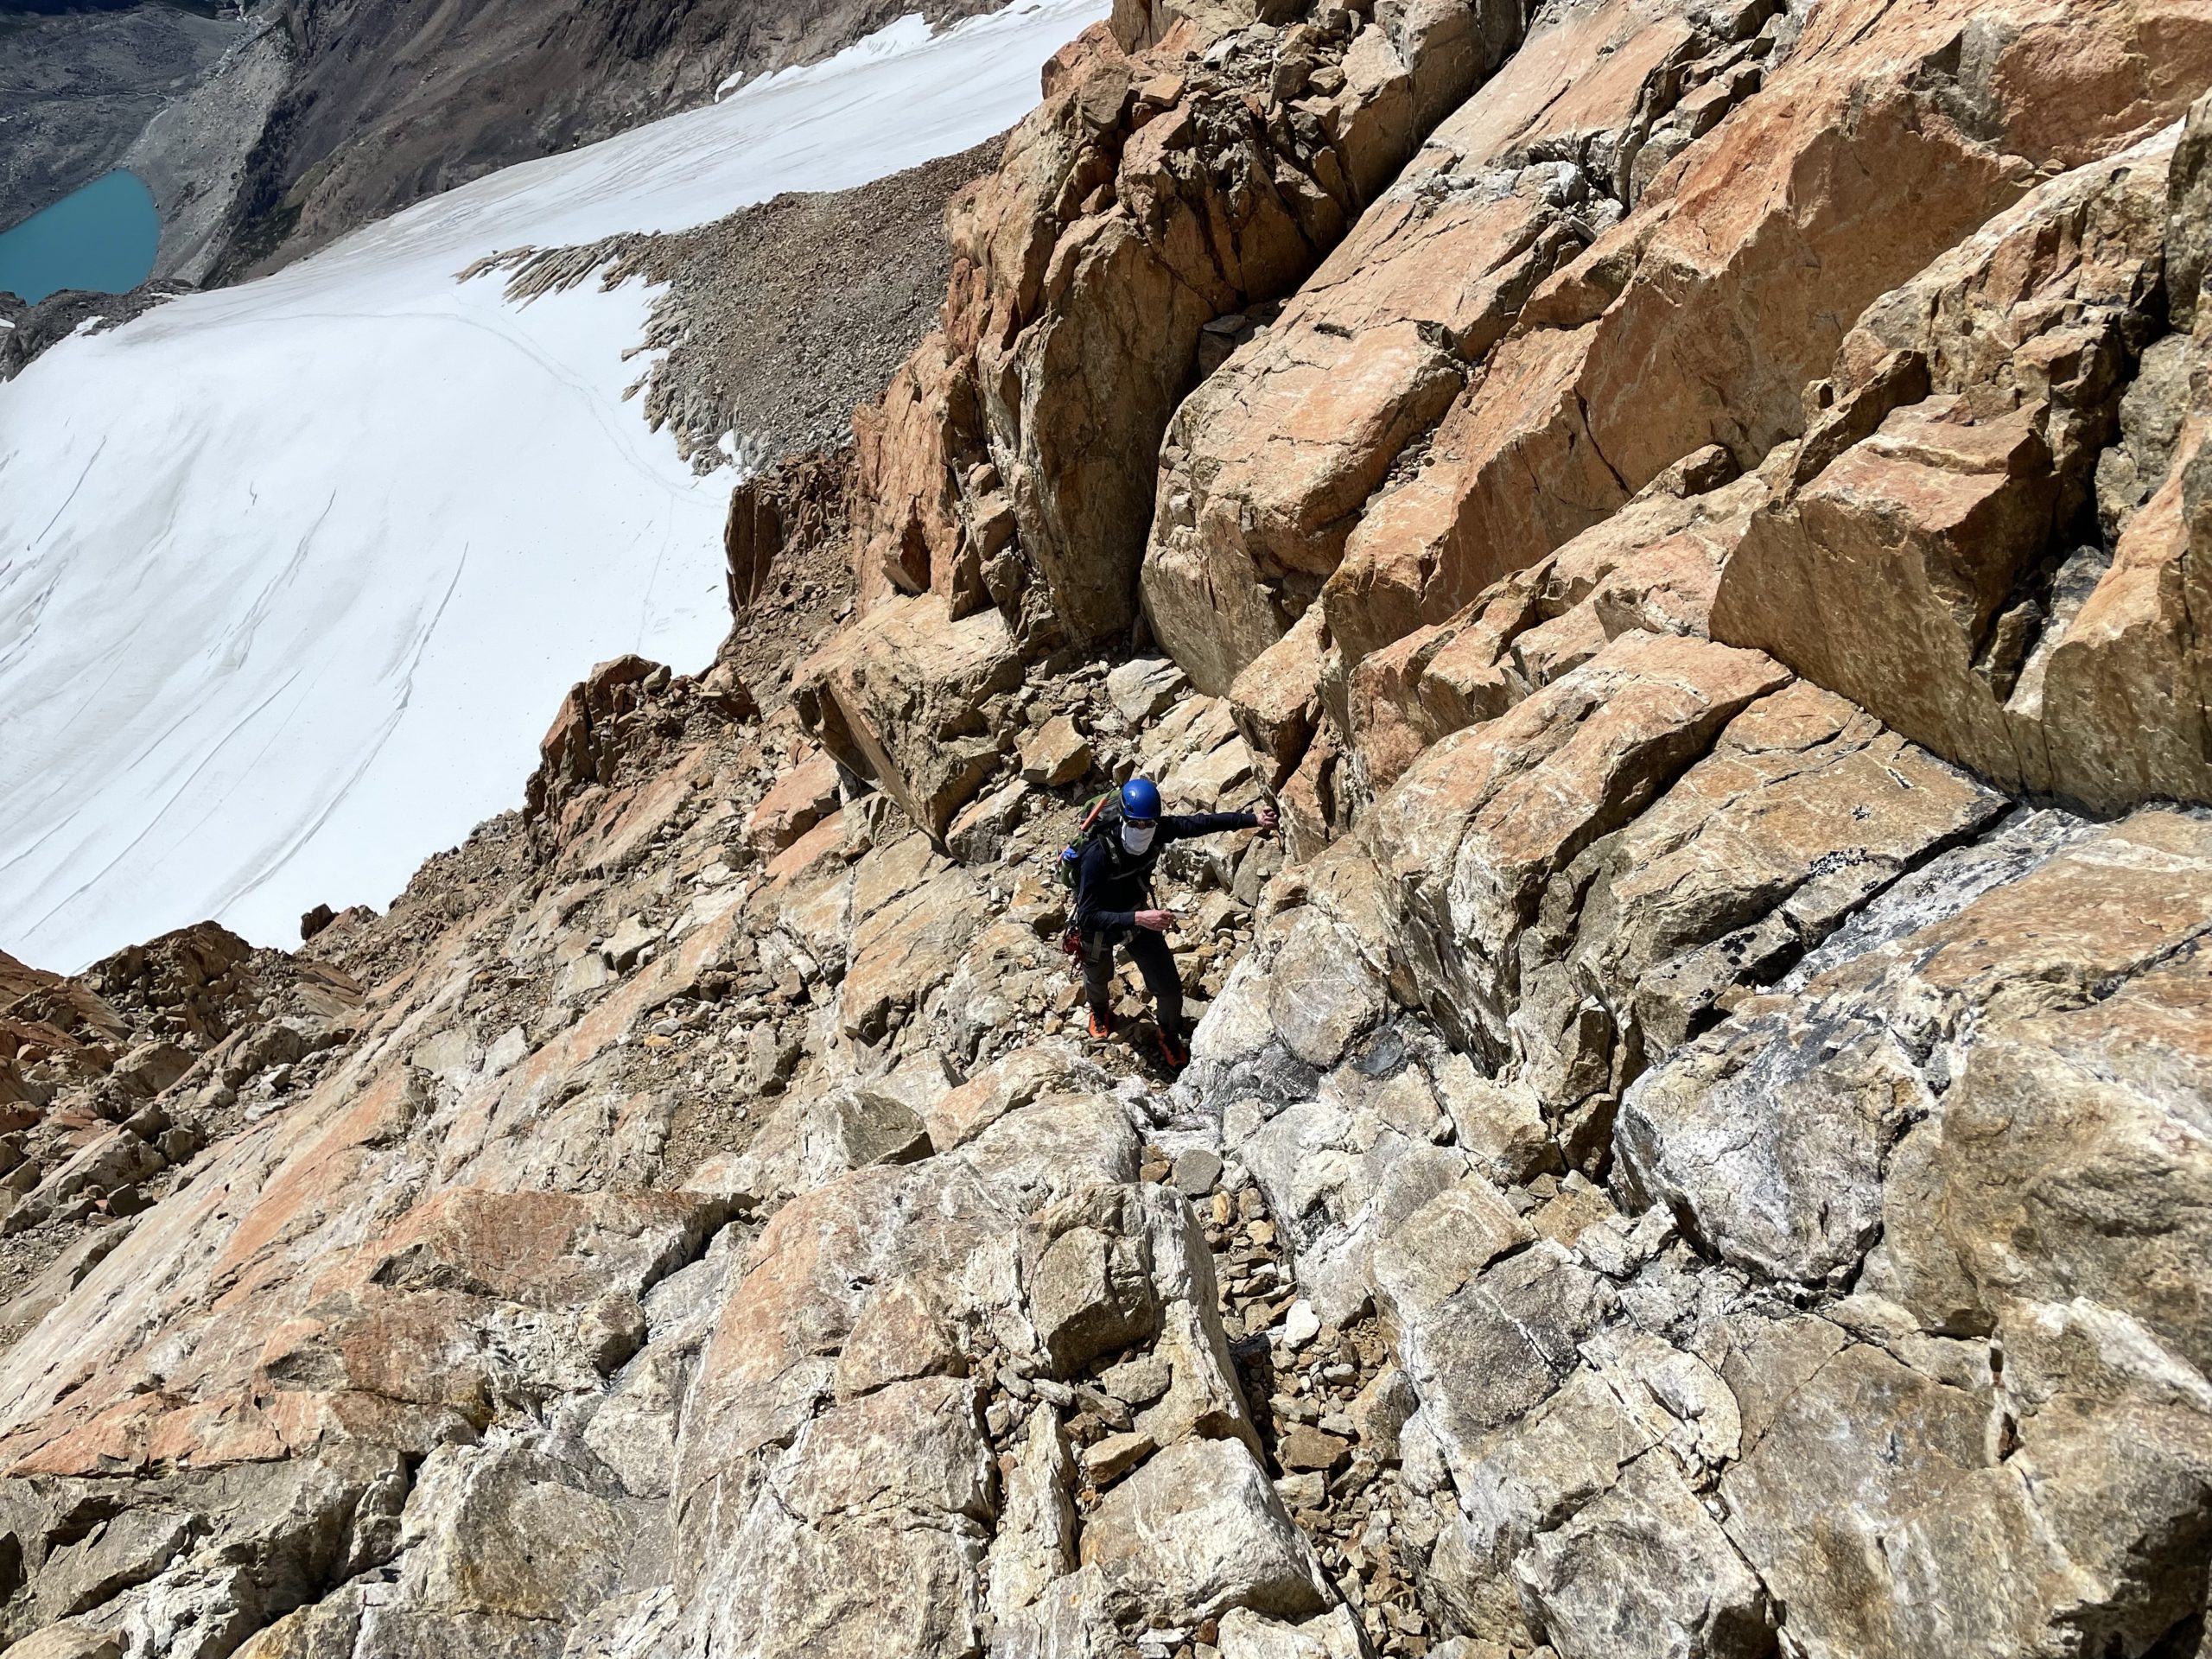
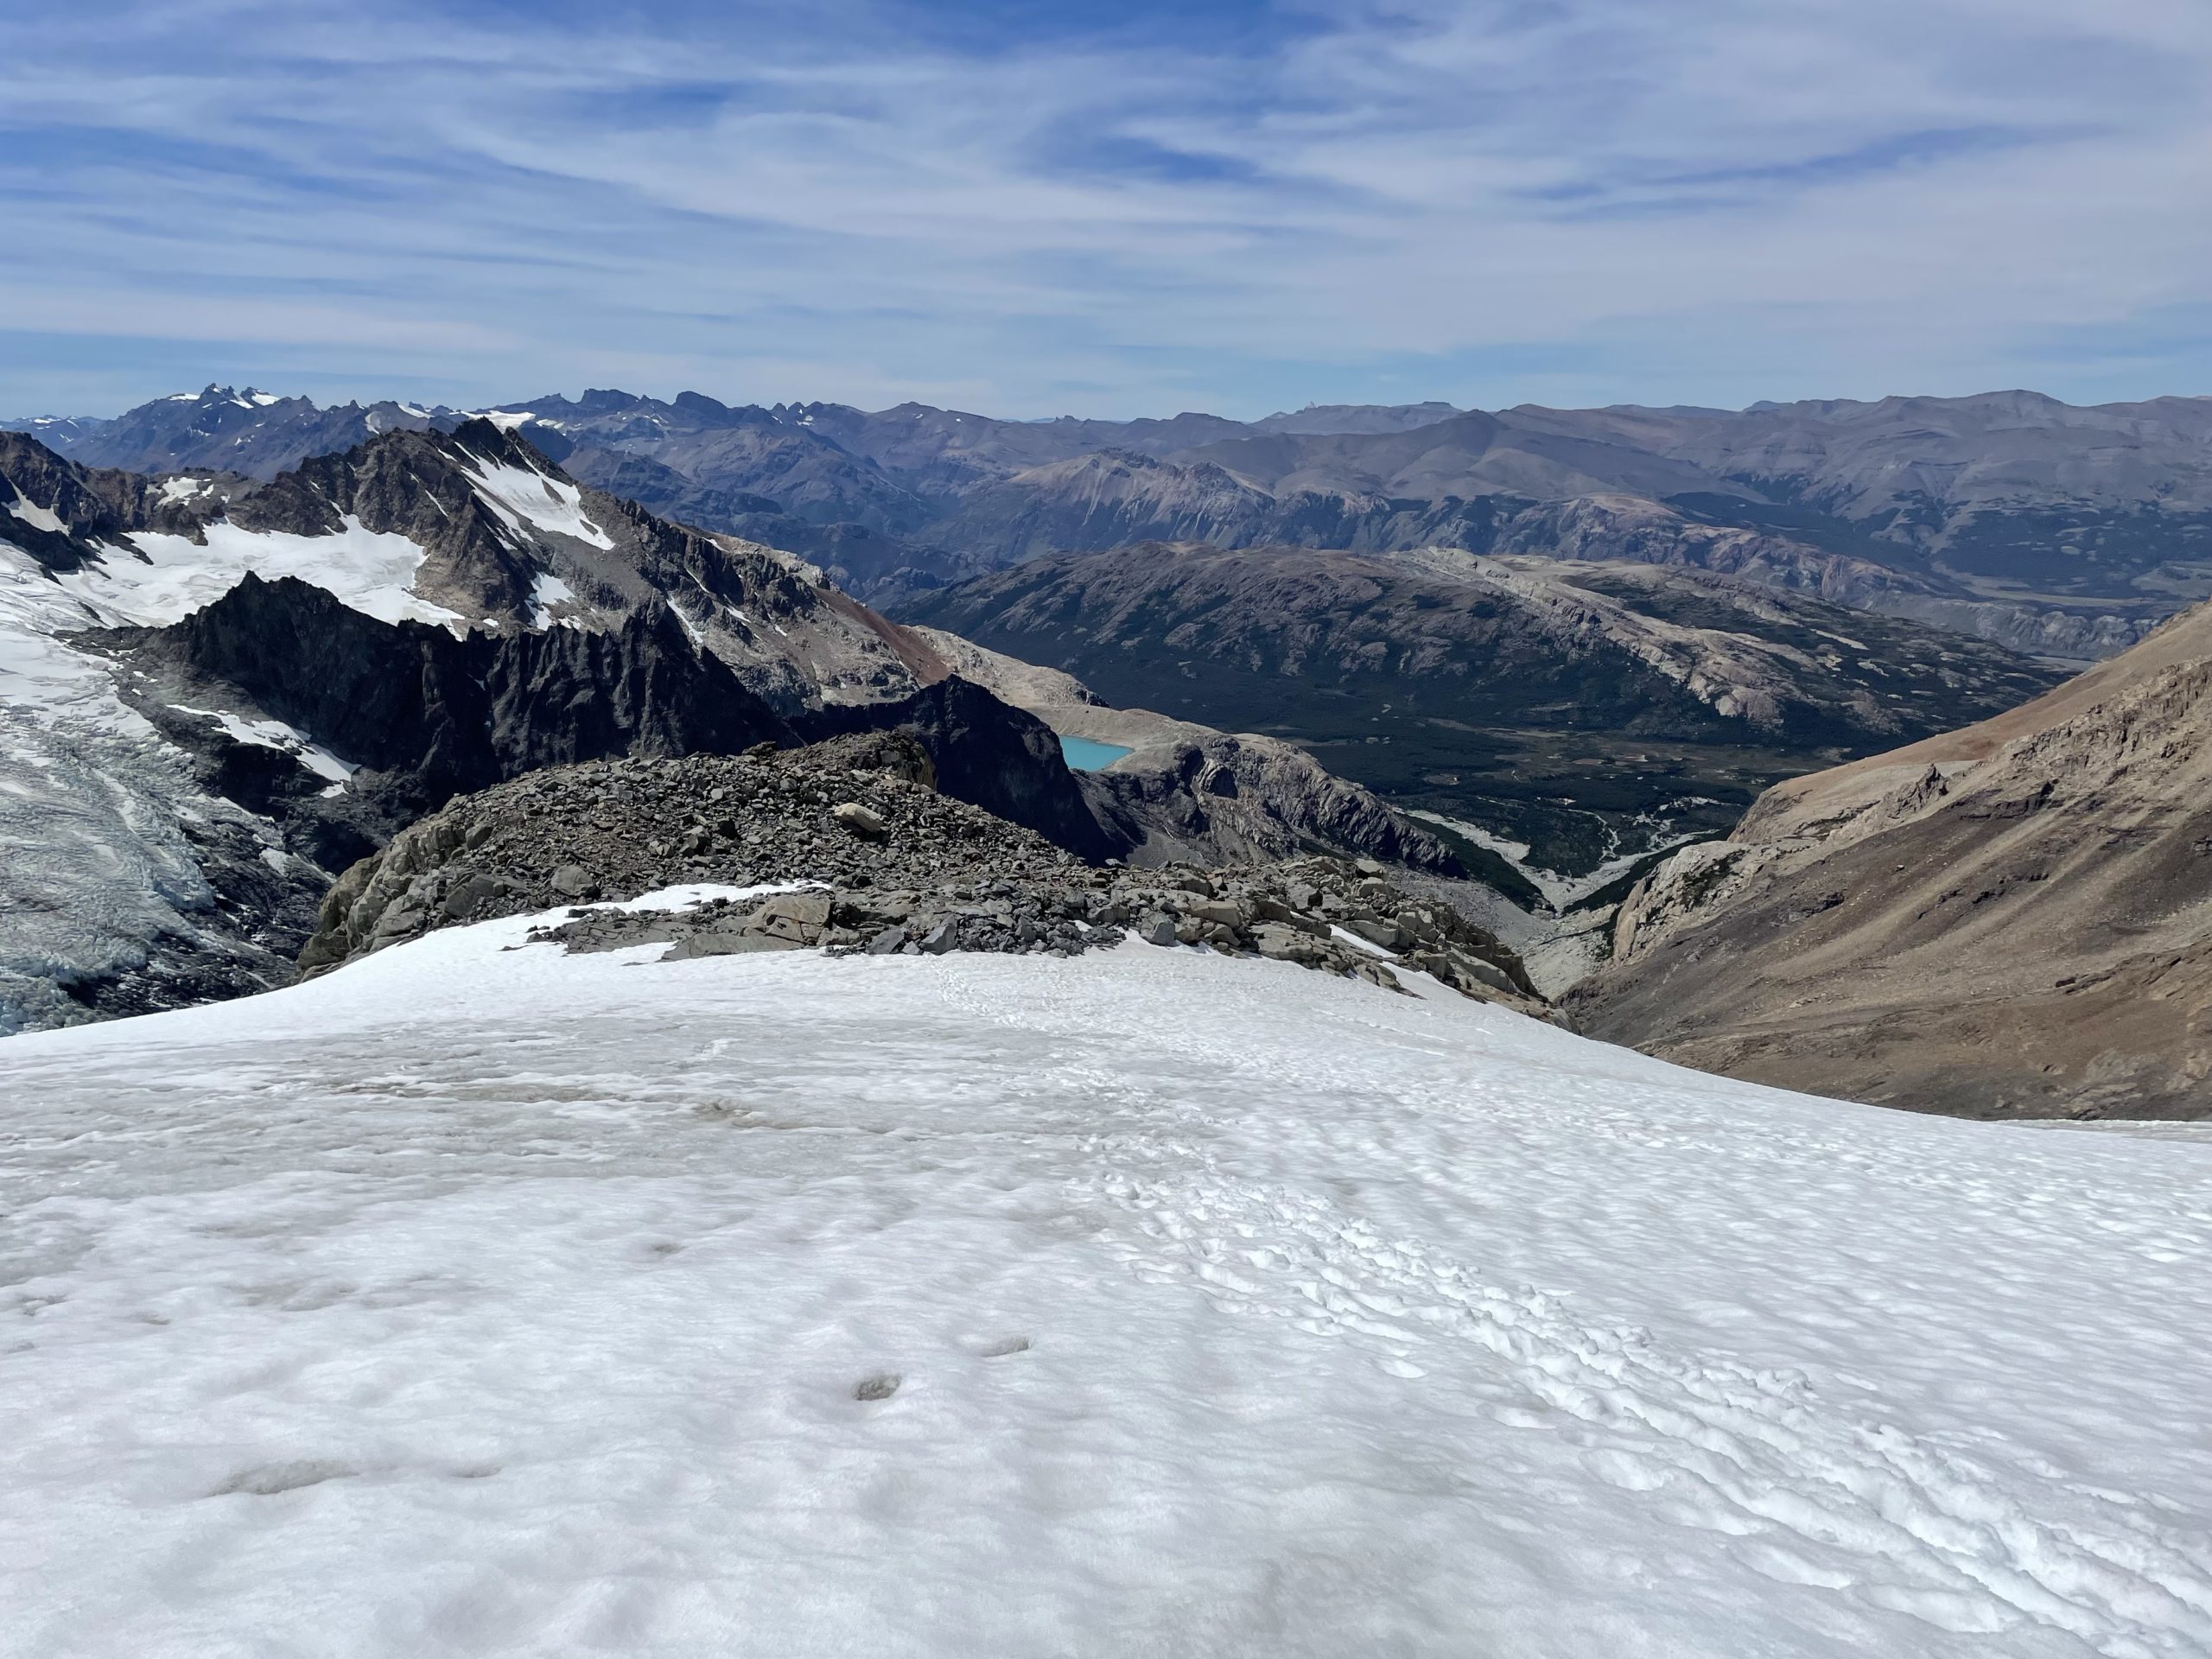
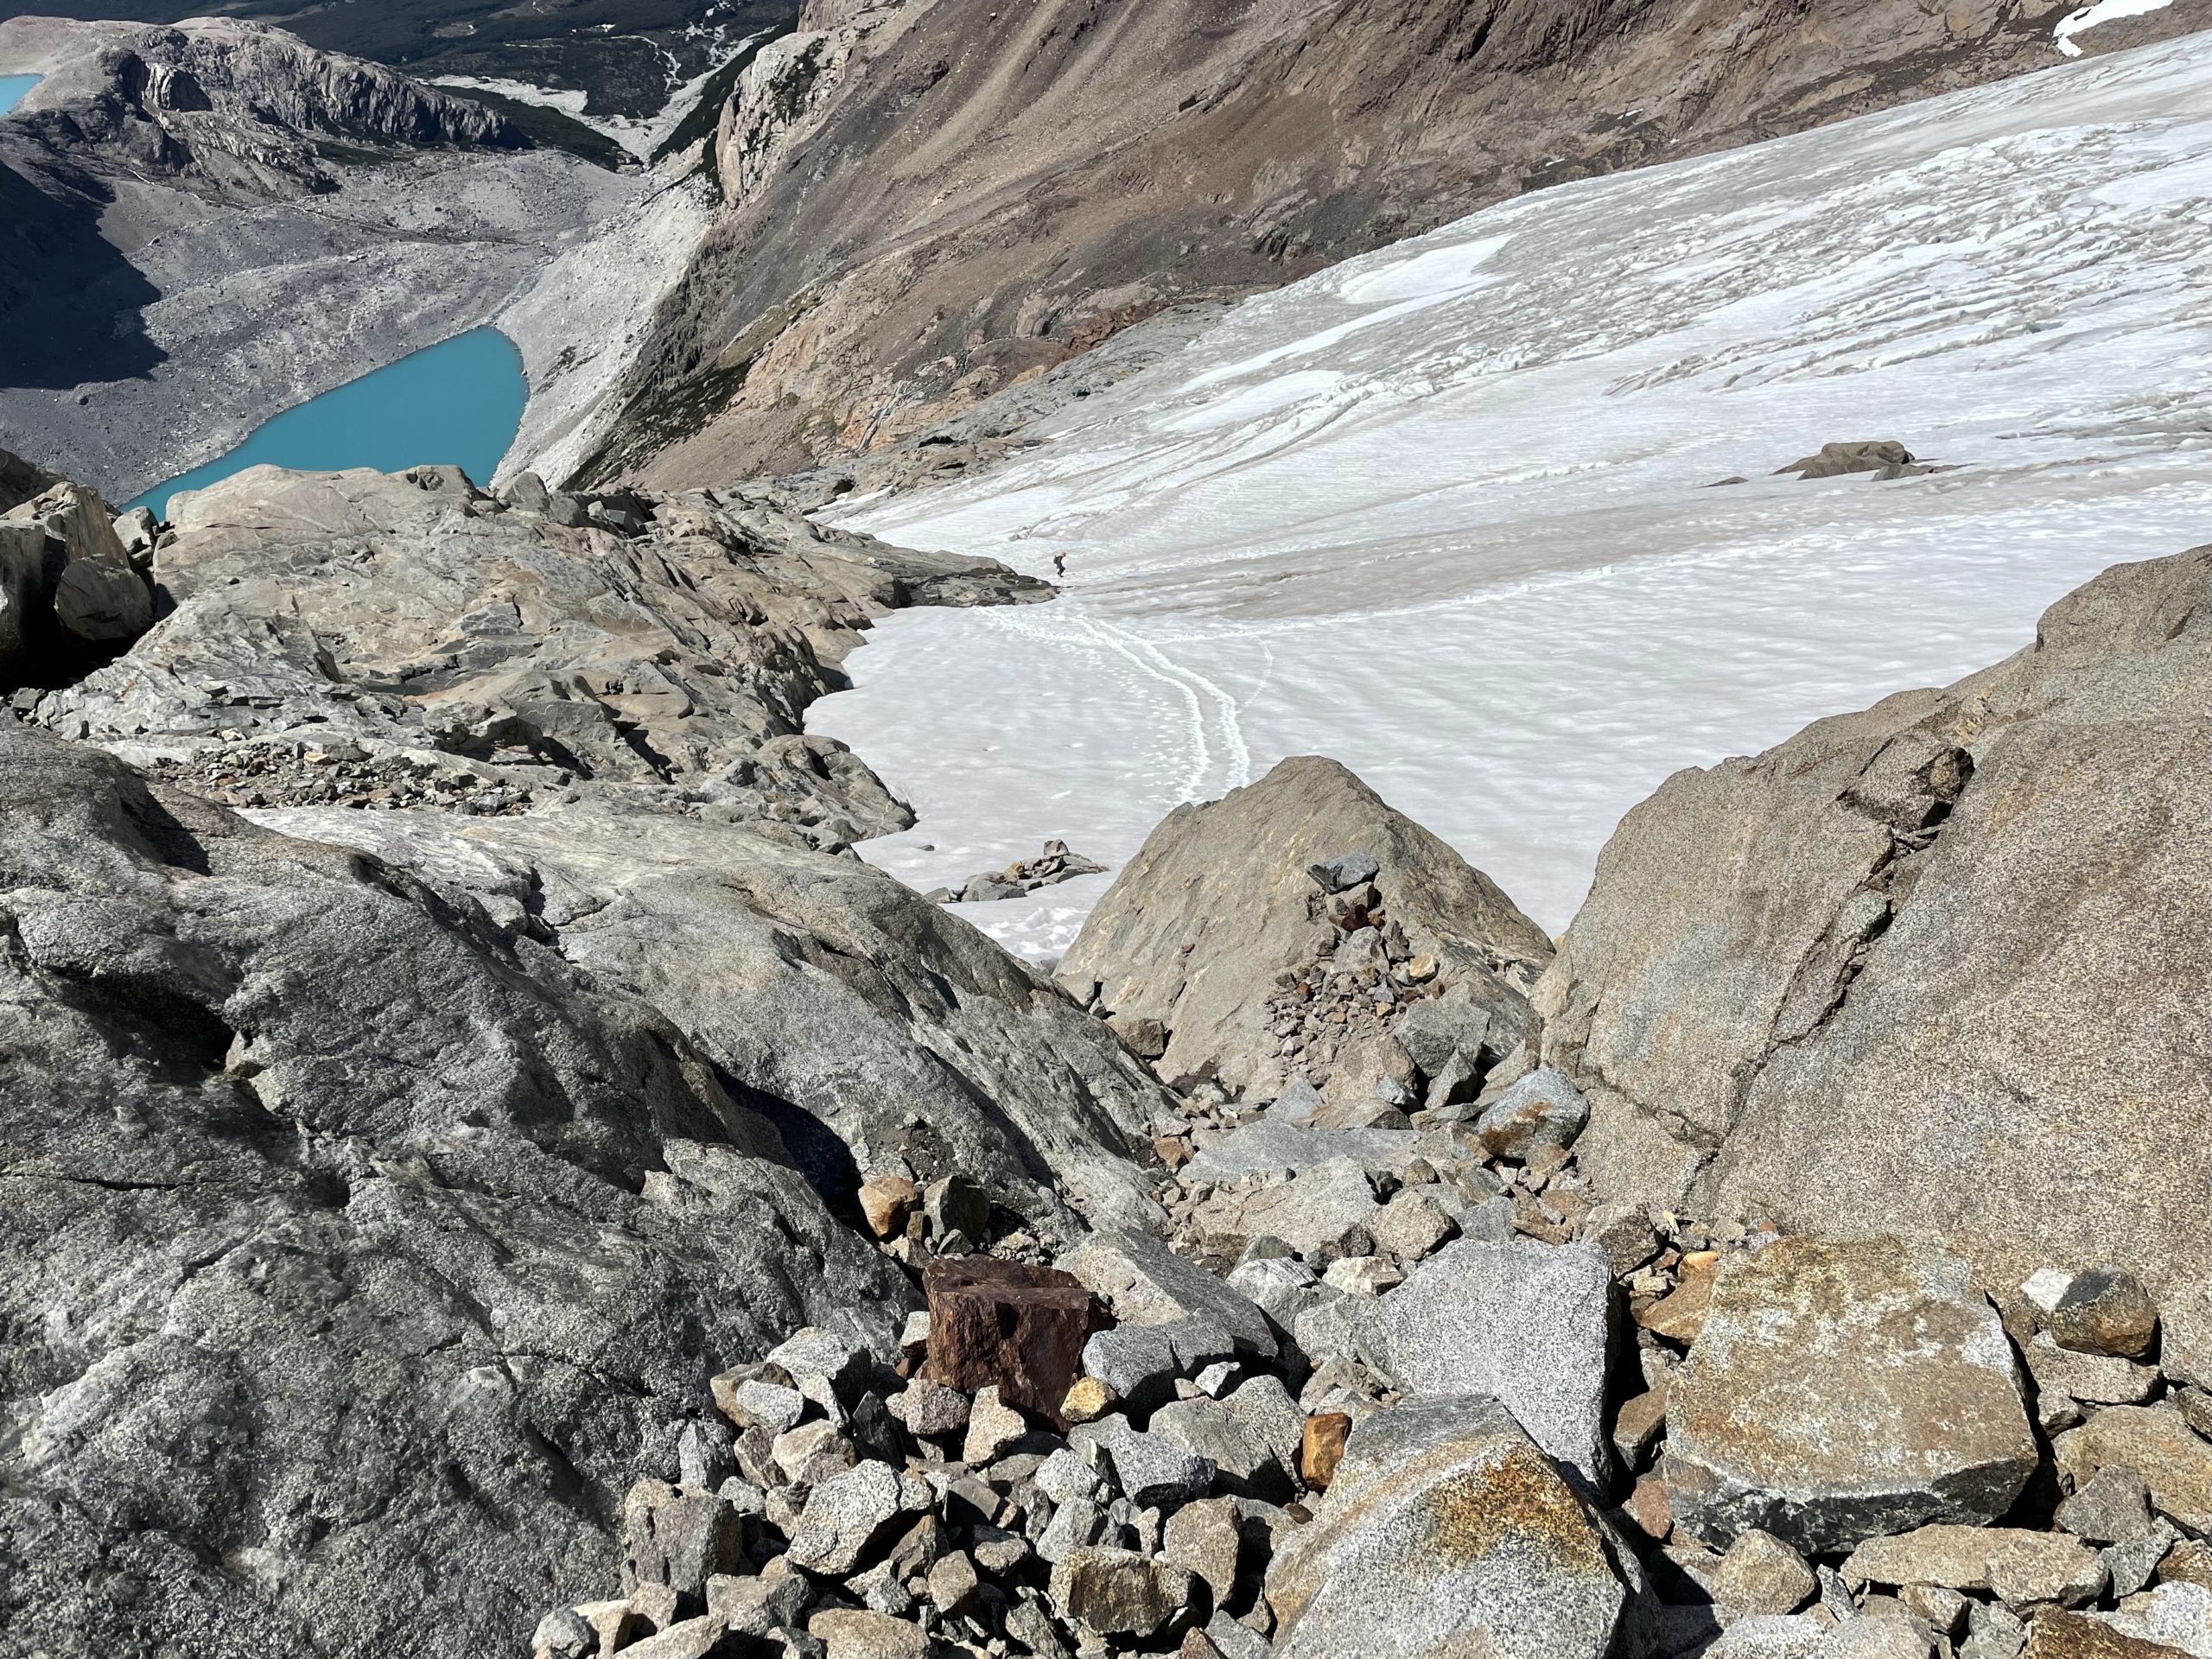
A short section of 3rd class scrambling later and we were cruising up striated rock where the glacier once rested. We followed more cairns until they disappeared near the toe of the glacier and then picked our own way up. At the glacier we briefly caught up with the pair that was ahead of us. Two local Argentinian woman also heading for the summit: Anto and Mar. They left shortly after to start up the glacier while we got our gear out.

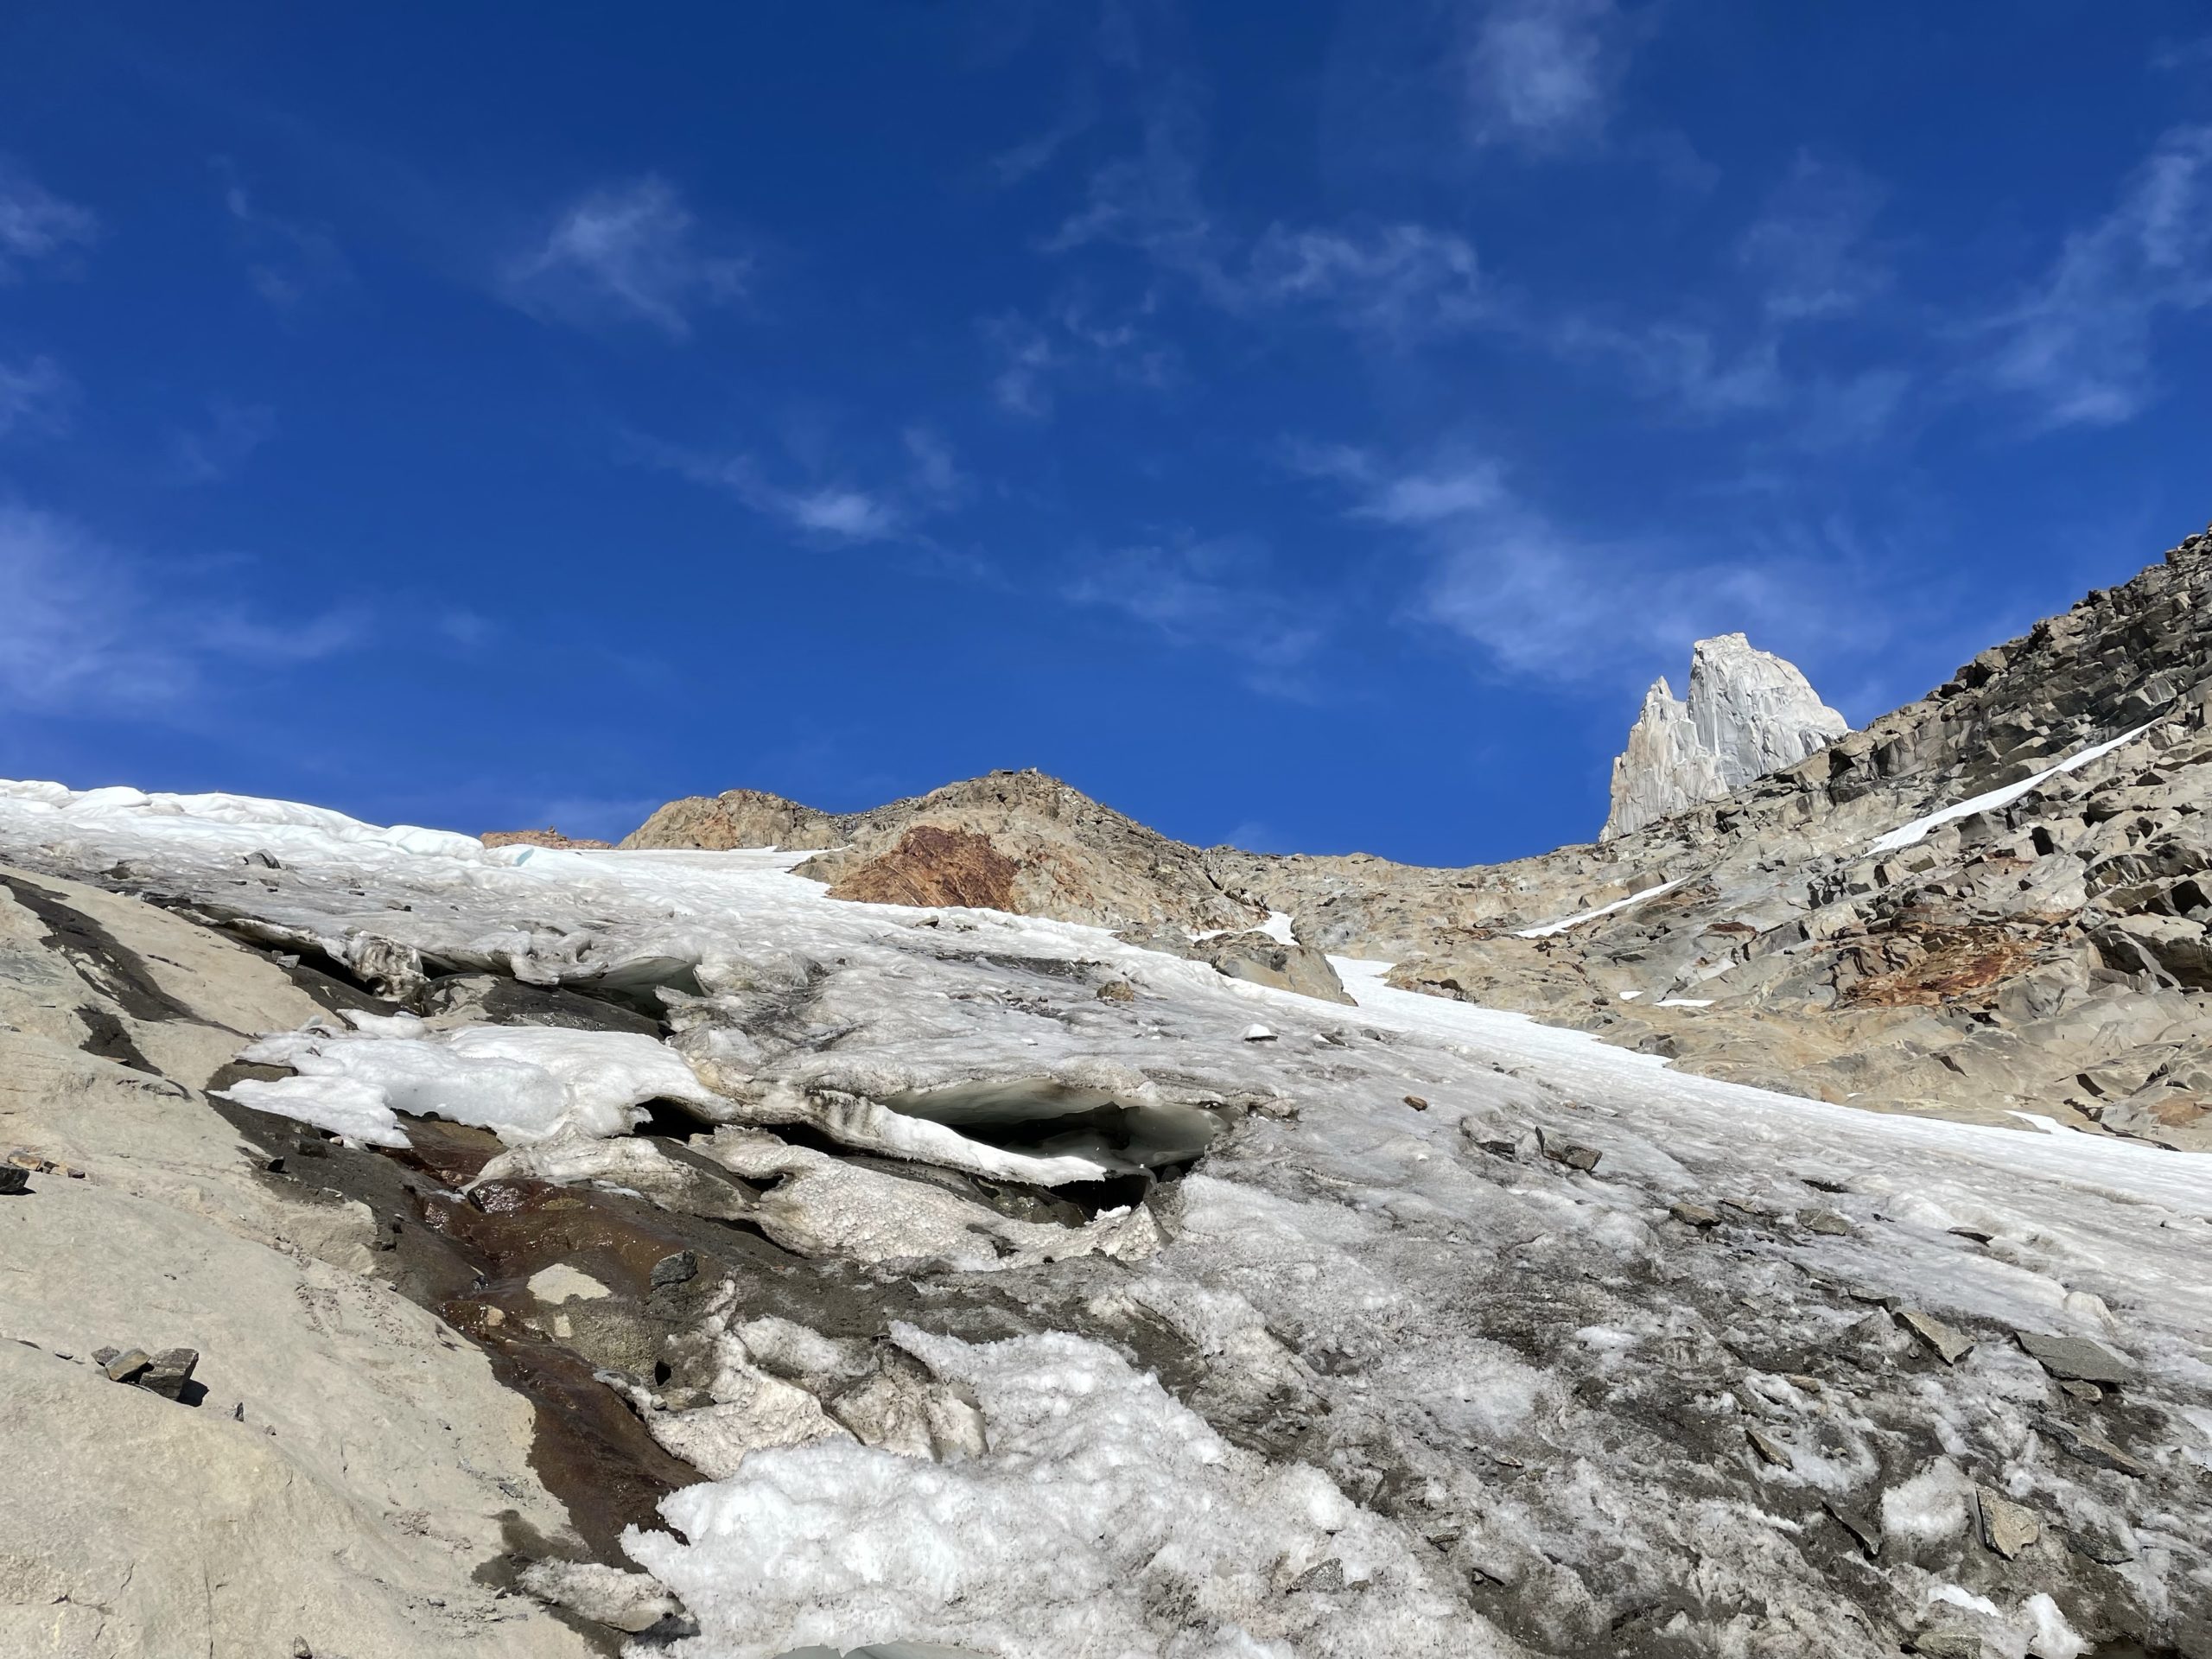
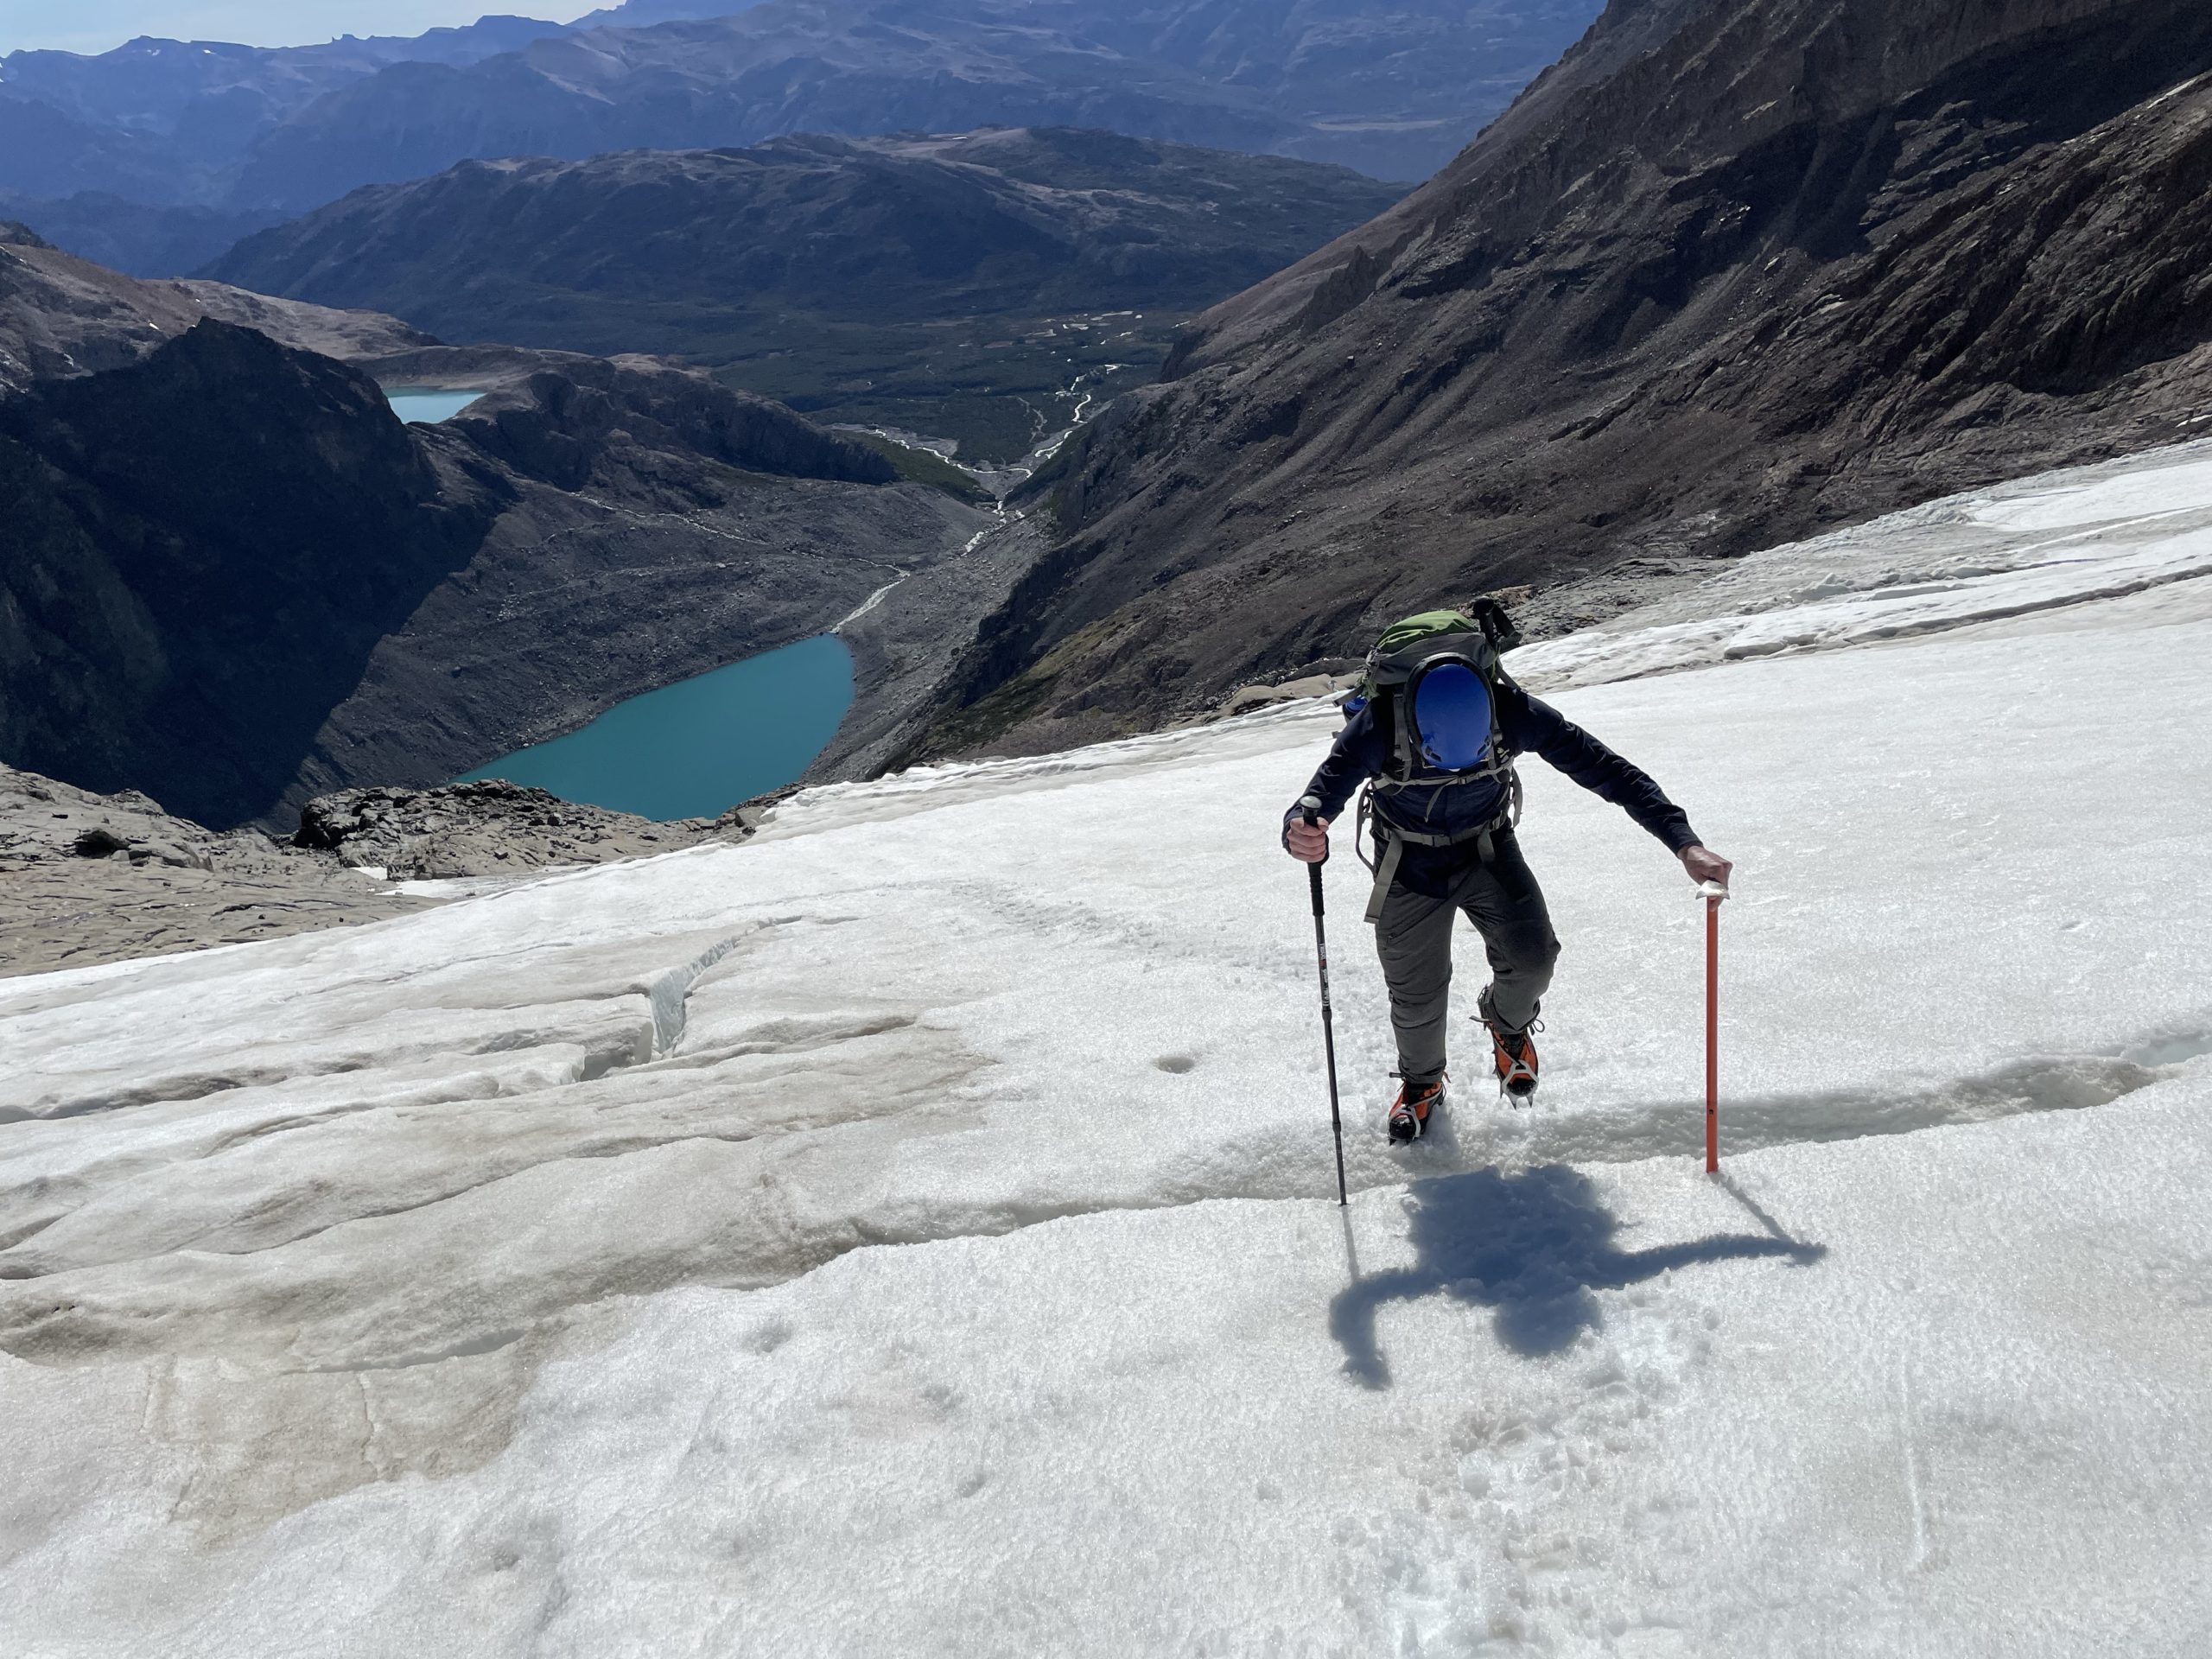
There was a short section of glacial terrain to reach another rock island so we just set up our cramp ons and ice axes to start. Thanks to Anto and Mar, there was now a path through this section to follow so we just repeated their foot steeps to the rock island. Looking into a few of the crevasses I observed that this section of glacier was maybe 1-2m thick at most.
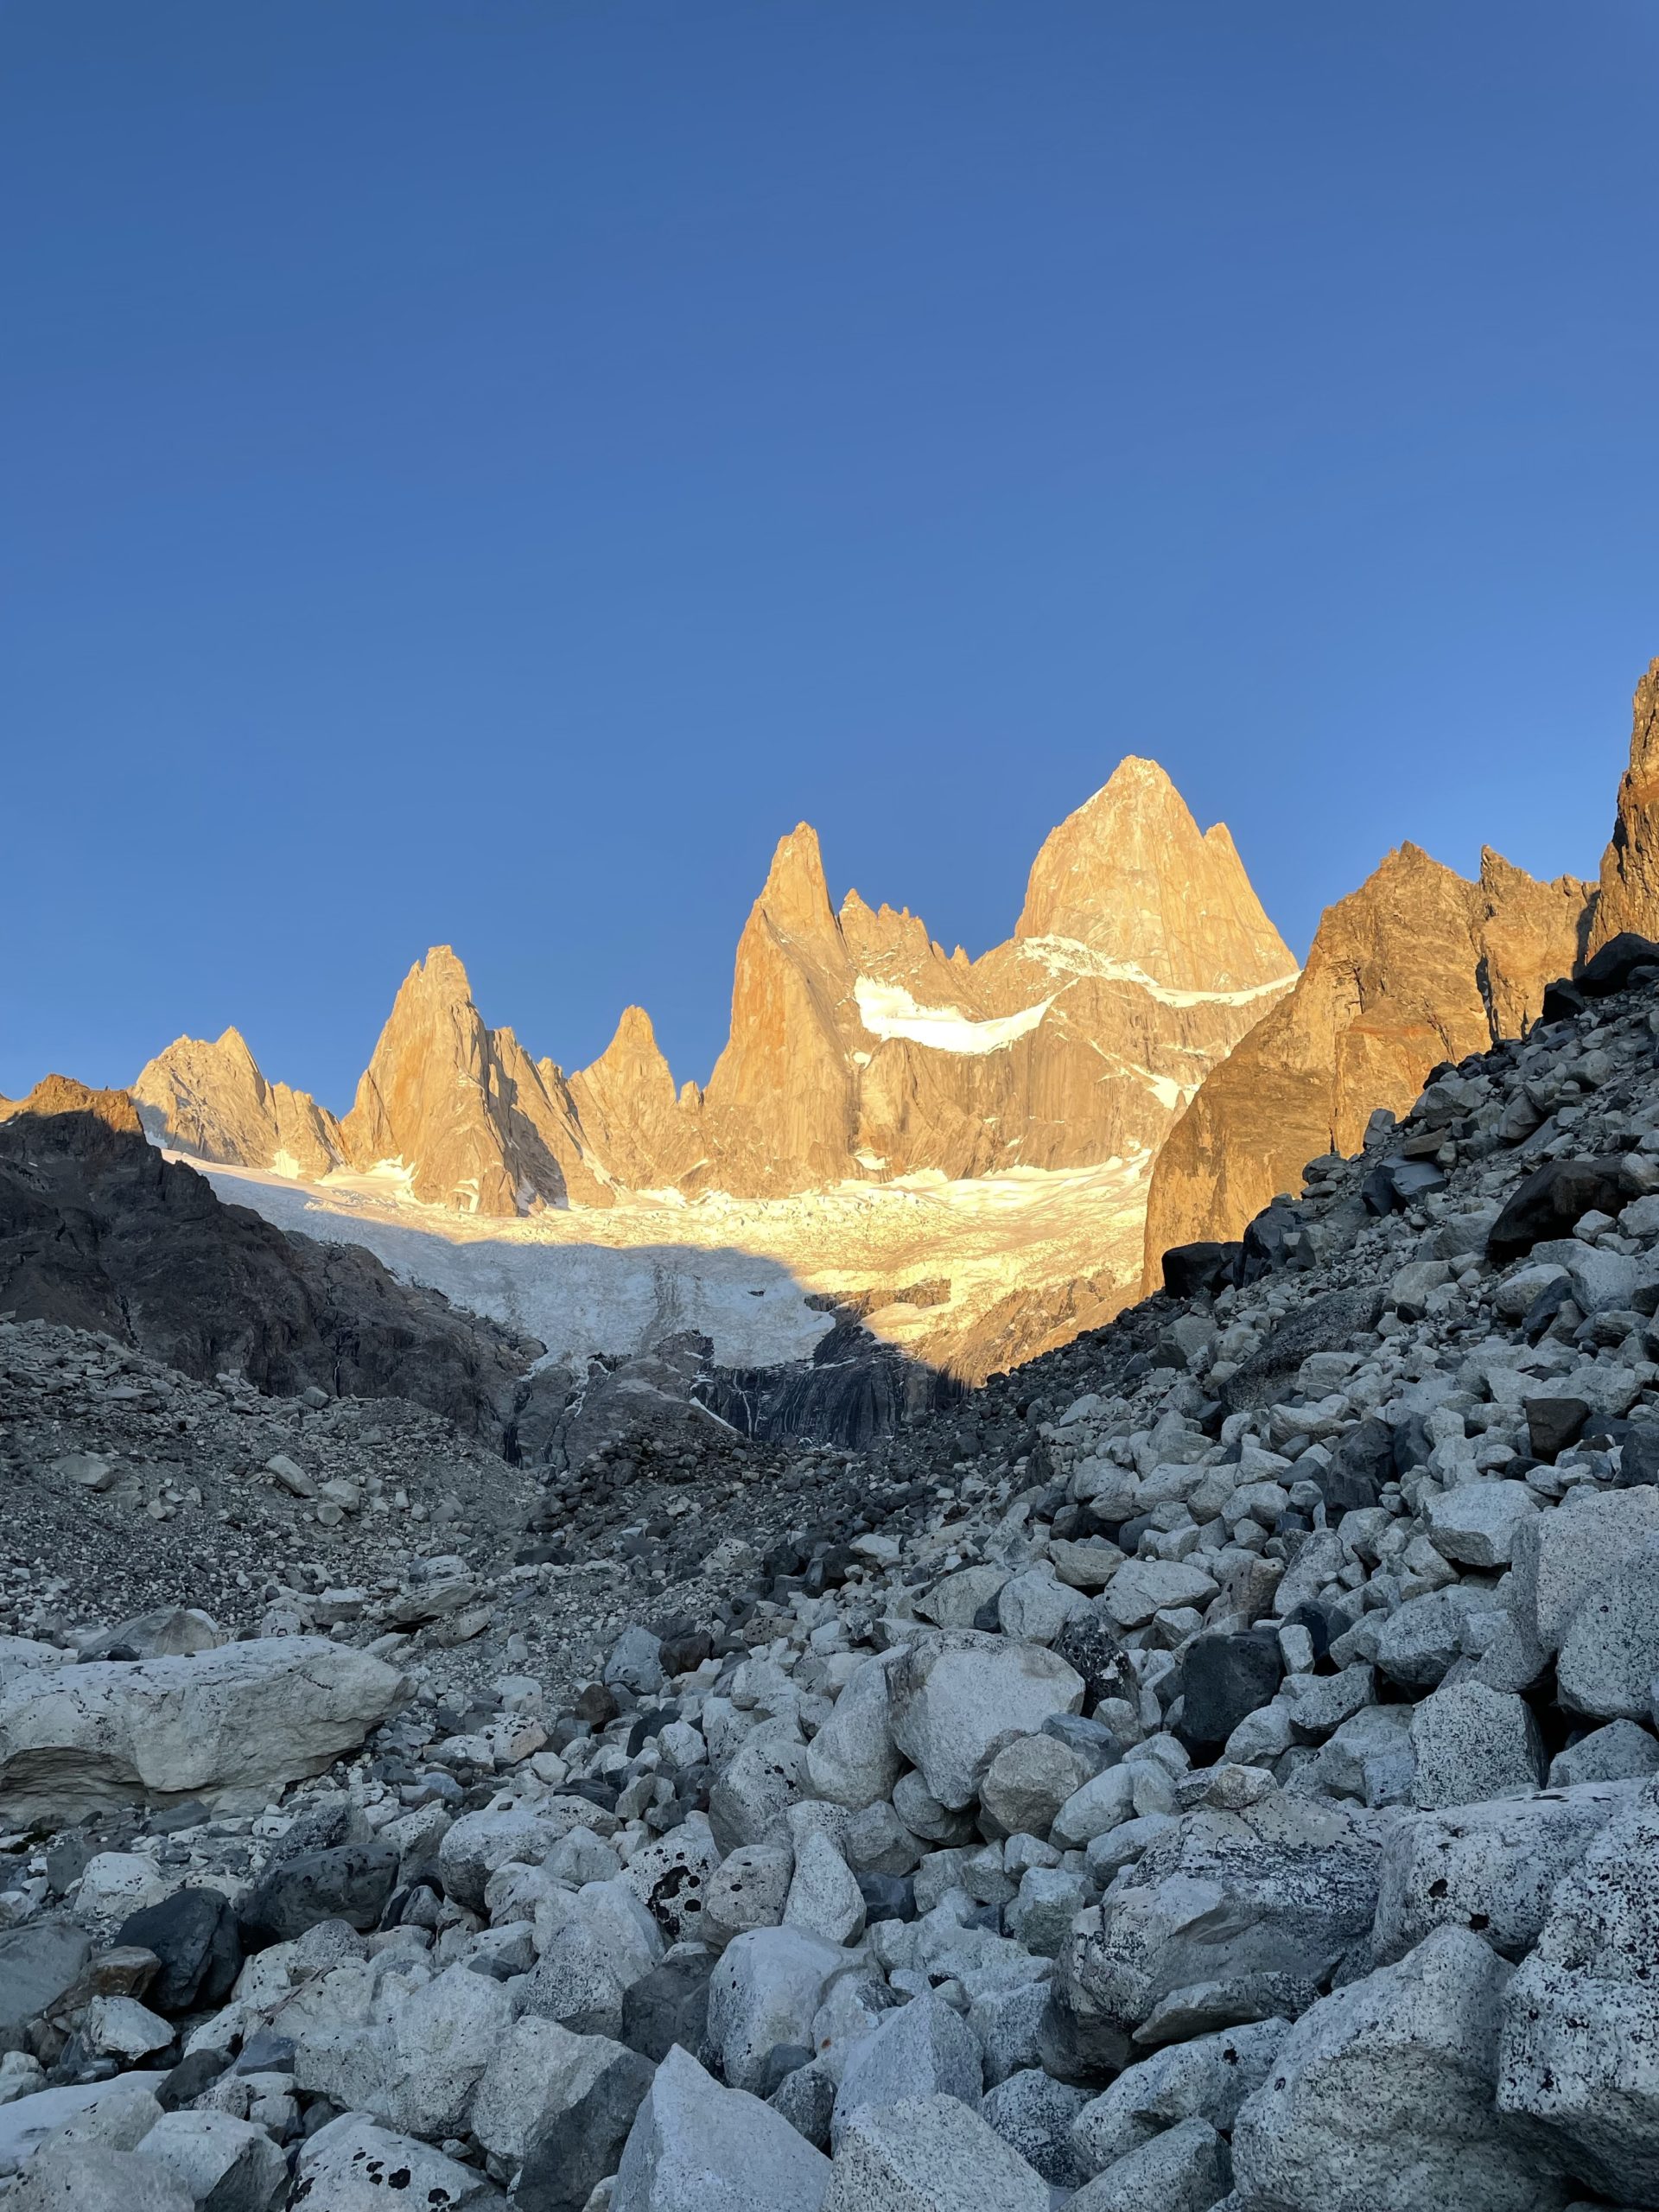
We reached the rock island and then made the short but tedious journey across with our cramp ons. The other pair of climbers were about half way across at this point and unroped. It looked safe to cross, but I figured it was better to set good habits and at least rope up for this section. Jacob and I tied in (poorly, because I haven’t used glacier travel course knowledge in a hot minute) and started across. Jacob lead the way following the existing tracks. The sun was cooking us pretty well on the glacier so we were thankful to finally reach the base of Mojon Rojo.
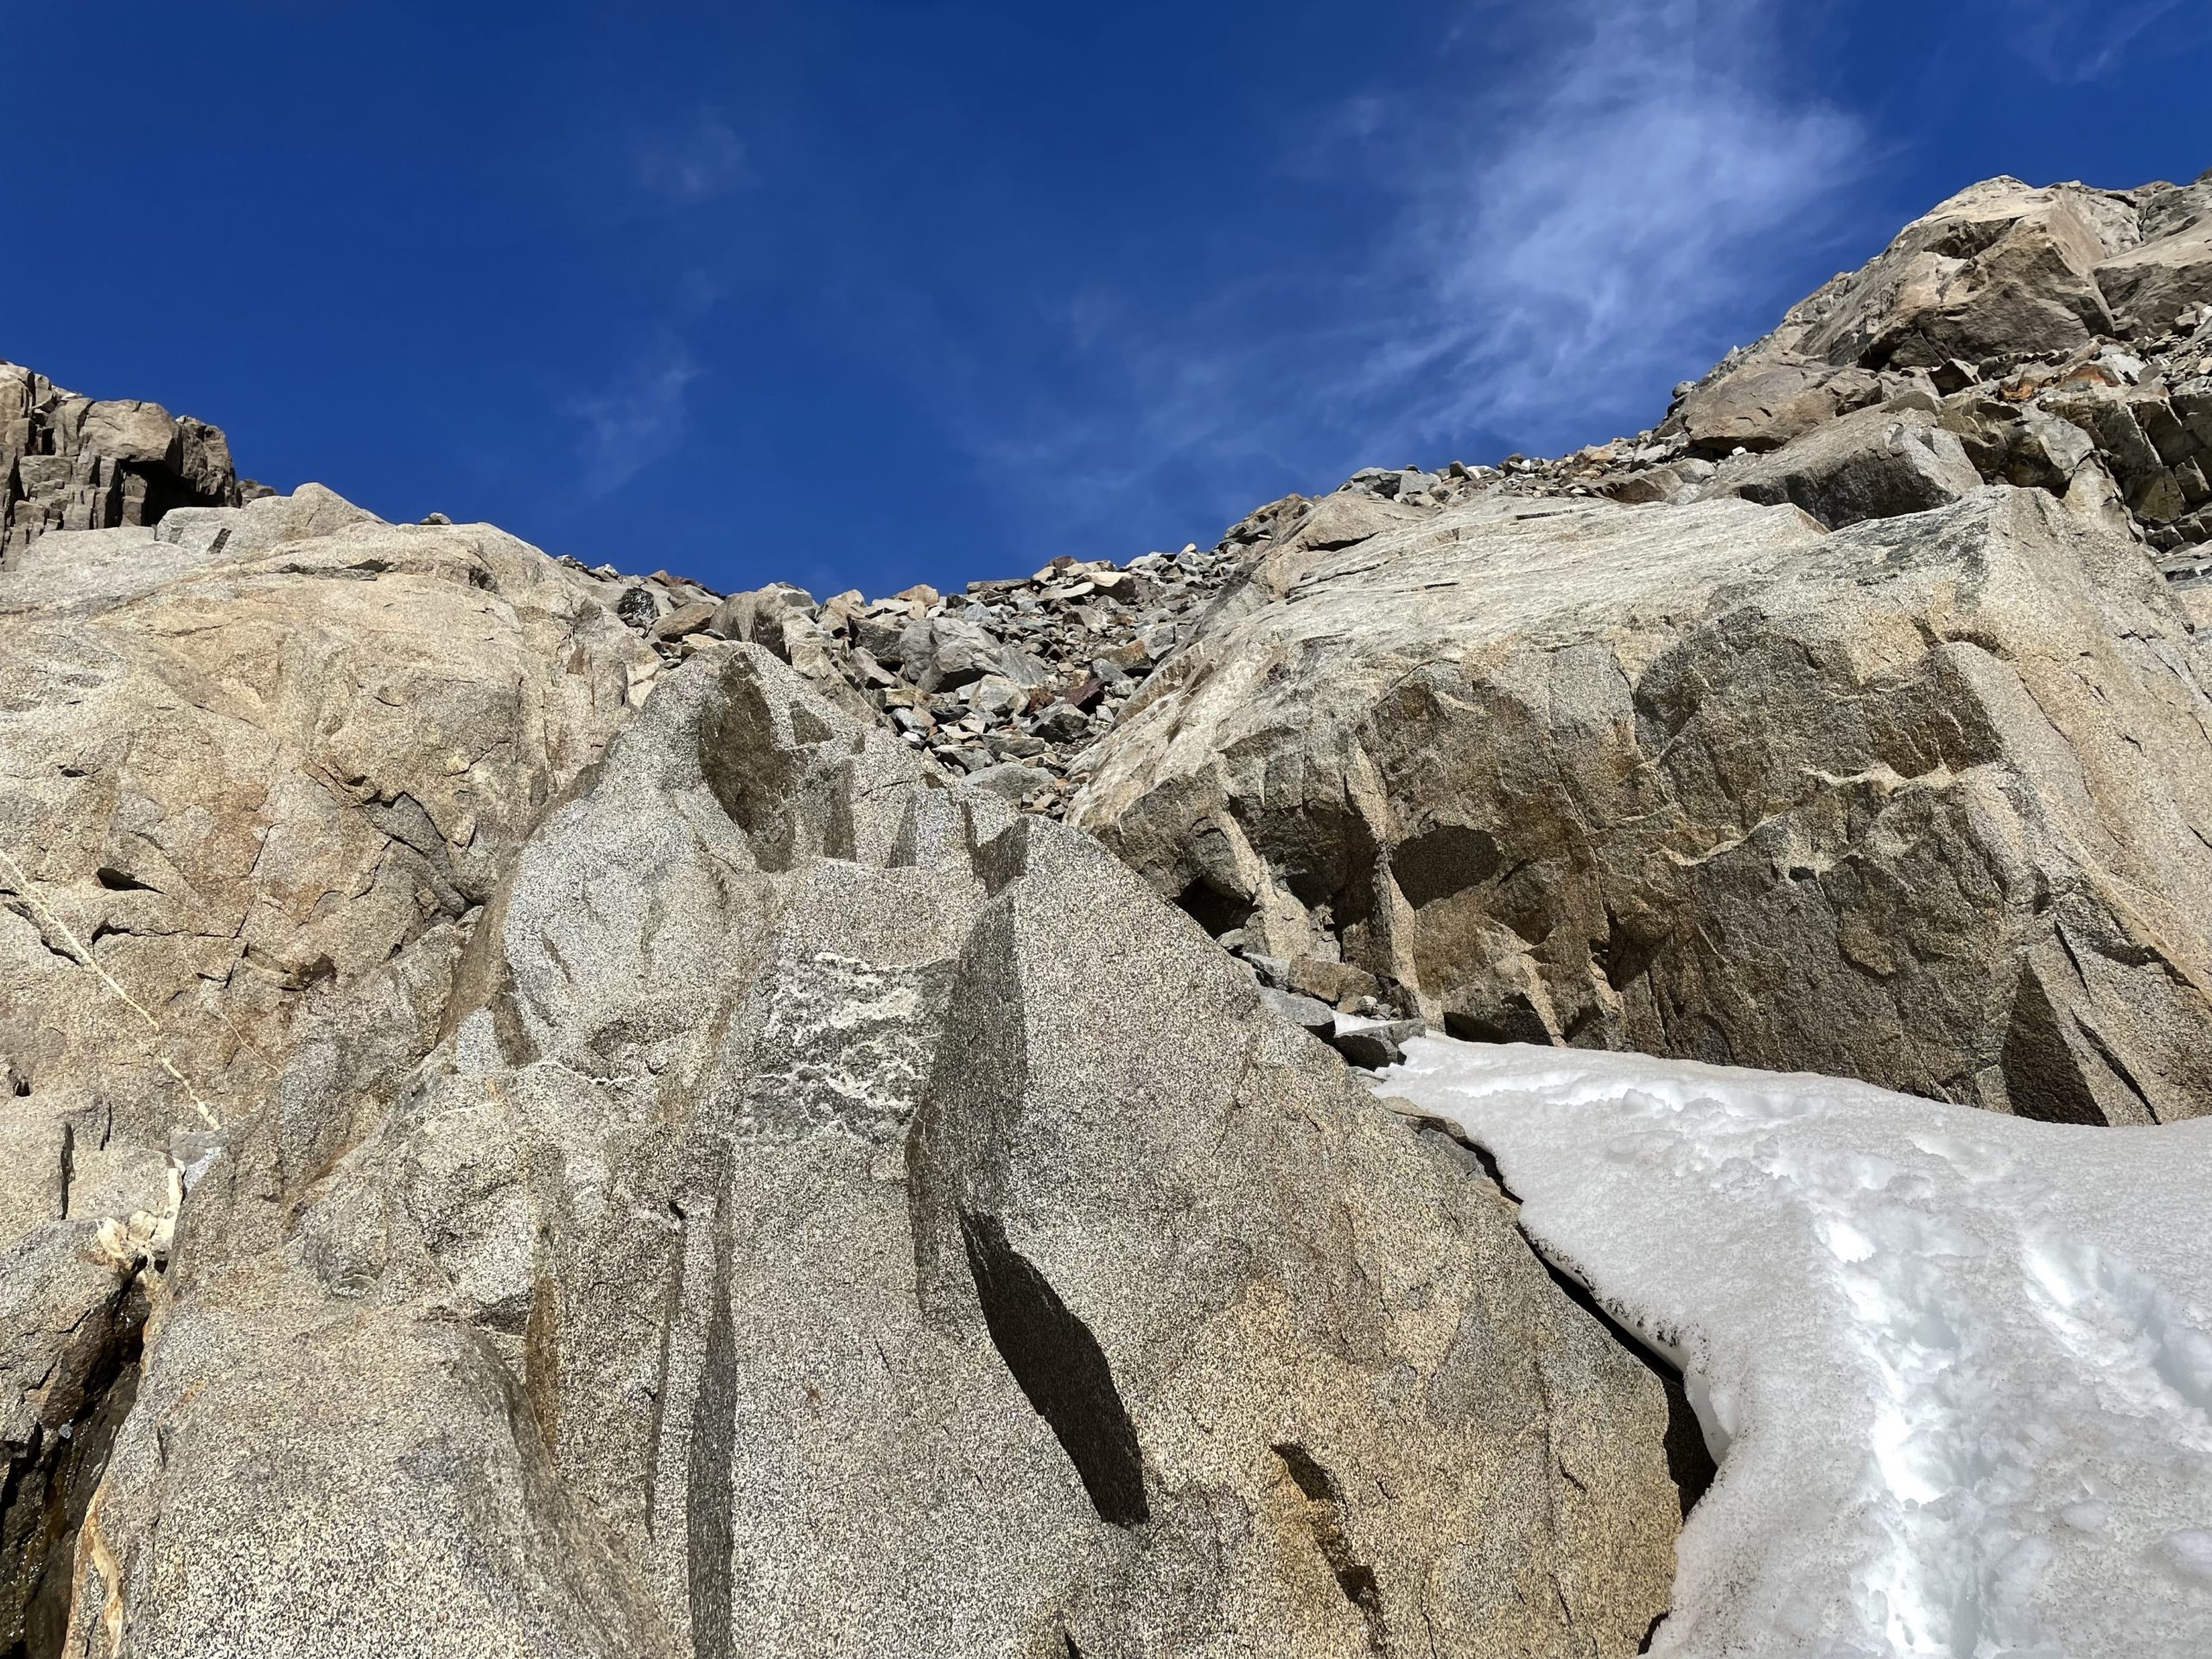
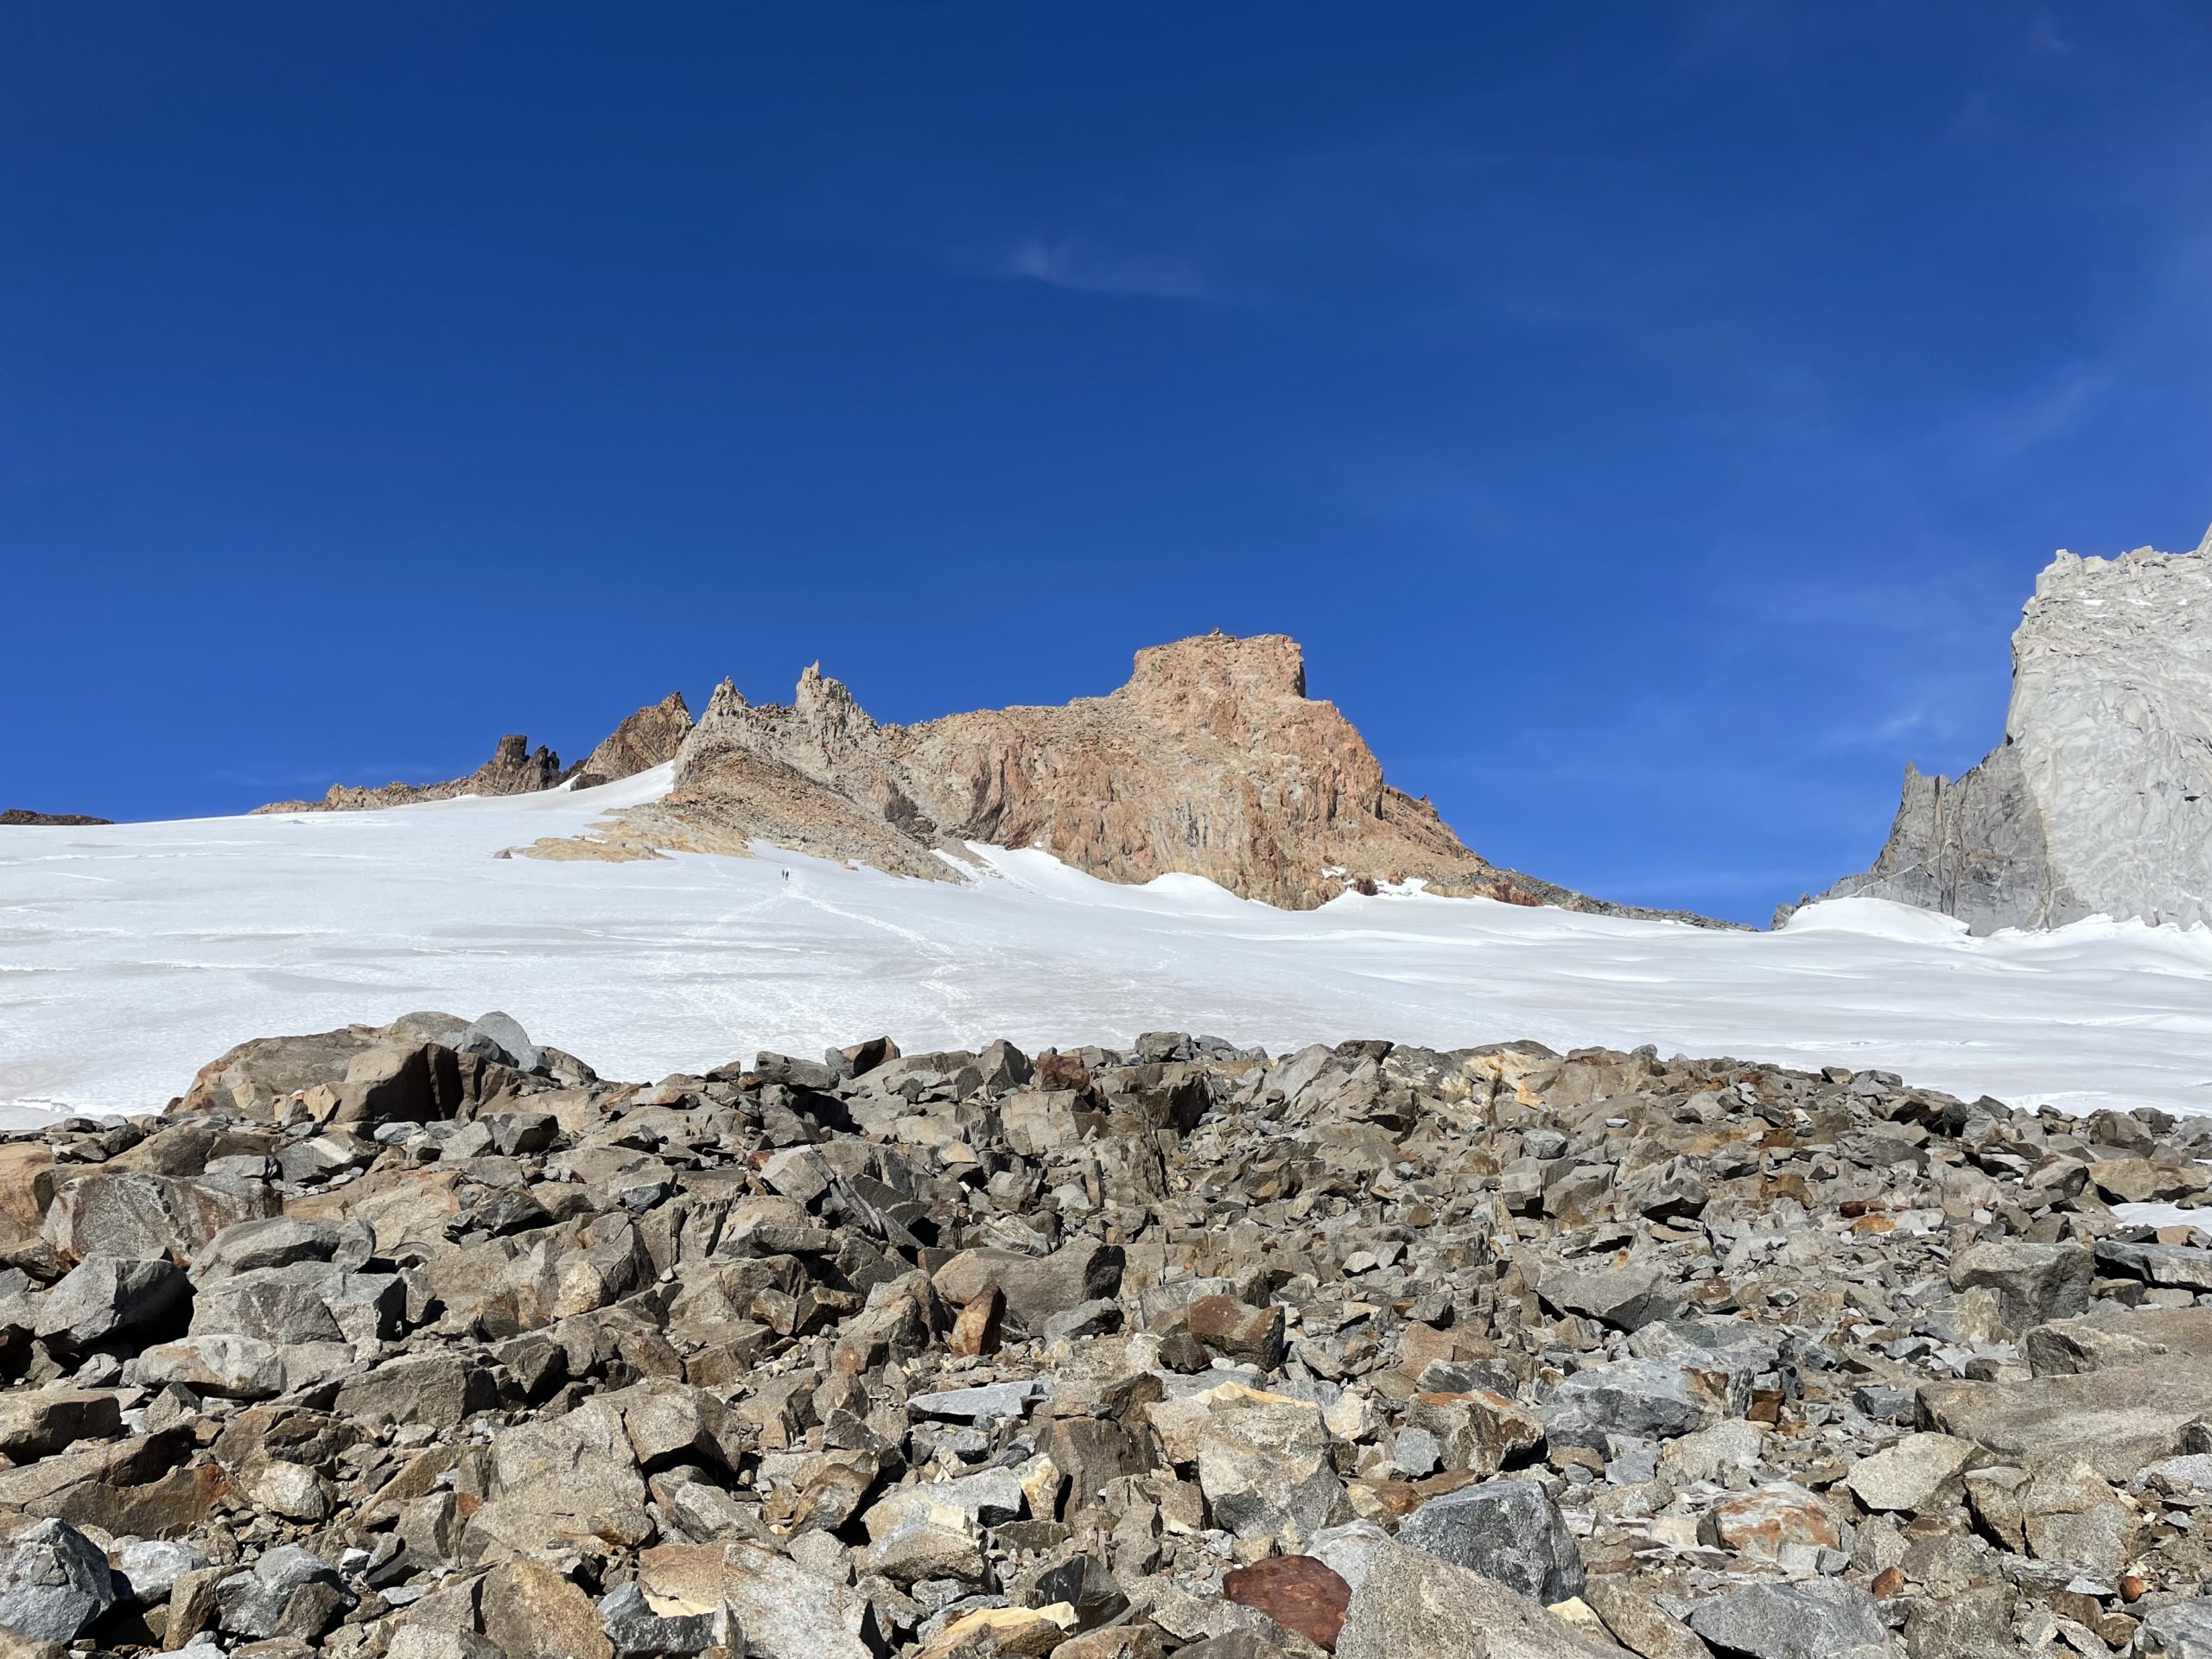
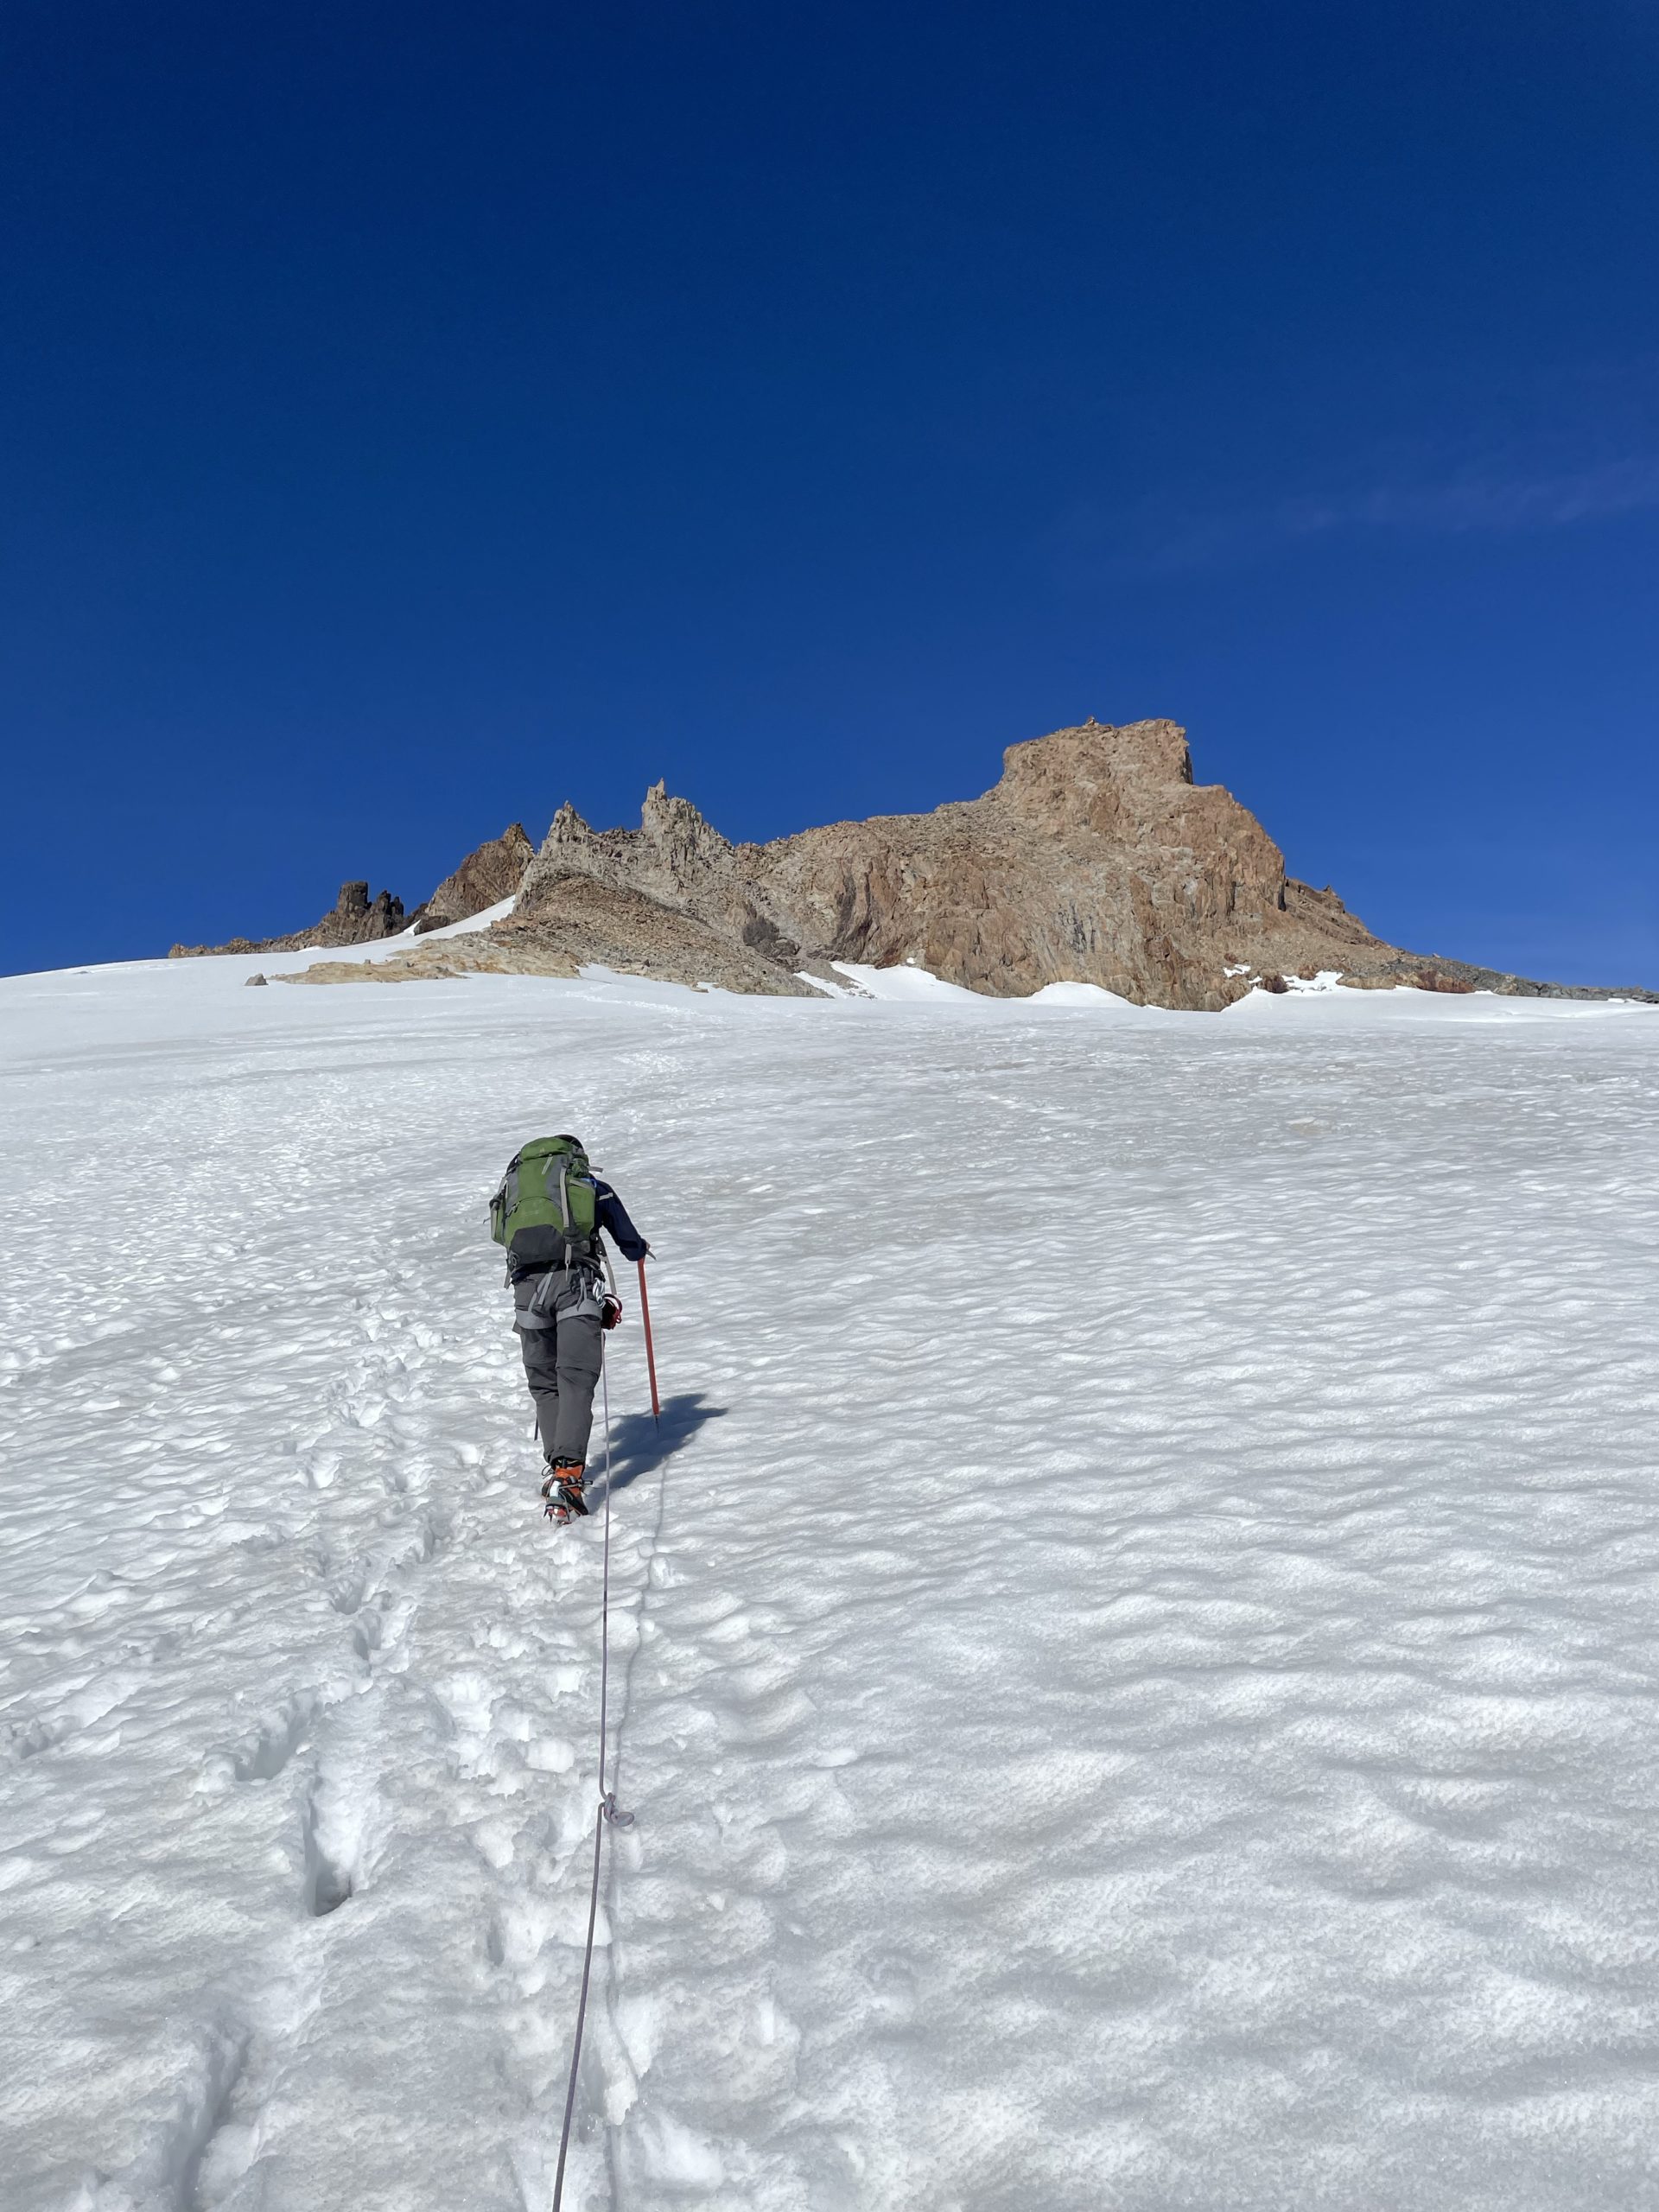

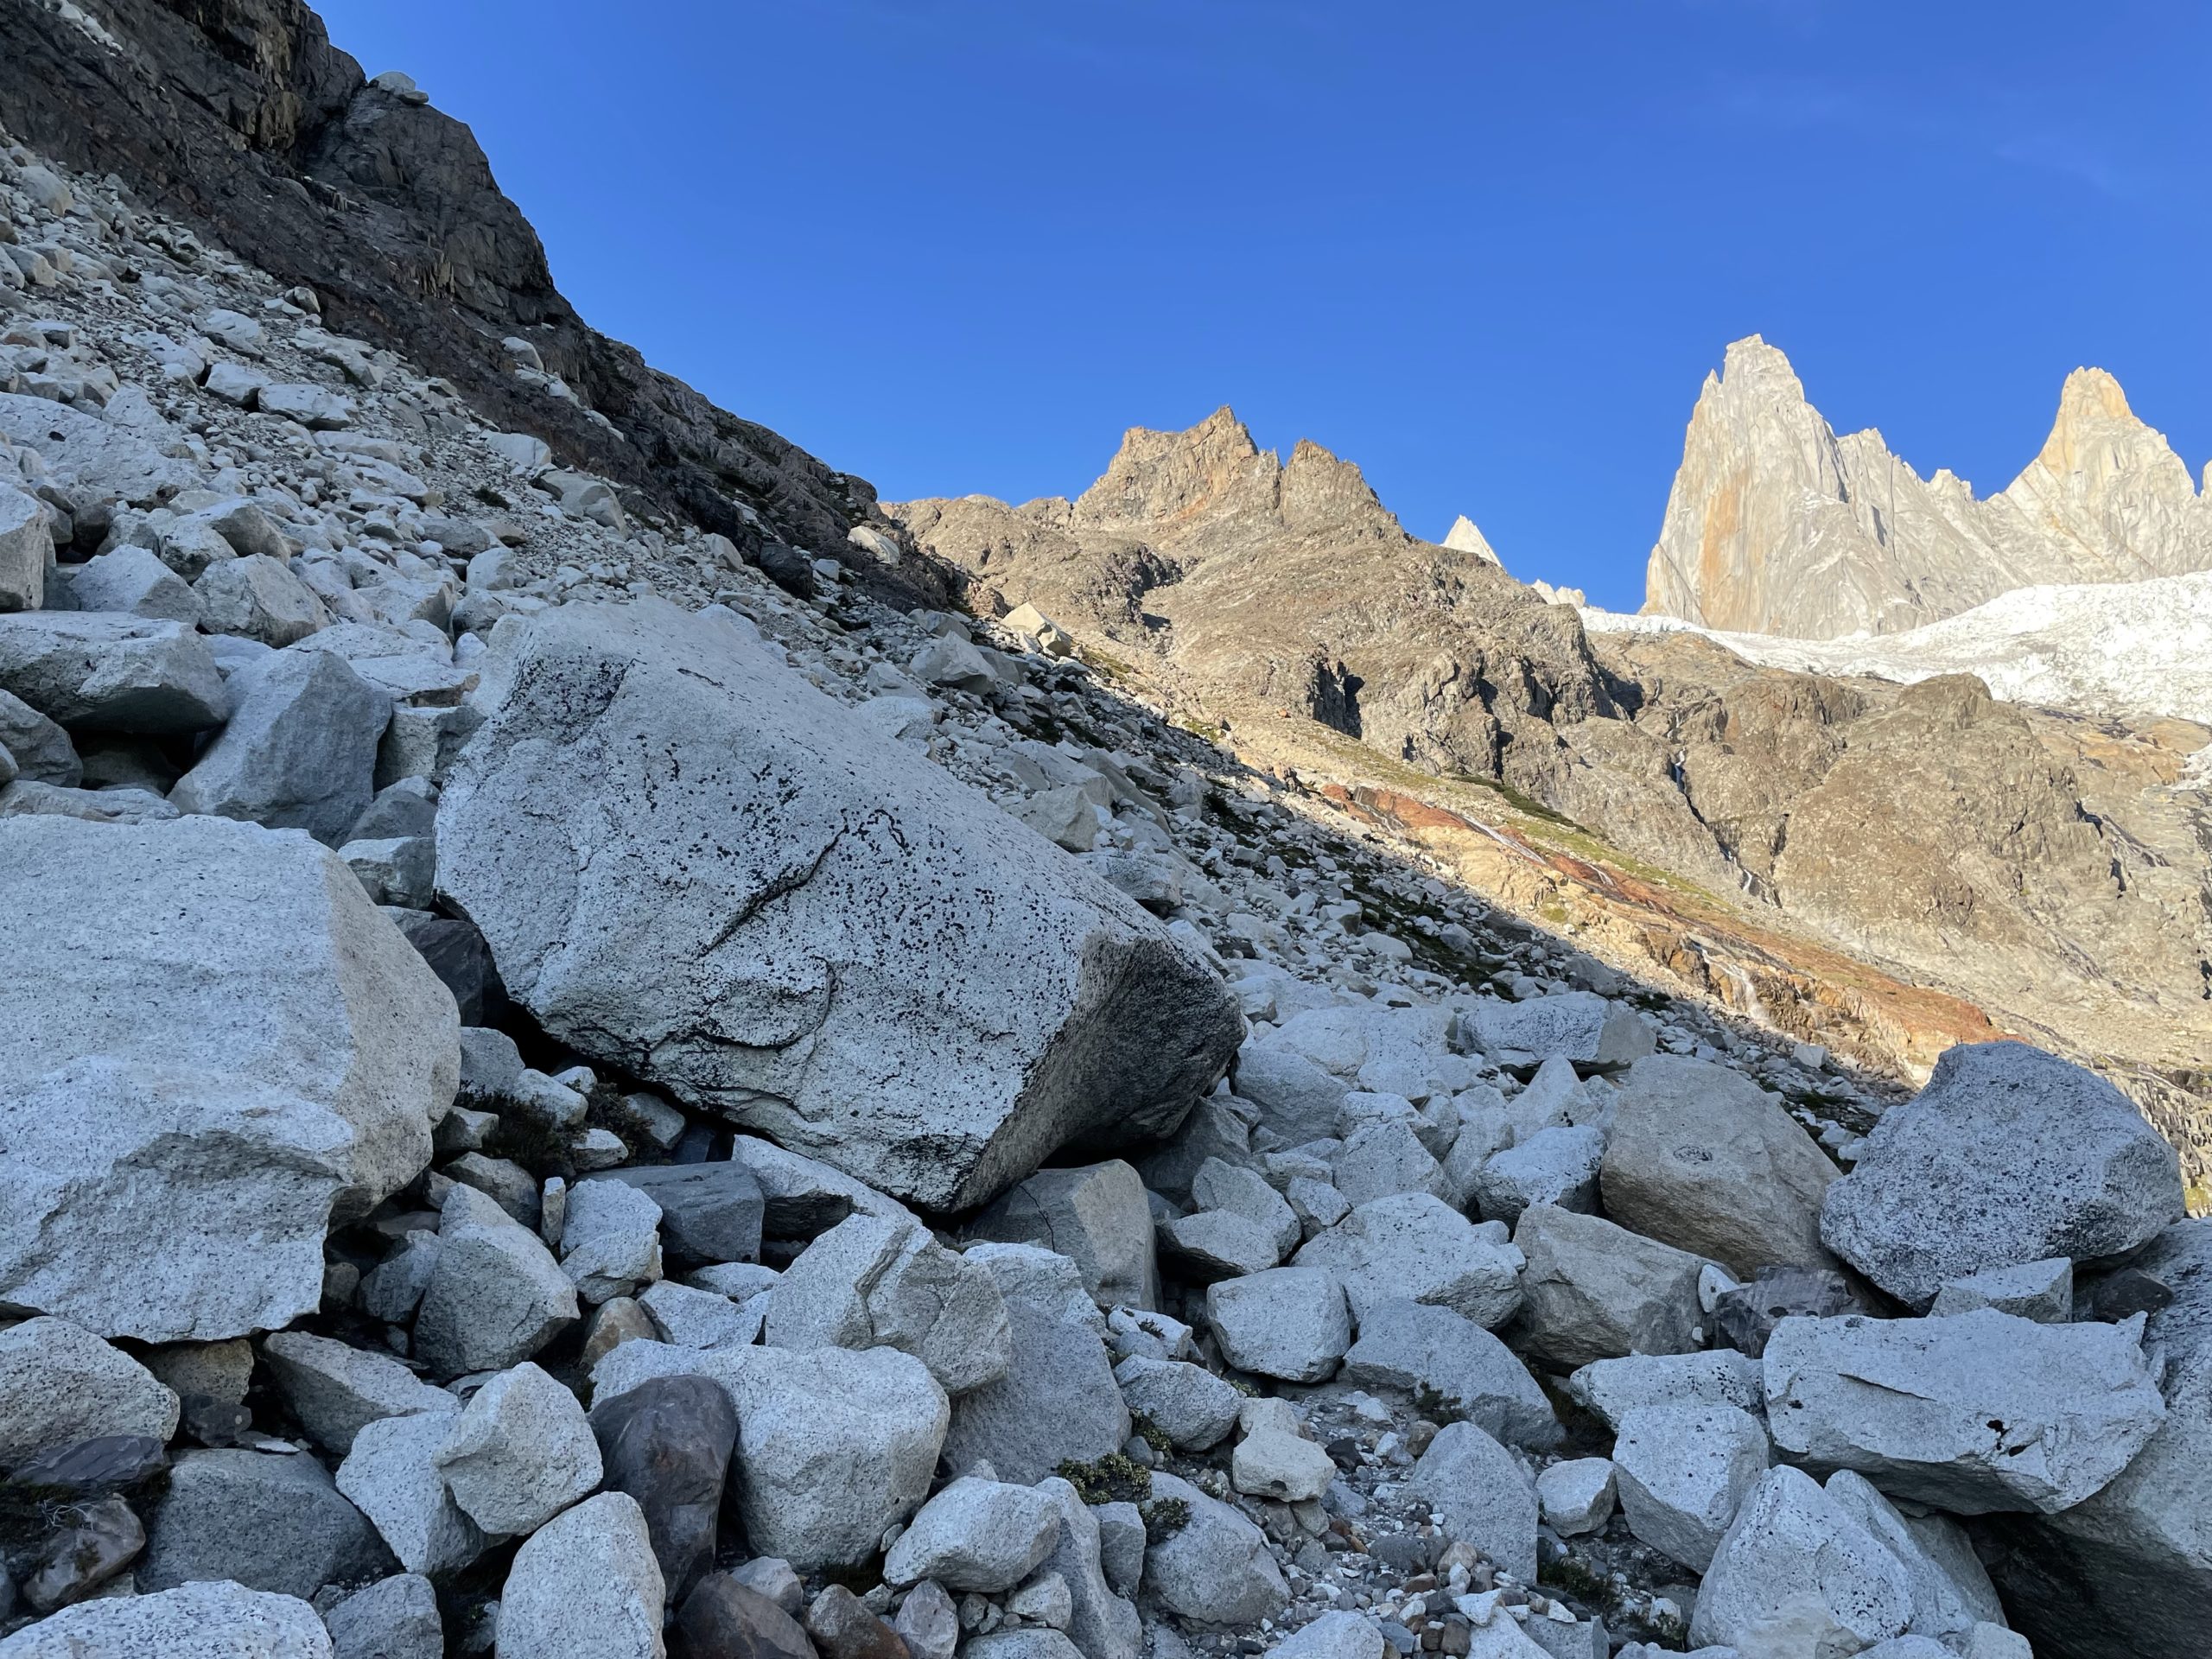
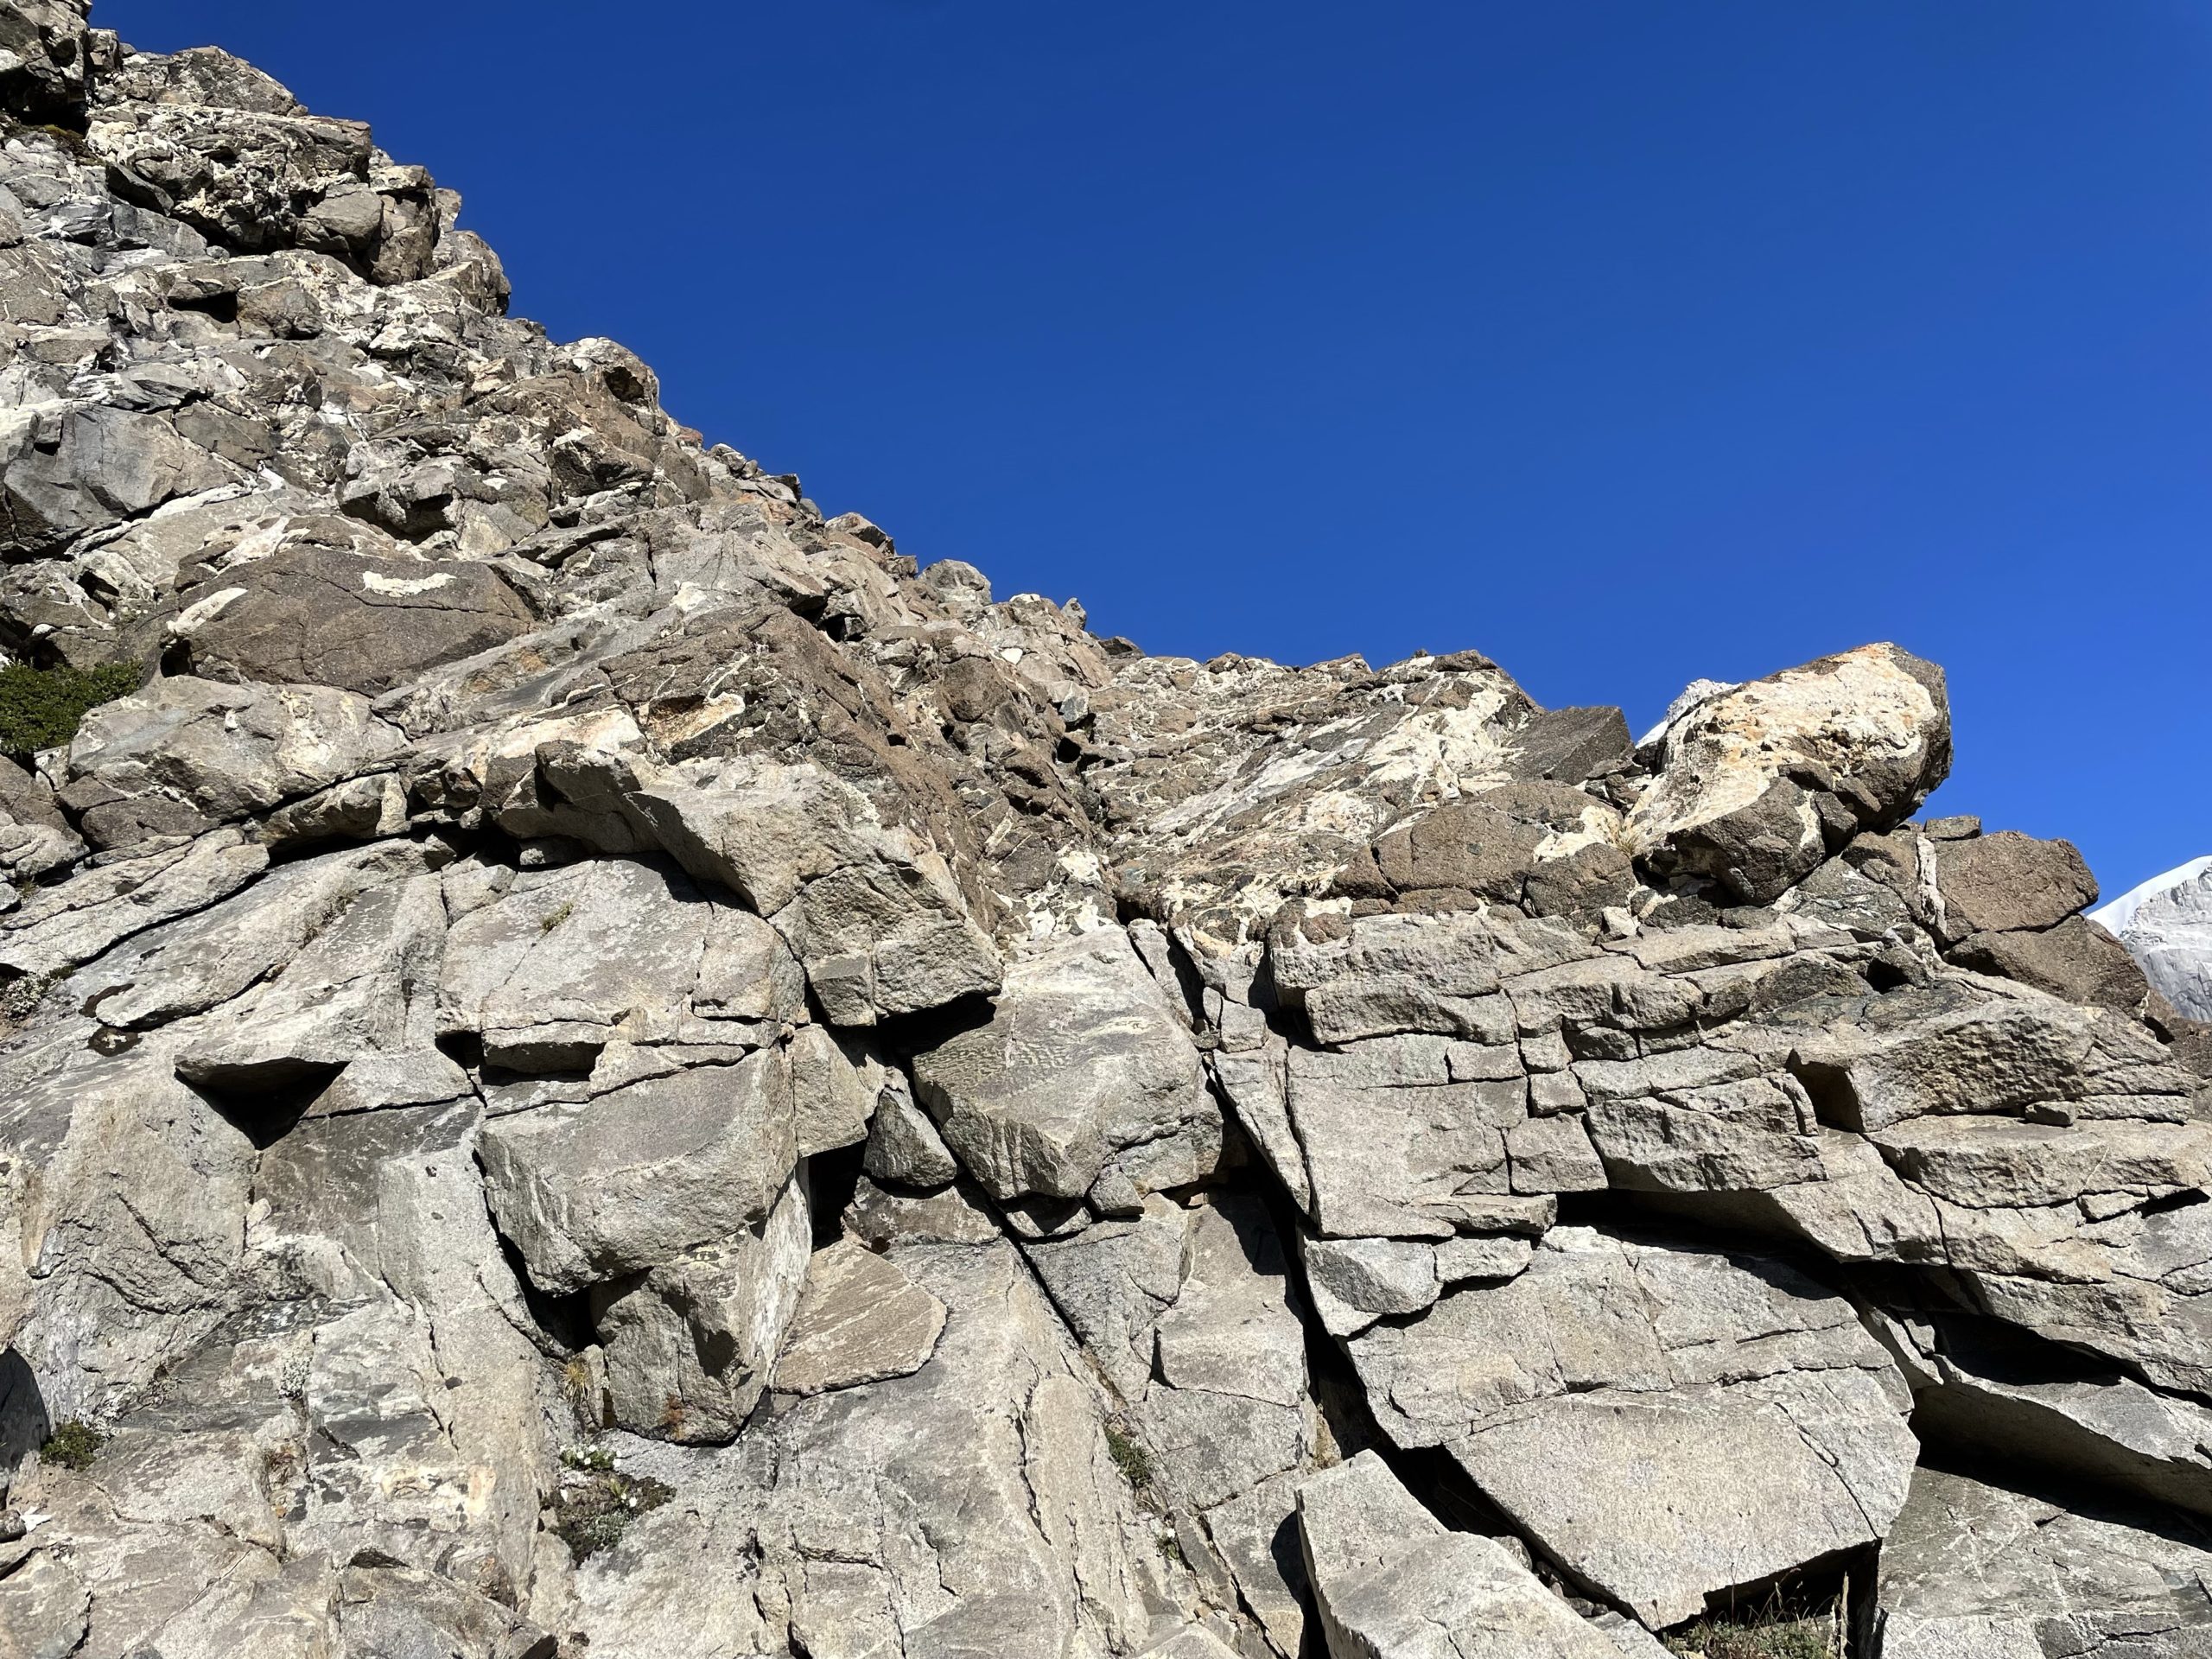
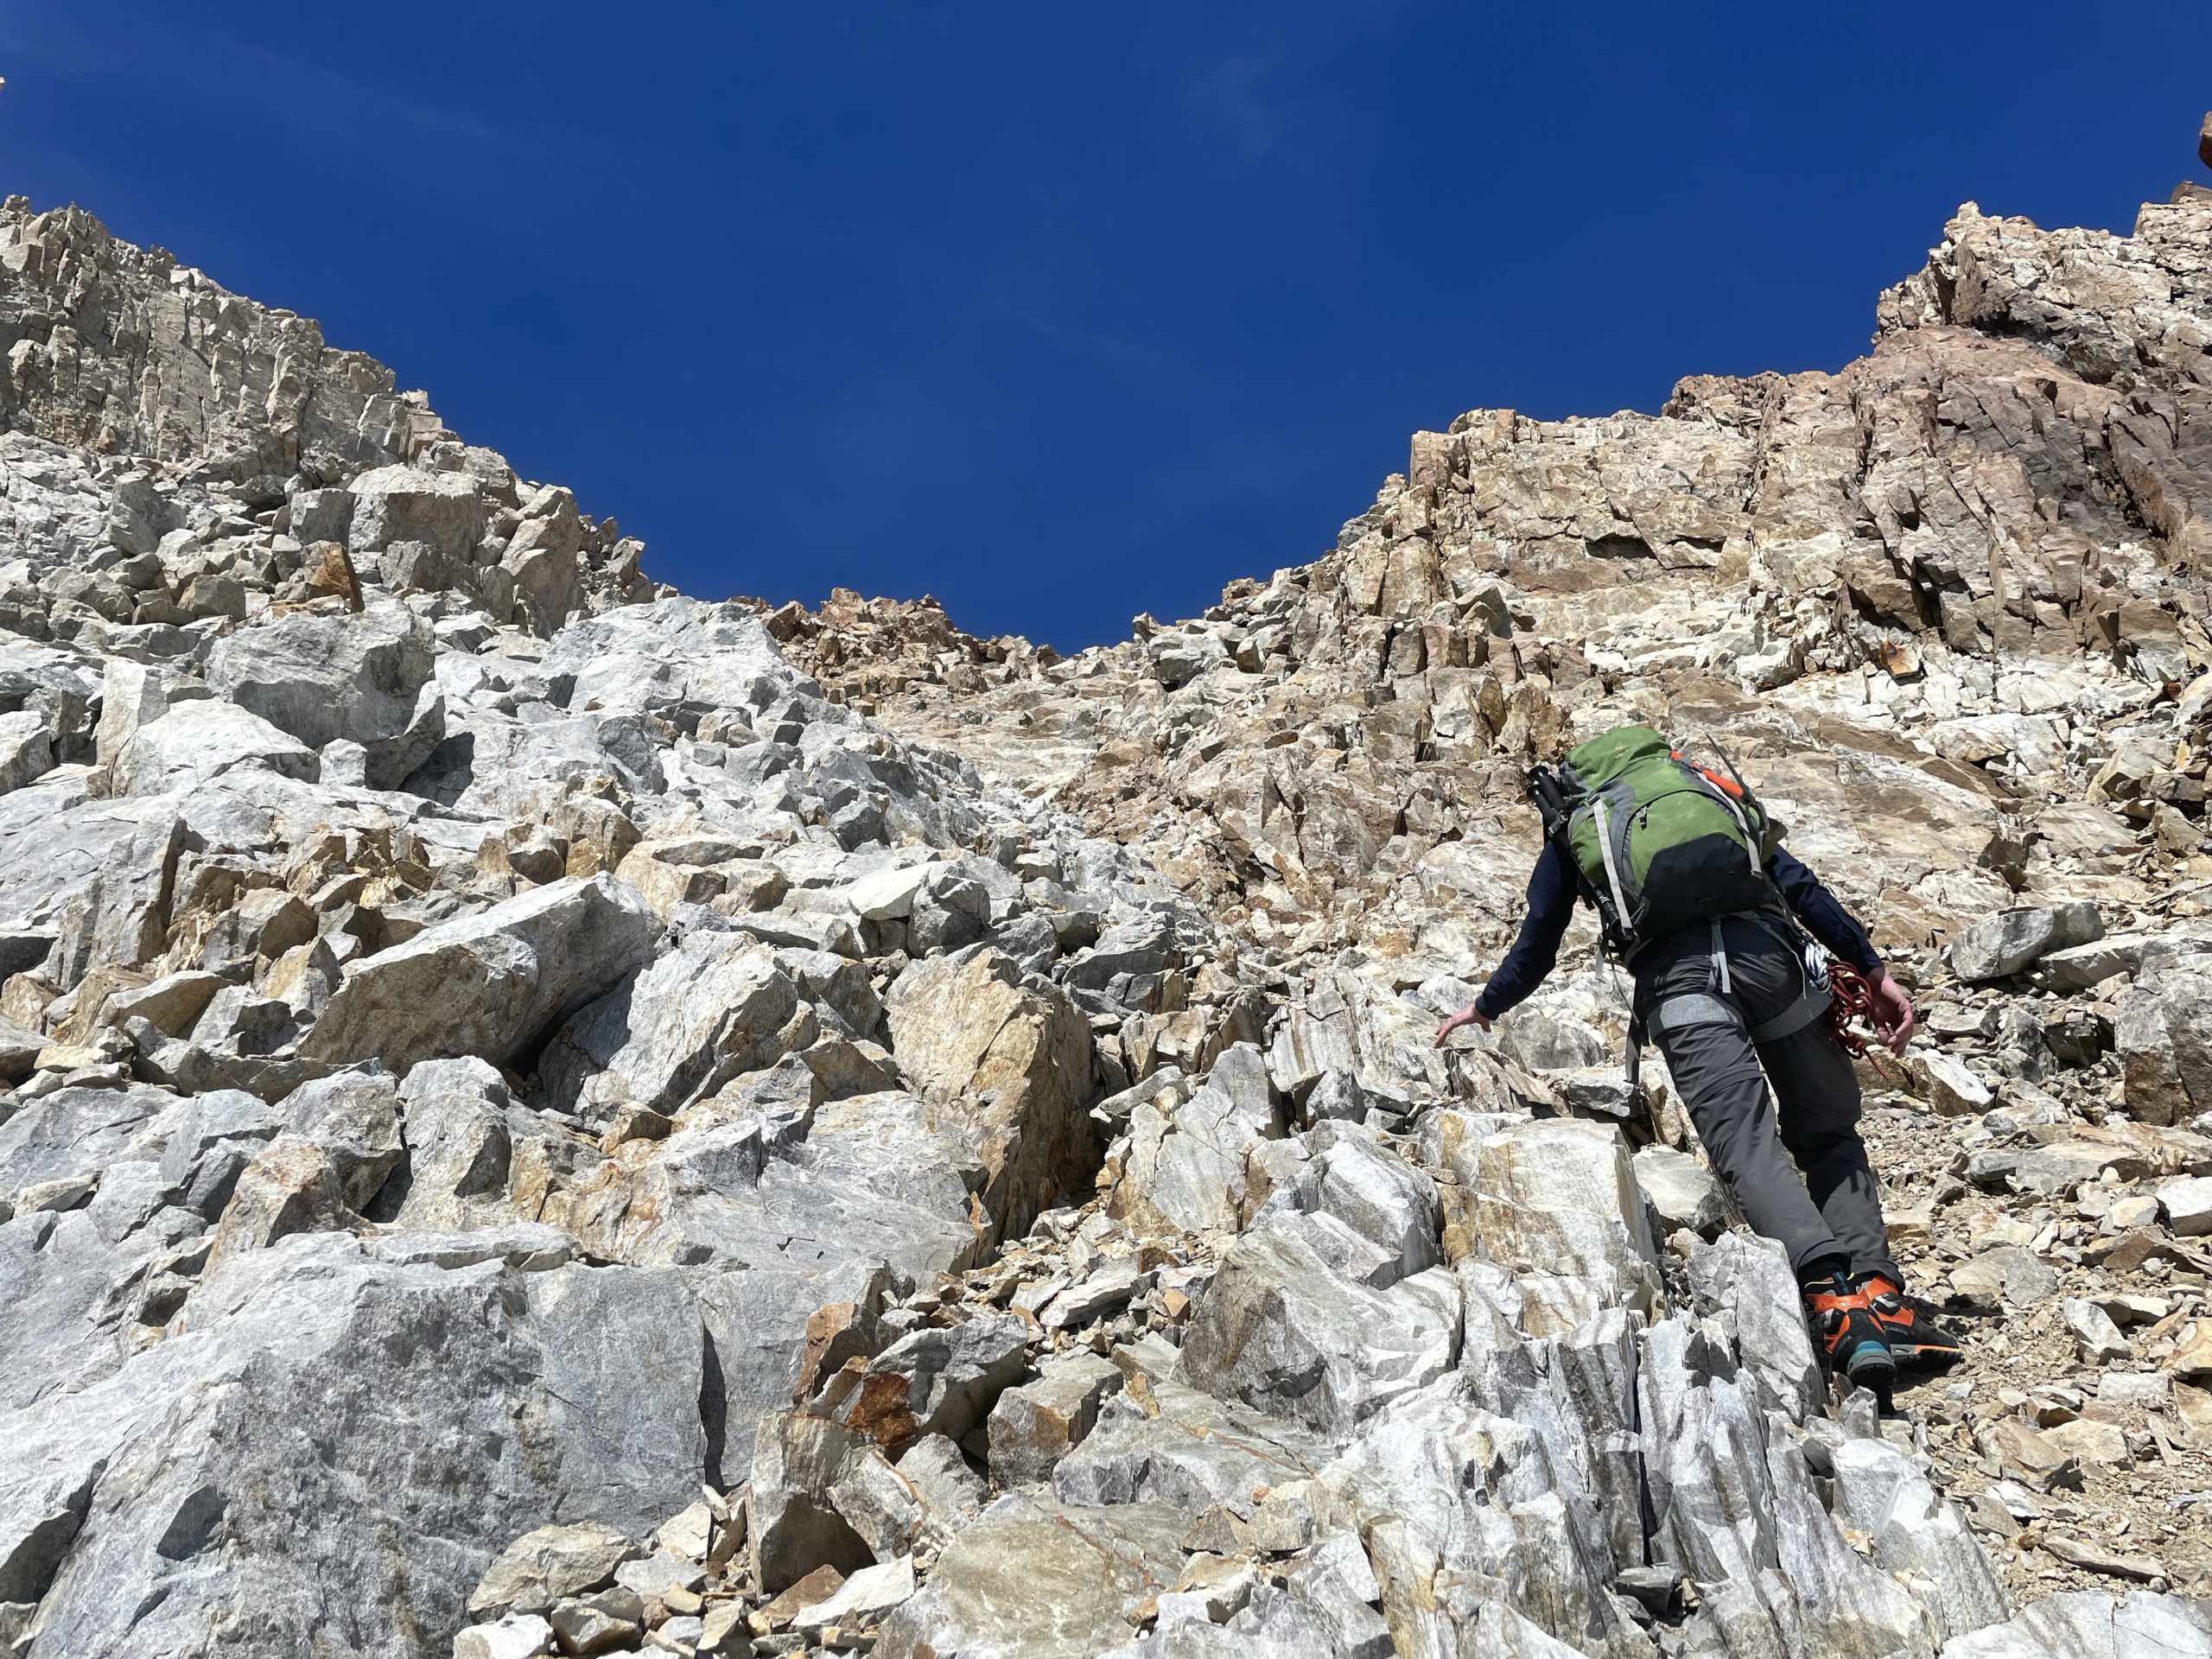
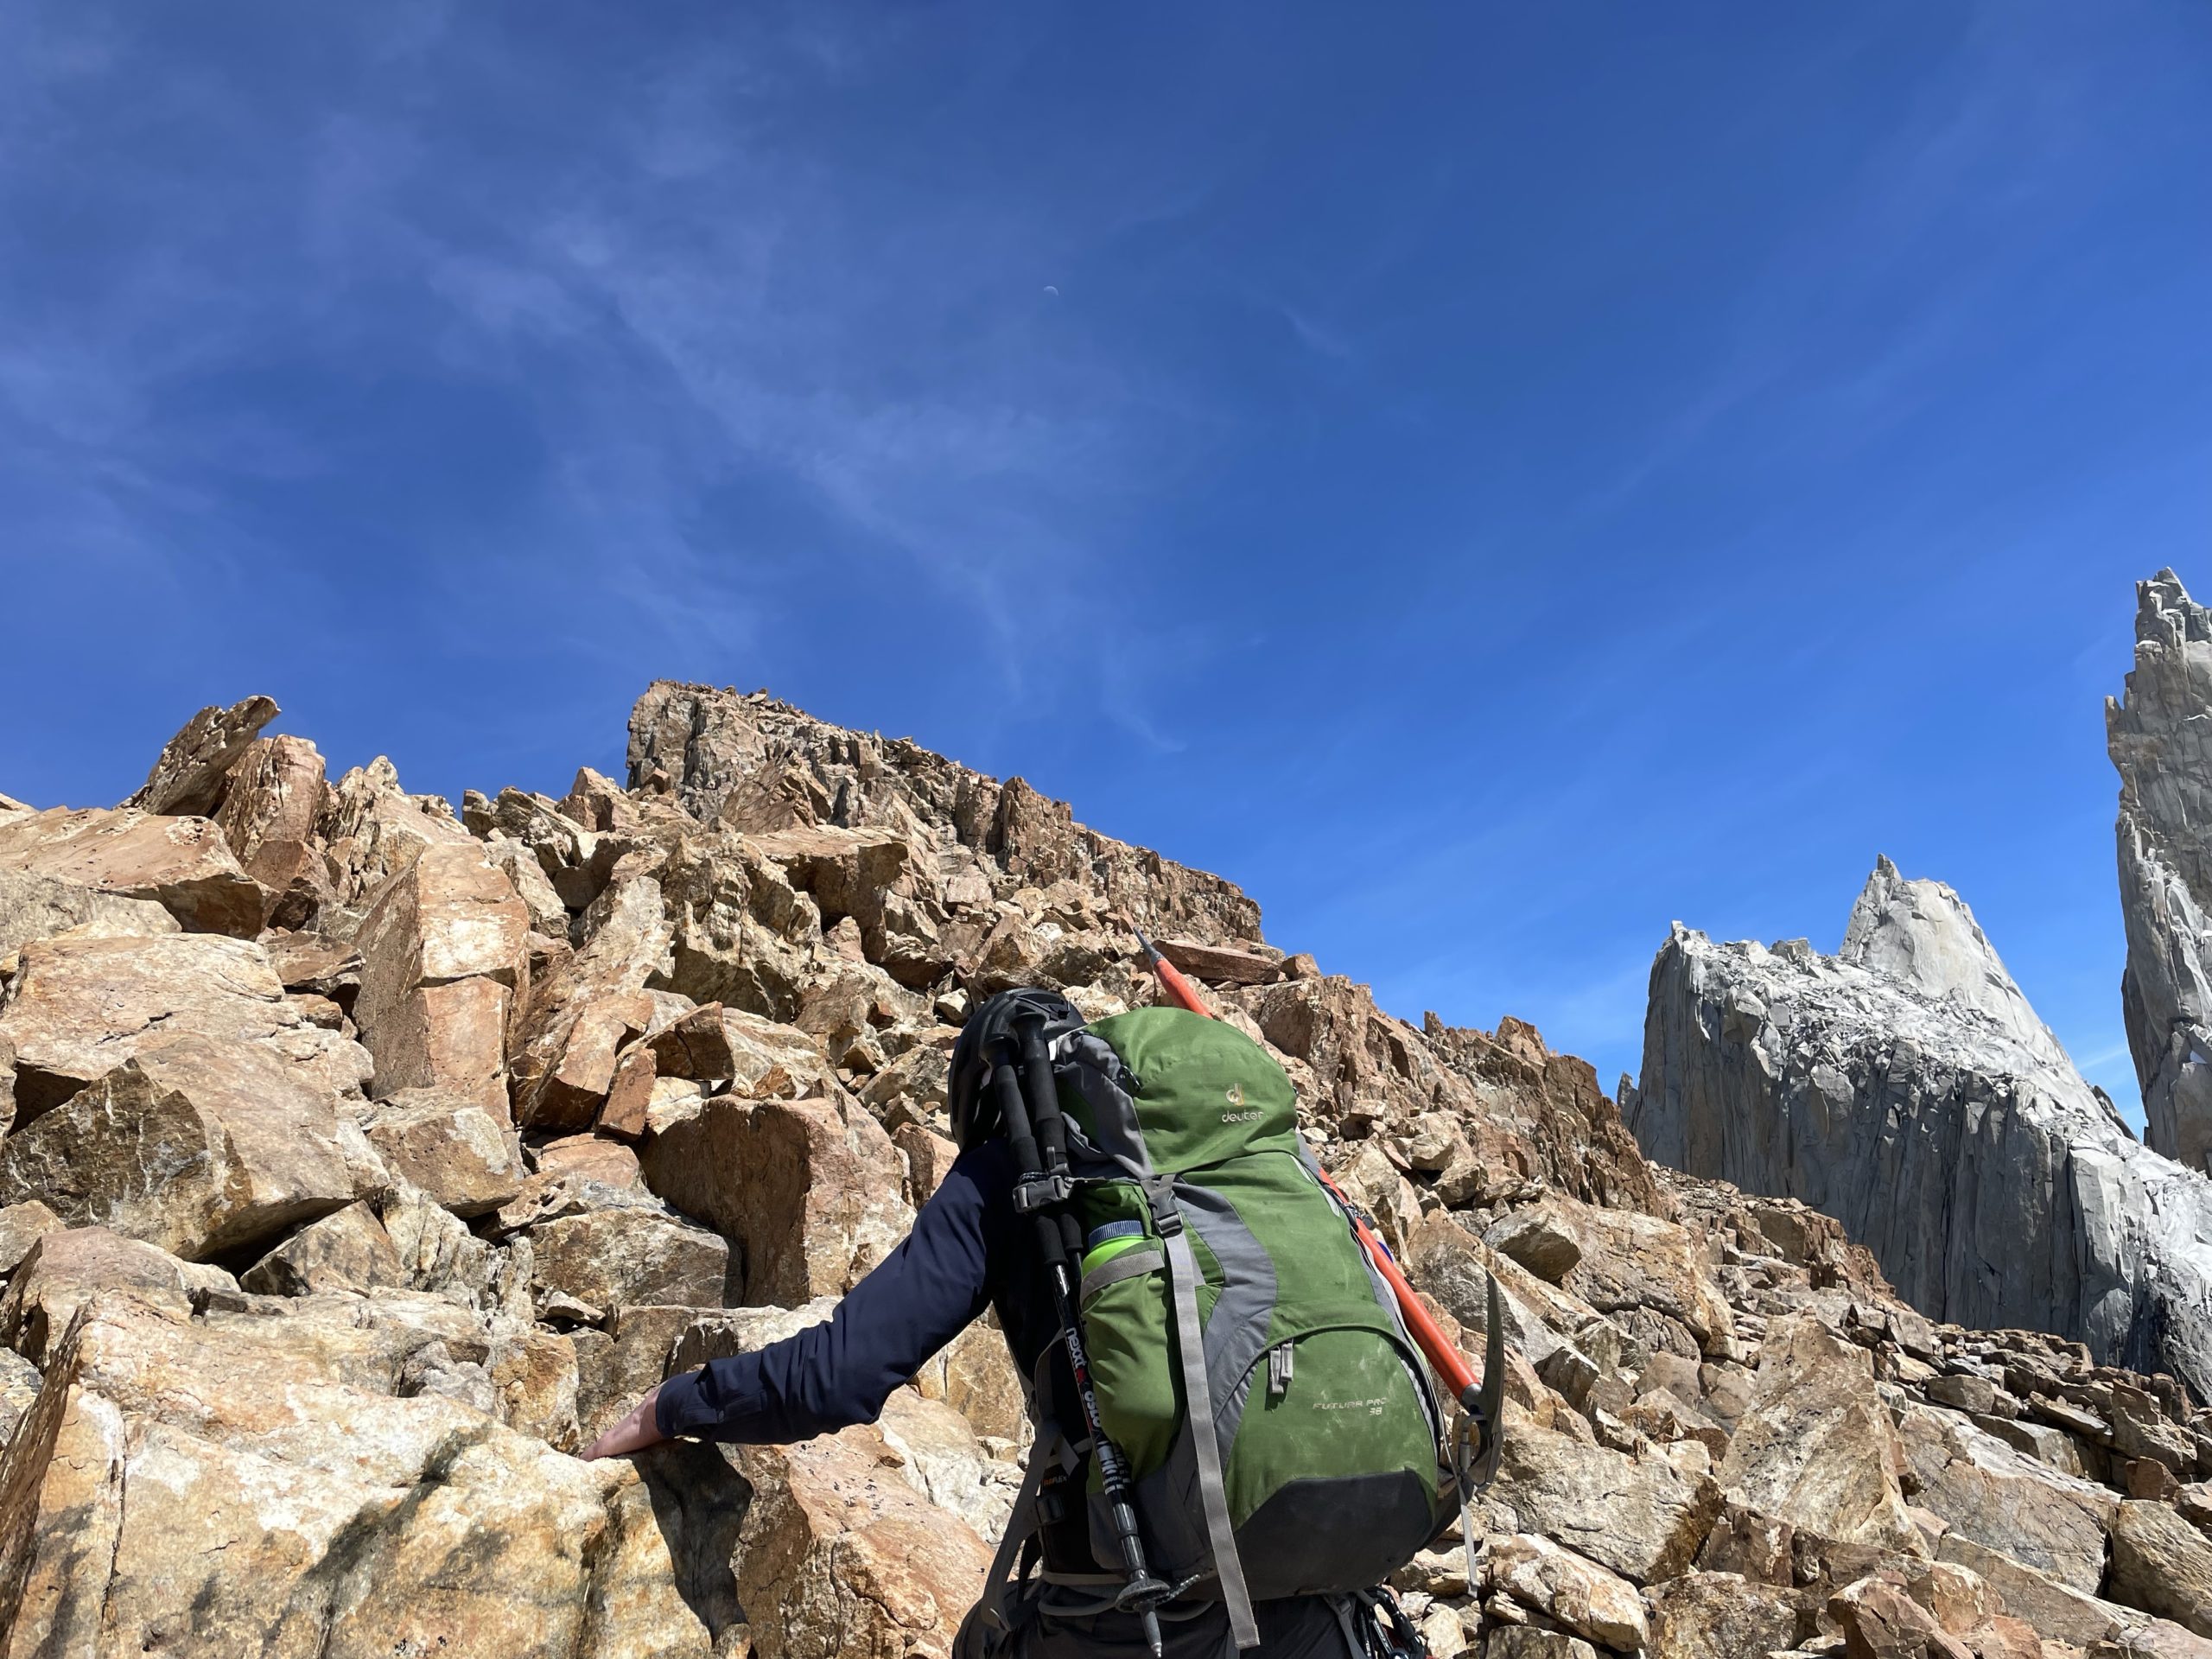
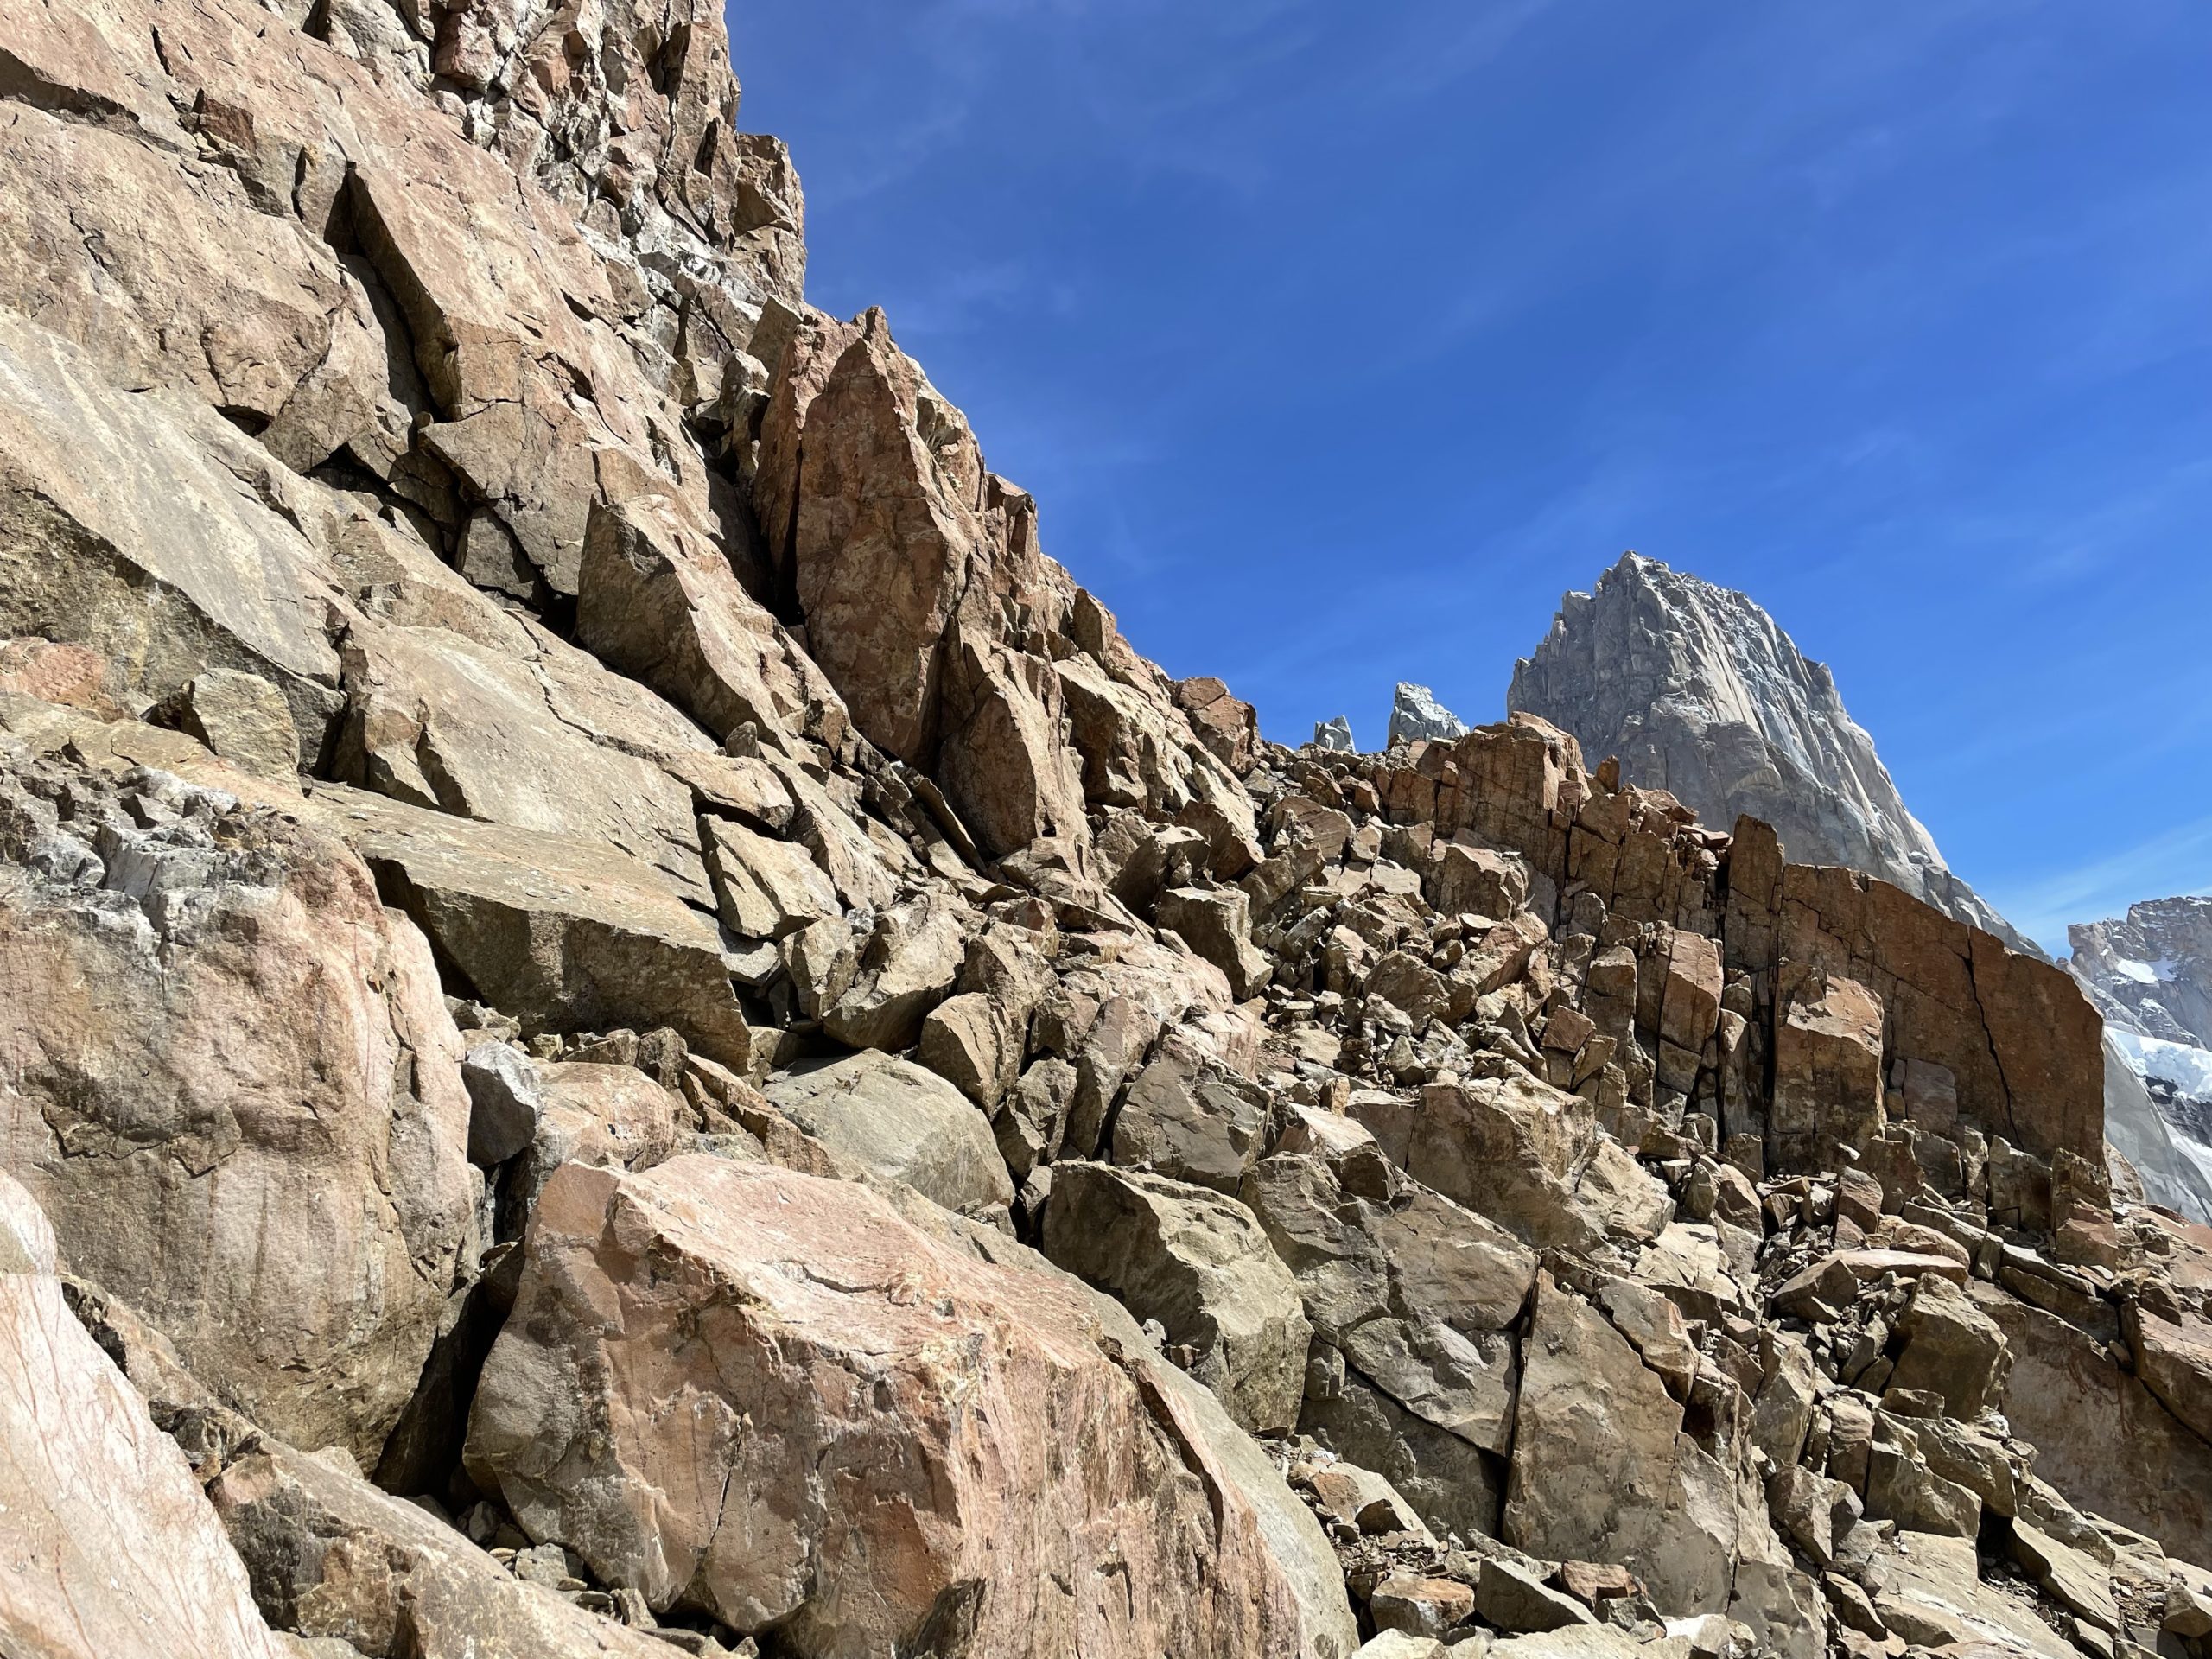
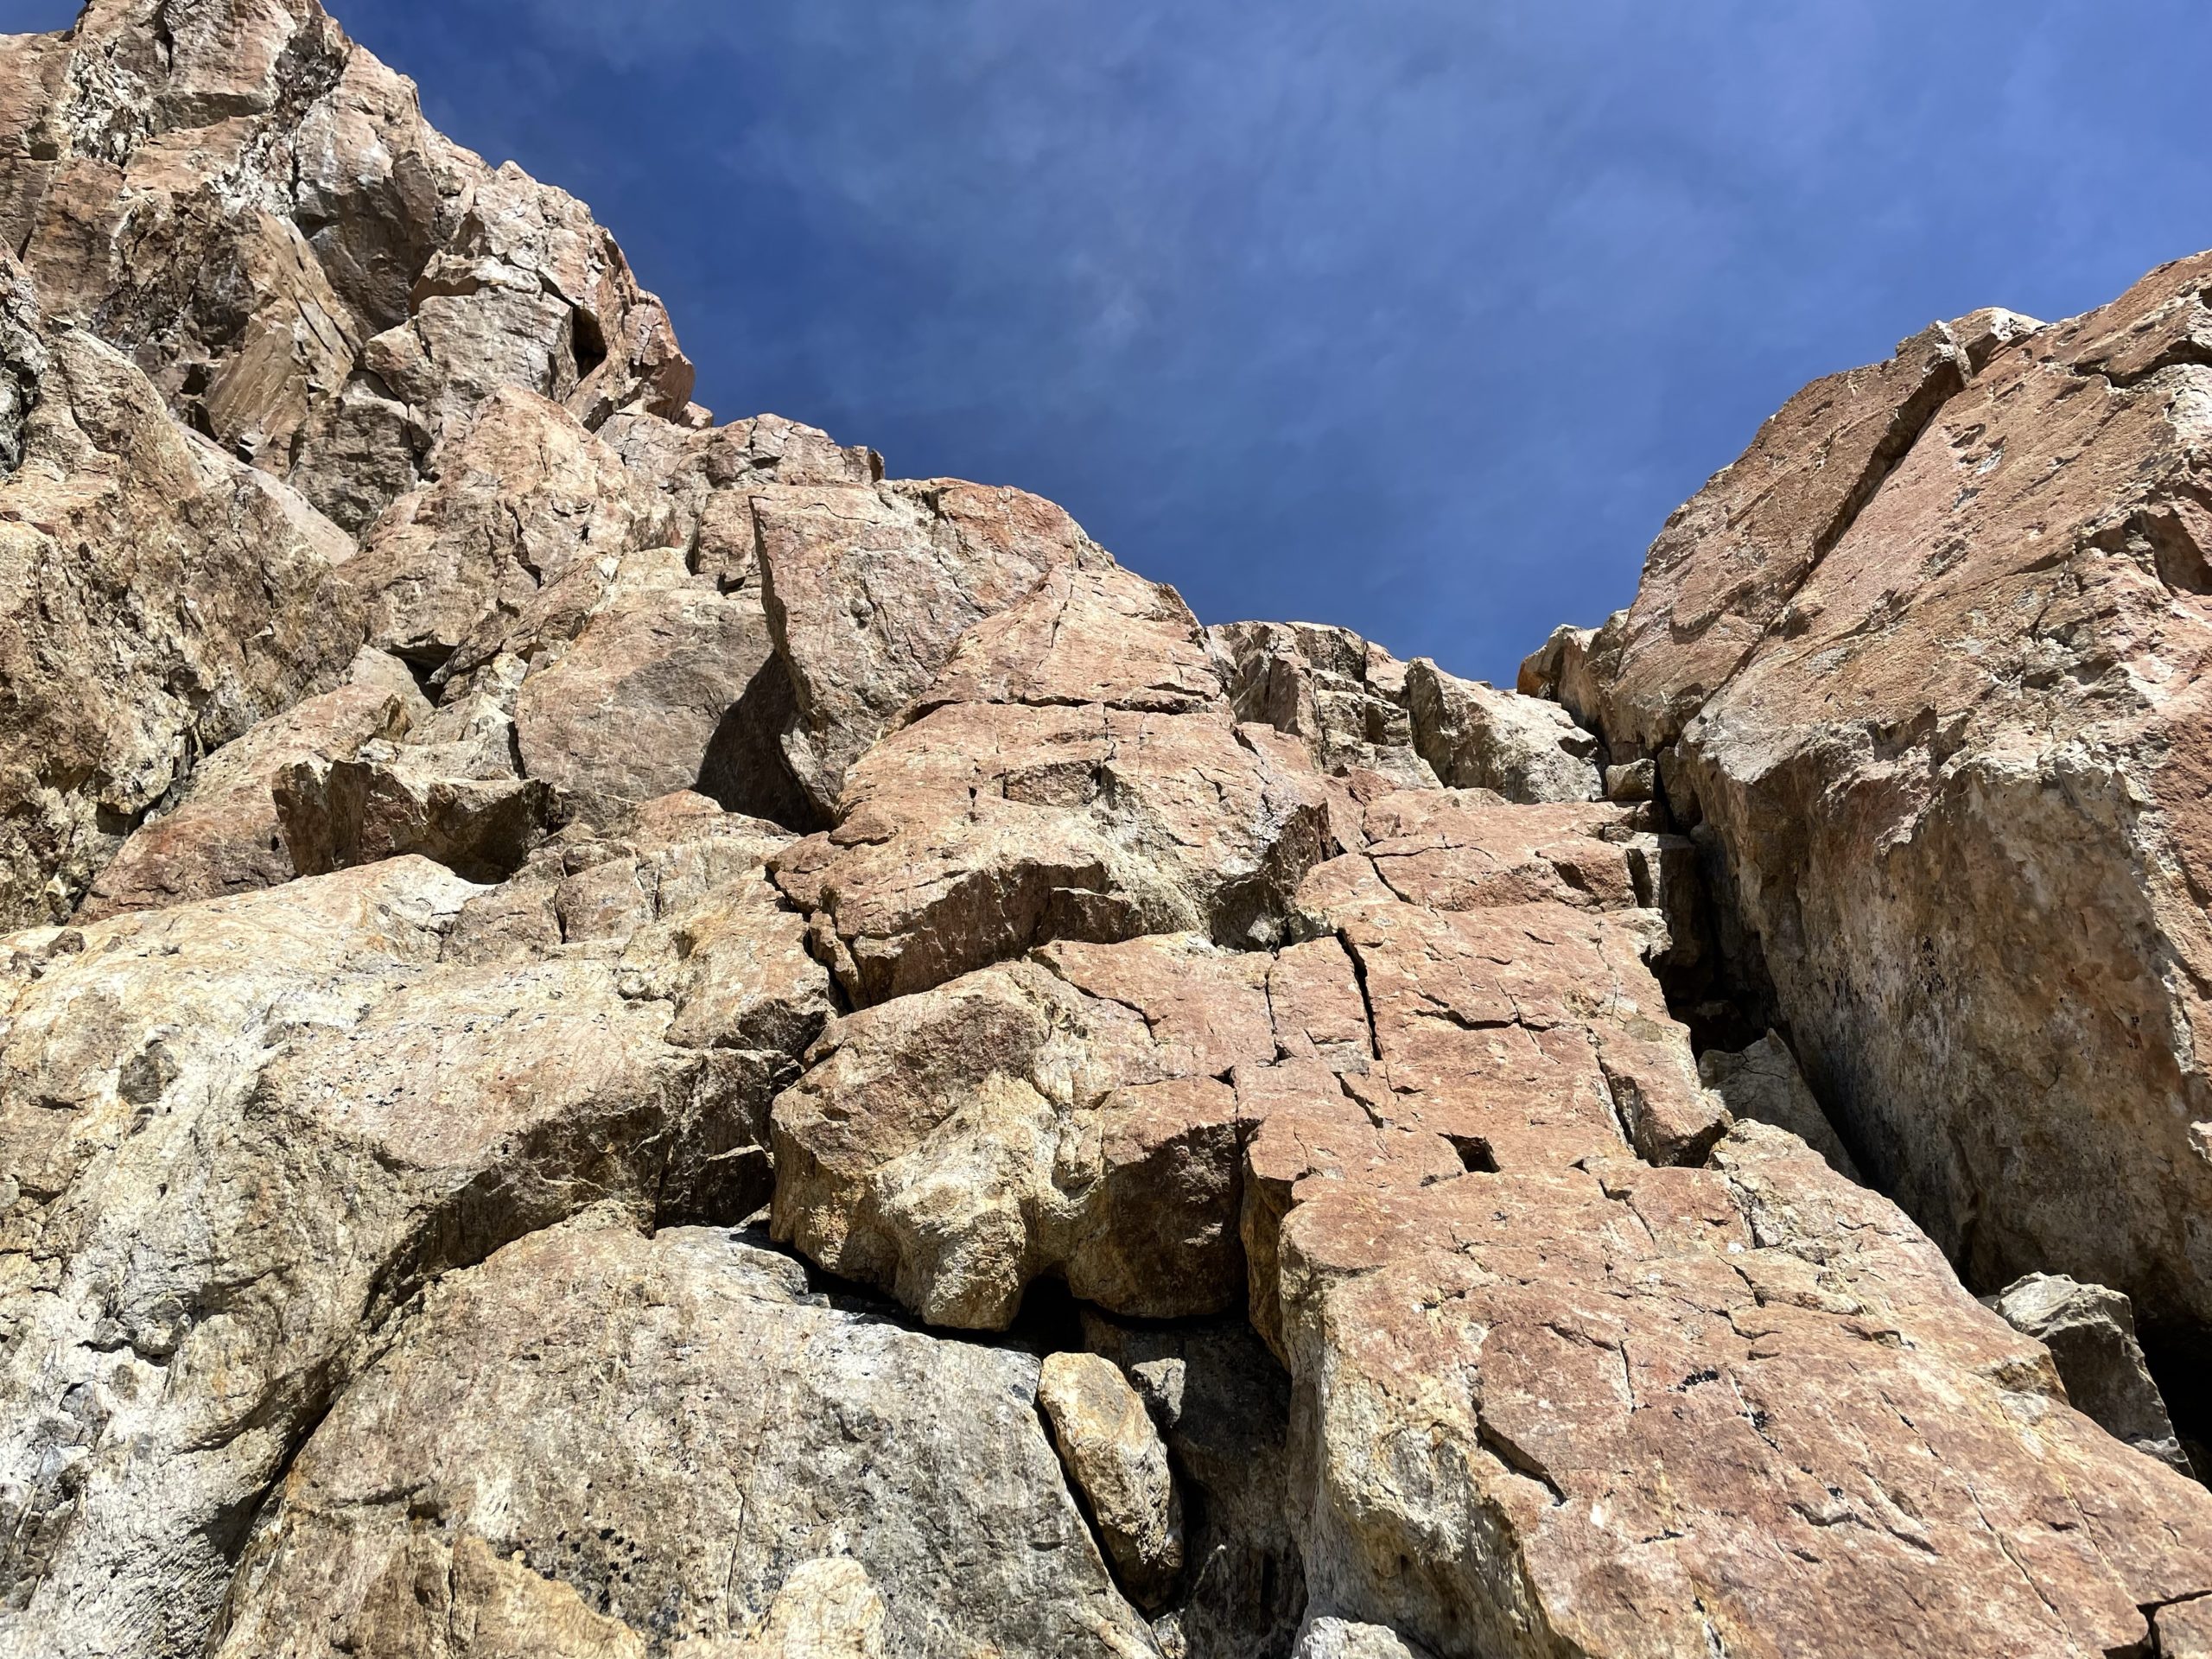
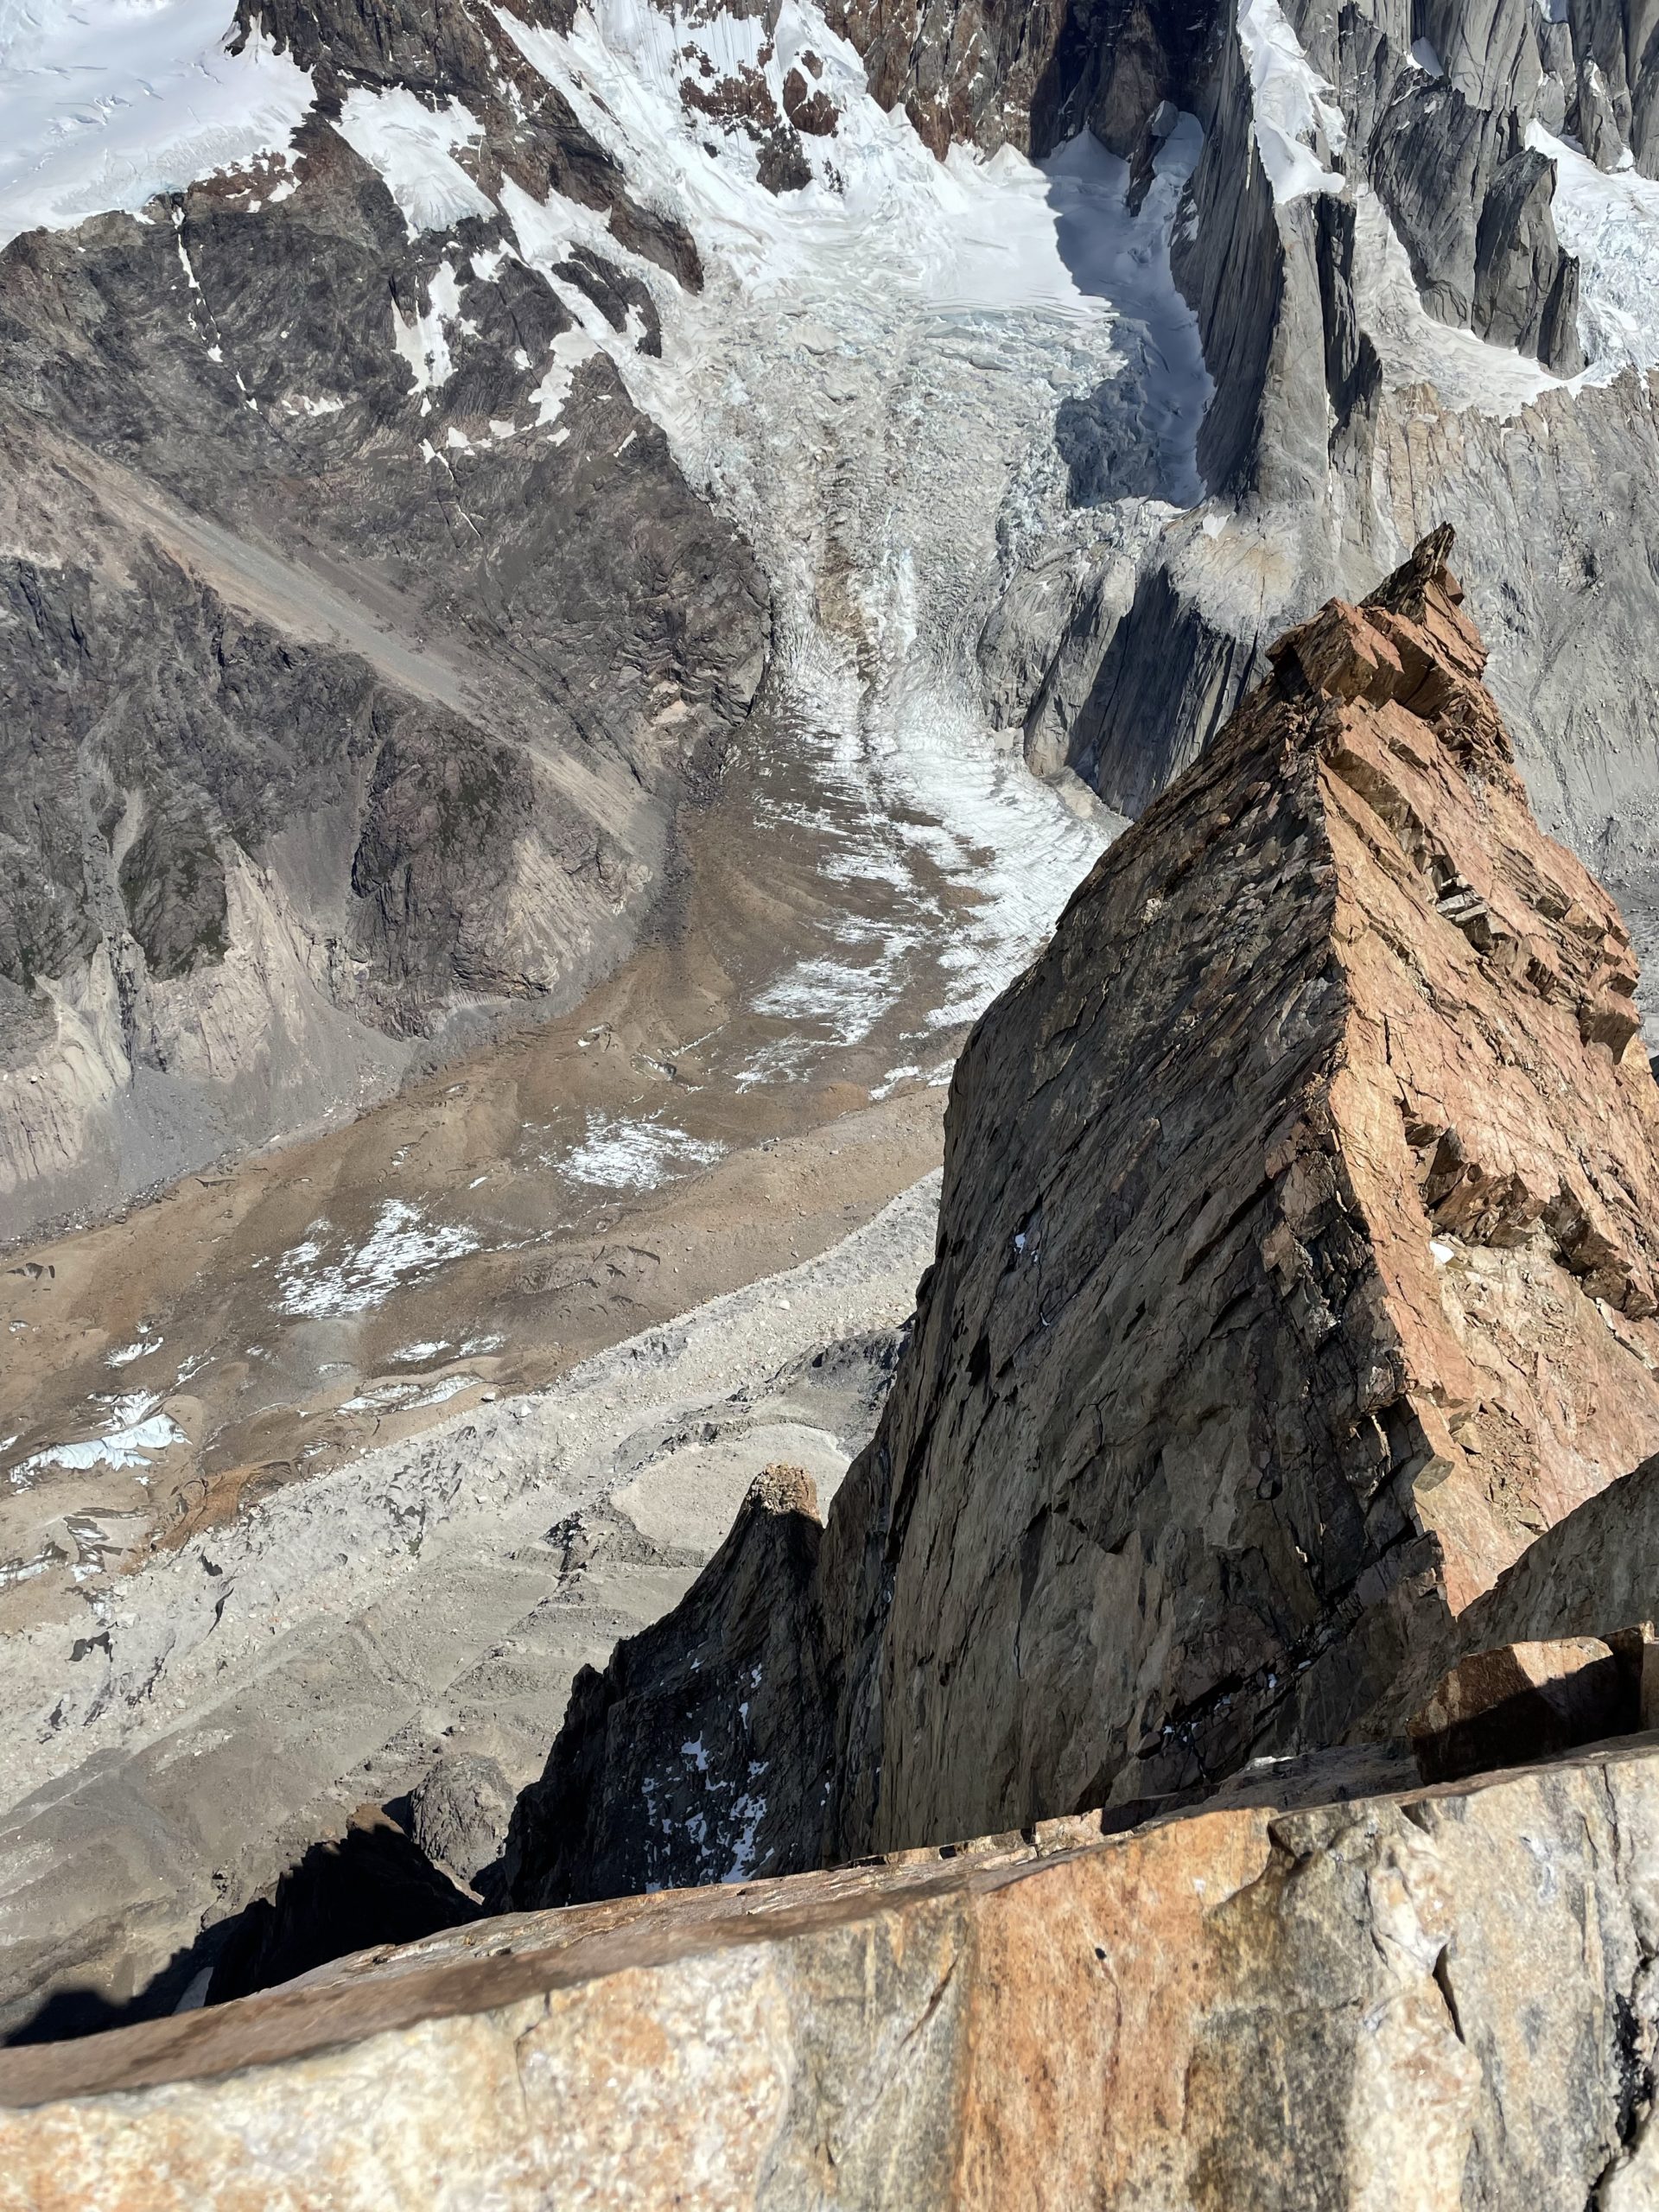
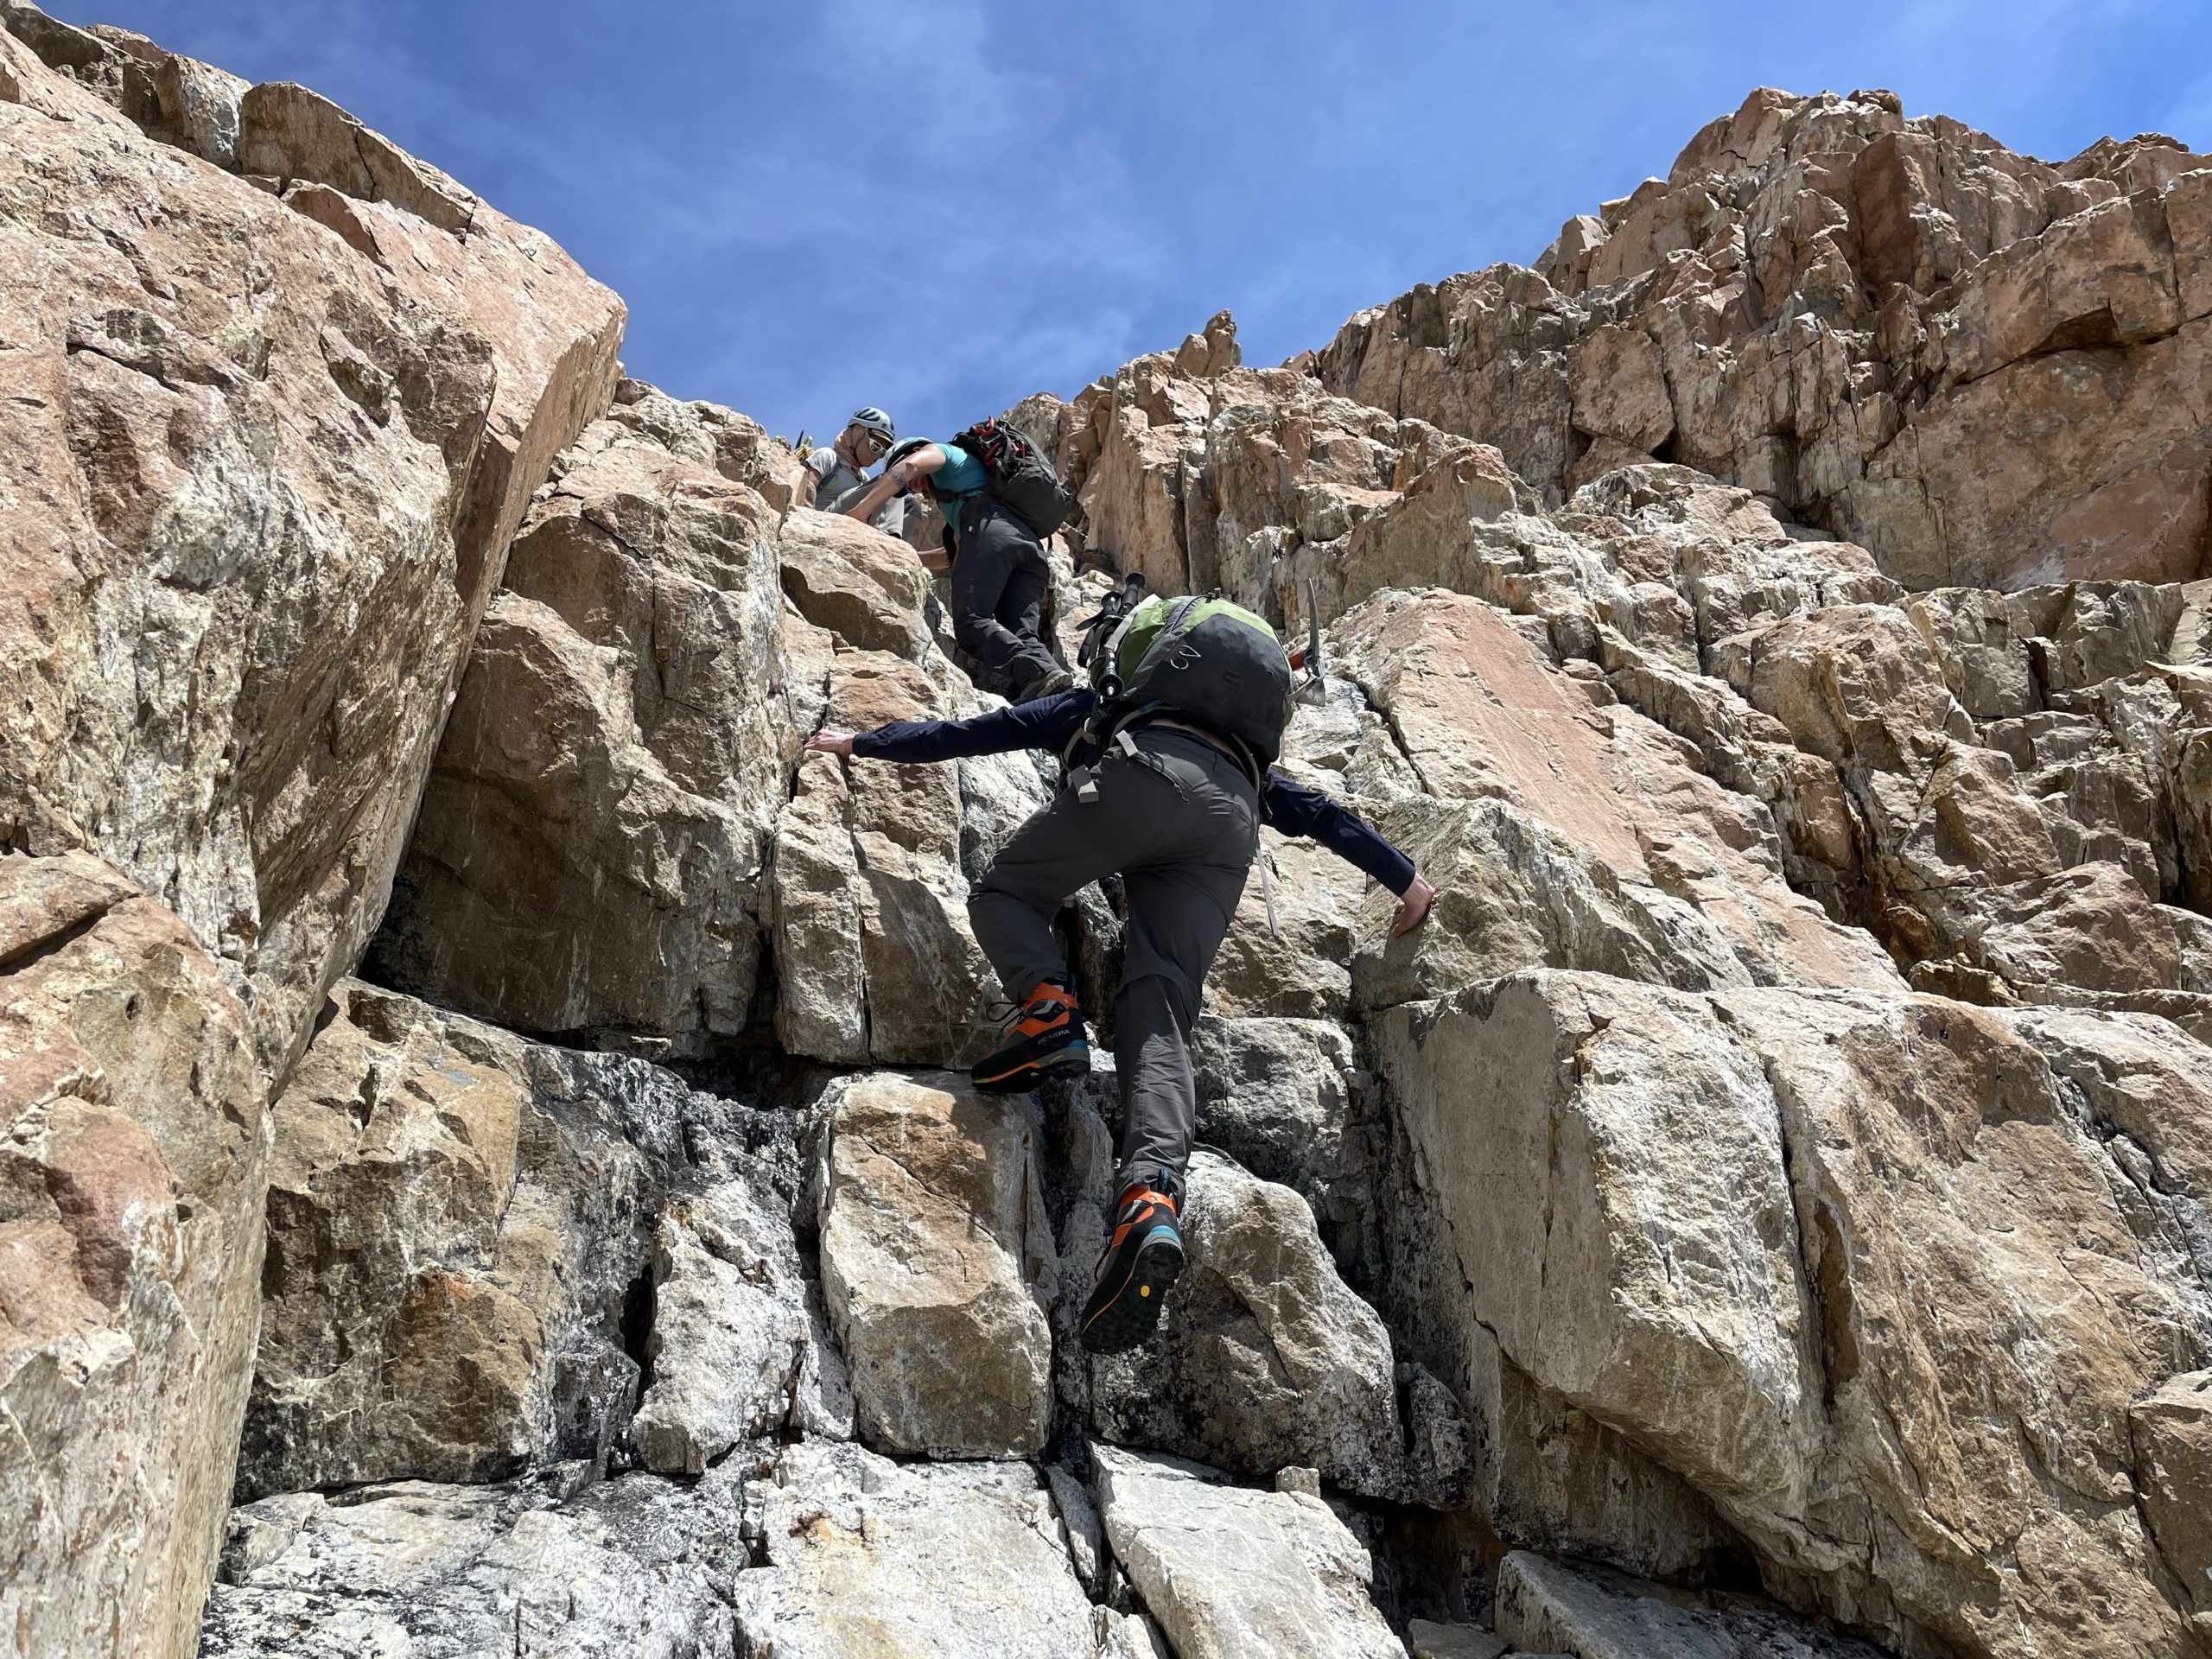
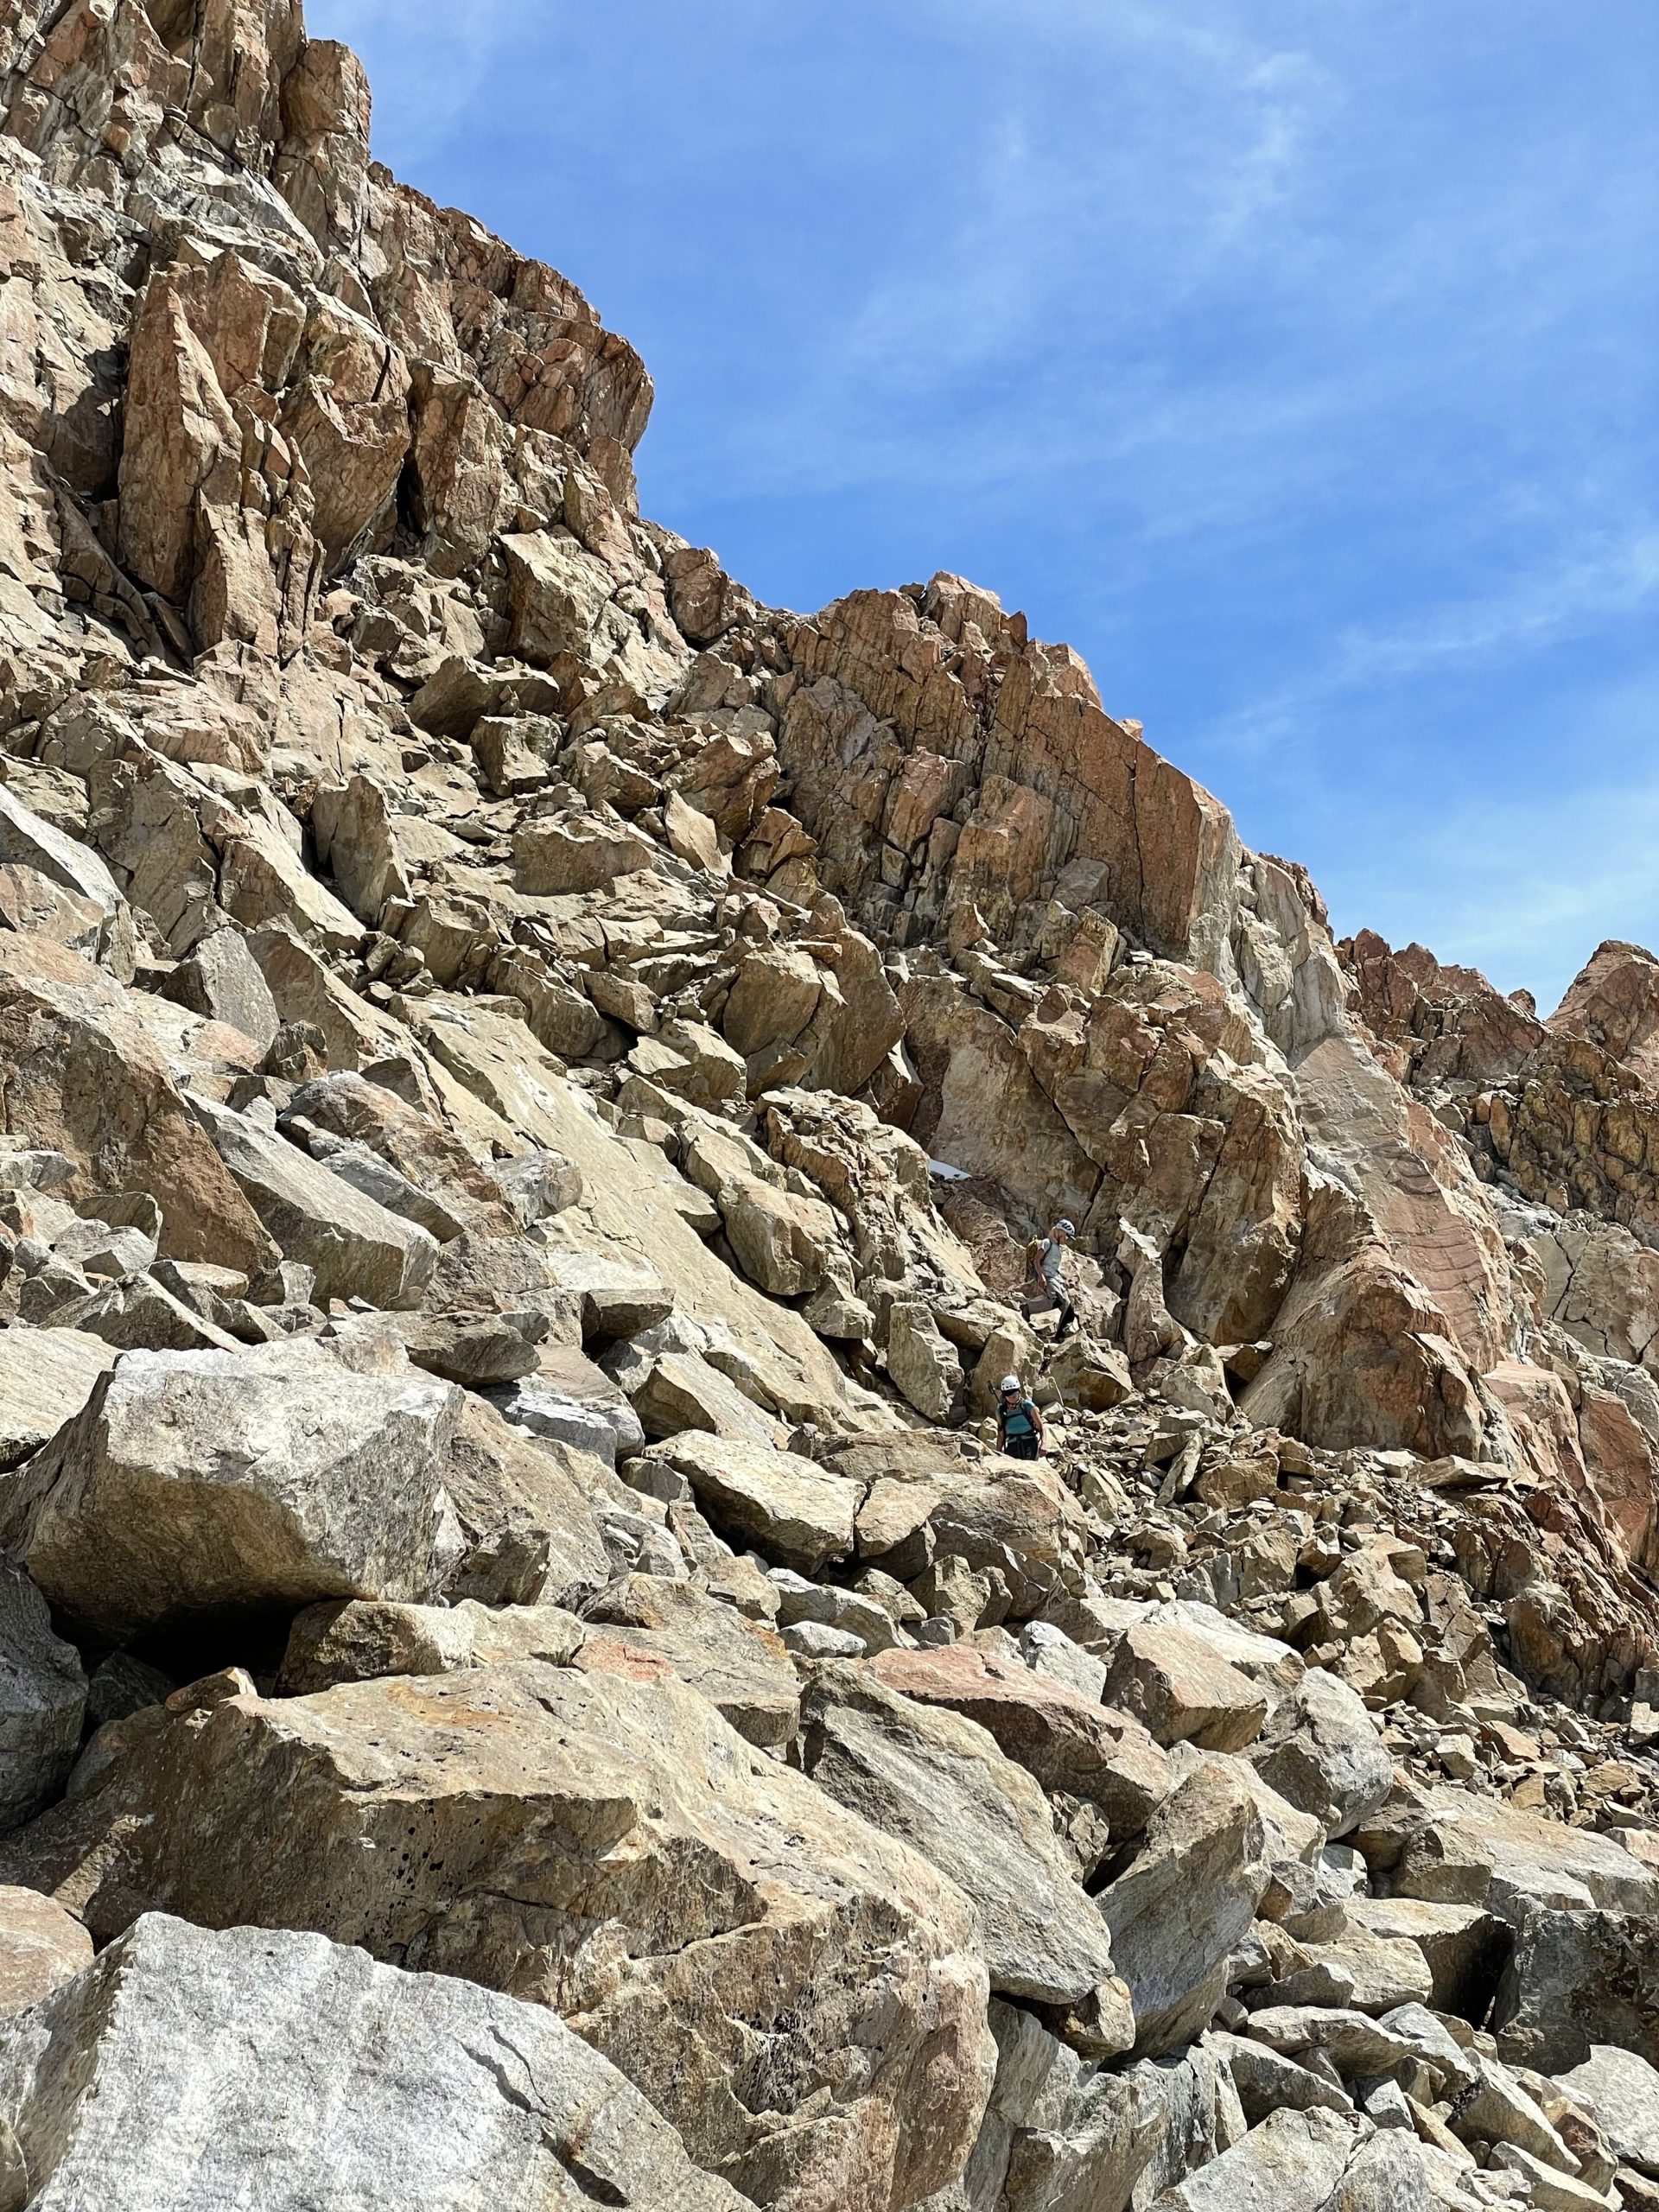
From the base there was a number of options to reach the summit ridge. To the very left in between two towers it looked feasible but it wasn’t clear if it wrapped around to the ridge or not. Then directly above was a gully that looked maybe 4th class at most and finally to the right some more consistent 4th class terrain up another gully. The pair ahead of us took the rightmost option while we selected the middle gully.
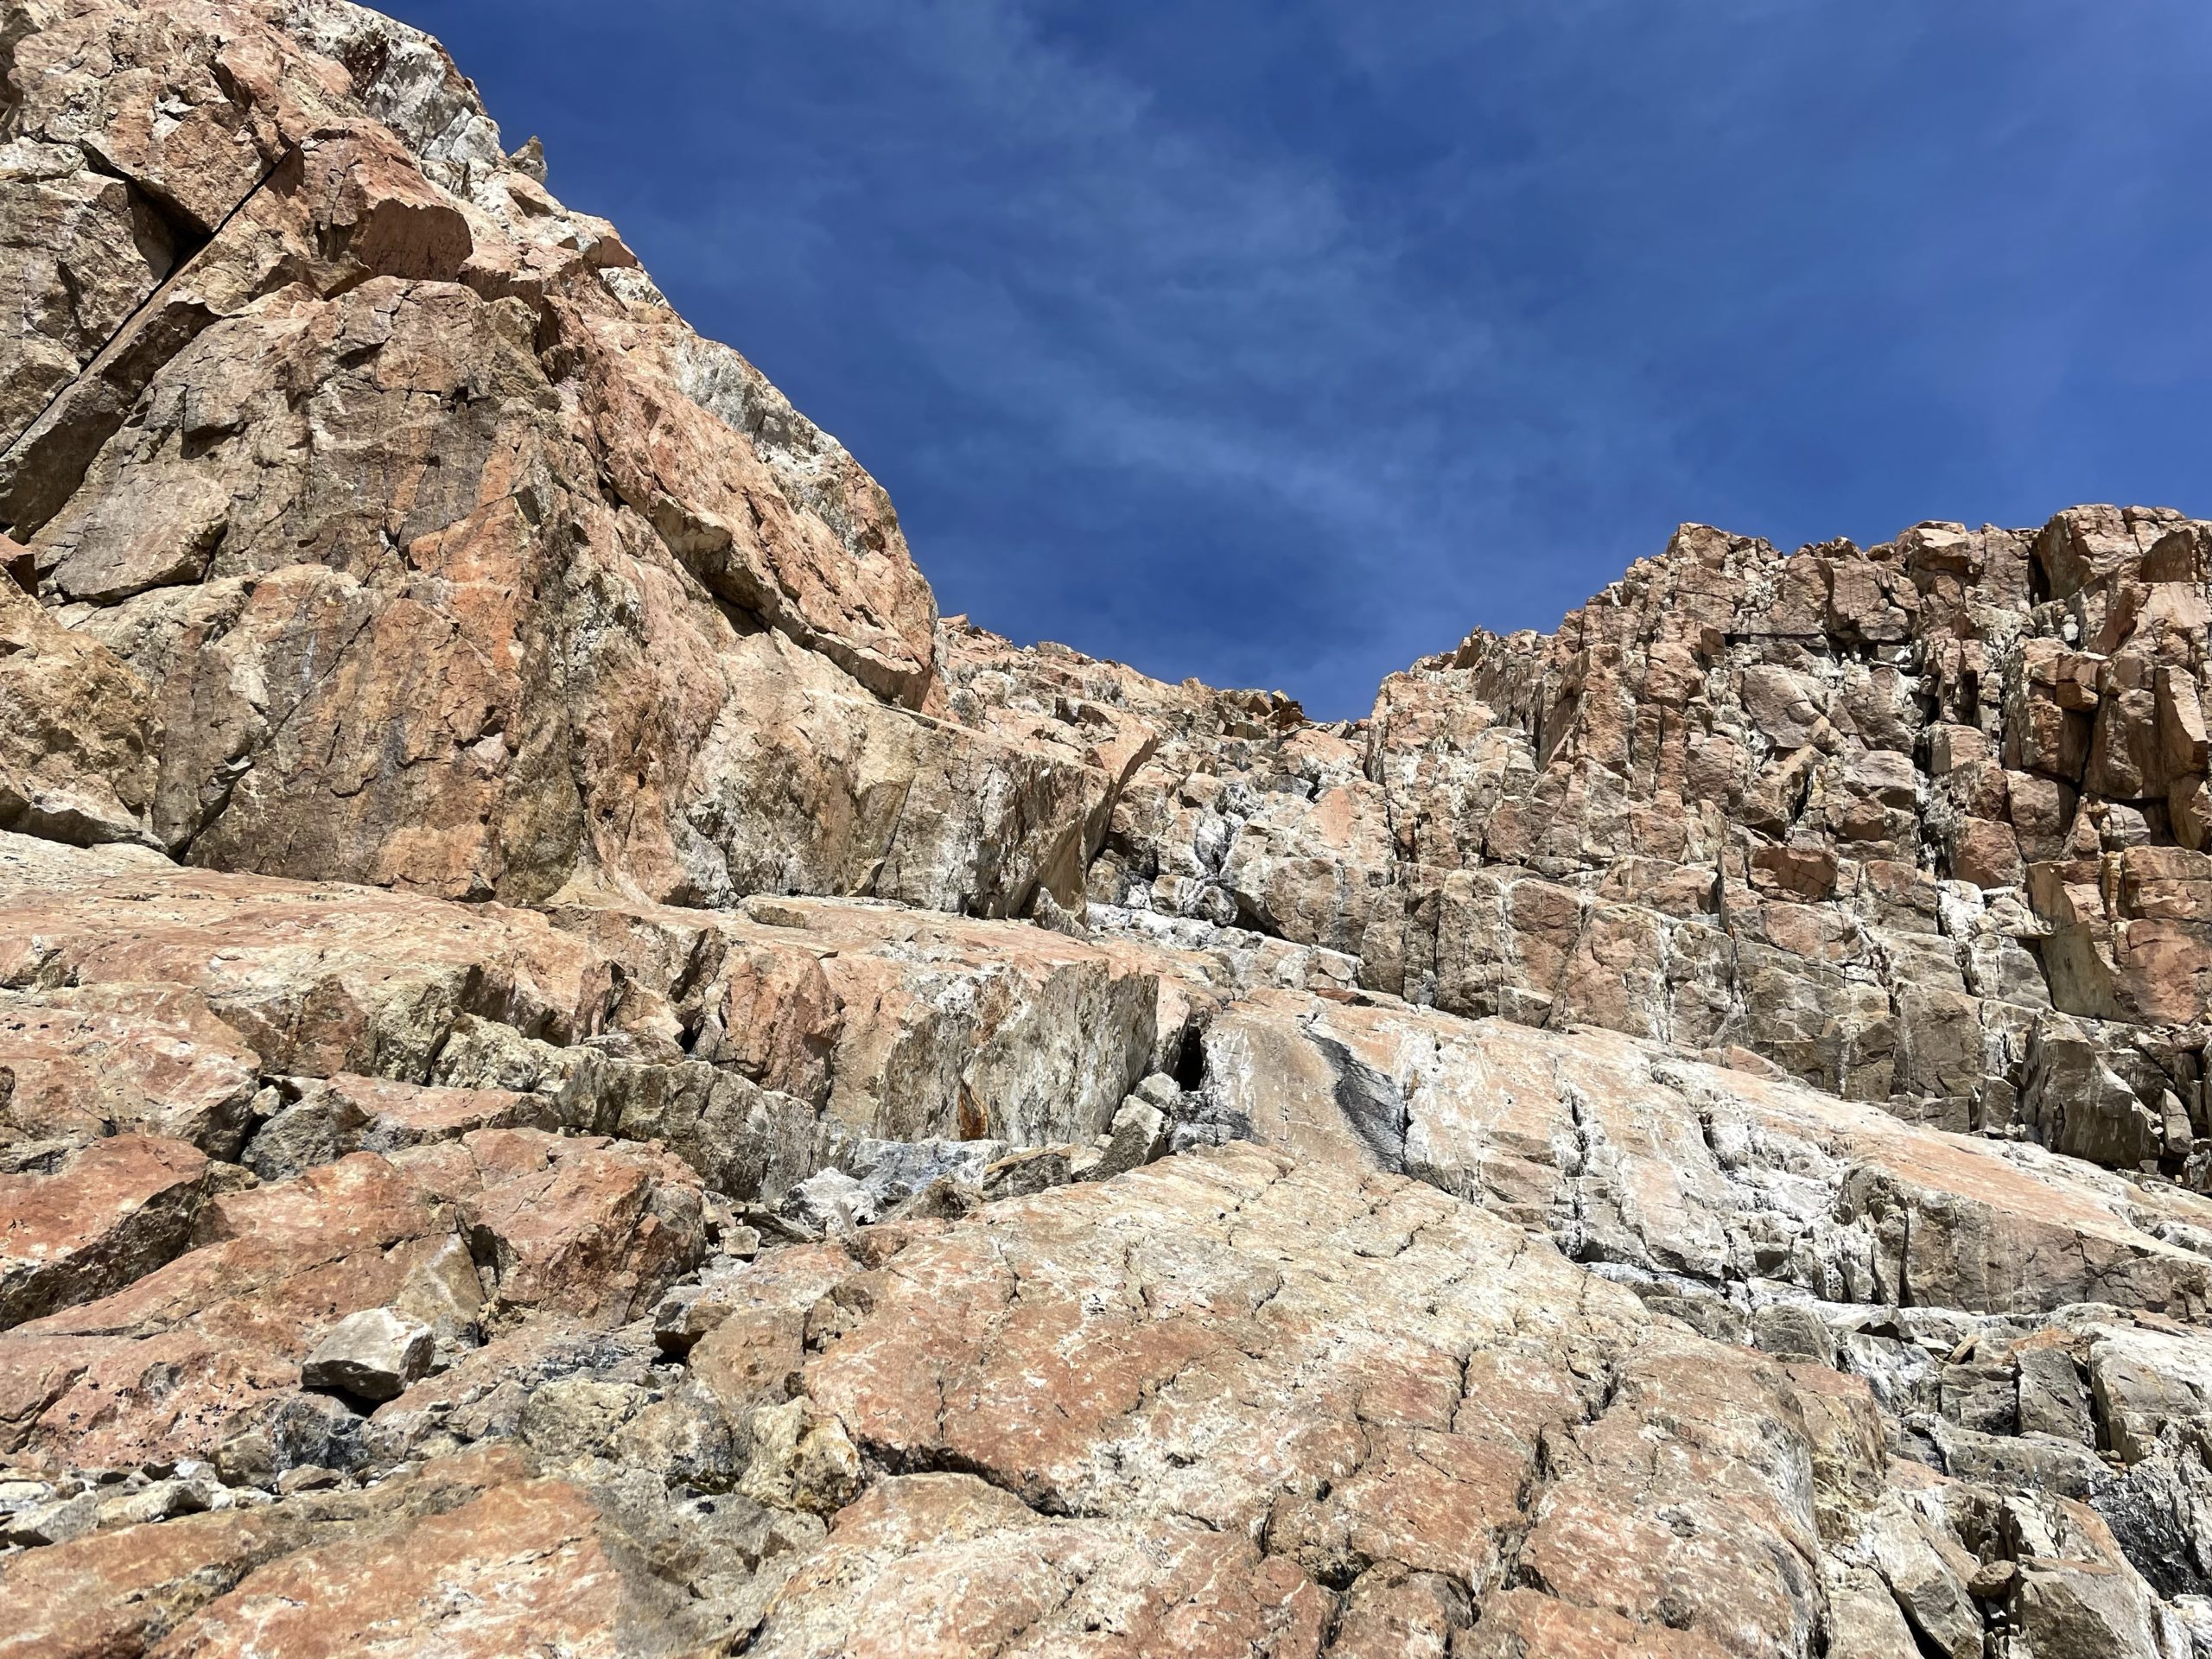
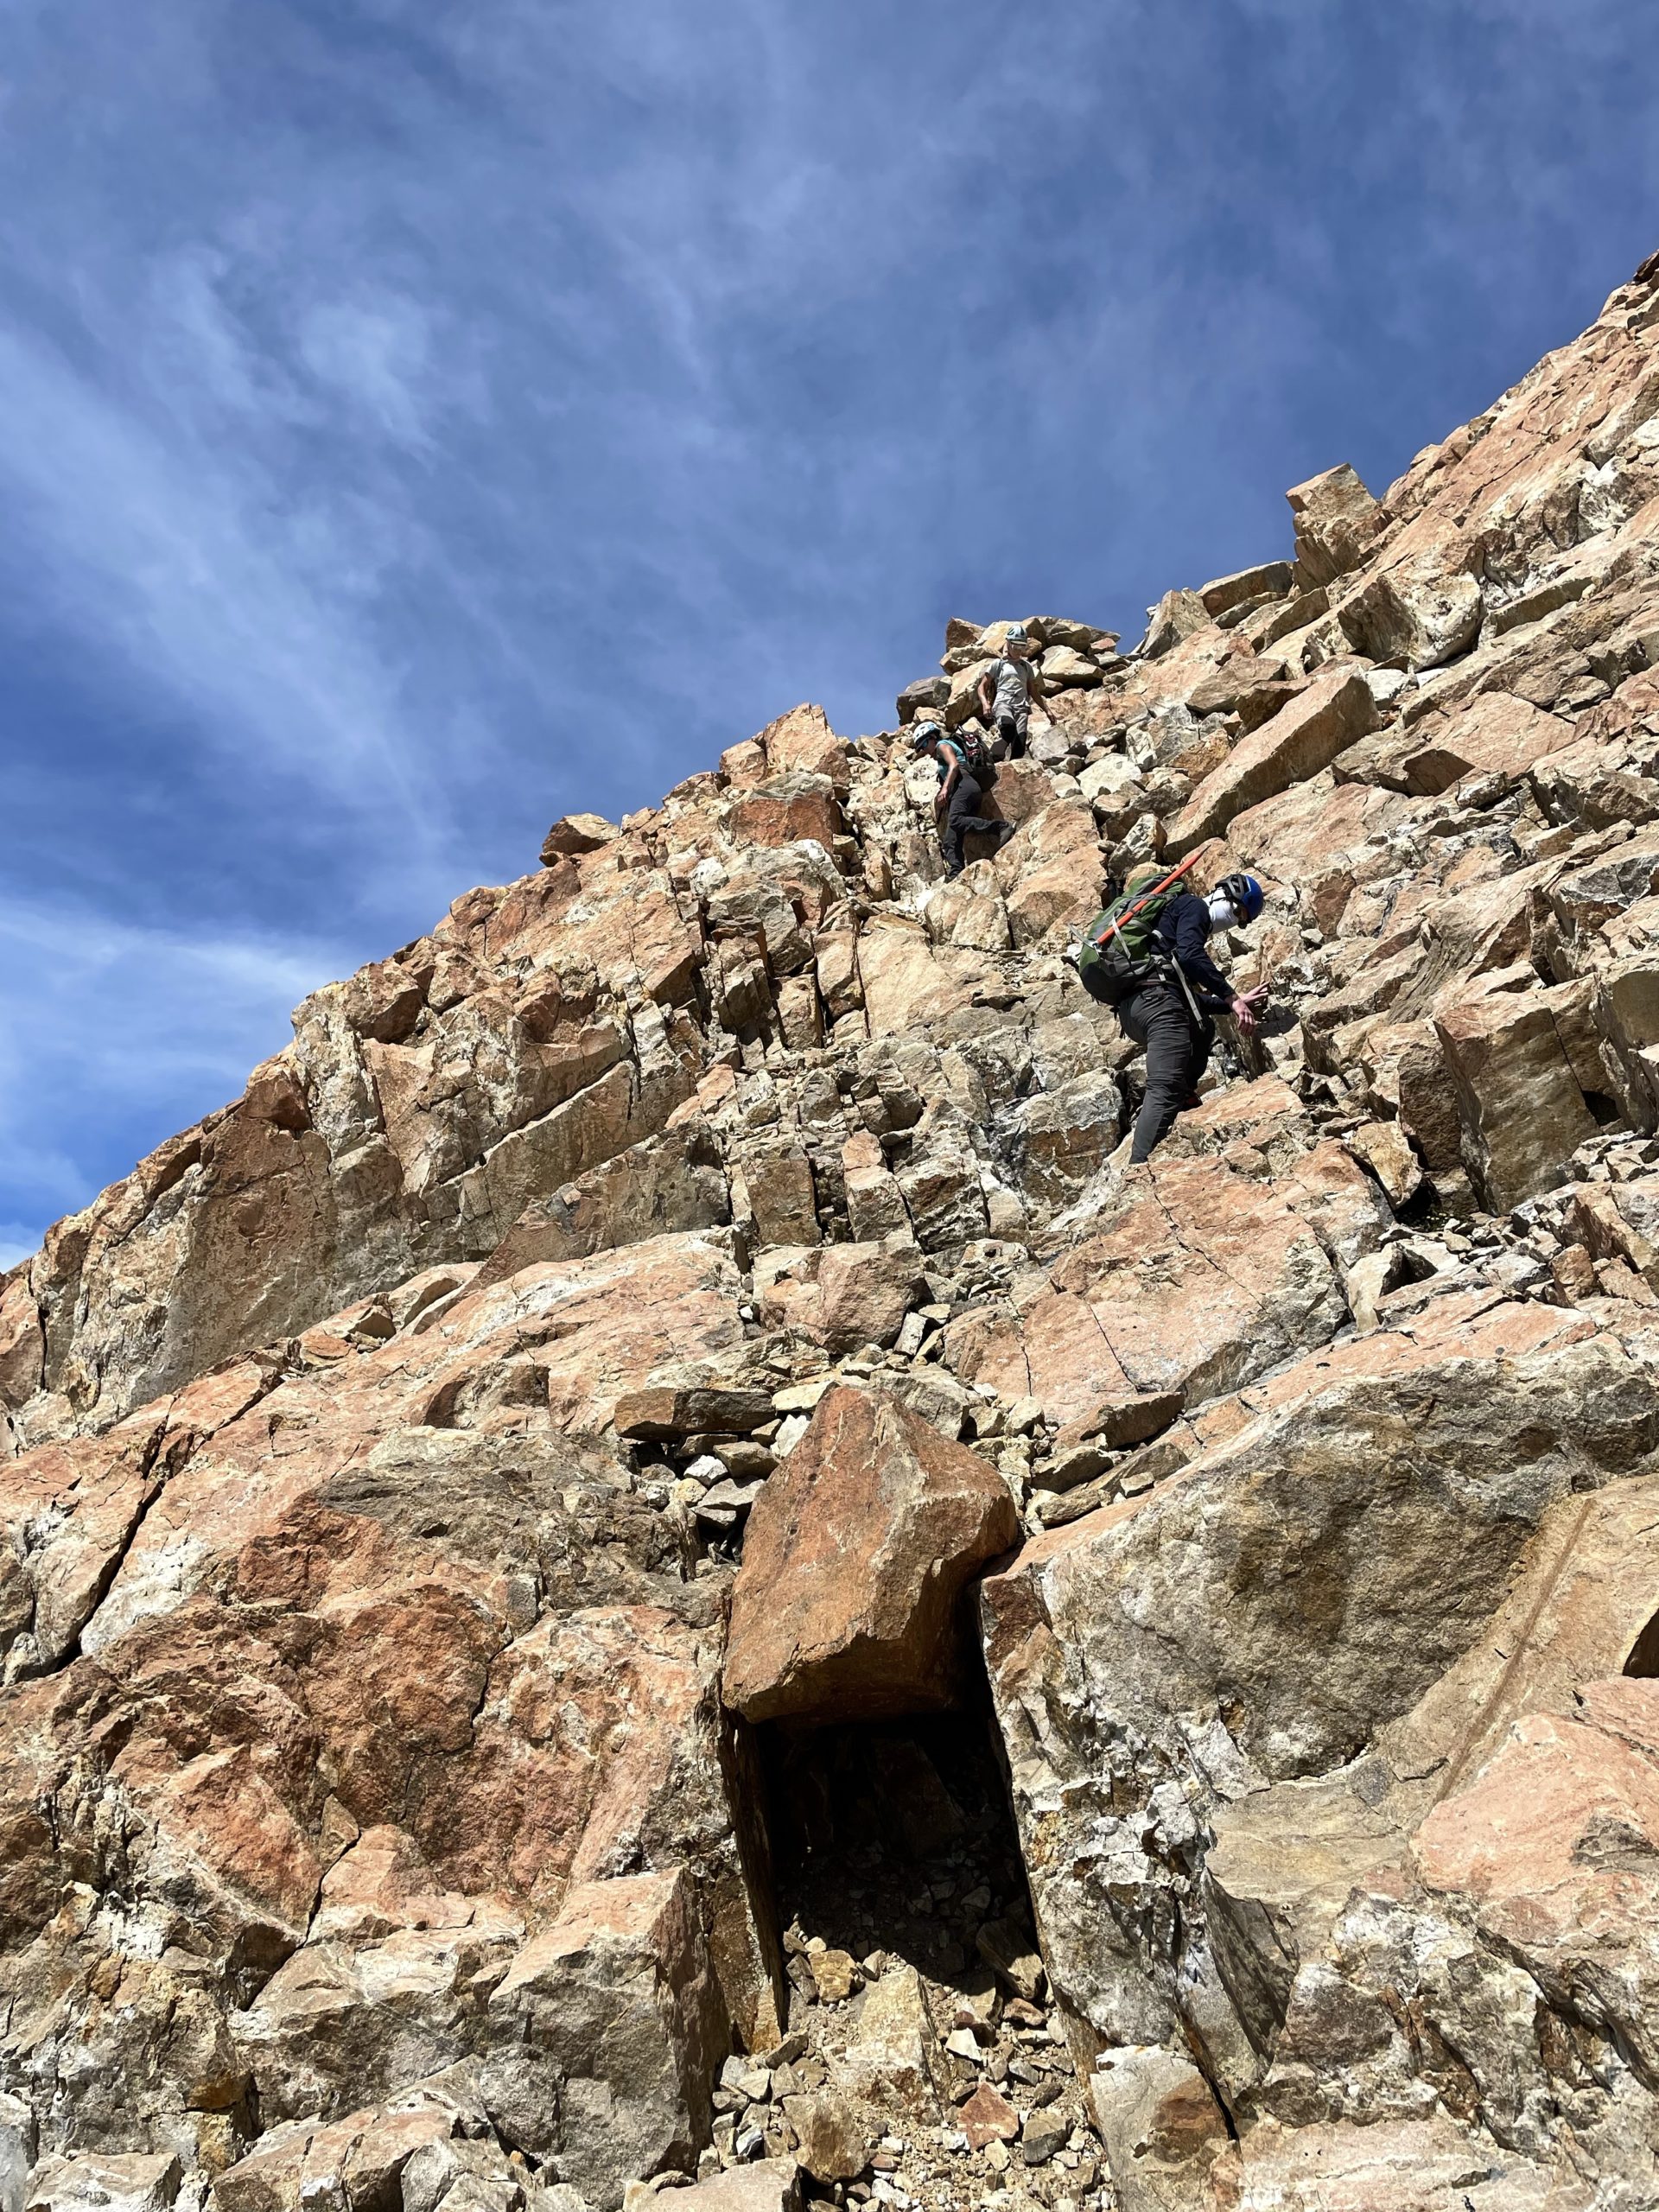
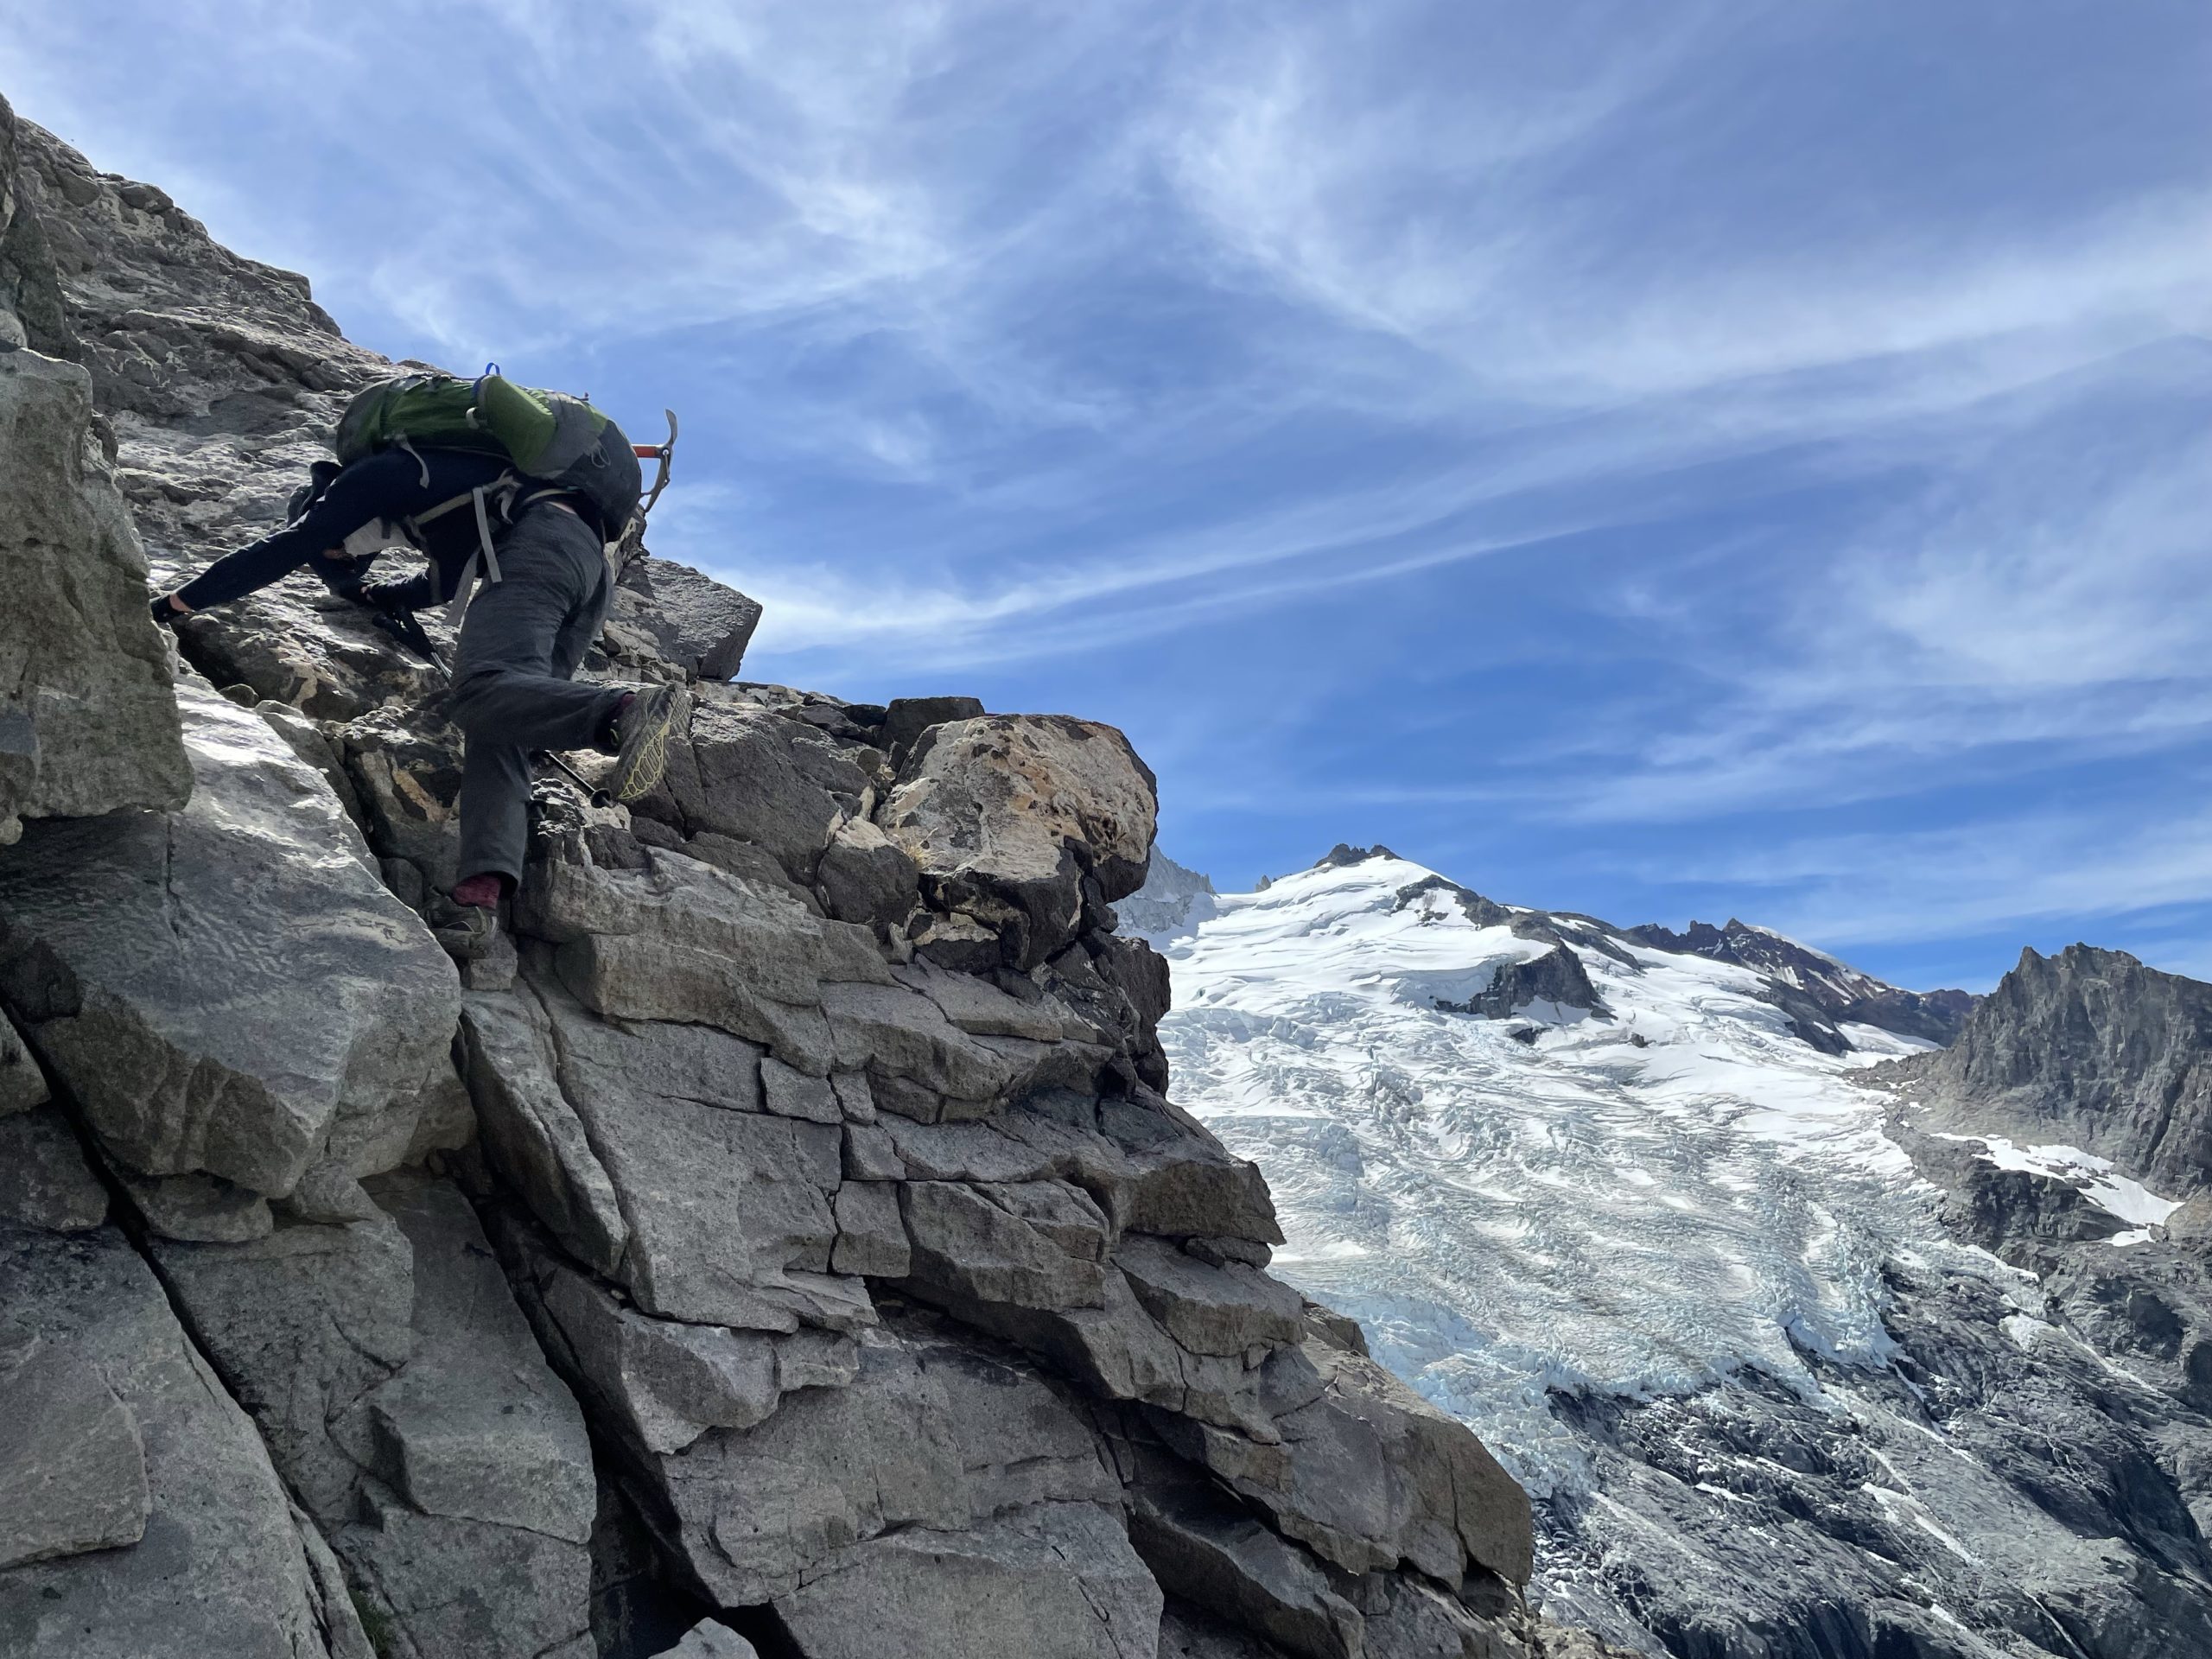
The middle gully was fairly straightforward to ascend, although there was a significant amount of loose rock and rock fall hazard. Jacob lead the way and I stuck close behind to avoid any rocks coming down. A few sections of 3rd maybe 4th class and we reached the angled ridge to the summit. Ahead was a cliff band that tapered down on the east side. I spotted a weakness at the far right and aimed for that. Somewhere on the way we ran into another two climbers coming down. They had pitched out a section up the 5th class part of the cliff on the left side. I didn’t feel like making things unnecessarily difficult and so continued up to the weakness.
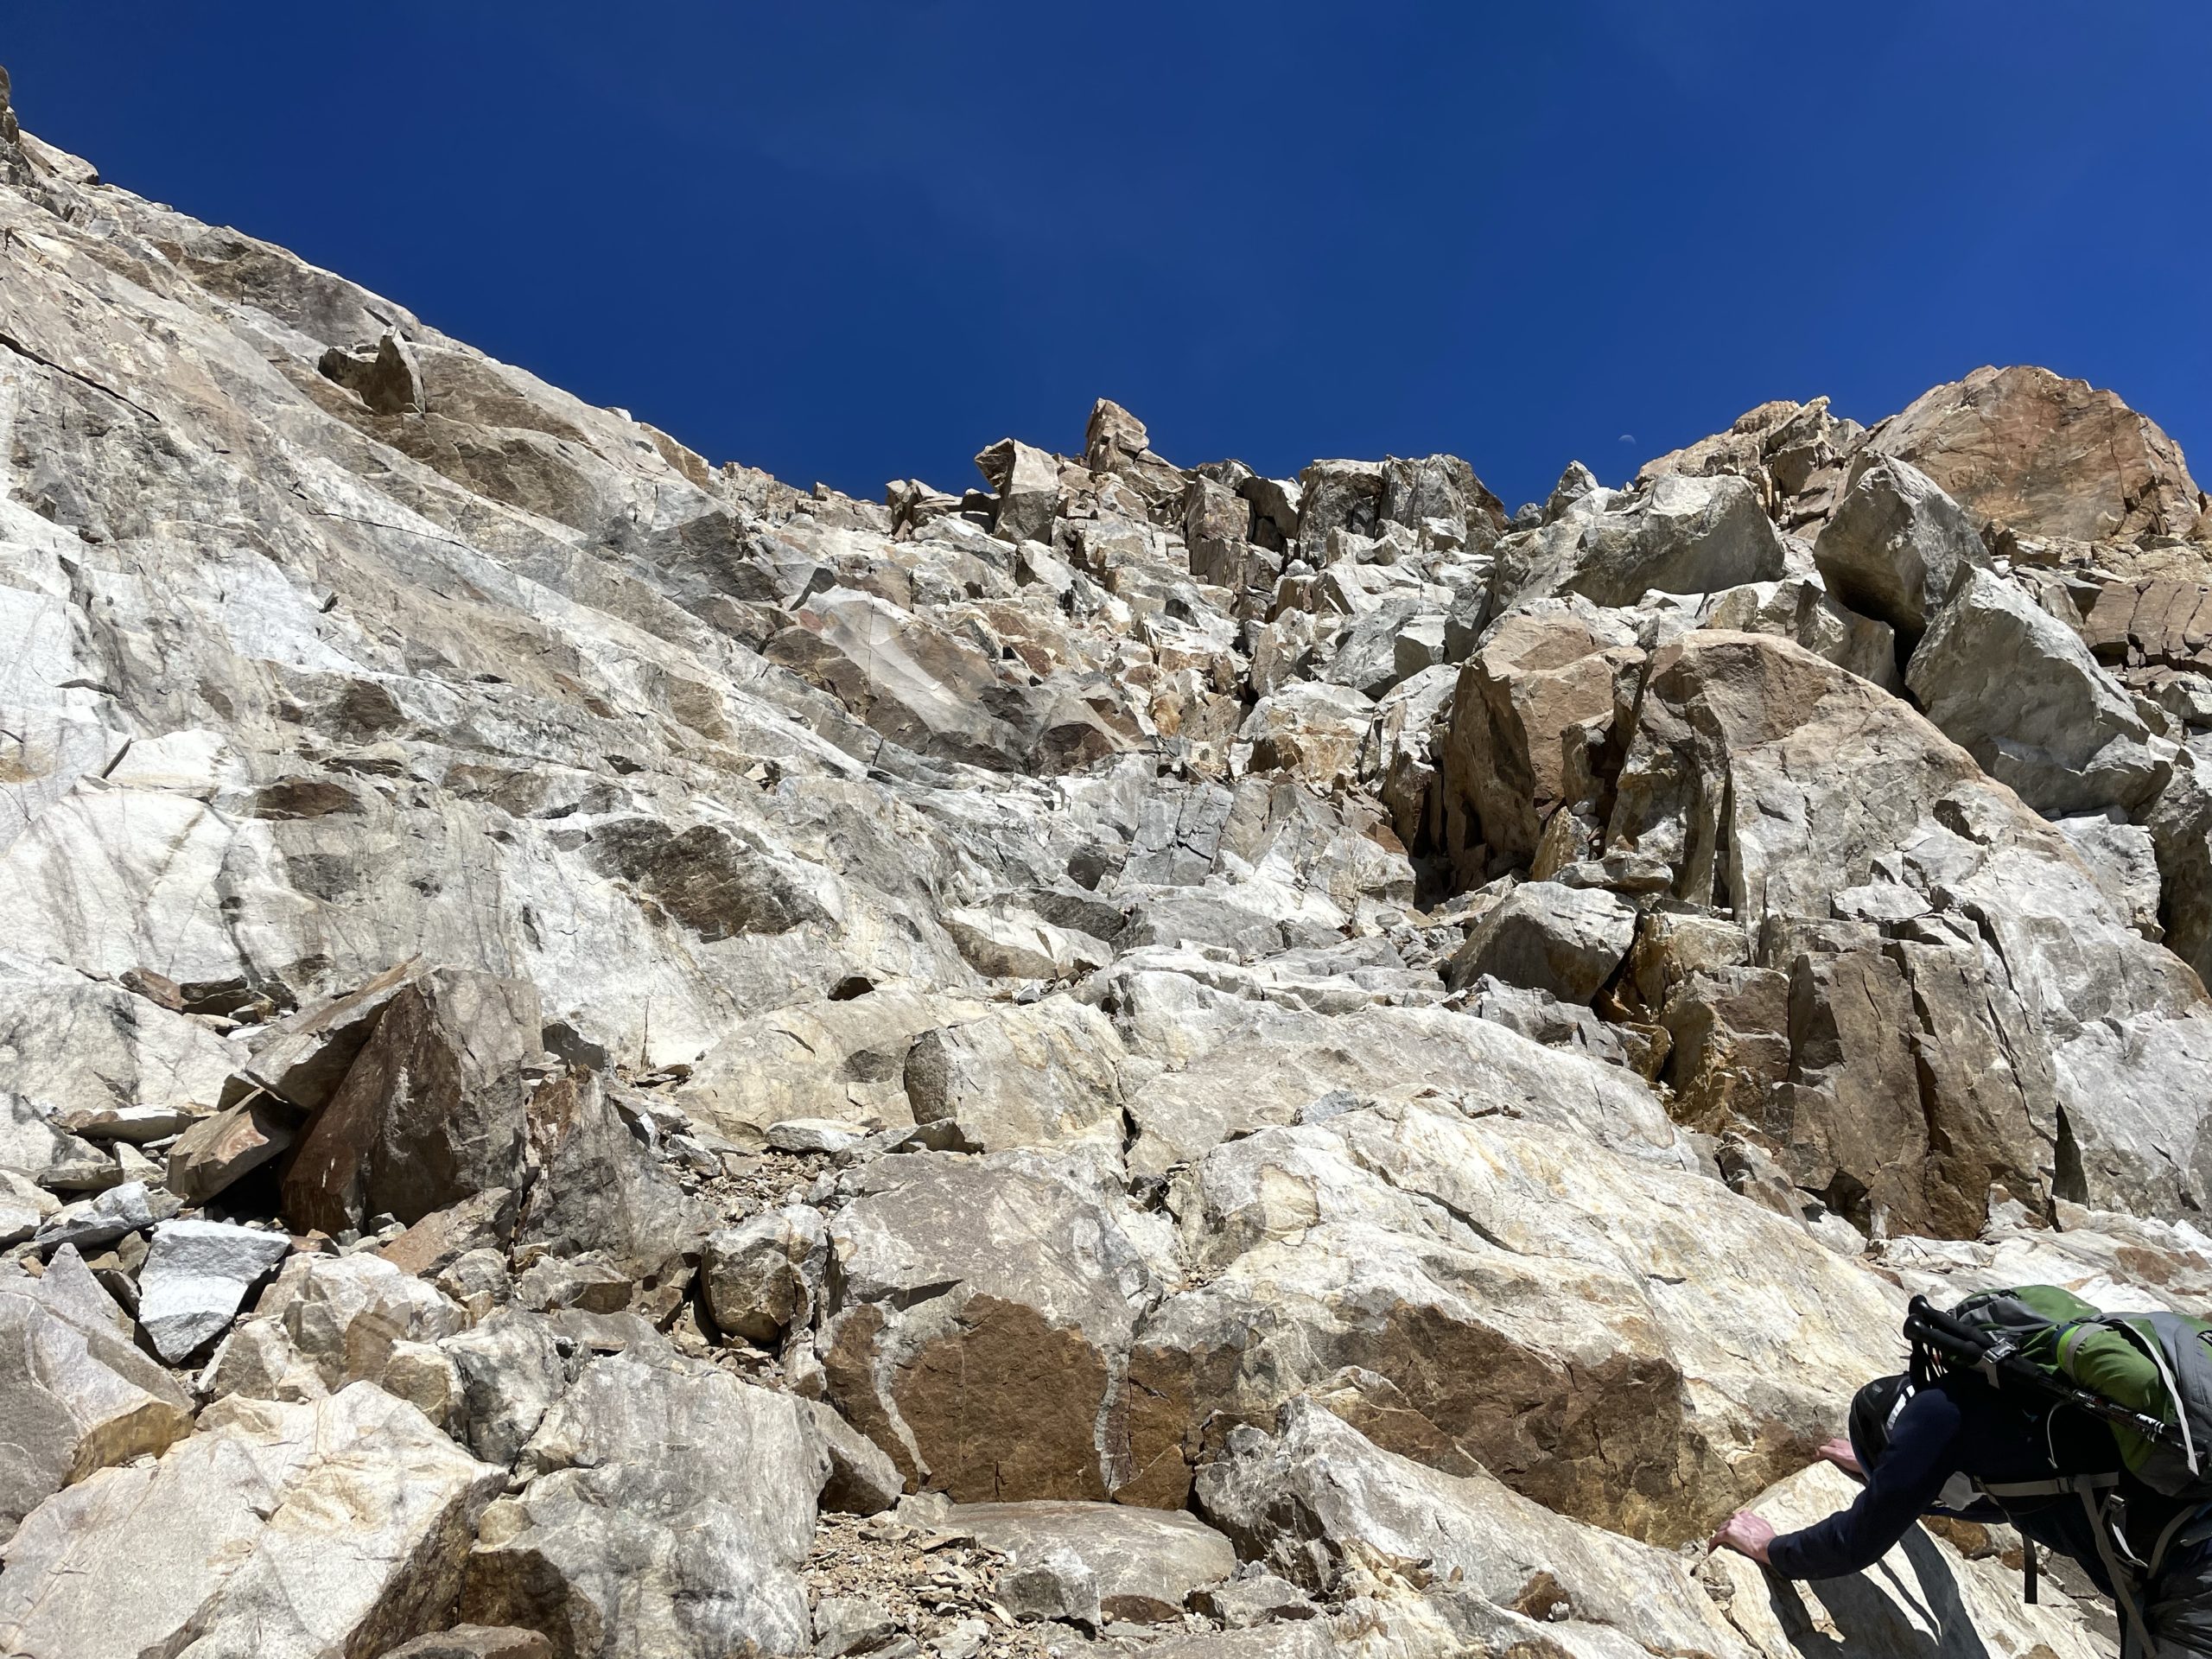

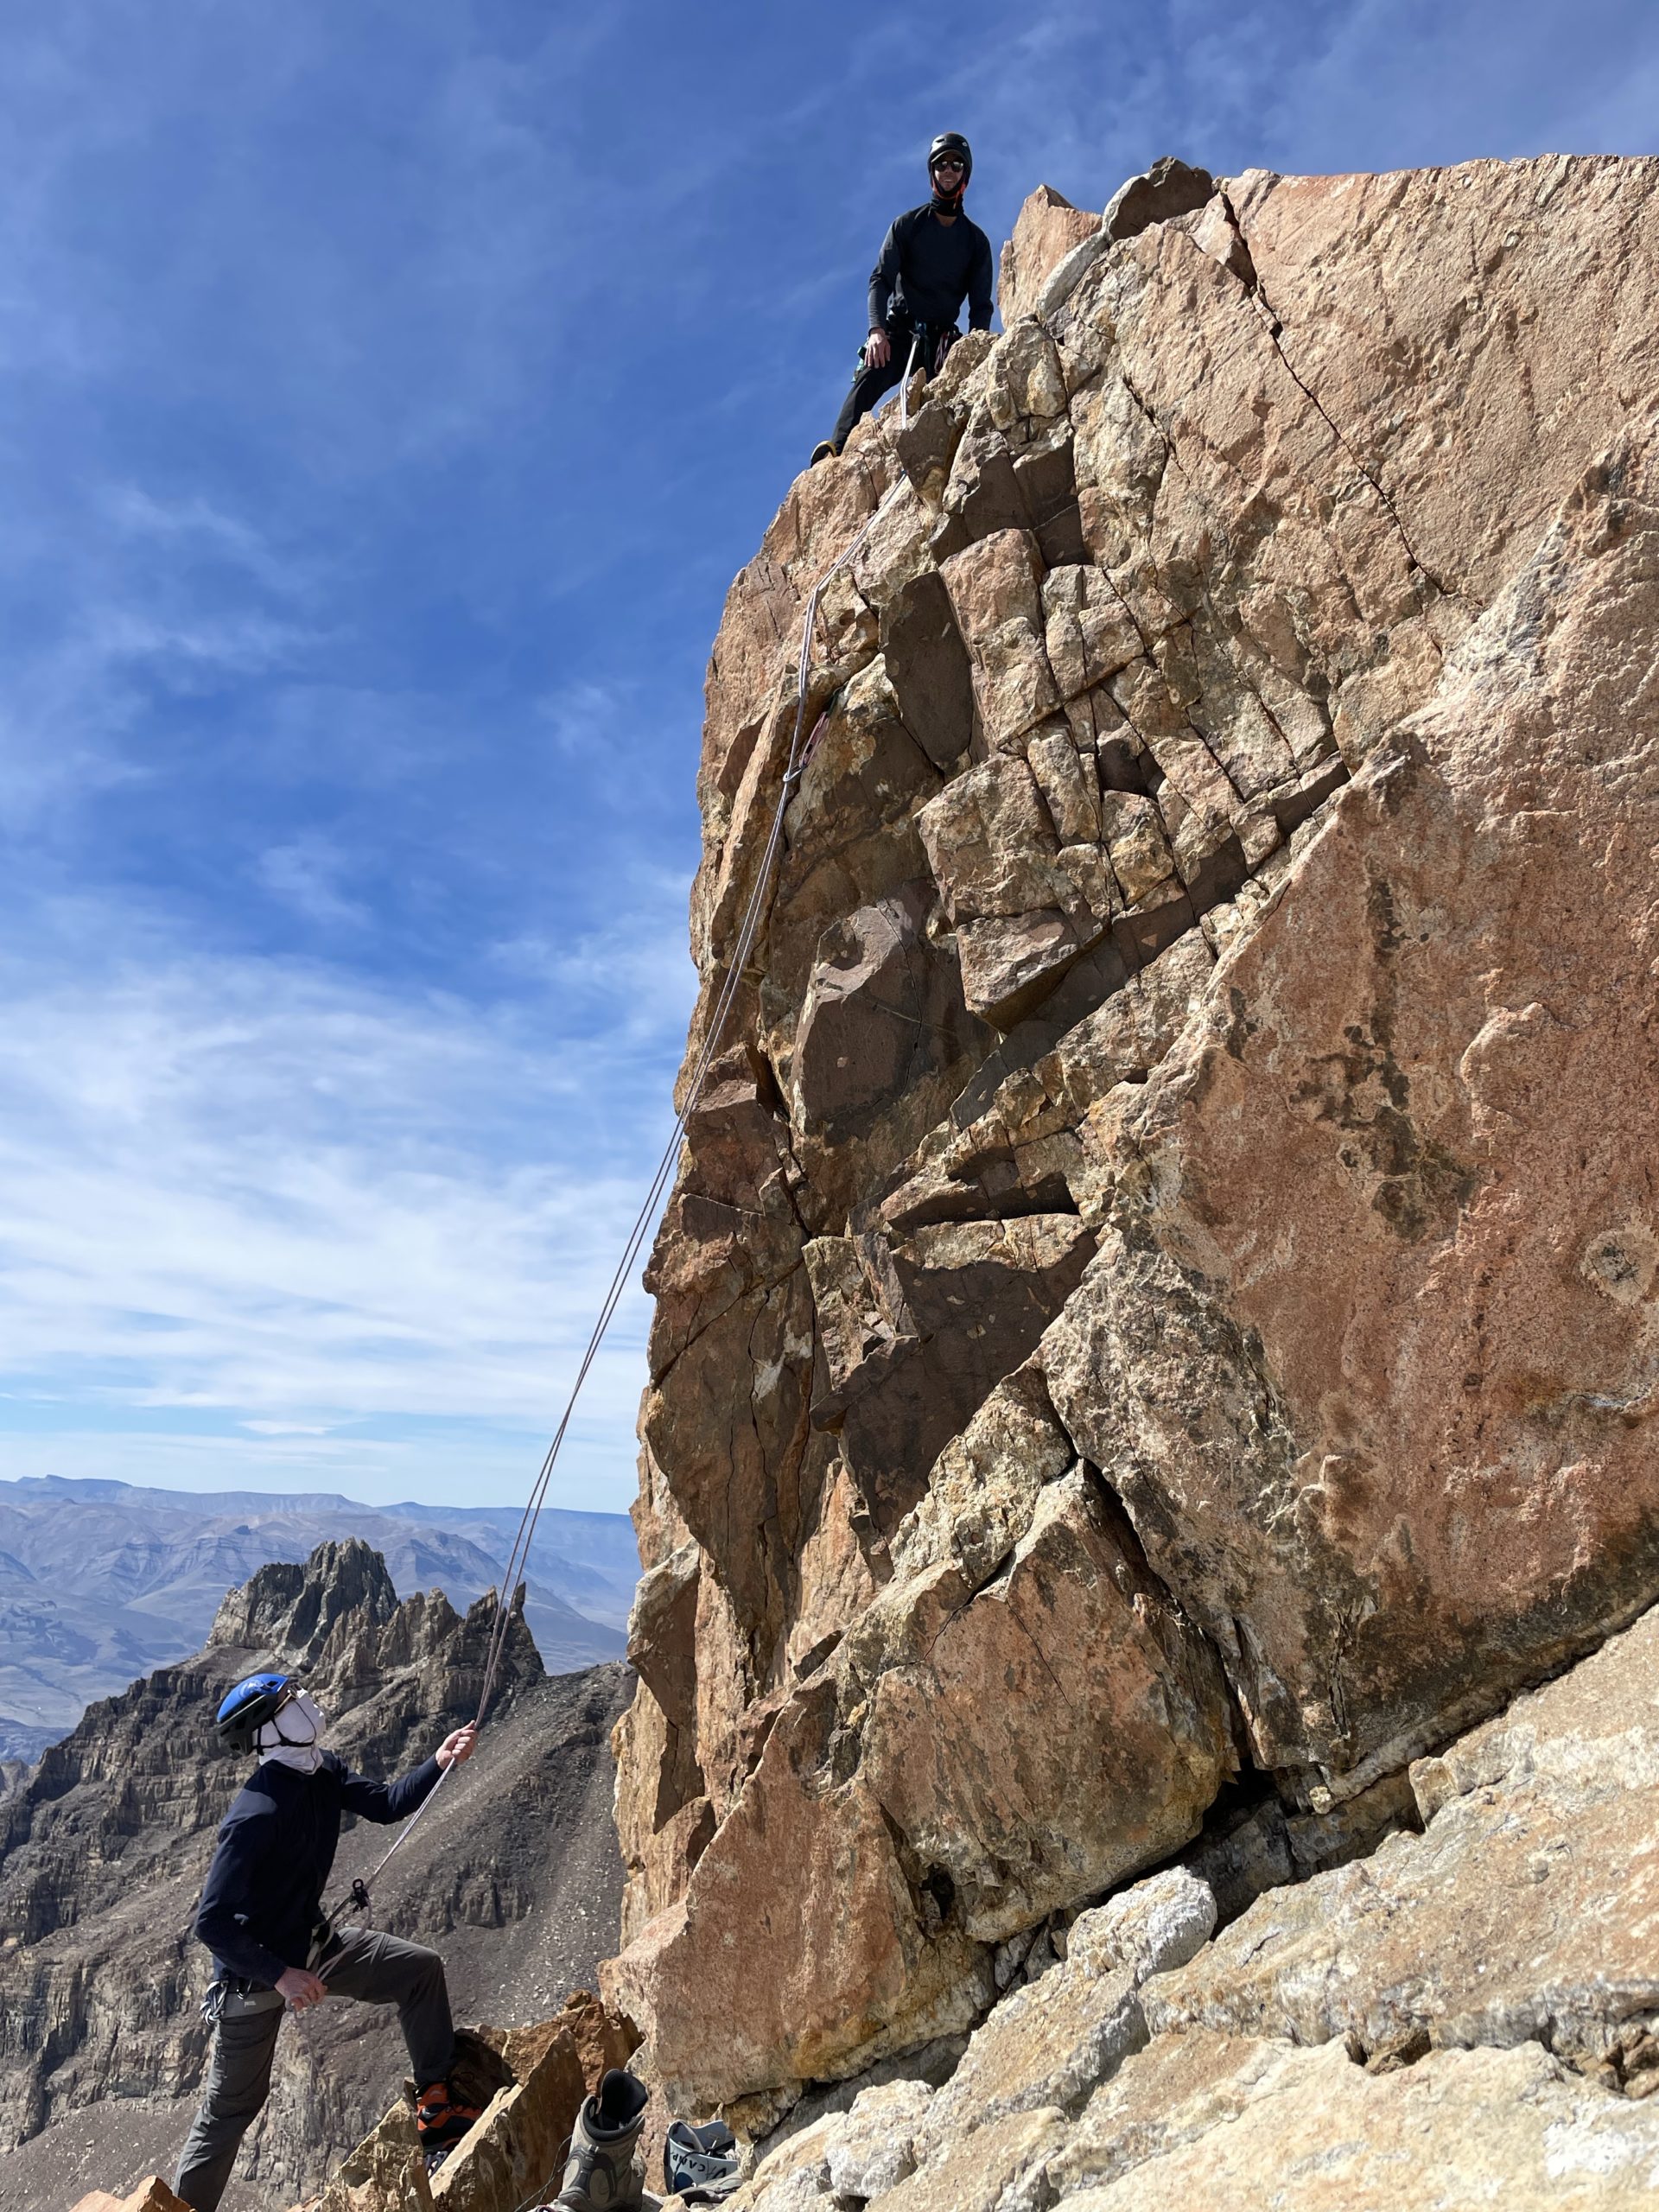
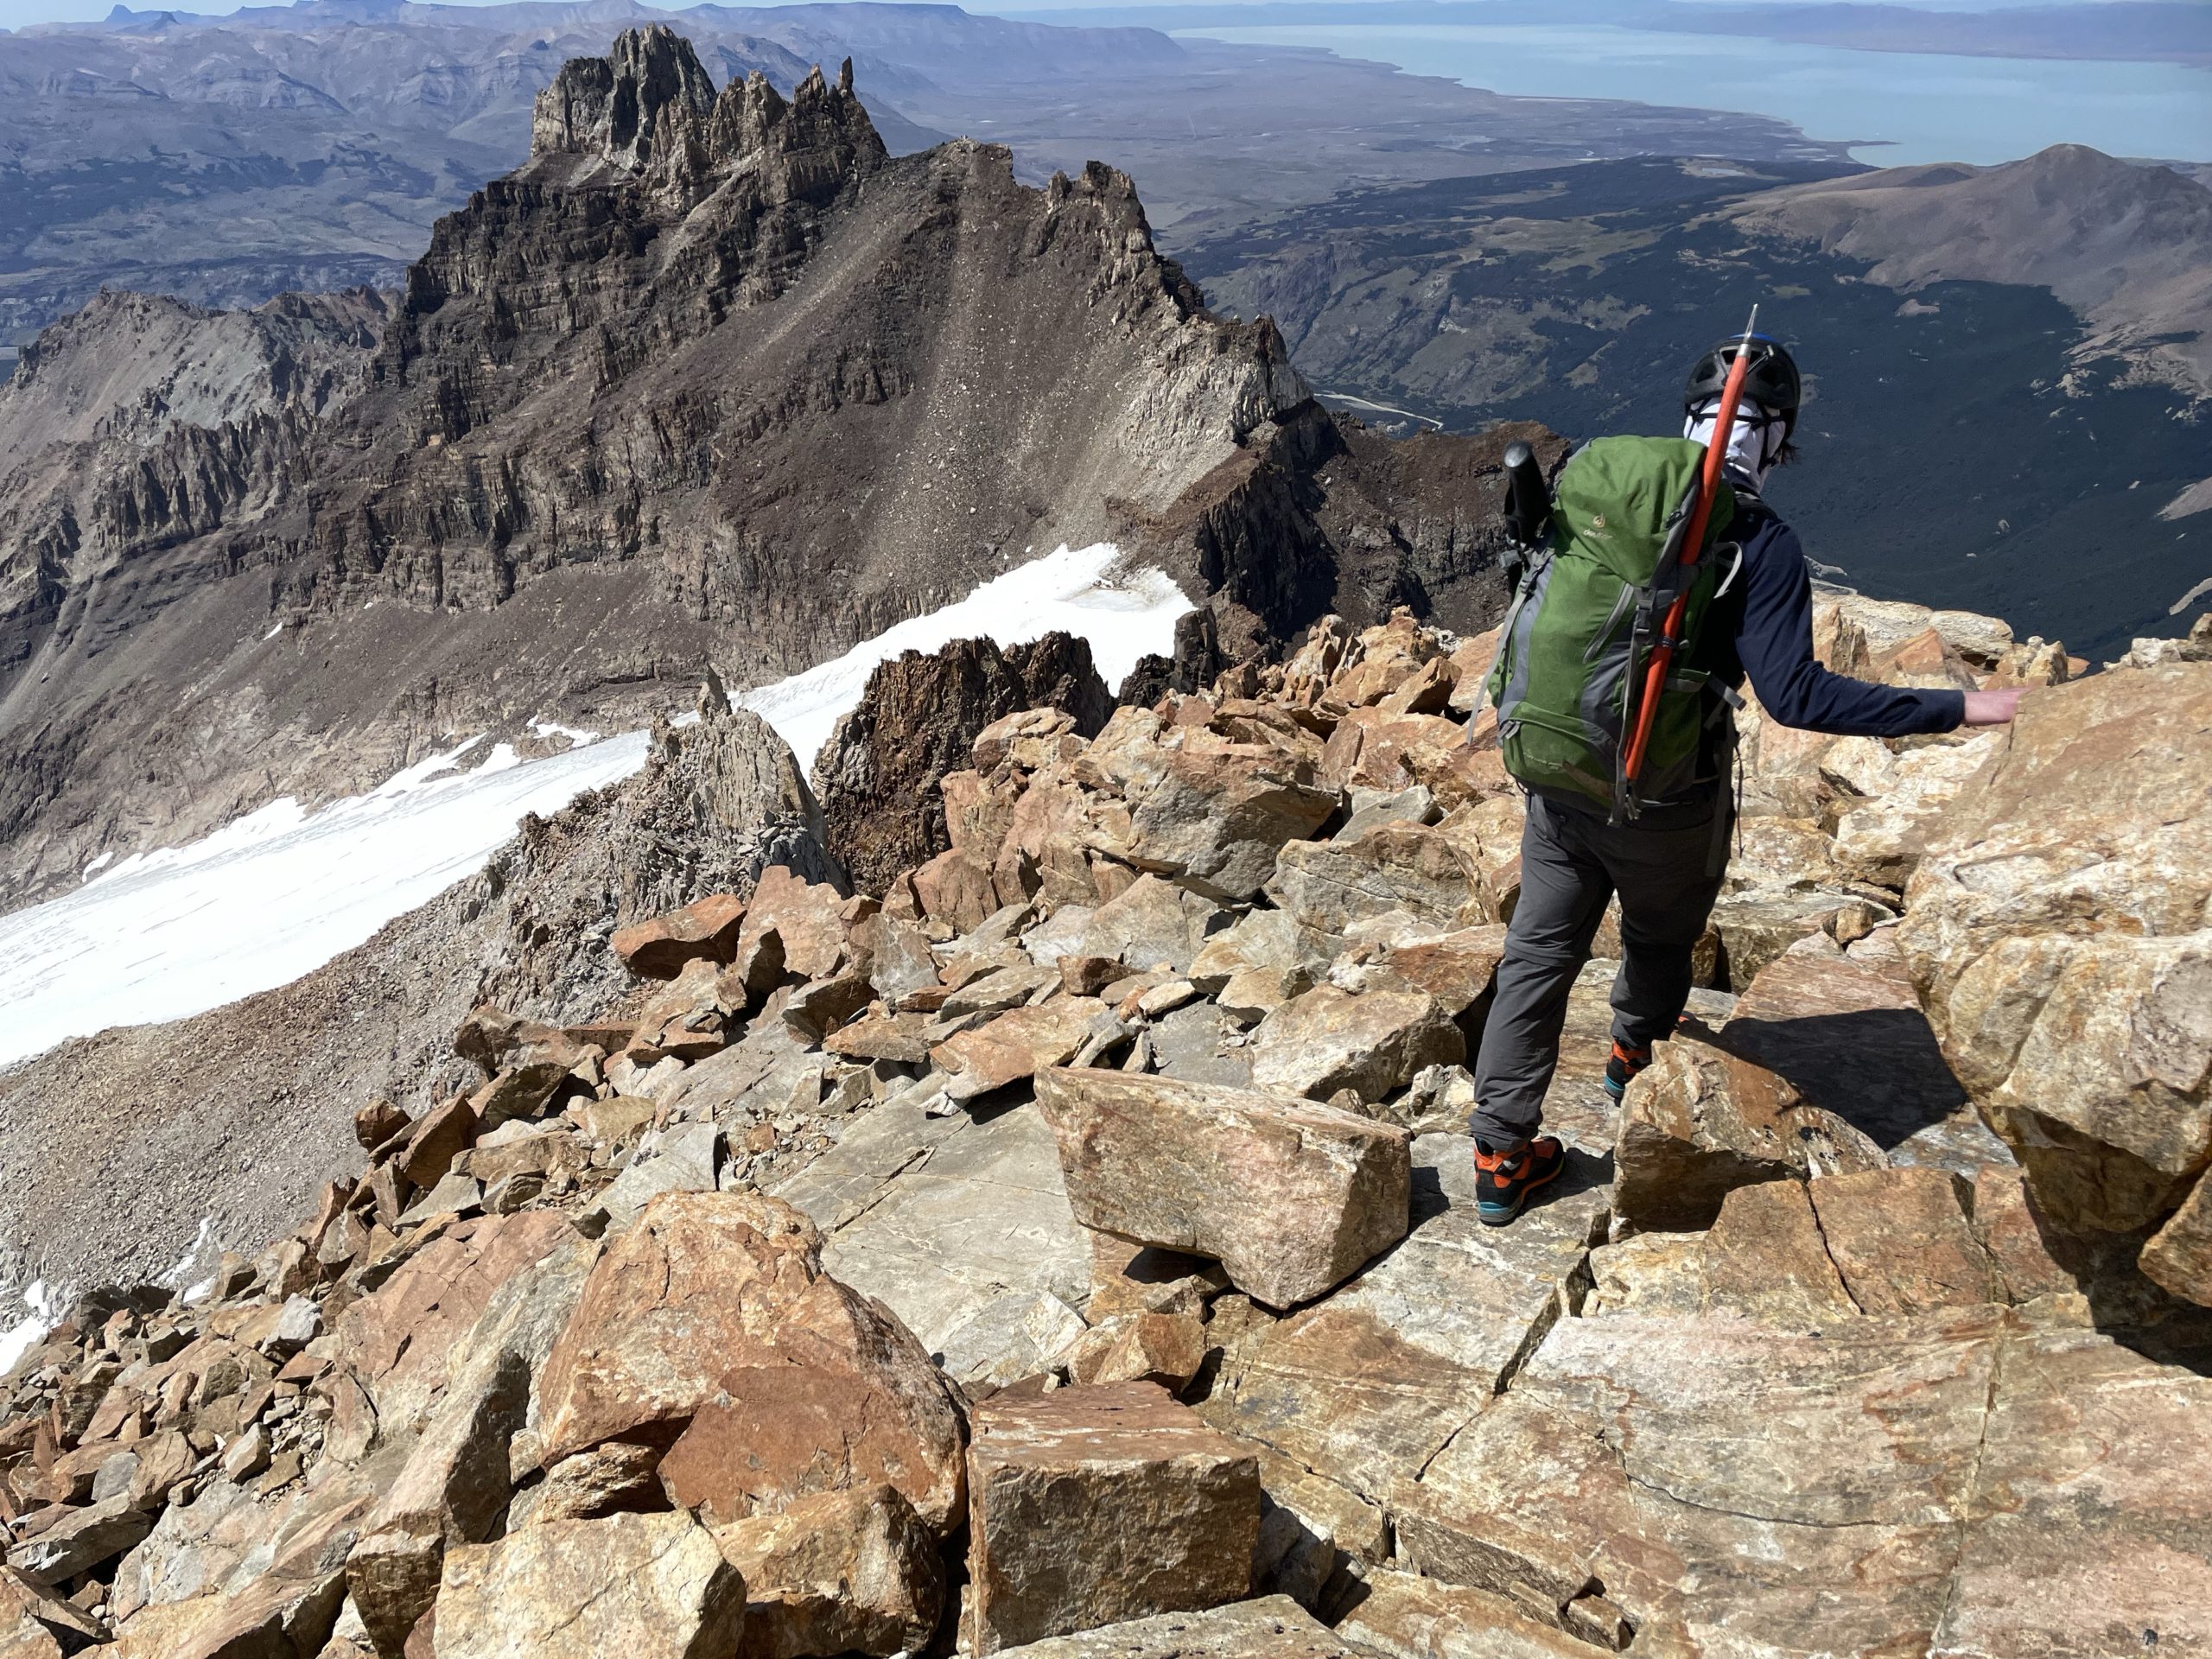
We climbed up the short cliff section and then it’s just 3rd class terrain up to the summit area. At the top there’s a narrow traverse along an exposed cliff section, but it was quite easy to walk across. I believe I had seen people rope up in this area in photos, but for most it would definitely not be necessary. Now we could also see that exposed summit tower that guarded the true high point. From the approach side it looked difficult but as we wrapped around to the north side the low 5th class route revealed itself.

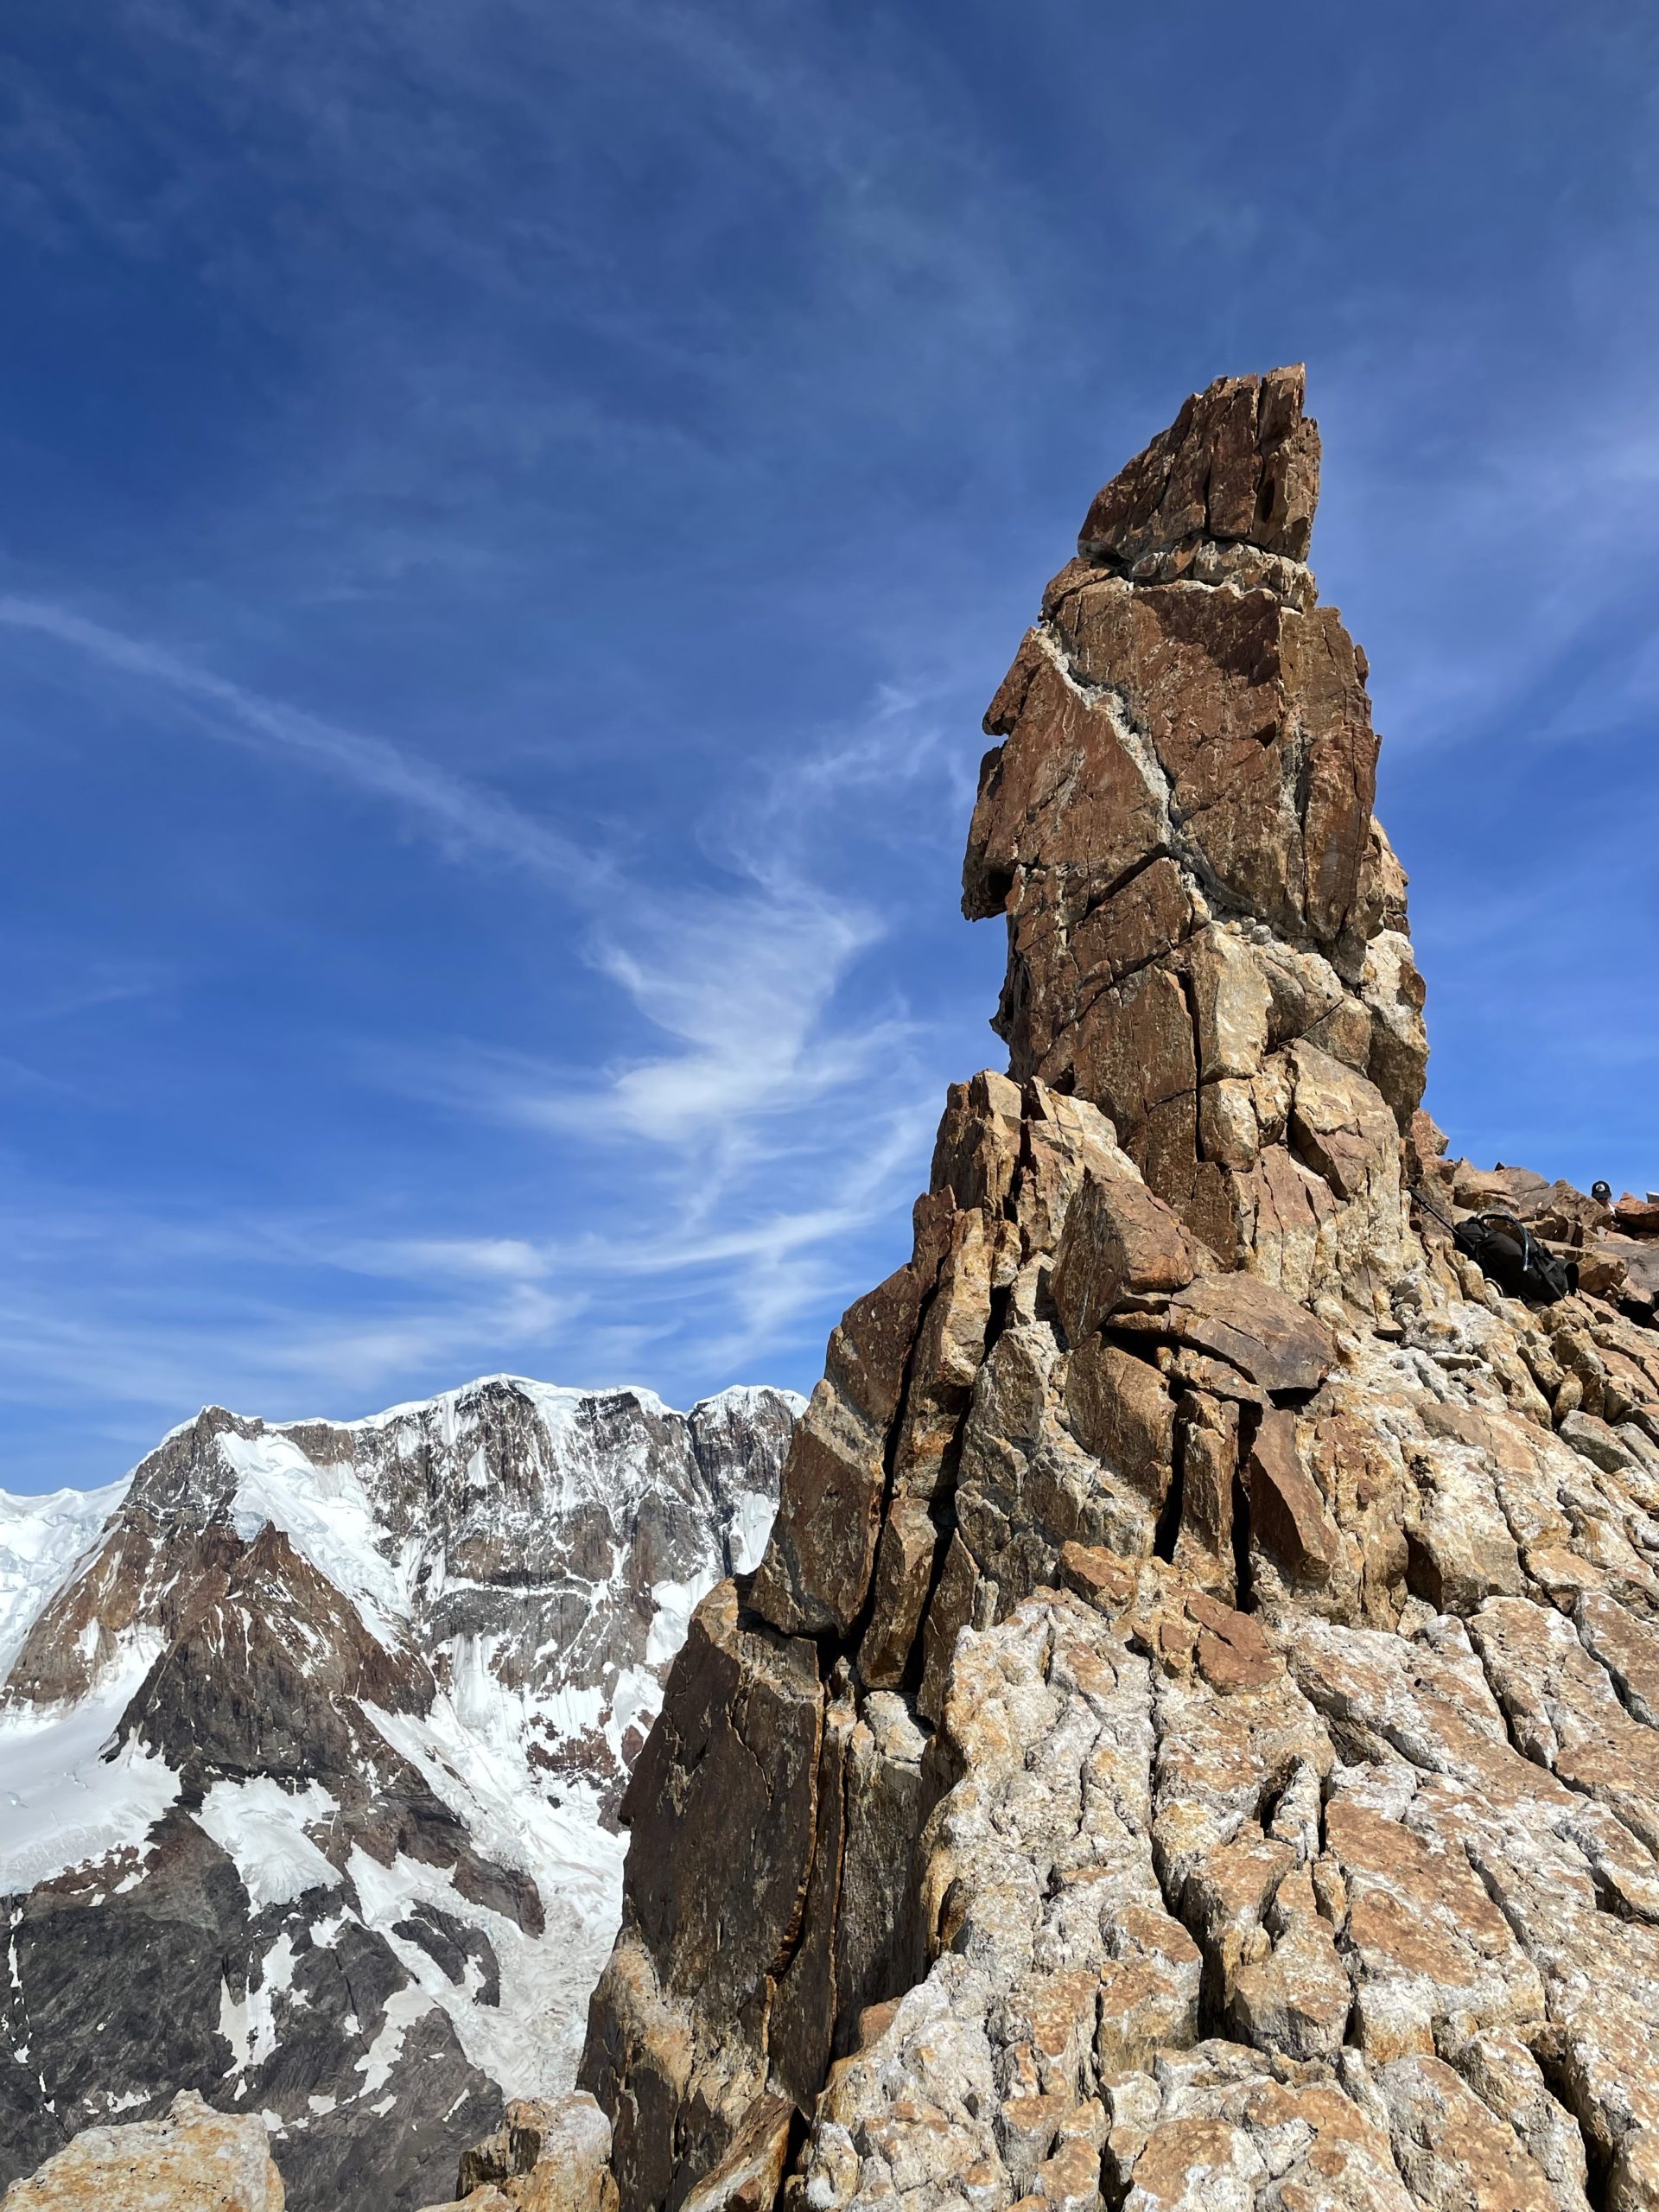
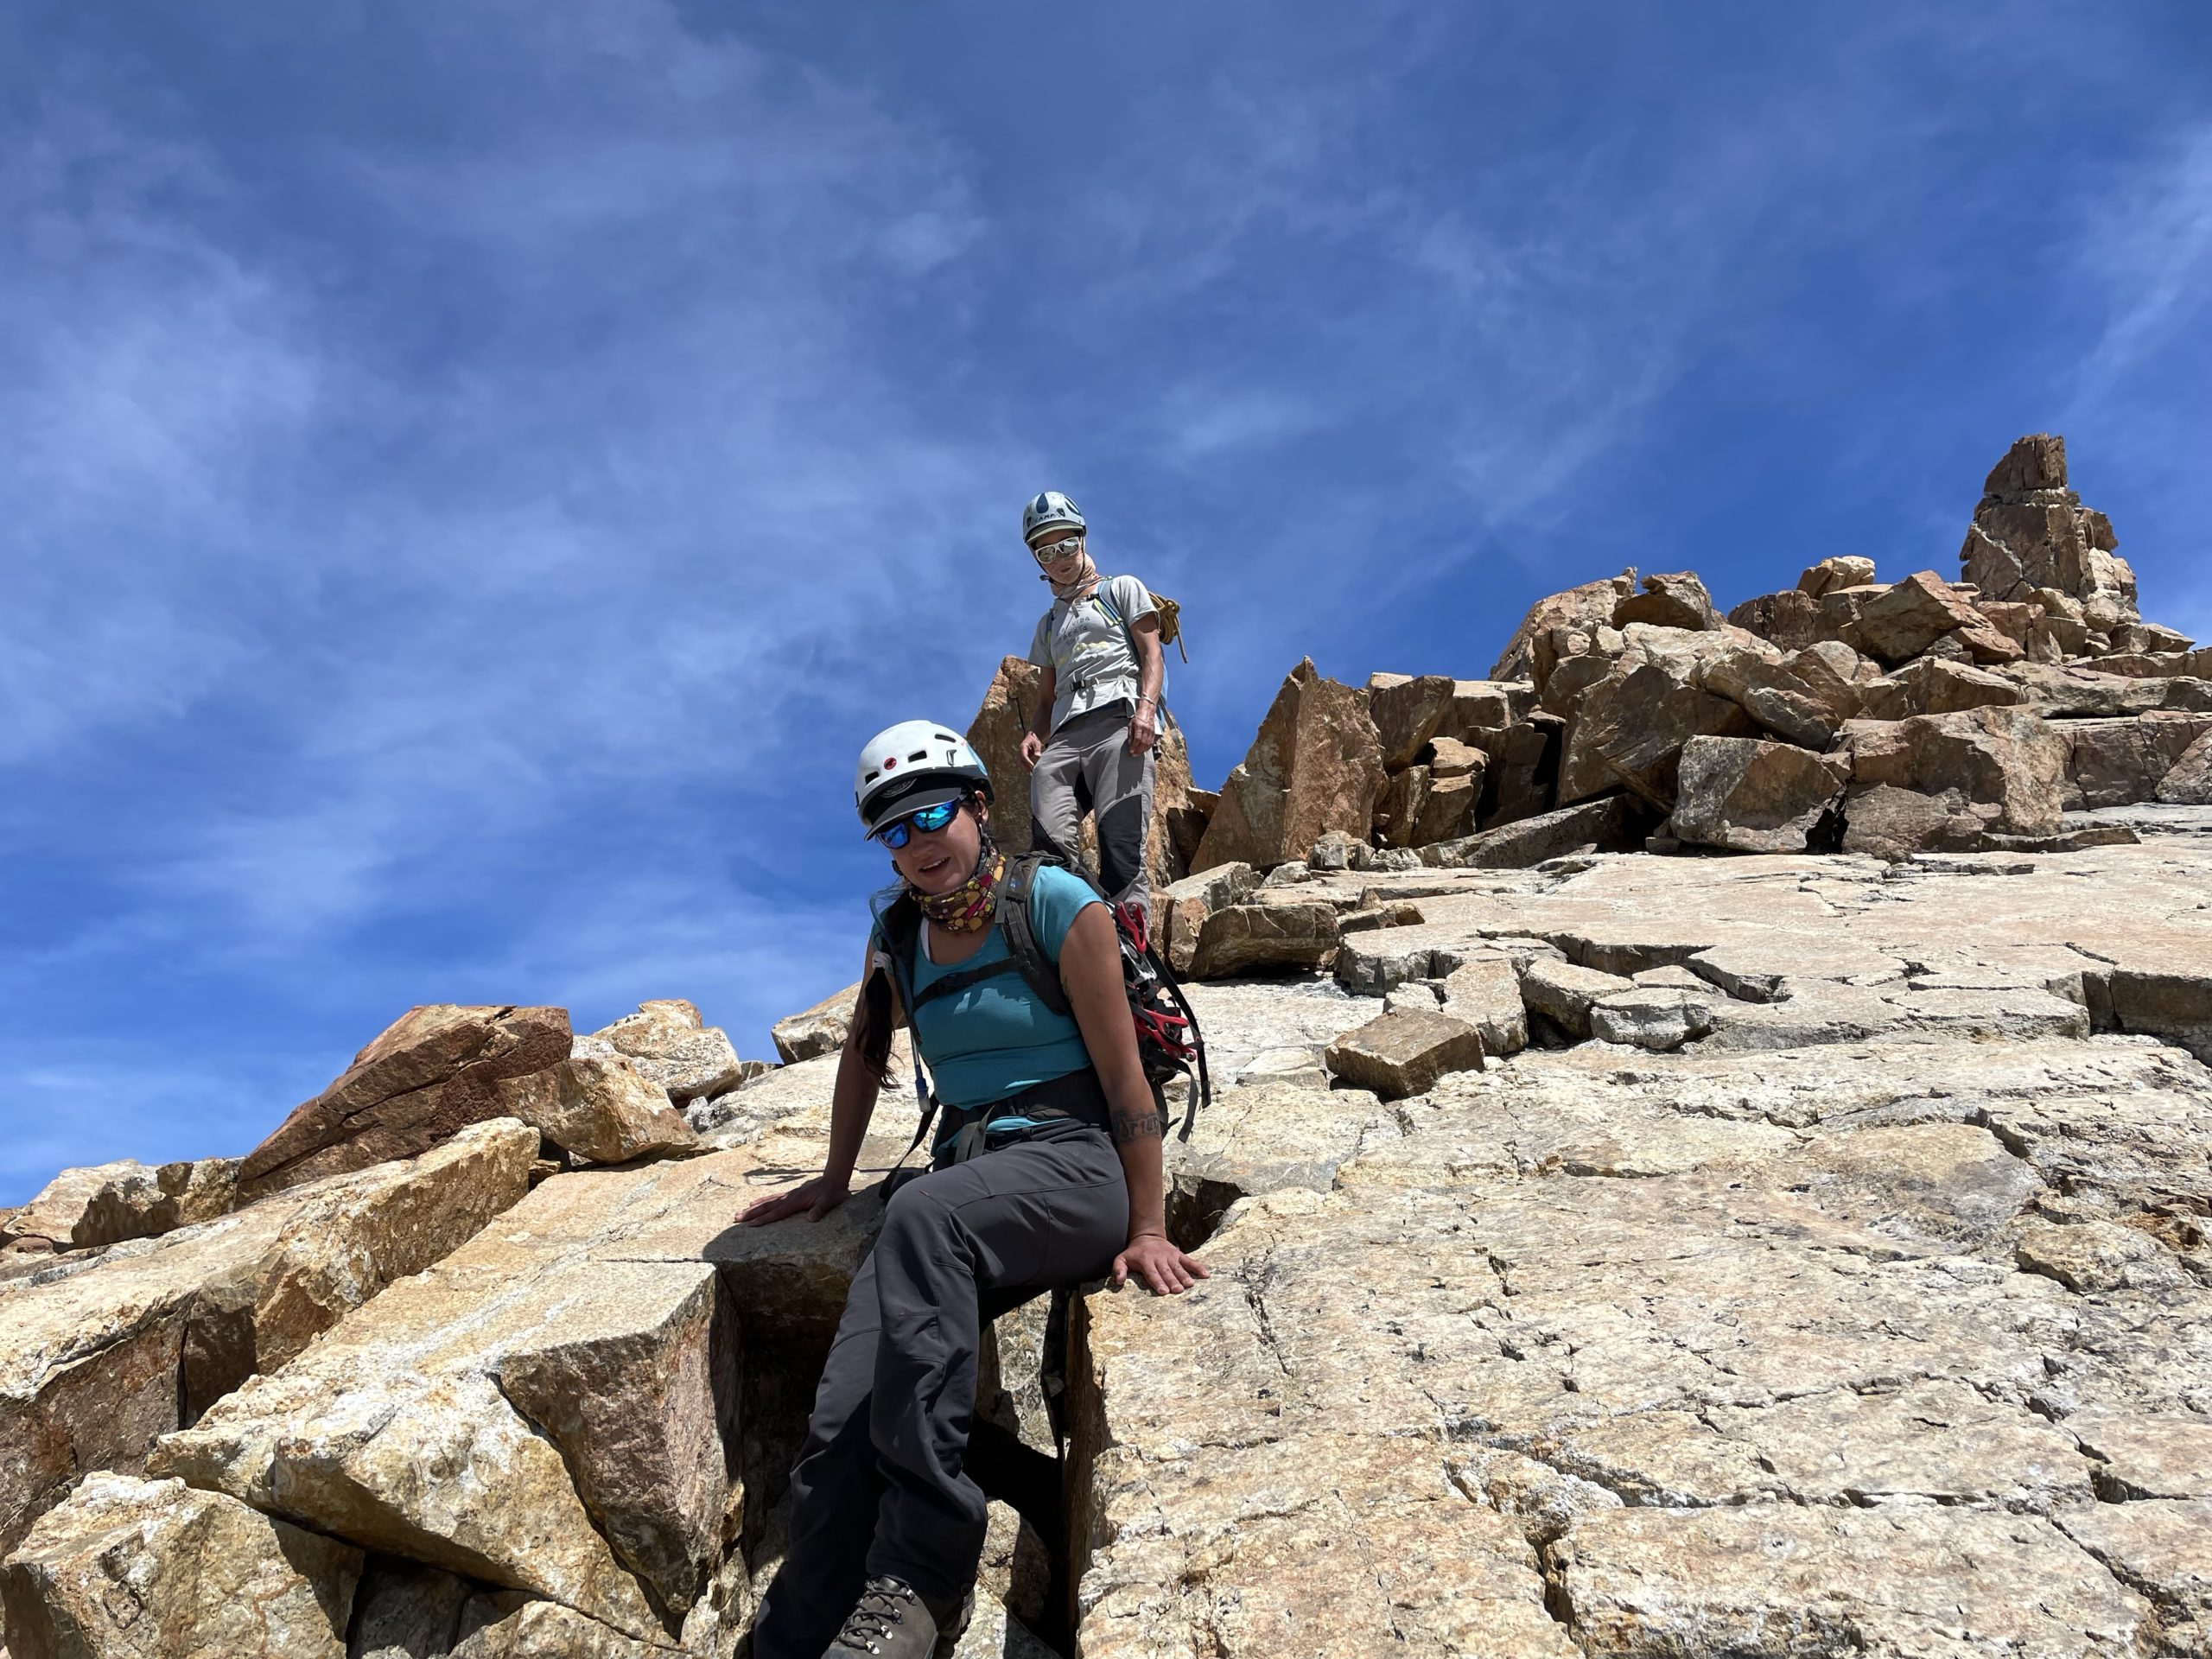
Here also we caught up with Anto and Mar. Neither had gear for climbing the tower so they were just chilling out. I didn’t want to waste too much time, so I started scoping out the route up and getting the gear out. I couldn’t see anywhere to place a cam, but there were enough flaring cracks to make the wall nuts work.
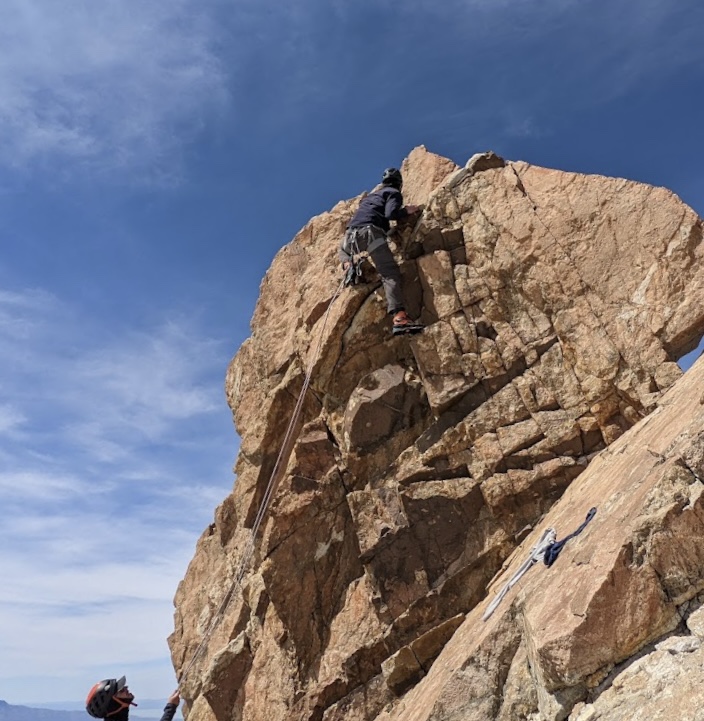
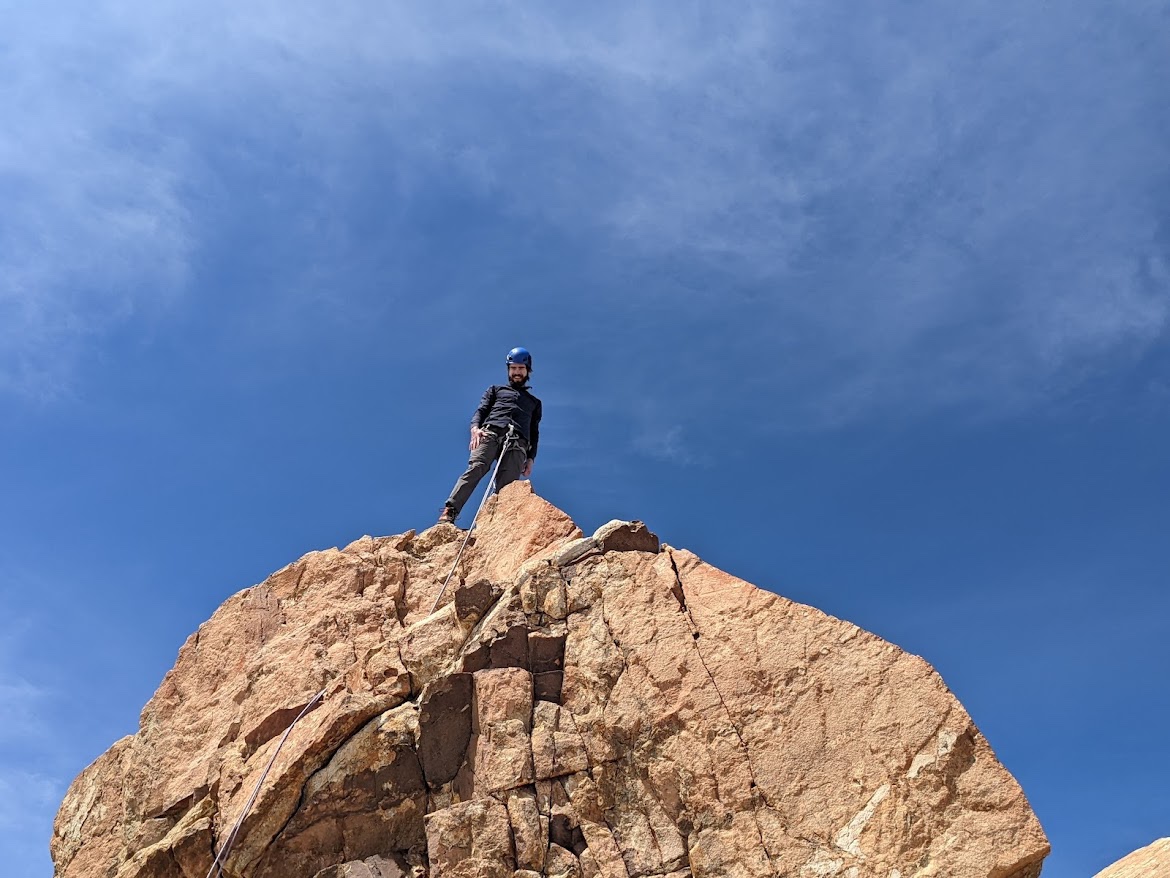
Jacob and I did a partner check and then I started the lead up. One piece of pro wiggled out on the way up but otherwise the climb up was straightforward. The route wasn’t terribly difficult and below the last few feet was a solid ledge to stand on. When I reached it I saw lots of webbing around a boulder so clipped a quick draw into that and then stood up on the top section. It was indeed exposed, but fun very fun. I down climbed a bit and then lowered off the last quick draw.

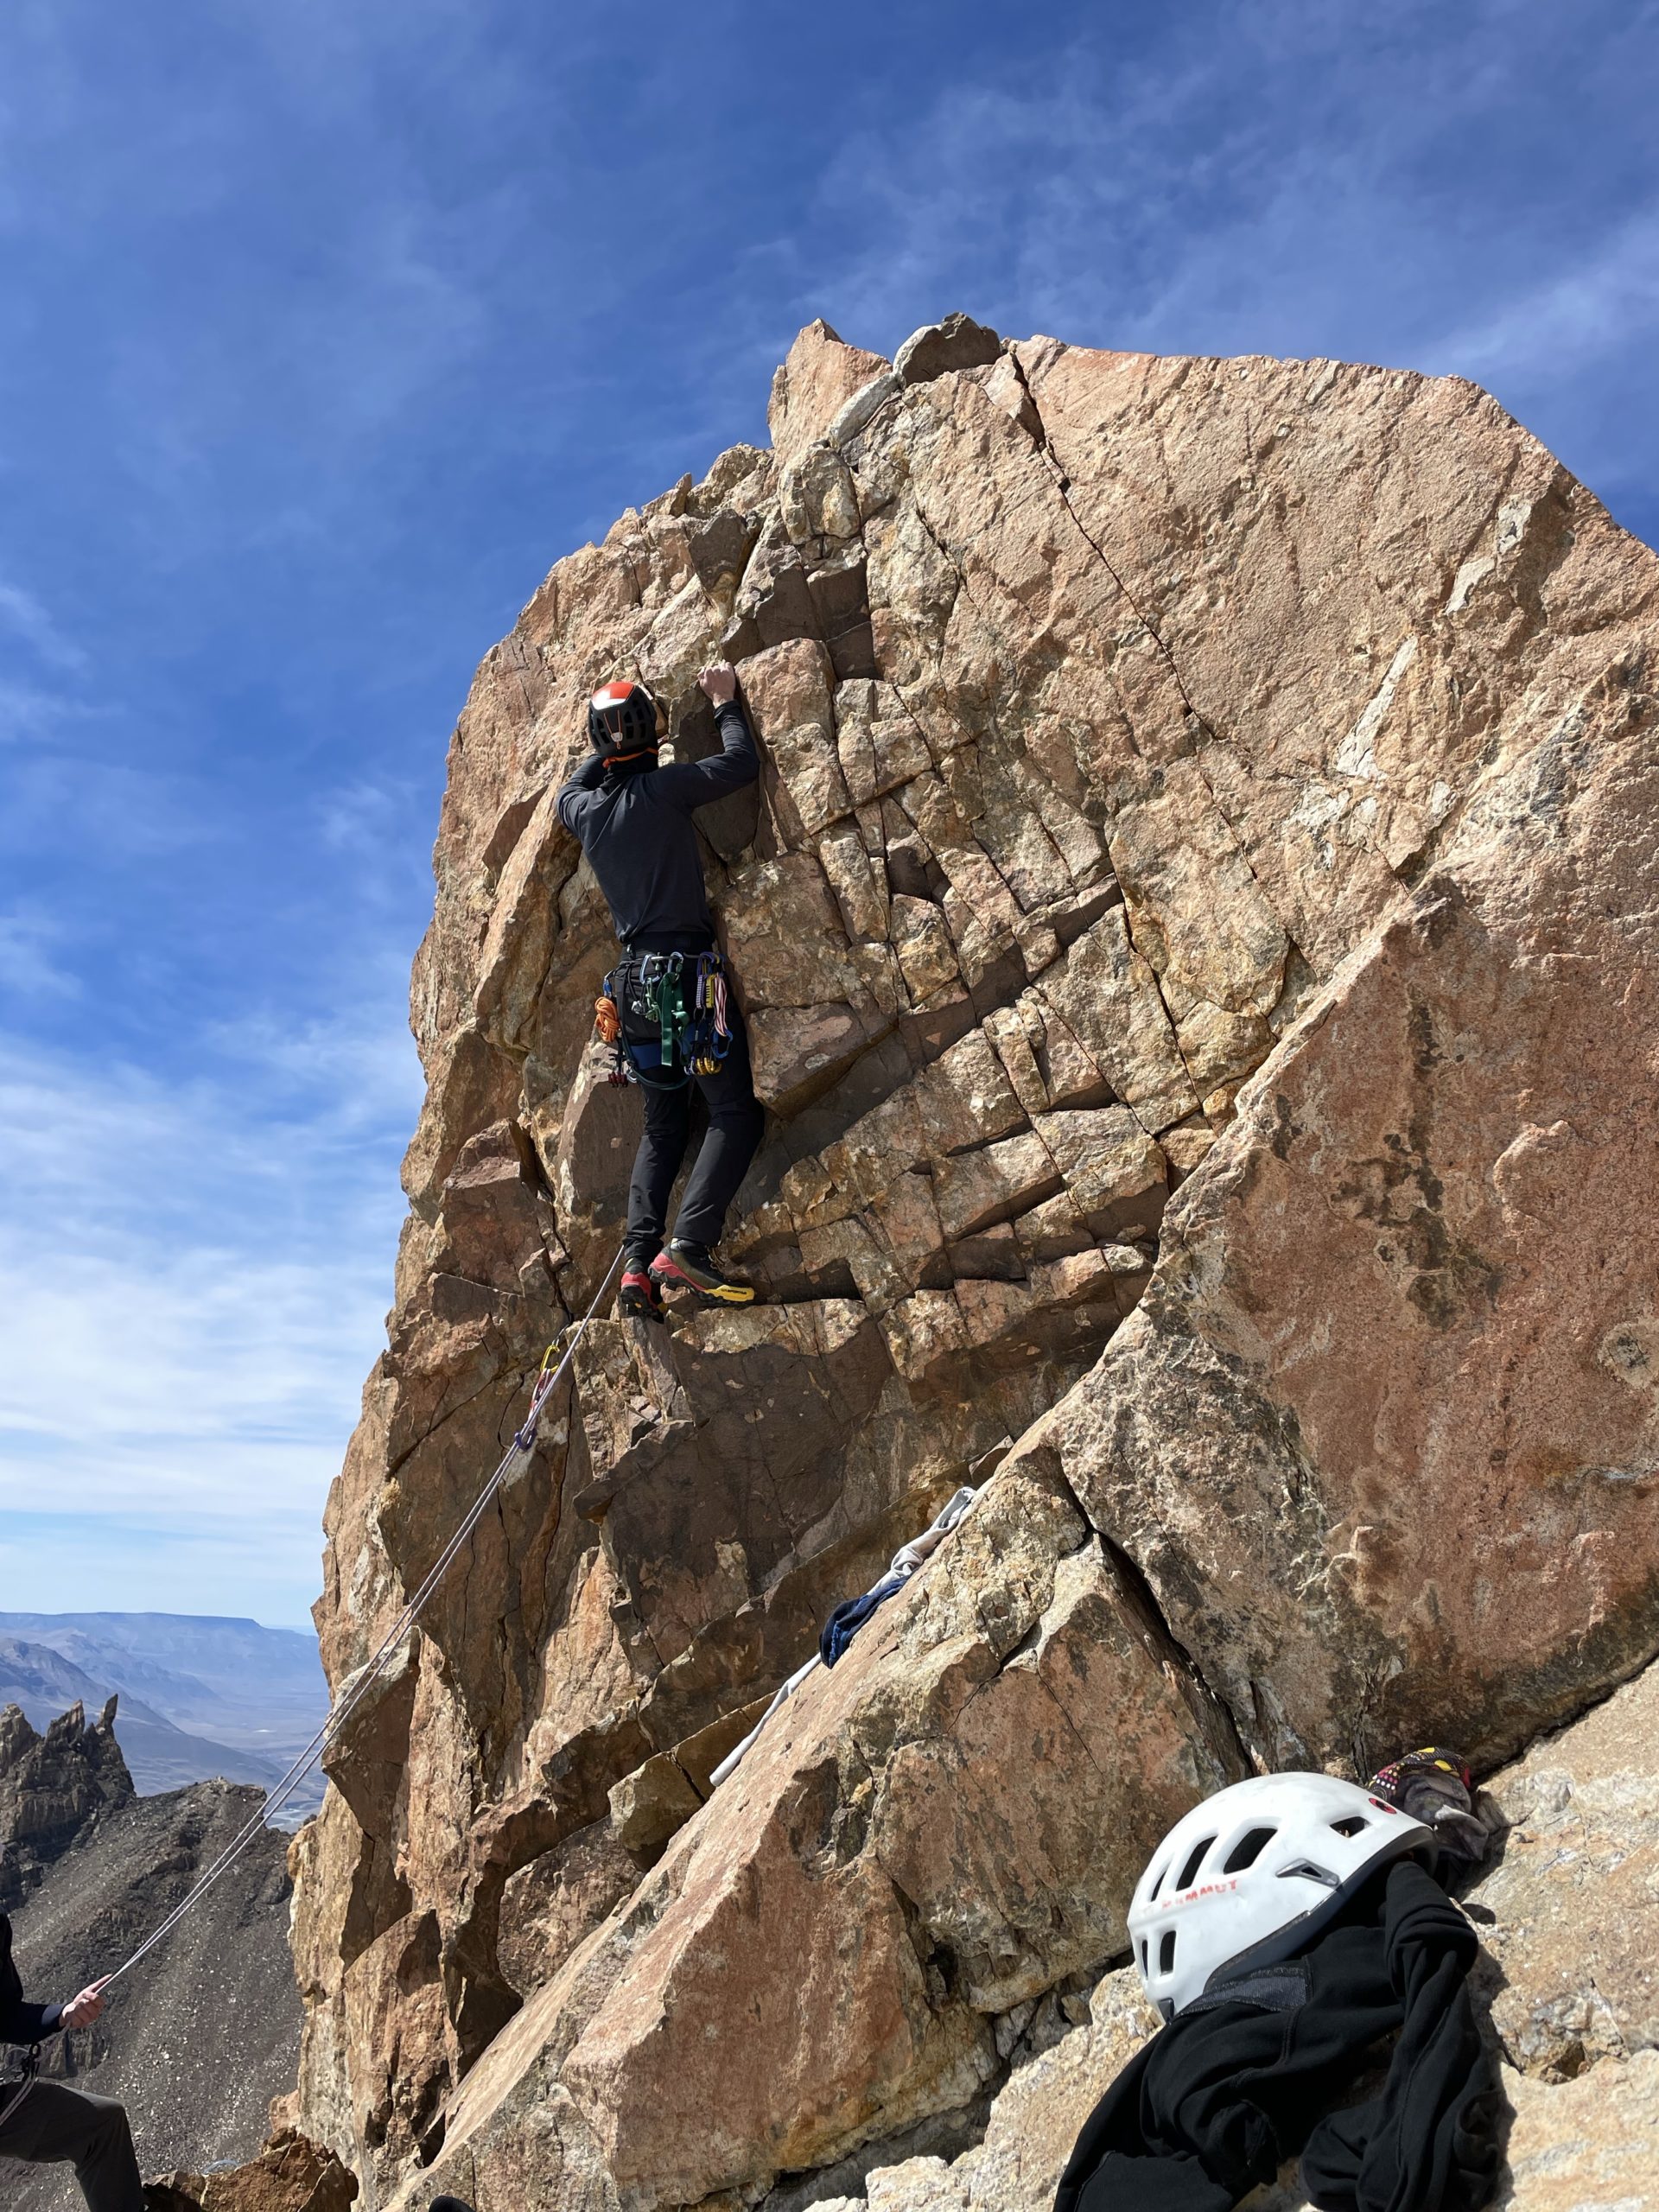
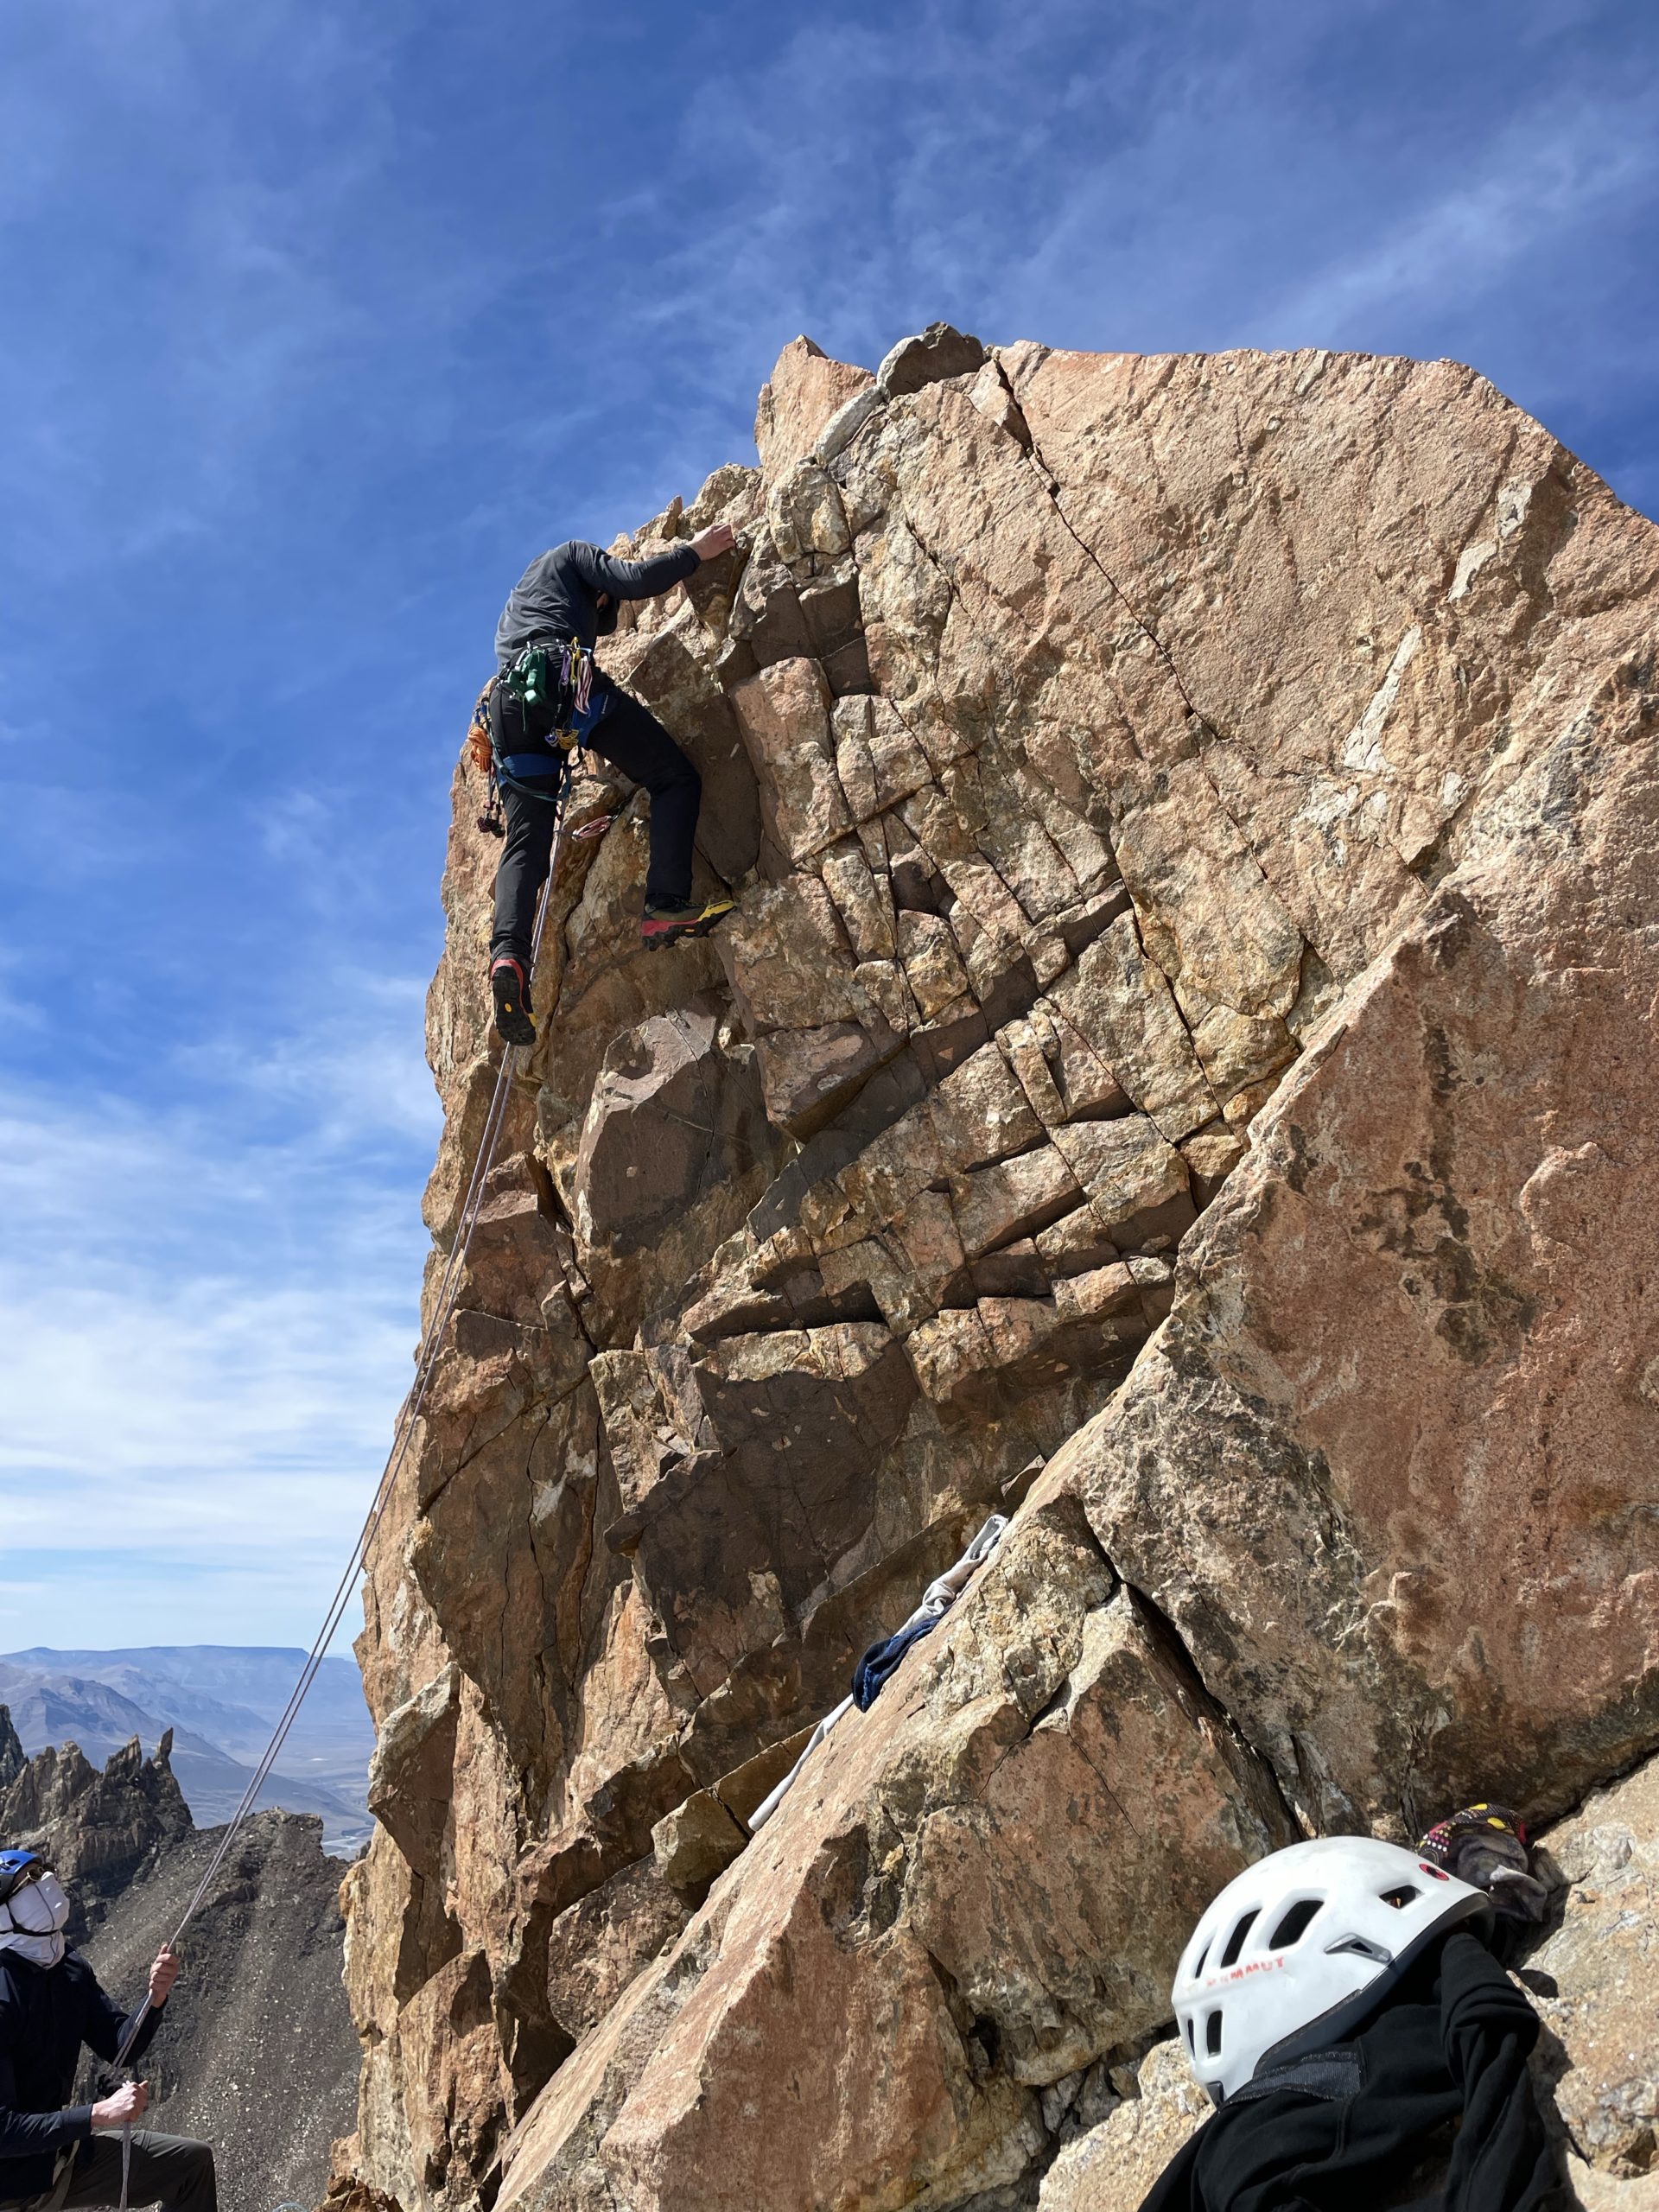
Jacob was up next and now that we had a top rope setup it was no problem for Jacob to get up. At the top he swapped my quick draw out for a locking carabiner to make the anchor safer and then lowered off that. Earlier I offered to belay Mar and Anto up since they didn’t have the gear and Mar was keen to give it a go. I put her on belay and she ascended with ease as well. Anto was content to stay put, so Mar cleaned the anchor and rappelled off.
I think if we did not have the gear Jacob and I still could have made it up. However it’s at the very limit of what I would consider trying unroped and having the gear made things a lot more comfortable and easier to descend.
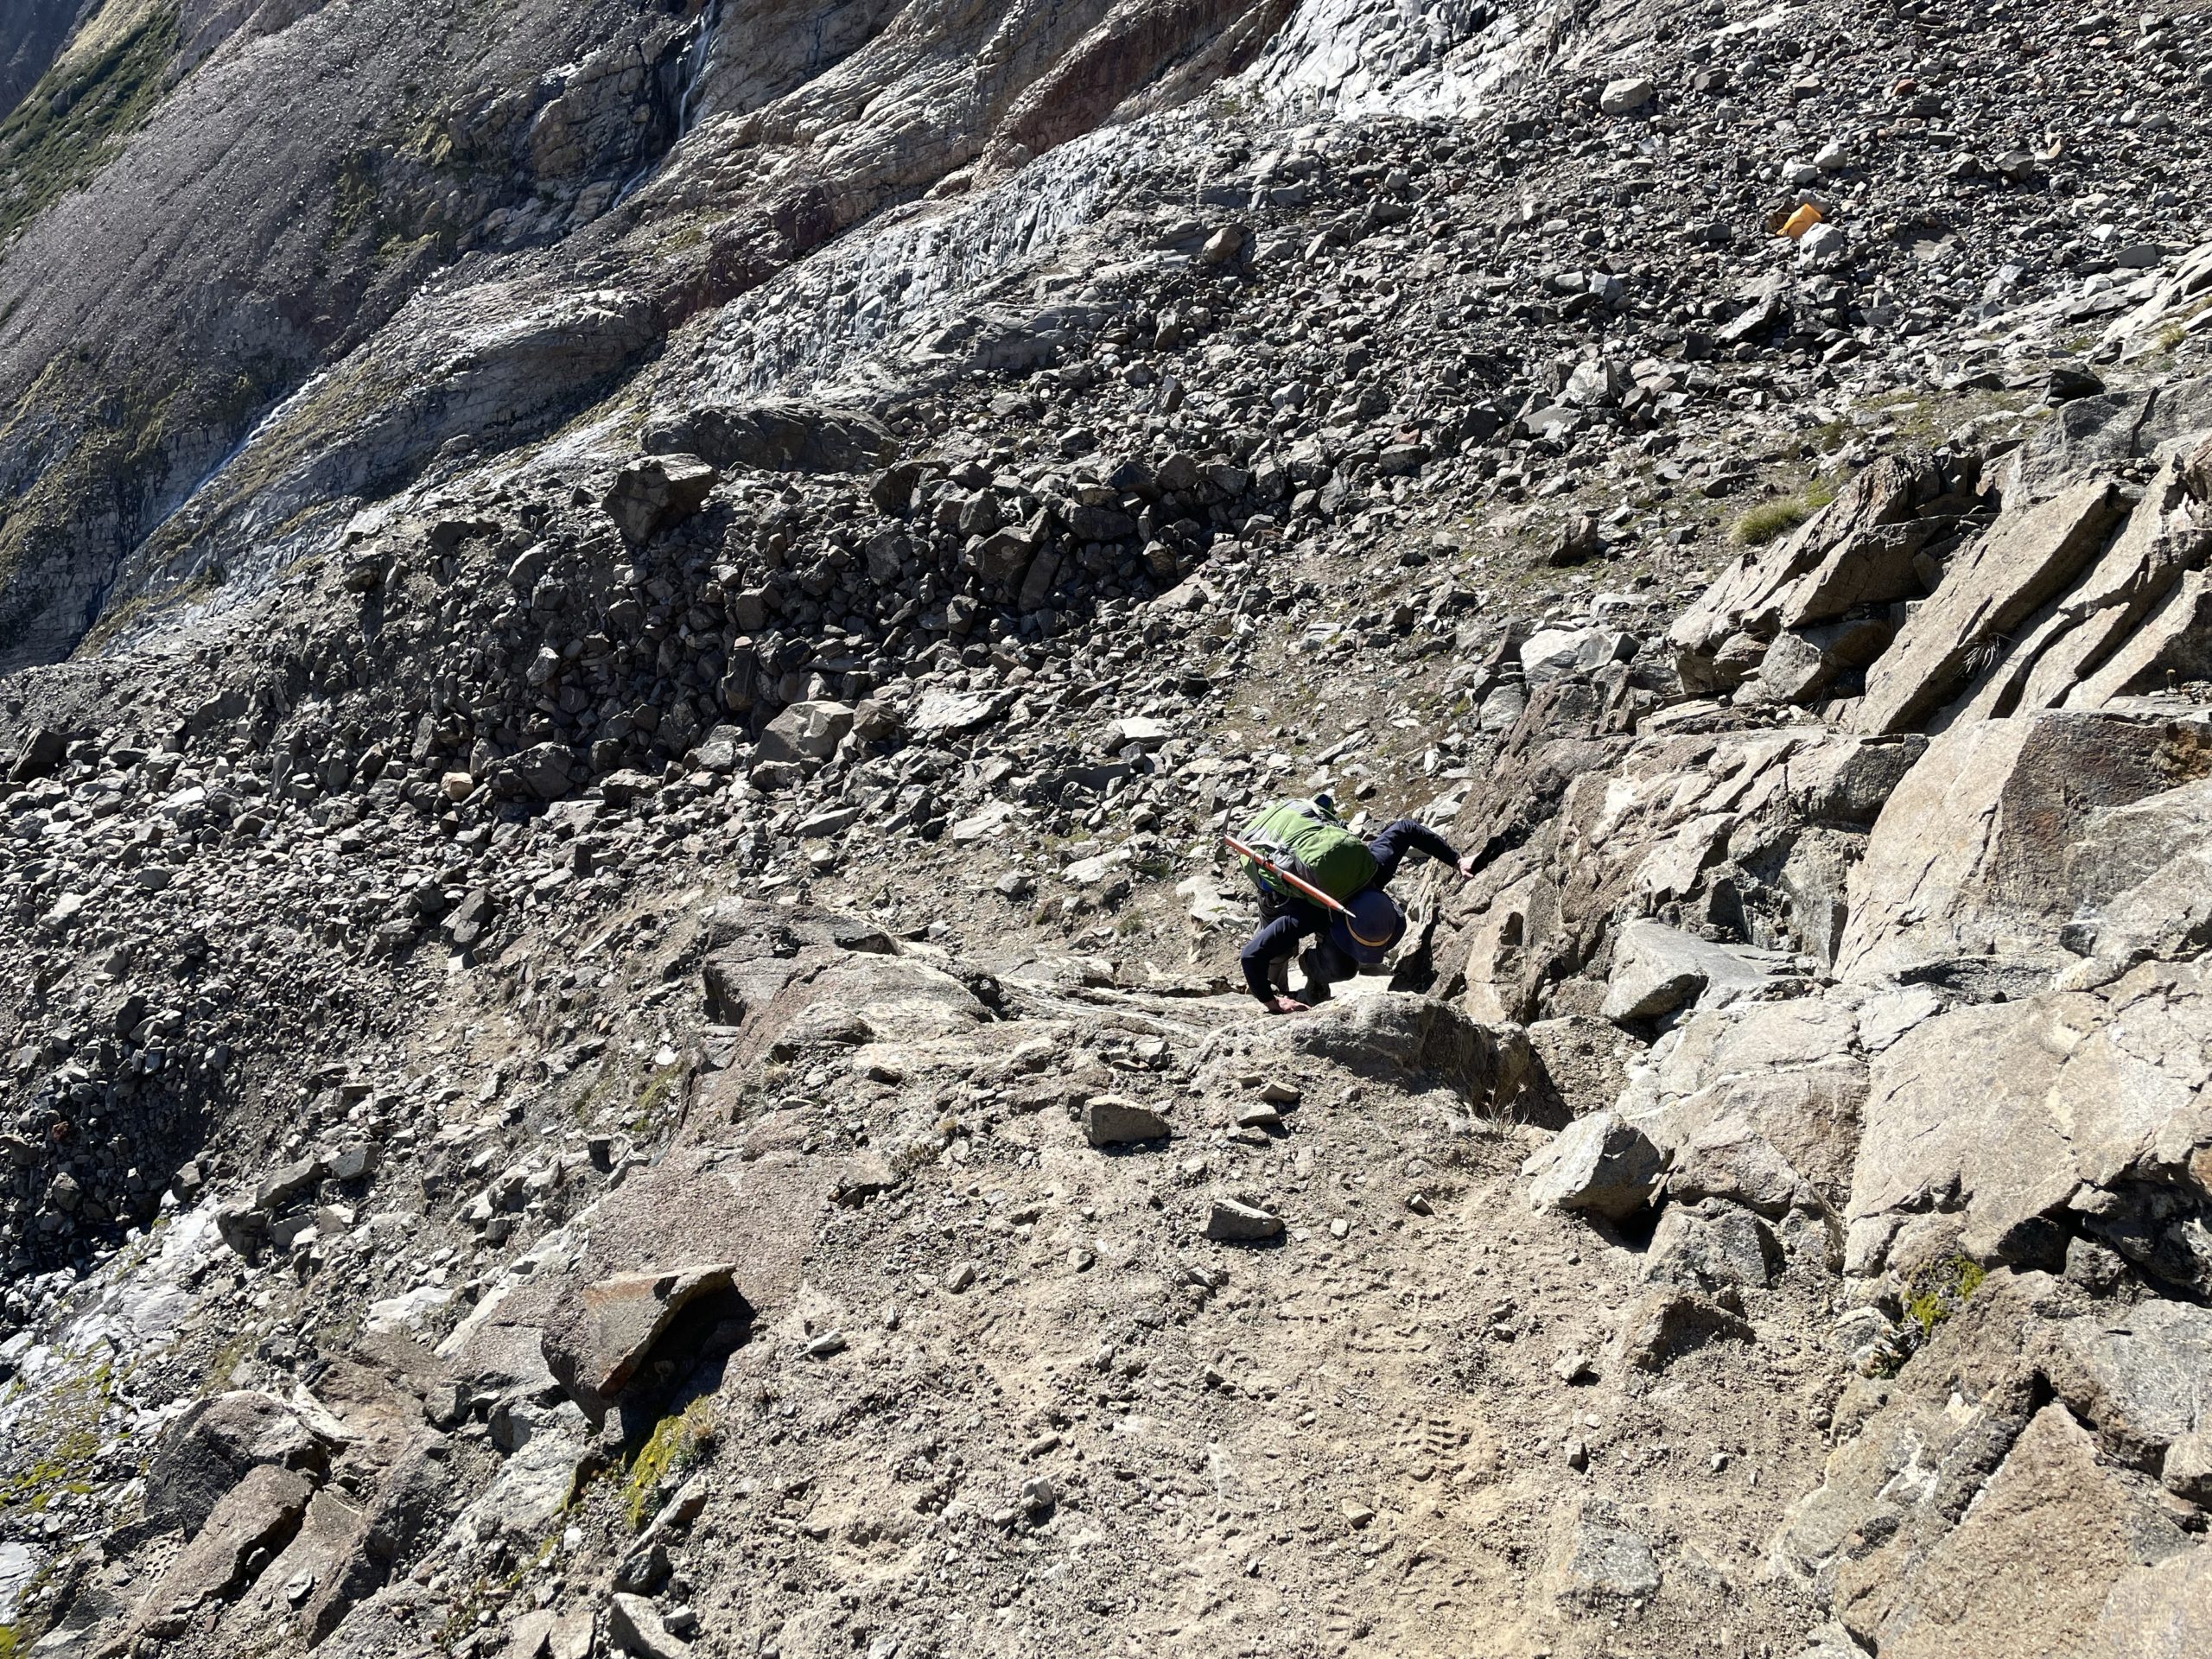
After successfully reaching the top Anto and Mar joined us on the descent and we picked our way back down to that ascent gully. We had a hard time finding the original track and descended a bit too early, but found our way back with a small course correction. Everyone had to be extra diligent here because the rock was so loose and a few times had to be dodged.
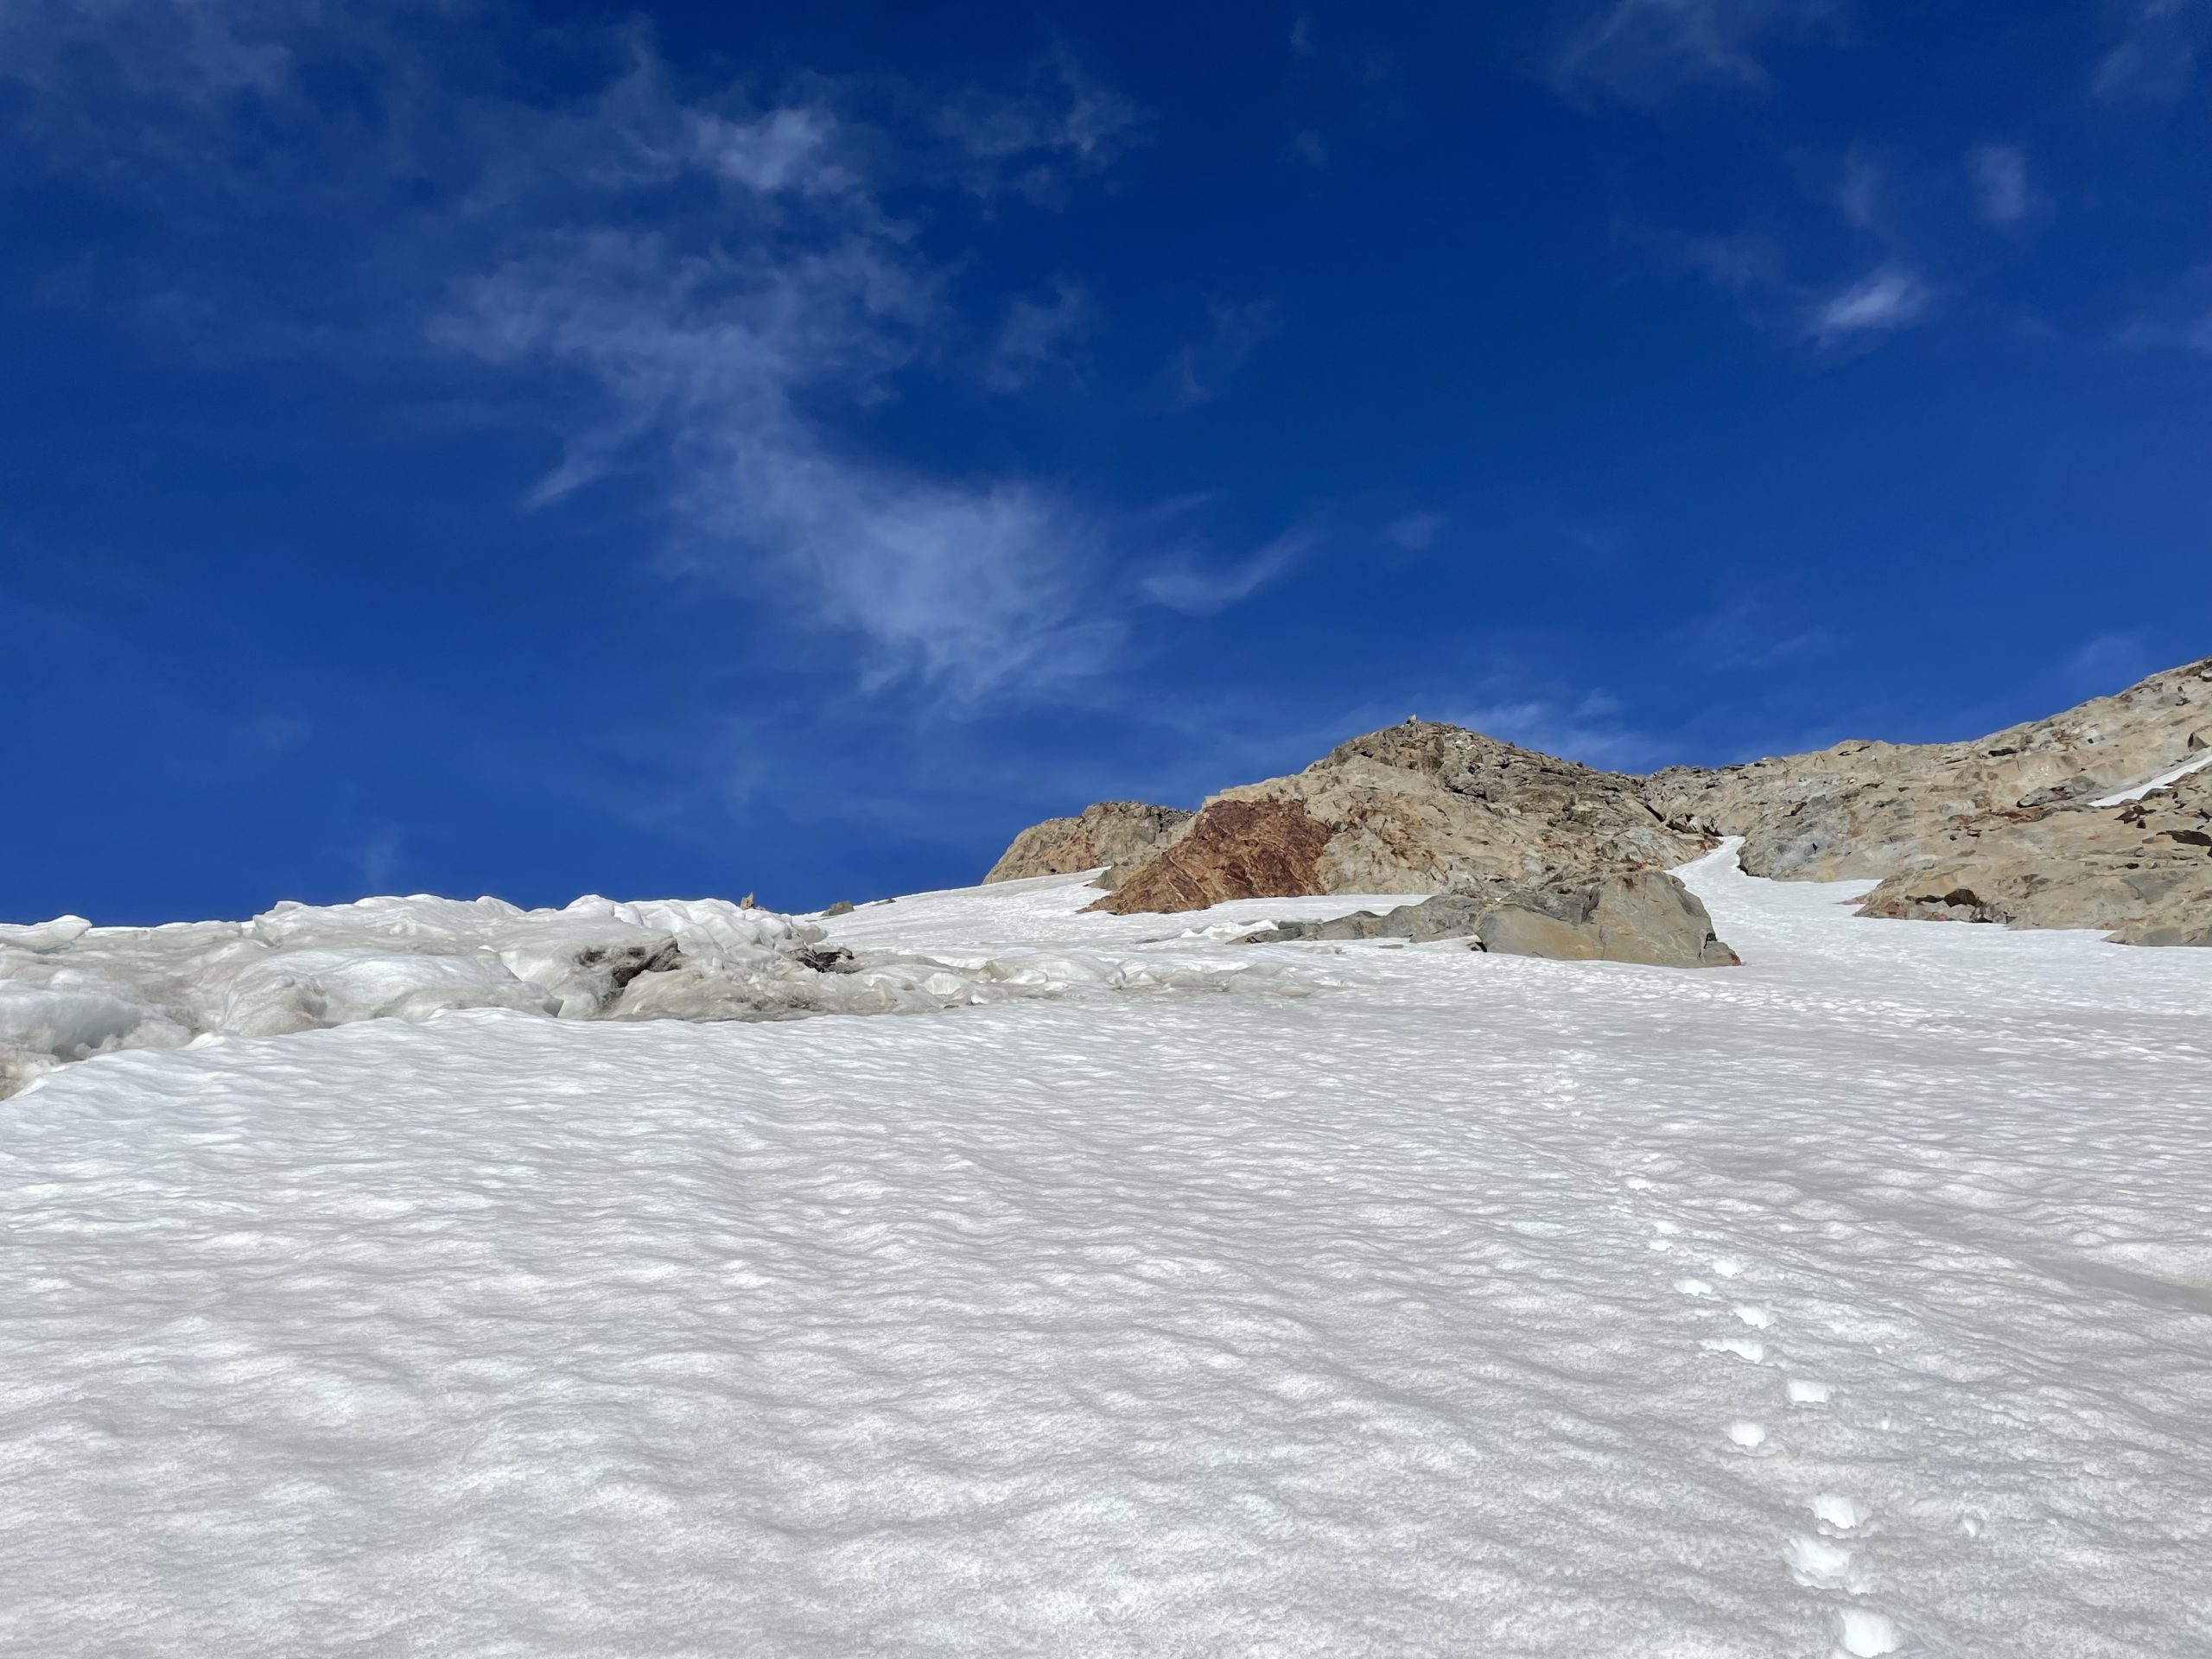
Now we reached the glacier and took another break before making our way back across. The crossing was uneventful and because of the well established tracks I skipped on the rope to save time. We reached the bed rock slopes not long after and parted ways while Jacob and I took a longer rest.
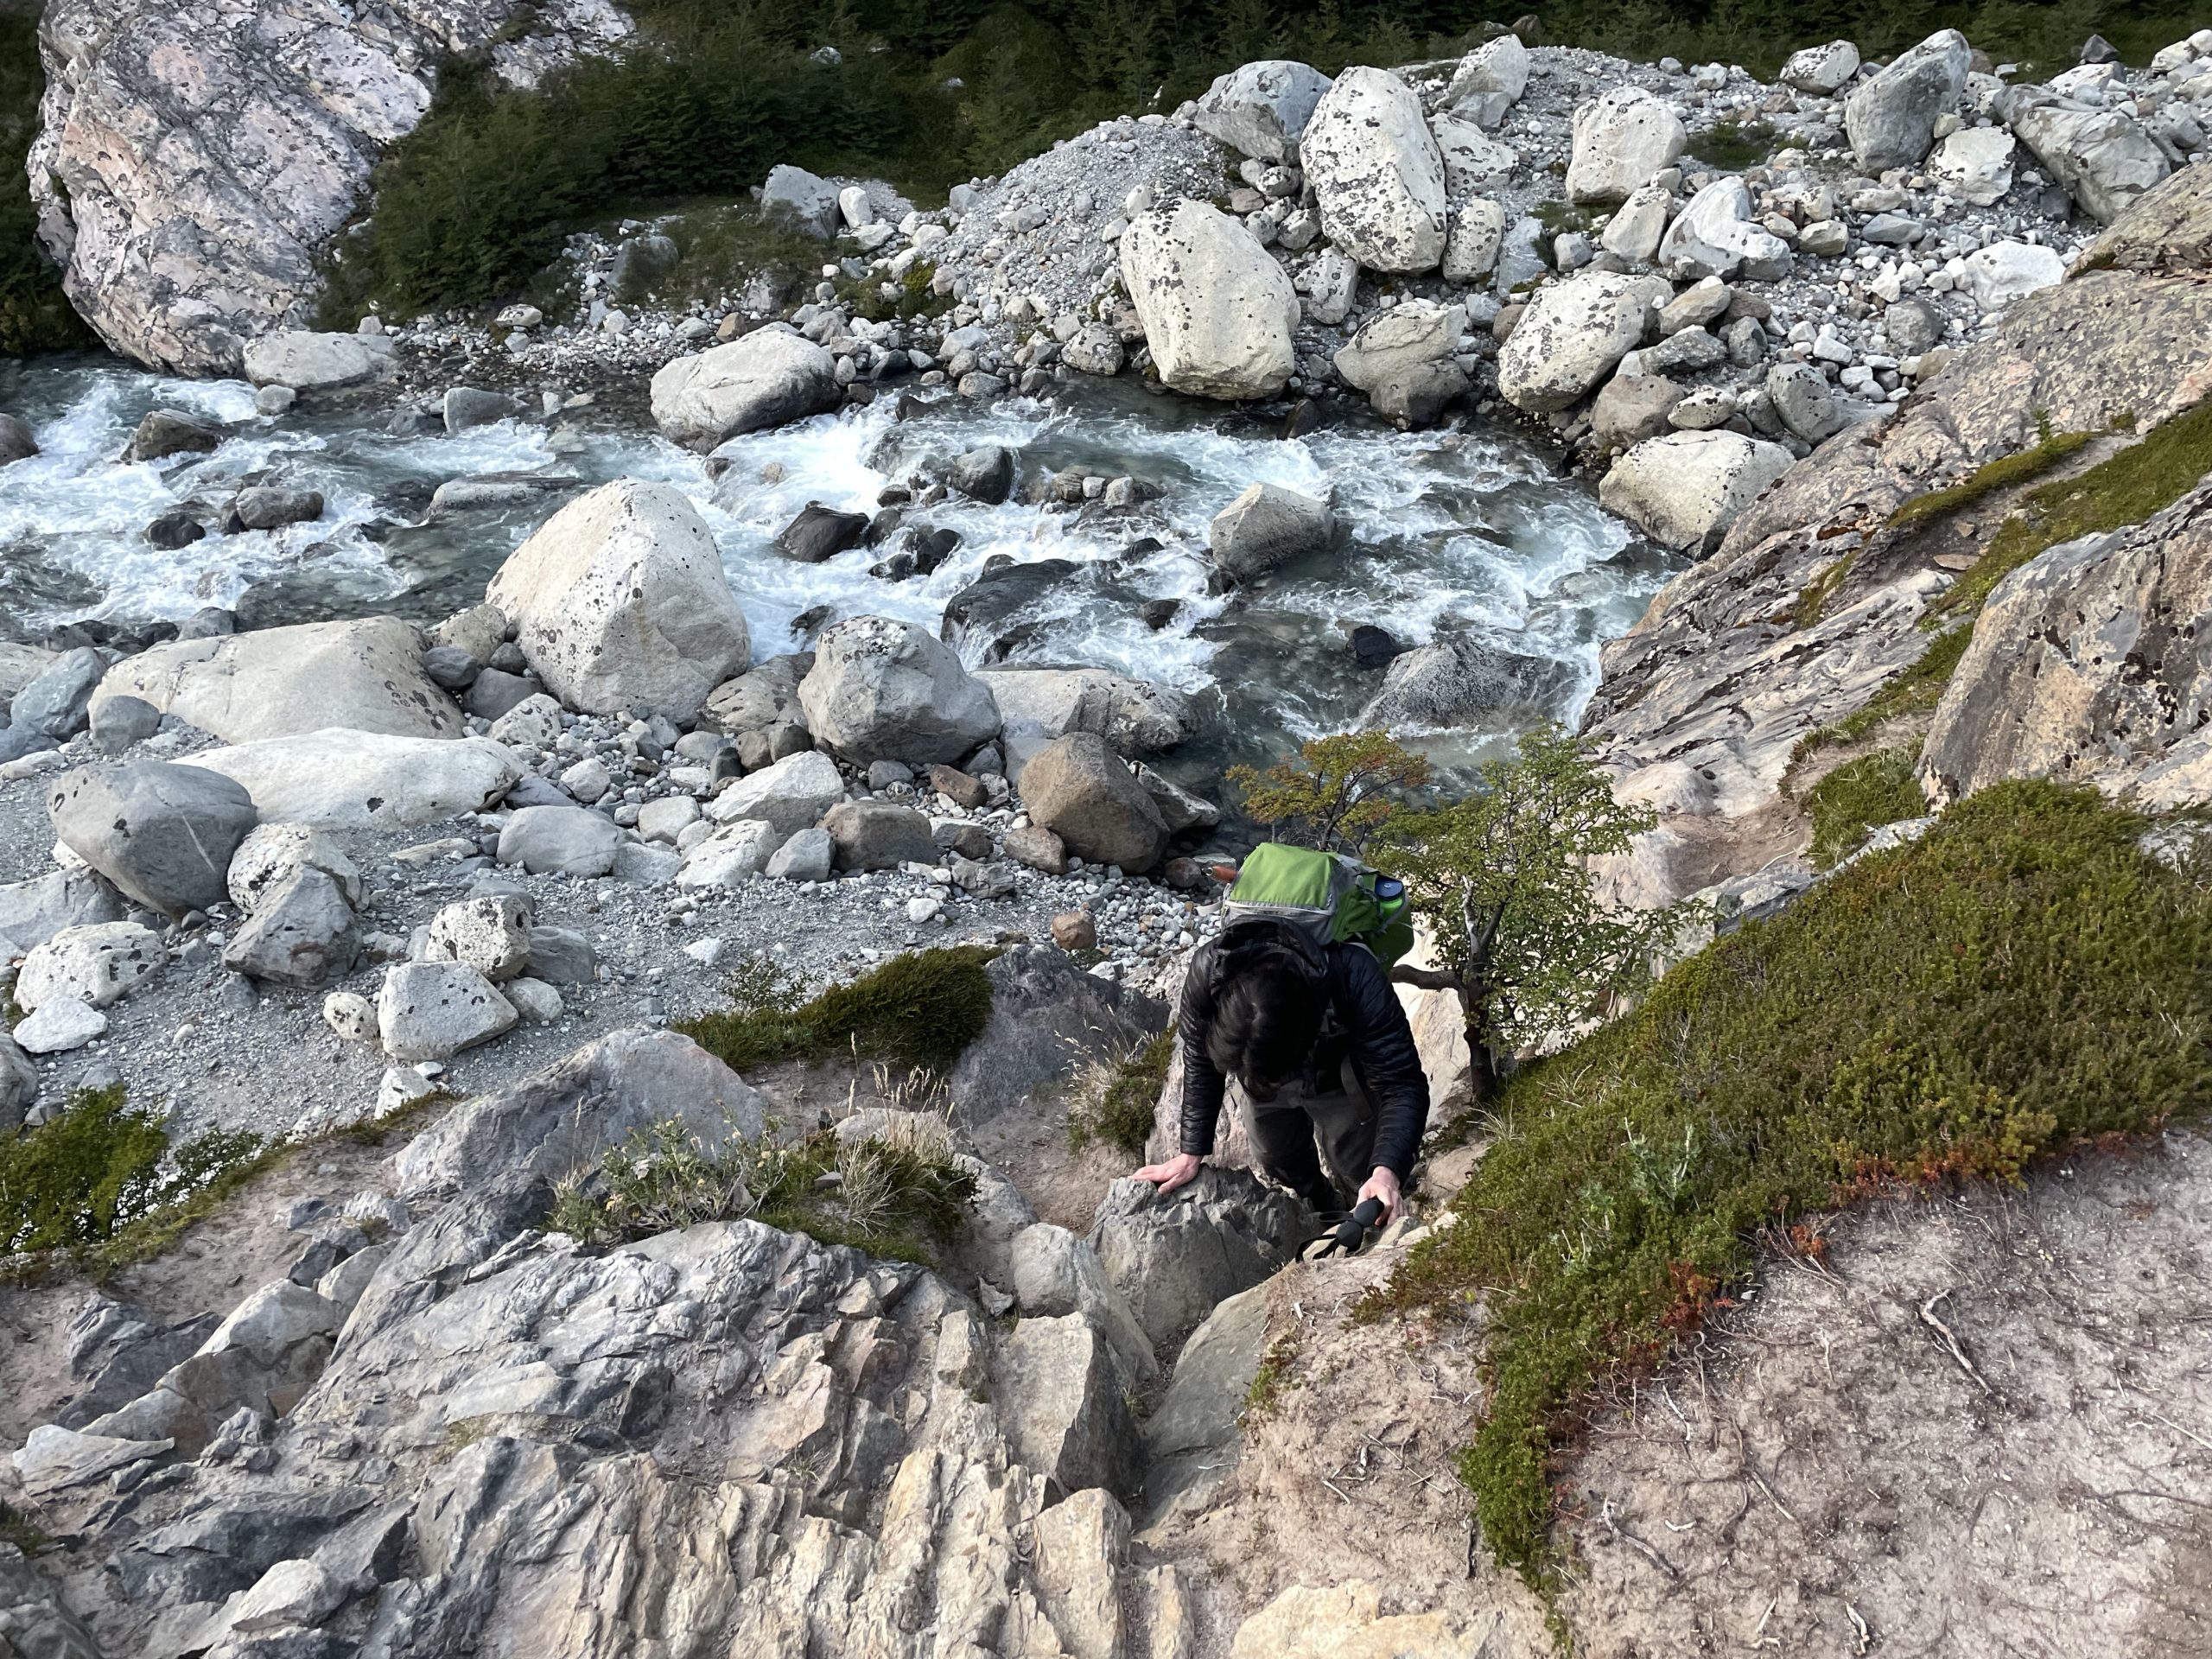
Descending the bed rock after was easy and reached the water fall again not long after. As predicted the rate of flow had increased by a large margin and our original crossing was no longer in. Jacob negotiated the slippery terrain in between streams and found us a good spot to cross. I would deem it a no fall zone, but the jump over was not tricky.
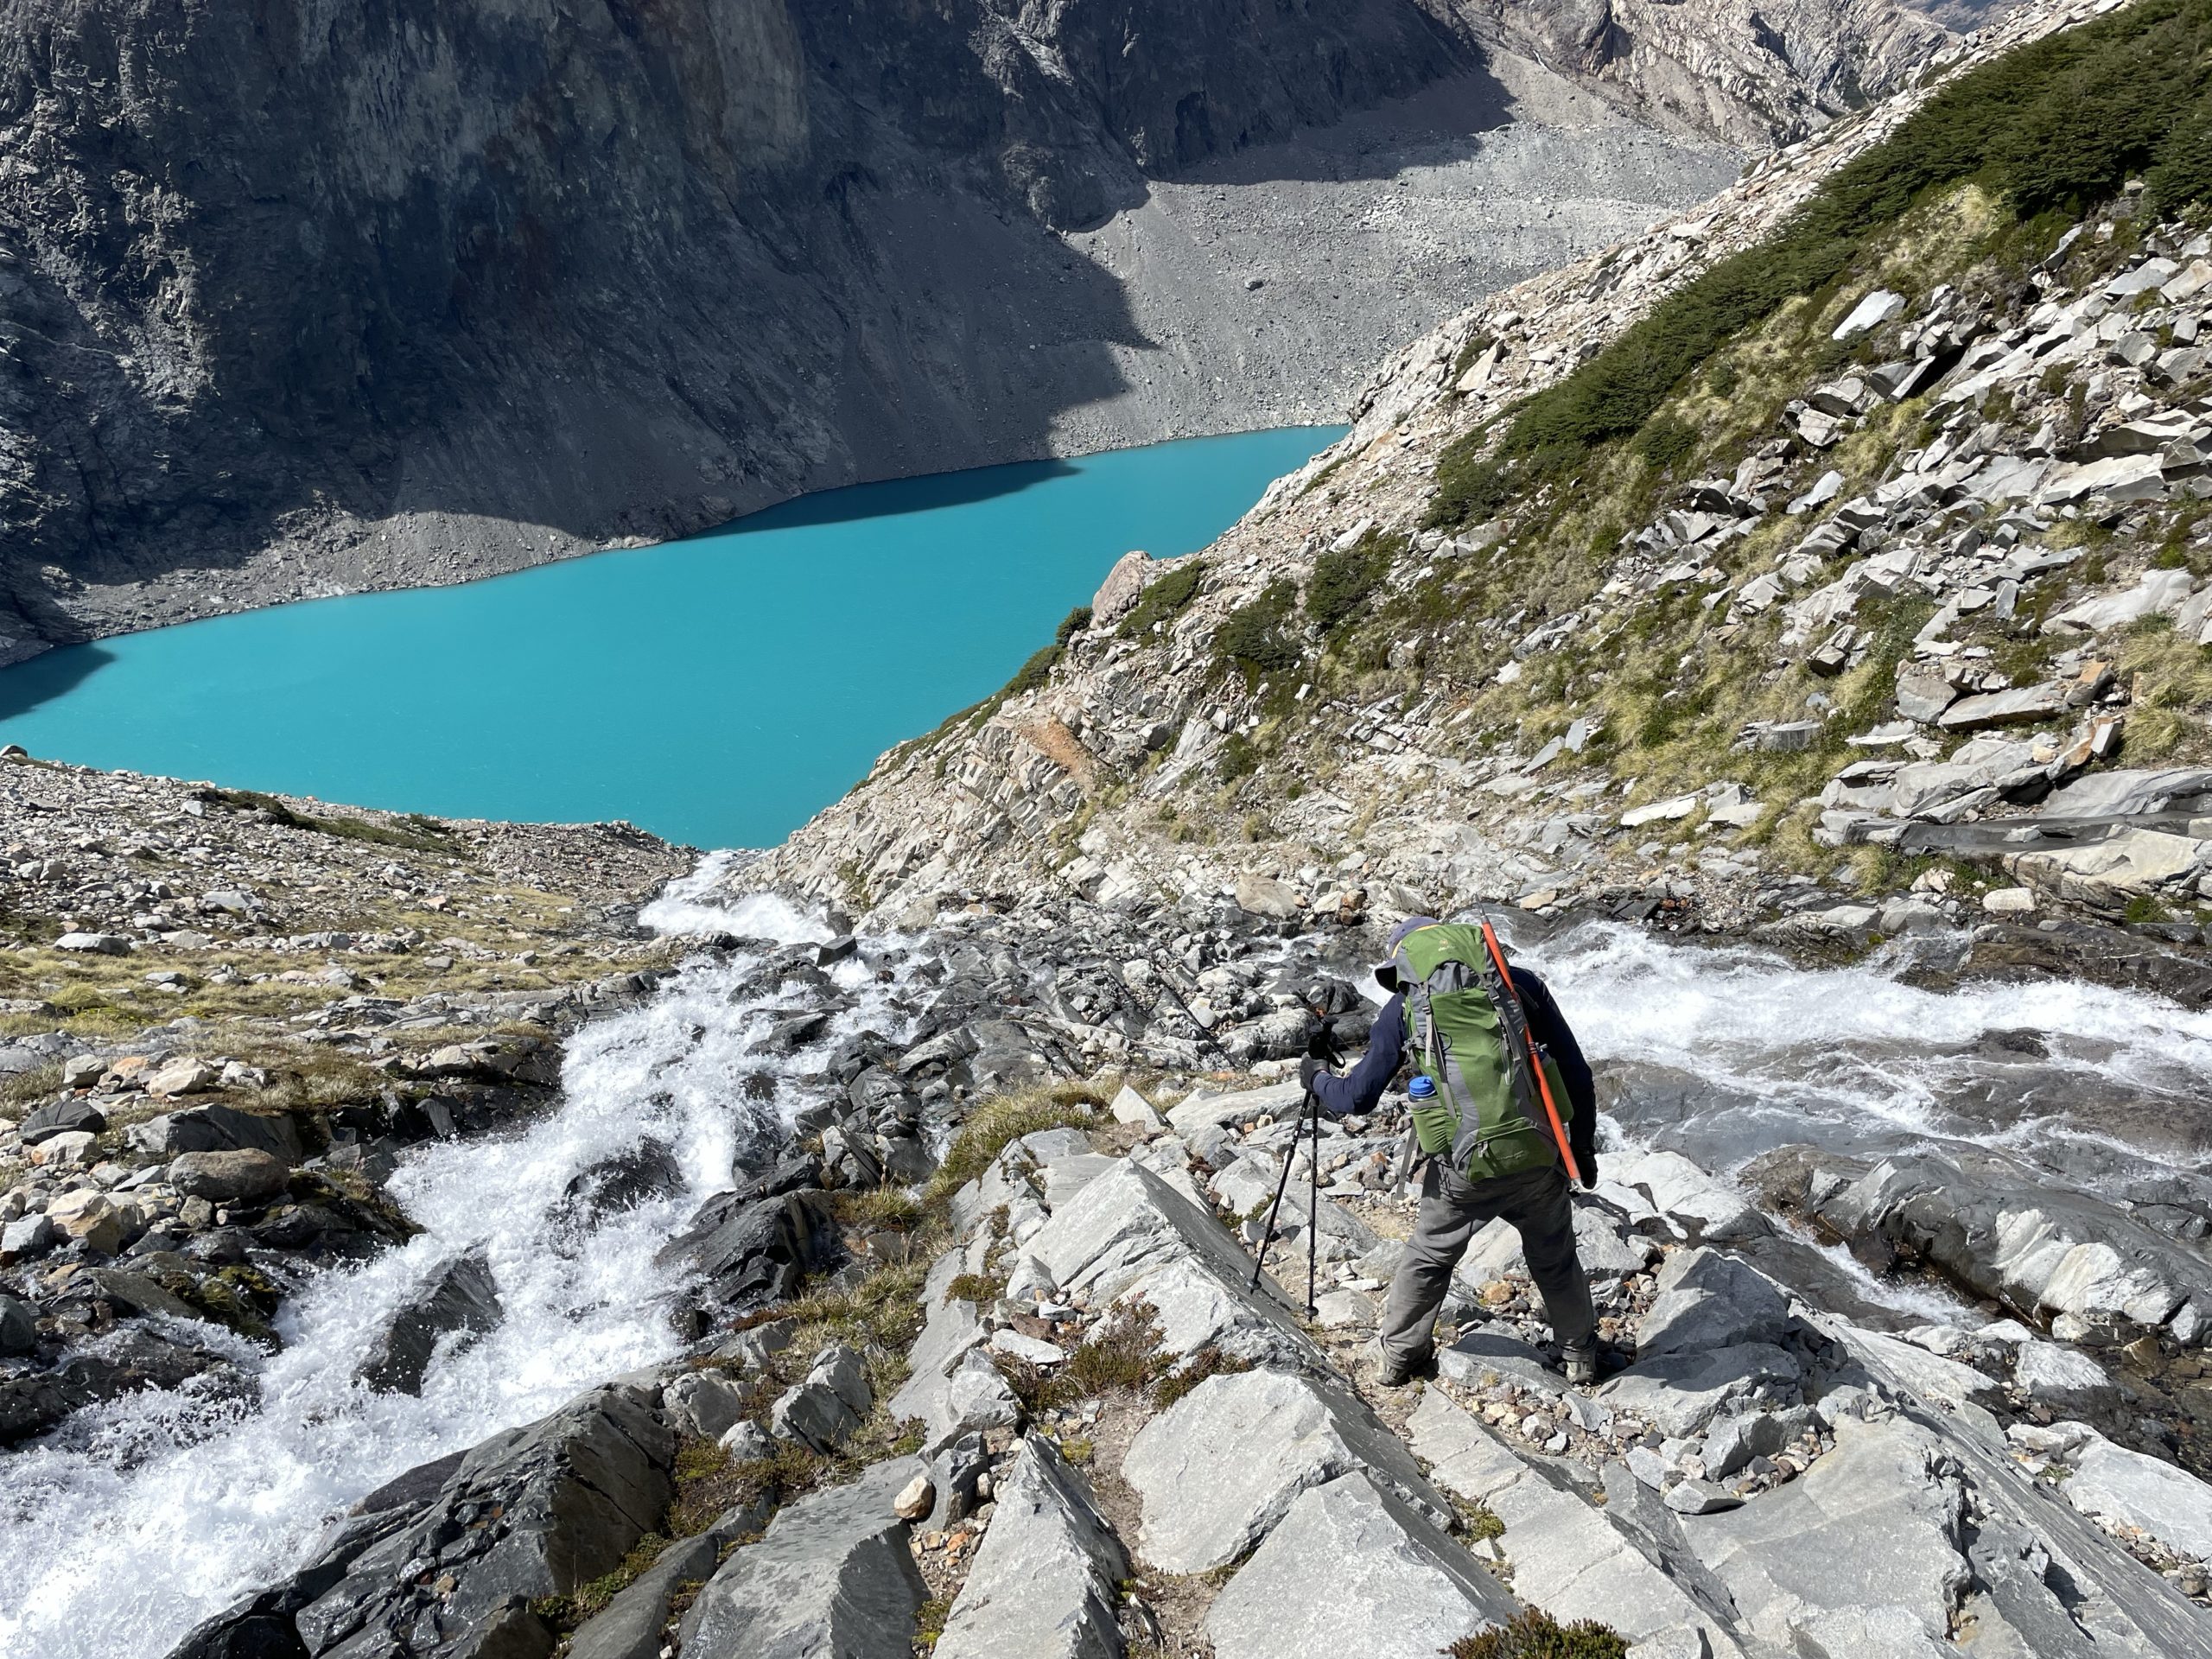
Now we descended that long talus and scree slope to the lake. We had a hard time finding an easy way down though. Much of the slope was like concrete with a thin layer of scree over it. The descent took a long ass time and was very tedious. We were thankful to finally reach the lake shore.
The rest of the descent back was easy but unending. We reached town just before dark after a total of 17 hours on the move. Exhausted but happy, we stopped for some food and then crashed out at the hostel.
Now that I can compare what I found online with my own experience I can say this is a very fun mix of scrambling, glacier traverse and climbing. It’s a long day, but doable in one push. I never did find the other sections of 5th class mentioned in some descriptions and besides the summit tower the route doesn’t need to exceed 4th class. There is some exposure on the ridge but here also I didn’t see why you’d need to rope up. Worst case you can butt slide or crab walk across. One report mentioned a bolt on the summit tower, but we found none. I would recommend bringing a small set of stoppers, a few quick draws and webbing for the rappel off the top. In final, if you’re looking for a summit that has a bit of everything, I say Mojon Rojo is a must.